
As I stood in my kitchen, the vibrant pink stalks of rhubarb caught my eye, their tartness whispering promises of springtime desserts. That’s when I decided to create Rhubarb Cheesecake Squares, a crowd-pleasing treat that perfectly fuses creamy indulgence with a buttery, oat-infused crust. This rustic dessert not only showcases the unique flavor of seasonal rhubarb but also offers the joy of customization; feel free to swap in strawberries or blueberries for a delightful twist. With quick prep time and the ability to make ahead, these squares are the ideal solution for anyone craving a homemade dessert without the fuss. Curious to see how these delicious layers come together? Let’s dive in!
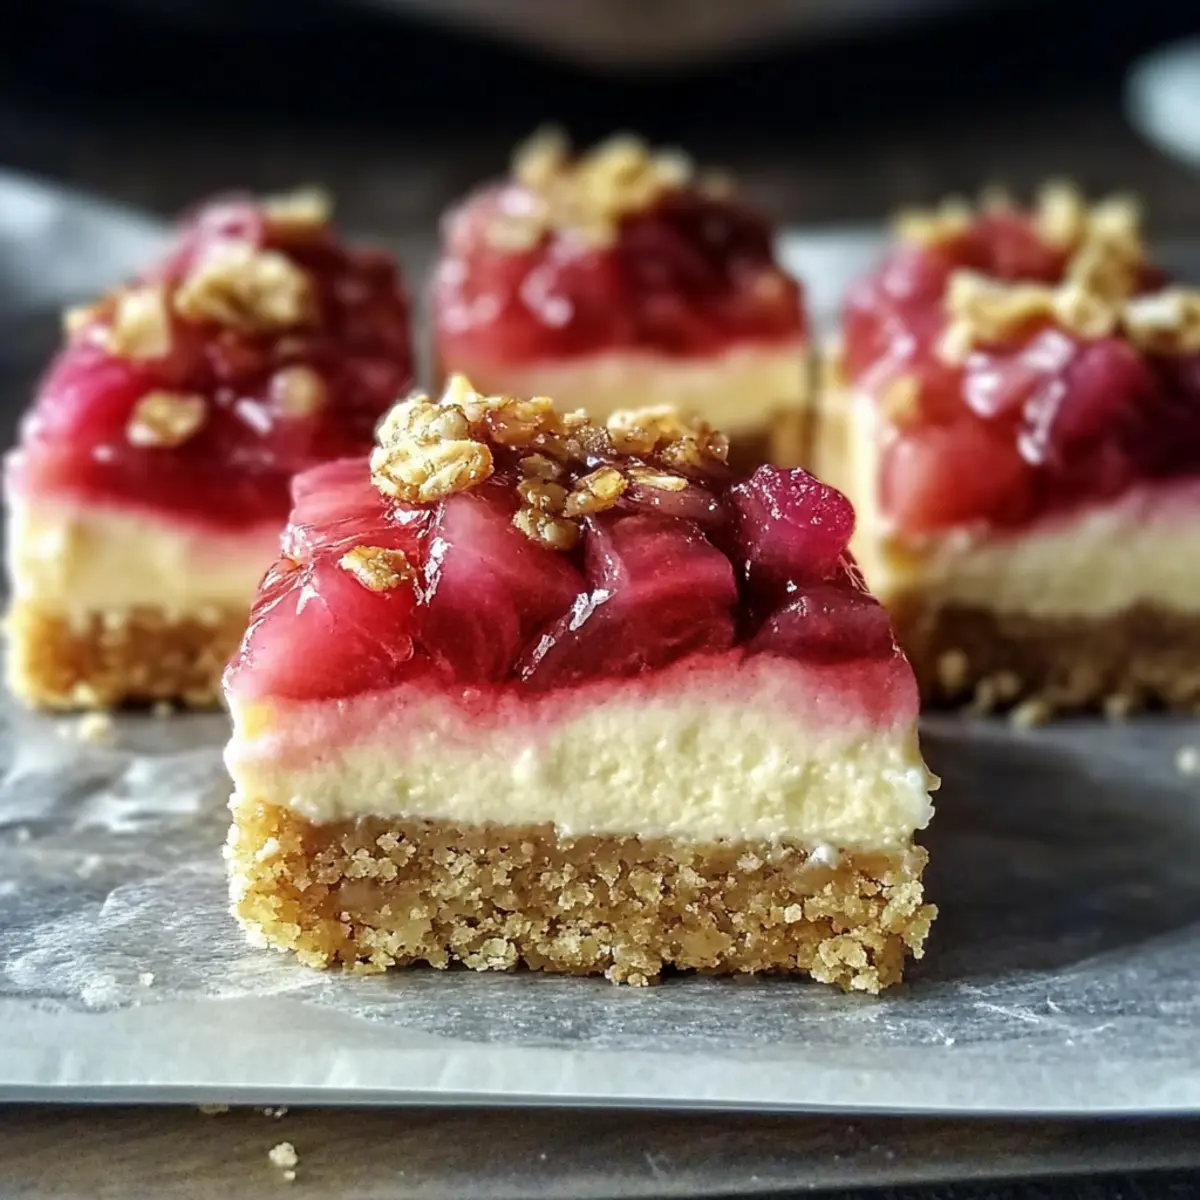
Why You’ll Crave Rhubarb Cheesecake Squares?
Creamy Delight: Each bite boasts a luscious cheesecake layer that melts in your mouth, perfectly balancing the tartness of fresh rhubarb.
Effortless Preparation: With minimal steps, you’ll impress everyone with your baking skills without spending hours in the kitchen.
Seasonal Freshness: Using rhubarb highlights the flavor of spring, but the versatility of this recipe means you can easily swap in strawberries or blueberries.
Top-Notch Texture: Enjoy the delightful contrast of a crumbly oat crust paired with a velvety filling and a crunchy walnut topping.
Make-Ahead Magic: Perfect for gatherings, these squares can be prepared in advance and stored, ensuring you can enjoy dessert without the last-minute rush!
For a unique twist, consider layering in some Strawberry Cheesecake Cookies to bring extra flavor to your table!
Rhubarb Cheesecake Squares Ingredients
For the Rhubarb Compote
- Rhubarb – Adds a sweet-tart flavor; fresh is best, but you can use frozen with adjustments.
- Sugar (3/4 cup) – Sweetens the rhubarb; consider brown sugar for a richer taste.
- Water (1 Tbsp) – Essential for cooking down the rhubarb.
- Cornstarch (3 tsp) – Thickens the rhubarb compote for a luscious texture.
For the Cheesecake Layer
- Cream Cheese (16 oz) – Offers a creamy base for the dessert; plant-based alternatives can be used for a dairy-free option.
- Icing Sugar (1/2 cup) – Sweetens the cheesecake layer to perfection.
- Egg (1) – Binds the cheesecake mix together for a smooth texture.
For the Oat Crust
- Butter (1 cup) – Provides richness to the crust, making it buttery and delightful.
- Flour (1 3/4 cups) – Creates the structure for the crust; gluten-free blends can be substituted.
- Oats (1 cup) – Adds a chewy texture; crushed graham crackers work as a tasty alternative.
- Brown Sugar (3/4 cup) – Enhances the sweetness of the crust and topping.
- Salt (pinch) – Balances the sweetness of the ingredients.
For the Topping
- Chopped Walnuts (1/2 cup) – Adds a satisfying crunch; can be swapped with pecans, almonds, or omitted for a nut-free option.
These Rhubarb Cheesecake Squares are a showstopper at any gathering, combining tart, creamy, and crunchy delights in each bite.
Step‑by‑Step Instructions for Rhubarb Cheesecake Squares
Step 1: Preheat the Oven
Begin by preheating your oven to 350°F (175°C). While the oven heats, prepare a 9×13 inch baking pan lined with parchment paper, ensuring the paper hangs over the edges for easy removal later. This initial step sets the stage for achieving that perfect golden crust for your Rhubarb Cheesecake Squares.
Step 2: Prepare Rhubarb Compote
In a medium saucepan over medium heat, combine the chopped rhubarb, 3/4 cup sugar, and 1 tablespoon of water. Allow the mixture to simmer for about 8 minutes, stirring occasionally until the rhubarb softens. Once softened, gradually stir in 3 teaspoons of cornstarch and cook for an additional 2 minutes until thickened. Remove from heat and let it cool while you work on the cheesecake layer.
Step 3: Make the Cheesecake Layer
In a large mixing bowl, use an electric mixer to beat 16 ounces of cream cheese until creamy and smooth. Gradually add in the 1/2 cup icing sugar and 1 egg, beating until the mixture is well combined and fluffy. This rich filling will provide a delicious contrast to the tart rhubarb compote in your Rhubarb Cheesecake Squares.
Step 4: Prepare the Crust Mixture
In another bowl, combine 1 cup of softened butter, 1 3/4 cups of flour, 1 cup of oats, 3/4 cup brown sugar, and a pinch of salt. Use your hands or a pastry cutter to mix until crumbly yet cohesive. Reserve half of the mixture, then press the remaining half evenly into the bottom of your prepared baking pan to form a sturdy crust.
Step 5: Layer Ingredients
Carefully spread the cheesecake filling over the pressed crust, ensuring even coverage from edge to edge. Once spread, gently dollop the cooled rhubarb compote atop the cheesecake layer, smoothing it out evenly for a visually appealing look. These layers create the delightful contrast central to your Rhubarb Cheesecake Squares.
Step 6: Add Topping
Take the reserved crust mixture and mix in 1/2 cup of chopped walnuts, then sprinkle it generously over the rhubarb layer. This topping adds a satisfying crunch that beautifully complements the creamy cheesecake and tart rhubarb. Make sure to cover as much of the rhubarb layer as possible for a deliciously nutty finish.
Step 7: Bake
Place the assembled baking pan into the preheated oven and bake for approximately 30 minutes. You’ll know your Rhubarb Cheesecake Squares are ready when the top is golden brown and the sides are set, but the center has a slight jiggle. Keep an eye on them to avoid overbaking.
Step 8: Cool and Slice
Once out of the oven, allow the squares to cool completely in the pan on a wire rack. This cooling step is essential for clean slicing. After cooling, carefully lift the squares from the pan using the parchment overhang, slice into squares, and refrigerate for a delightful treat that showcases the seasonal flavors beautifully.
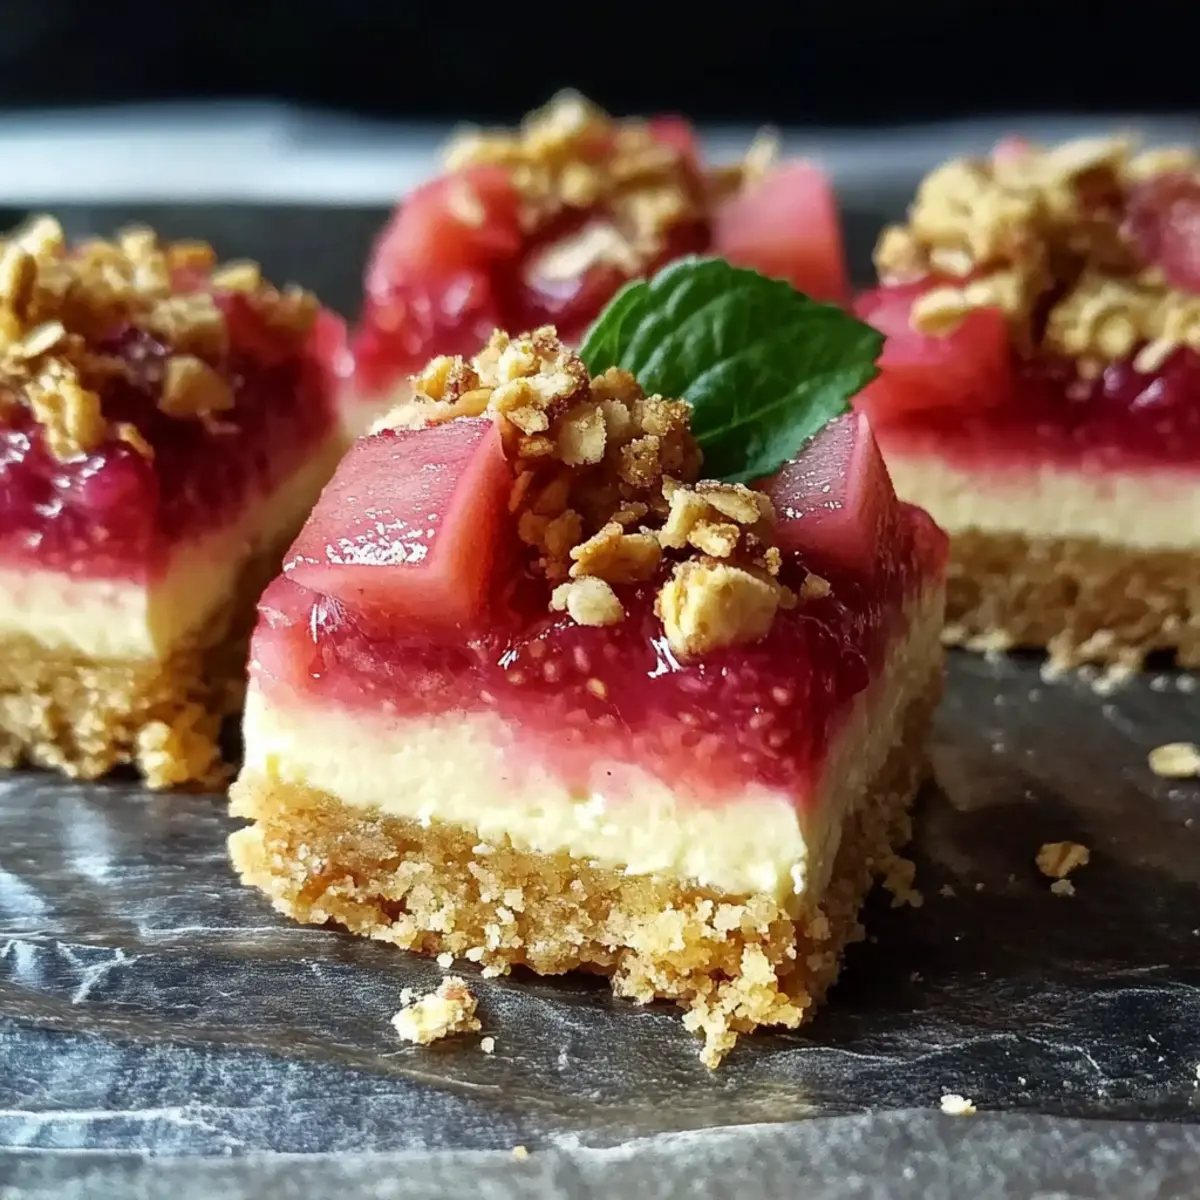
Rhubarb Cheesecake Squares Variations
Feel free to make these Rhubarb Cheesecake Squares your own with these fun twists and substitutions!
-
Berry Bliss: Swap out rhubarb for fresh strawberries, blueberries, or raspberries for a delightful fruit-forward experience. The sweet-tart flavor will shine through beautifully!
-
Nut-Free Delight: For a nut-free version, simply omit the walnuts or replace them with extra oats. This maintains that textural crunch without the worry of allergens.
-
Flavor Infusion: Add a splash of vanilla extract or a spoonful of fruity jam to the cheesecake filling for an extra flavor boost that excites the palate. The possibilities are endless!
-
Graham Cracker Crust: Experiment by using crushed graham crackers in place of oats in the crust. This alternative gives a buttery, sweet foundation that pairs perfectly with the cheesecake.
-
Citrus Zest Kick: Incorporate lemon or orange zest into the cheesecake for a zesty kick. The bright citrus notes will balance the richness of the cream cheese perfectly.
-
Chocolate Layering: For a rich twist, melt chocolate into the cheesecake layer or swirl in chocolate ganache on top after baking. This decadent addition will take your dessert to the next level.
-
Seasonal Surprises: Use seasonal fruits like peaches or cherries in place of rhubarb to keep things fresh and exciting. Each season brings new flavors to explore!
-
Increase the Heat: If you enjoy a little spice, add a pinch of cinnamon or ginger to the crust or cheesecake layer. It adds warmth and a delightful complexity to each bite.
Feel inspired? Check out our Chocolate Cheesecake Bars or get creative with some Baileys Cheesecake Balls for a fun twist on these classic flavors!
Make Ahead Options
These Rhubarb Cheesecake Squares are perfect for meal prep enthusiasts looking to save time during busy weeknights! You can prepare the rhubarb compote up to 3 days in advance and store it in an airtight container in the refrigerator. The cheesecakes can also be fully assembled and kept in the refrigerator for up to 24 hours before baking. To maintain quality, ensure the crust mixture covers the rhubarb layer completely to prevent it from drying out. When you’re ready to serve, simply bake the squares as directed, and enjoy a delicious dessert that tastes just as fresh as the day you made it!
What to Serve with Rhubarb Cheesecake Squares
Nothing elevates the charm of a gathering quite like the sweet-tart aroma of fresh rhubarb; complement your dessert with these delightful pairings.
-
Vanilla Ice Cream: A scoop of creamy vanilla ice cream perfectly balances the tanginess of the rhubarb, adding a silky texture that’s simply irresistible.
-
Whipped Cream: Light and airy, a dollop of freshly whipped cream enhances the richness of the cheesecake, creating a delightful contrast in each bite.
-
Fresh Berries: A side of strawberries or blueberries brings a burst of natural sweetness, harmonizing beautifully with the tart rhubarb while adding vibrant color to your plate.
-
Coffee or Tea: A warm cup of coffee or herbal tea offers a soothing contrast to the refreshing flavors of the cheesecake squares, making for a perfect afternoon treat.
-
Citrus Drizzle: A light drizzle of citrus syrup or a lemon glaze adds a zesty twist, amplifying the flavor profile and offering a refreshing note.
-
Chocolate Sauce: Rich chocolate sauce drizzled over the squares introduces a delightful depth, appealing to the indulgent side of your palate.
With these delightful pairings, your Rhubarb Cheesecake Squares are set to shine at any dessert spread, transforming an already special treat into a memorable experience!
How to Store and Freeze Rhubarb Cheesecake Squares
Fridge: Store your Rhubarb Cheesecake Squares in an airtight container in the refrigerator for up to 5 days. This keeps them fresh and ready to enjoy whenever the craving strikes.
Freezer: For longer storage, freeze the squares for up to 2 months. Wrap individual portions in parchment paper before placing them in a freezer-safe container to preserve taste and texture.
Thawing: To enjoy, simply thaw your frozen squares in the fridge overnight. For a quick option, leave them at room temperature for about 30 minutes before serving.
Reheating: If desired, warm individual squares in the microwave for about 15-20 seconds for a comforting, melt-in-your-mouth experience.
Expert Tips for Rhubarb Cheesecake Squares
-
Fresh is Best: Always use fresh rhubarb for optimal flavor and texture. If you opt for frozen, remember to reduce the cooking time to prevent mushiness.
-
Perfect Thickness: Cook the rhubarb until tender but not falling apart. This ensures a delightful texture in your Rhubarb Cheesecake Squares without making the compote too watery.
-
Cool Down: Allow the dessert to cool completely in the pan before slicing. This step prevents messy cuts and helps the layers hold together beautifully.
-
Citrus Zest Boost: Adding zest from lemon or orange to the cheesecake mix can elevate the flavors and provide a refreshing contrast to the sweet-tart rhubarb.
-
Chill for Flavor: For the best taste experience, chill the squares overnight in the refrigerator. This resting time allows the flavors to meld perfectly.
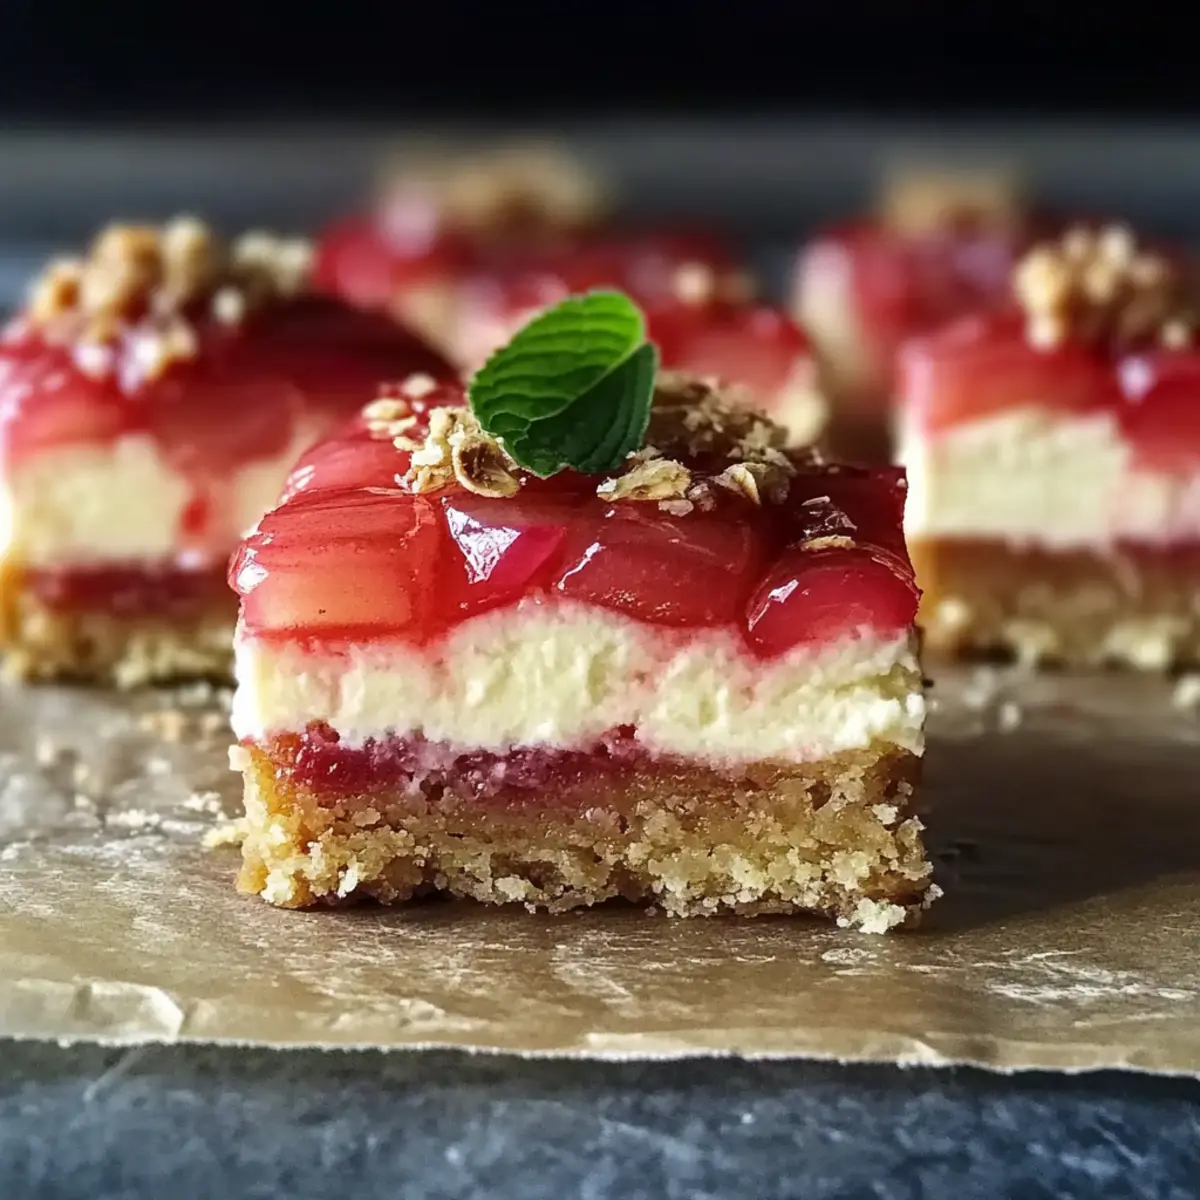
Rhubarb Cheesecake Squares Recipe FAQs
How do I choose the right rhubarb?
Absolutely! When selecting rhubarb, look for firm, vibrant stalks without any dark spots or soft areas, as these are indicators of freshness. Ideally, you want stalks that are bright pink or red, which signify sweetness, while green stalks can lean towards being more bitter. Fresh rhubarb will provide the best texture and flavor for your Rhubarb Cheesecake Squares!
How should I store my Rhubarb Cheesecake Squares?
Very! To keep your Rhubarb Cheesecake Squares delightful and fresh, store them in an airtight container in the refrigerator for up to 5 days. This helps maintain their creamy texture and delicious flavors. For a make-ahead option, simply cover the dish with plastic wrap before chilling; this will keep your squares protected from other flavors.
Can I freeze Rhubarb Cheesecake Squares?
Absolutely! If you want to save some for later, these squares freeze beautifully. Wrap individual portions in parchment paper, then place them in a freezer-safe container or a zip-top bag. They can be stored in the freezer for up to 2 months. Just remember to thaw them overnight in the fridge before serving for the best taste experience!
What if my rhubarb compote turns out too watery?
If your rhubarb compote is too runny, it may need a touch more cornstarch or a longer cooking time. Here’s a simple fix: mix 1 additional teaspoon of cornstarch with a tablespoon of cold water to create a slurry. Stir this into the cooking compote while it’s simmering until it thickens. This will help ensure that your Rhubarb Cheesecake Squares hold together nicely!
Can I make this recipe nut-free?
Absolutely! To create a nut-free version of your Rhubarb Cheesecake Squares, you can either simply omit the walnuts or replace them with extra oats for added texture. This way, you can still enjoy the delightful crunch without the nuts! If you’re concerned about cross-contamination with nuts, ensure that your oats and other ingredients are certified nut-free.
Are there any dietary substitutions I can make for this recipe?
Very! If you need to accommodate dietary restrictions, there are several substitutions you can use. For instance, you can opt for plant-based cream cheese in the cheesecake filling for a dairy-free option. Additionally, replacing the all-purpose flour with a gluten-free flour blend ensures that everyone can enjoy these tasty Rhubarb Cheesecake Squares. Happy baking!
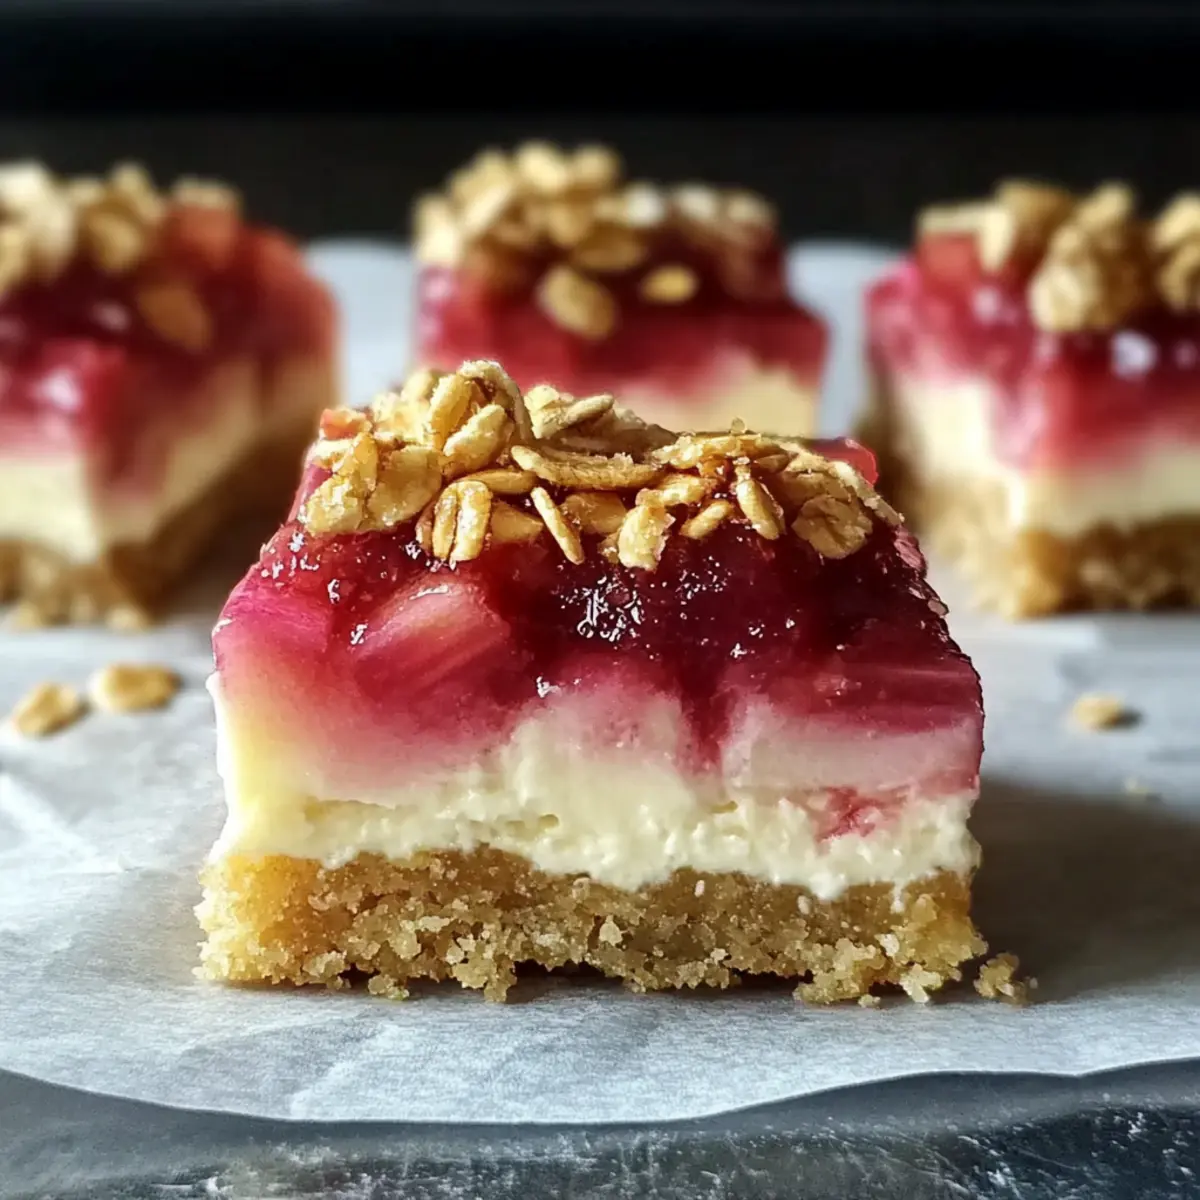
Rhubarb Cheesecake Squares: A Sweet-Tart Sensation to Savor
Ingredients
Equipment
Method
- Preheat your oven to 350°F (175°C) and prepare a 9x13 inch baking pan lined with parchment paper.
- In a saucepan, combine chopped rhubarb, sugar, and water over medium heat. Simmer for 8 minutes, then add cornstarch and cook for 2 more minutes.
- In a mixing bowl, beat cream cheese until smooth, then add icing sugar and egg, mixing until combined and fluffy.
- In another bowl, combine butter, flour, oats, brown sugar, and salt until crumbly. Press half into the baking pan for the crust.
- Spread the cheesecake filling over the crust, then dollop the rhubarb compote on top, smoothing it out evenly.
- Mix chopped walnuts into the reserved crust mixture and sprinkle over the rhubarb layer.
- Bake for approximately 30 minutes, until golden brown and the sides are set with a slight jiggle in the center.
- Cool completely in the pan, then lift out using the parchment overhang, slice, and refrigerate before serving.
Leave a Reply