
The moment I set foot in the kitchen, the earthy aroma of cocoa mingles with a whisper of tangy buttermilk, instantly transporting me to the special occasions of my childhood. This Classic Red Velvet Cake with Cream Cheese Frosting is more than just a dessert; it’s a celebration in every slice! With its striking red hue and moist texture, this cake is a beloved crowd-pleaser, perfect for birthdays, anniversaries, or just because. One of the best parts? It’s surprisingly simple to whip up, ensuring you won’t be running to the store for last-minute ingredients. Plus, the smooth, tangy cream cheese frosting elevates it to a whole new level of deliciousness—your friends and family will be begging for seconds! Curious about how to create this stunning centerpiece for your next gathering? Let’s dive into the sweet details of this irresistible recipe!
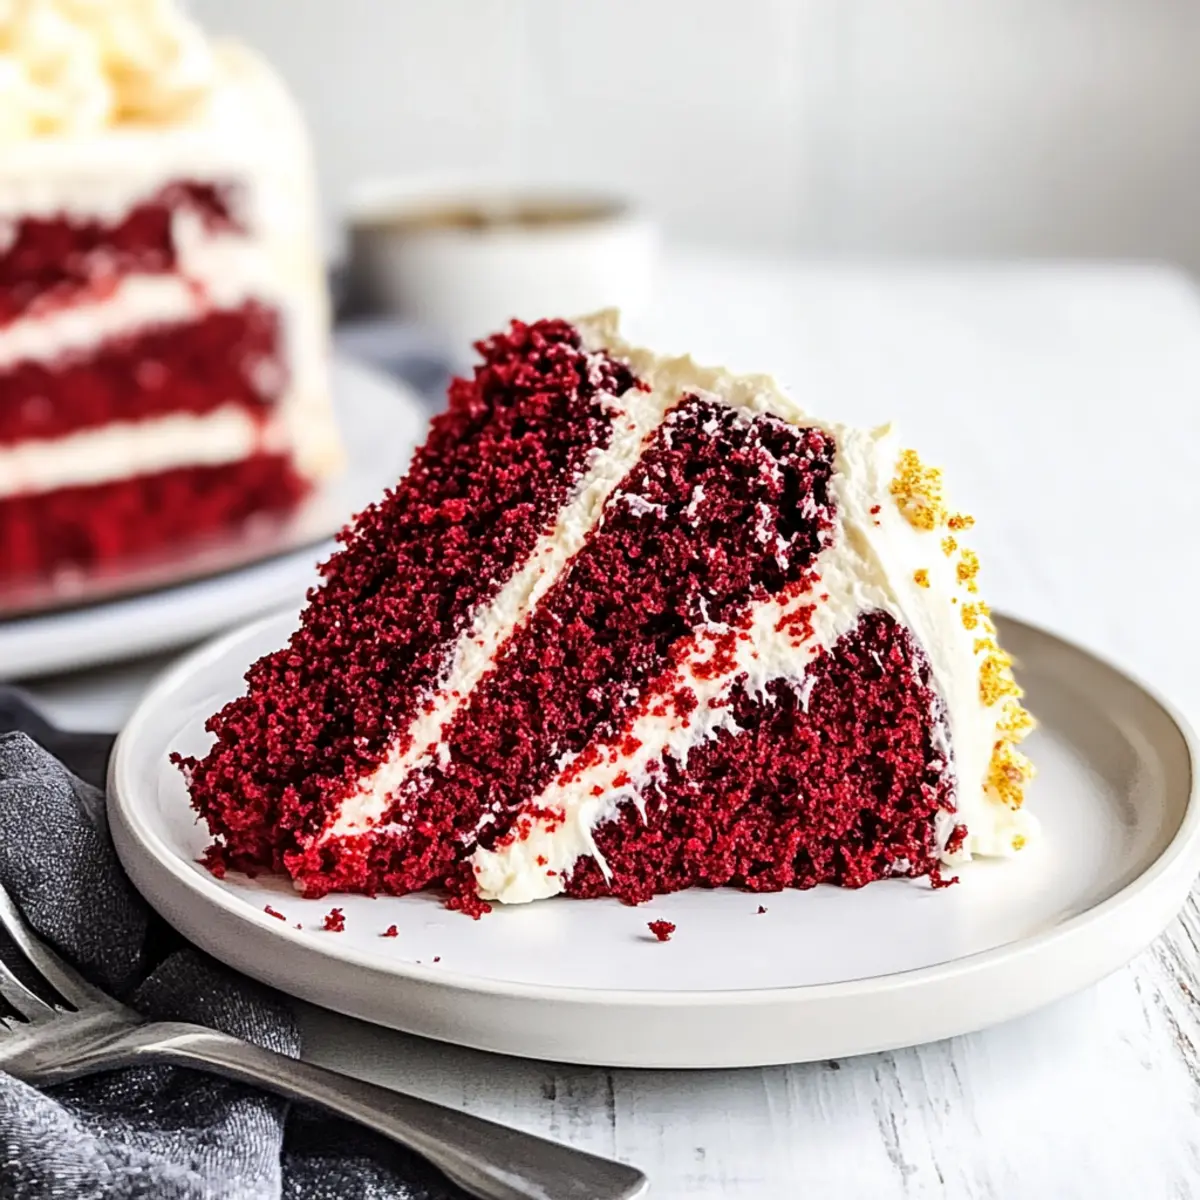
Why is Red Velvet Cake So Special?
Perfect for Celebrations: This cake is a showstopper, adding a pop of color and fun to any festivity.
Moist and Delicious: The combination of buttermilk and oil keeps the cake wonderfully moist, creating a delightful texture that melts in your mouth.
Tangy Cream Cheese Frosting: The rich cream cheese frosting adds a tangy sweetness that perfectly complements the cake’s subtle cocoa flavor.
Easy to Make: With simple ingredients and straightforward steps, anyone can master this classic treat without breaking a sweat.
Versatile Options: Transform this recipe into decadent Red Velvet Cupcakes or try various frostings like chocolate buttercream for a twist.
Whether you’re celebrating a special moment or treating yourself to something sweet, this Red Velvet Cake will surely impress! Give it a try, and don’t forget to check out my recipe for Eggnog Cupcakes Nutmeg for another festive dessert idea!
Red Velvet Cake Ingredients
For the Cake
- All-Purpose Flour – Provides structure; feel free to use cake flour for an even lighter texture.
- Unsweetened Cocoa Powder – Adds a mild chocolate flavor; Dutch-processed cocoa can deepen the taste.
- Baking Powder – A leavening agent that helps the cake rise; check its freshness with hot water.
- Baking Soda – Reacts with acidic ingredients for a fluffy cake; never substitute this with baking powder.
- Granulated Sugar – Offers sweetness and moisture; reduce for a cake that’s less sweet.
- Vegetable Oil – Adds moisture and tenderness; can be swapped with canola or any neutral oil.
- Unsalted Butter (melted) – Enhances richness; use coconut oil for a dairy-free variation.
- Eggs – Binds ingredients and provides richness; make sure they are at room temperature.
- Buttermilk – Helps tenderize the cake and adds a tang; milk with vinegar or lemon juice works as a substitute.
- Red Gel Food Coloring – Delivers striking color; avoid liquid versions to keep the cake’s moisture balance.
- White Distilled Vinegar – Boosts tanginess and interacts with baking soda; lemon juice can be a substitute.
For the Frosting
- Cream Cheese – The star of the frosting; using it at room temperature makes mixing easier.
- Powdered Sugar – Sweetens the frosting; sifting helps eliminate lumps for a silky texture.
- Vanilla Extract – Adds flavor to both cake and frosting; fresh vanilla elevates the taste even more.
Now that you have all the ingredients for your delicious Red Velvet Cake, it’s time to roll up your sleeves and get baking! Enjoy this classic dessert that promises to be the centerpiece of your next celebration.
Step‑by‑Step Instructions for Classic Red Velvet Cake with Cream Cheese Frosting
Step 1: Preheat the Oven
Start by preheating your oven to 325°F (163°C). While the oven warms up, prepare three 8-inch round cake pans by creating parchment paper circles to fit the bottom and spritzing them with nonstick cooking spray. This ensures your Red Velvet Cake layers release smoothly once baked.
Step 2: Bloom the Cocoa
In a medium bowl, combine hot coffee and unsweetened cocoa powder. Stir the mixture well until the cocoa fully dissolves, allowing it to bloom for about 5 minutes. This step enhances the chocolate flavor of your Classic Red Velvet Cake and gives it a rich depth that everyone will love.
Step 3: Combine Dry Ingredients
While the cocoa mixture cools, whisk together the all-purpose flour, baking powder, baking soda, and salt in a separate bowl. This mixture should be well-combined, ensuring that your dry ingredients are evenly distributed for a fluffy Red Velvet Cake. Set it aside for later use.
Step 4: Mix Wet Ingredients
In a large mixing bowl, blend granulated sugar, vegetable oil, and melted butter together until smooth and creamy. Beat in the eggs and egg yolk one at a time, ensuring each is fully incorporated before adding the next. This creates a rich base for your cake, which adds moisture and flavor.
Step 5: Add Buttermilk and Color
Next, incorporate the buttermilk, vanilla extract, red gel food coloring, and white distilled vinegar into the wet mixture. Mix thoroughly until everything is well combined. The vivid color will begin to brighten as you mix, setting the stage for your stunning Red Velvet Cake.
Step 6: Combine Wet and Dry Mixtures
Gradually sift the dry ingredients into the wet mixture, stirring gently until just combined. It’s essential not to overmix—stop as soon as there are no visible flour streaks. This careful folding will help maintain the cake’s tender texture, ensuring each slice of your Red Velvet Cake is perfectly soft.
Step 7: Bake the Cakes
Evenly divide the batter among the prepared cake pans, smoothing the tops with a spatula. Place the pans in the preheated oven and bake for 25-30 minutes. Start checking doneness around the 25-minute mark by inserting a toothpick into the center; it should come out clean when your cakes are ready.
Step 8: Cool the Cake Layers
Once baked, remove the cake pans from the oven and allow the layers to cool for about 10 minutes. Carefully loosen the edges with a knife and then invert each layer onto wire racks. Let the cakes cool completely to room temperature before frosting, ensuring the cream cheese frosting doesn’t melt.
Step 9: Prepare the Frosting
For the cream cheese frosting, beat the softened cream cheese and unsalted butter together in a mixing bowl until creamy and smooth. Gradually mix in the powdered sugar and vanilla extract until the frosting is light and fluffy. This will create a perfectly balanced frosting for your Classic Red Velvet Cake.
Step 10: Assemble the Cake
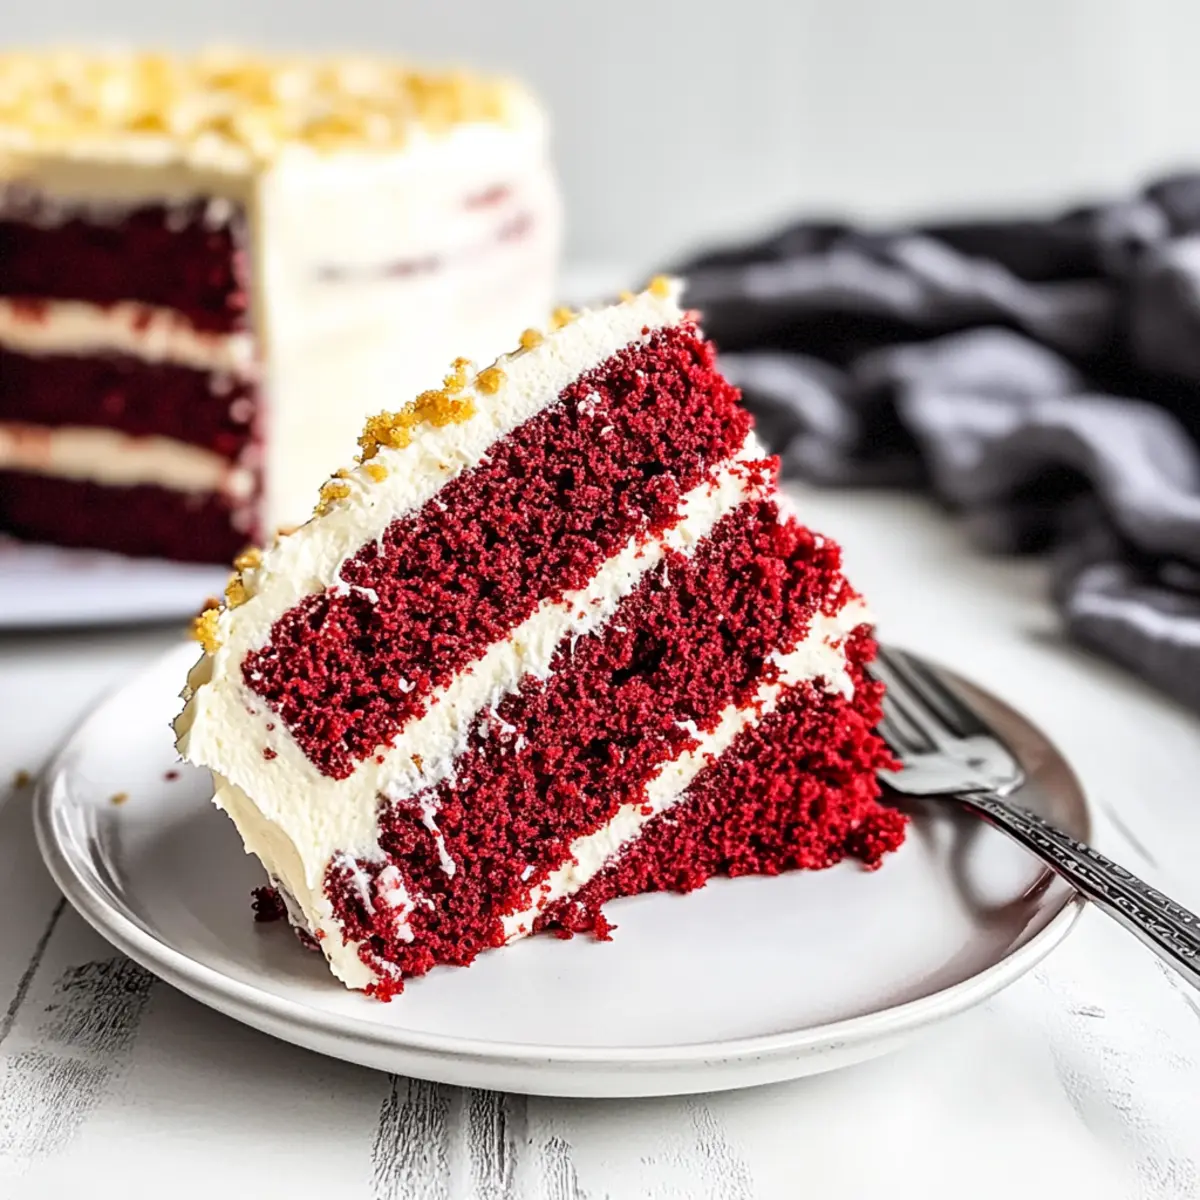
To assemble the cake, place one layer on a serving plate and spread a generous amount of frosting on top. Repeat with the second layer, then top it off with the final layer. Finally, frost the top and sides of the cake, smoothing it out for a polished look. Your Classic Red Velvet Cake is now beautifully assembled and ready to shine!
Make Ahead Options
These Classic Red Velvet Cake layers are perfect for meal prep enthusiasts! You can bake the cake layers up to 24 hours in advance. After cooling, wrap each layer tightly in plastic wrap and store them at room temperature to maintain their moisture. If you prefer to make the cream cheese frosting ahead of time, this can be done up to 3 days in advance; just refrigerate it in an airtight container. When you’re ready to serve, allow the frosting to come to room temperature before spreading it between the cake layers and over the top. This way, you’ll enjoy a delicious, hassle-free dessert that still tastes just as fresh and delightful!
Red Velvet Cake Variations
Feel inspired to make this delightful recipe your own by trying out these fun twists!
- Cupcakes: Bake in cupcake liners for perfect portion control and festive presentation! Adjust baking time to 18-20 minutes.
- Chocolate Frosting: Swap the cream cheese frosting for rich chocolate buttercream for an indulgent treat that chocolate lovers will adore.
- Nutty Crunch: Add chopped walnuts or pecans to the batter for a delightful crunch and additional flavor depth.
- Lemon Zest: Brighten the cake and frosting with a hint of lemon zest to add a refreshing pop that balances the richness.
- Spicy Touch: Incorporate a pinch of cayenne pepper for an unexpected kick that beautifully contrasts the sweet frosting.
- Layer It Up: Create a stunning layer cake by adding more cake layers, alternating with flavored frostings, such as strawberry or vanilla—visually and flavorfully impressive!
- Buttermilk Substitute: If you’re out of buttermilk, use plain yogurt or a mixture of milk and vinegar for a similar tangy effect.
- Fruit Additions: Fold in fresh raspberries or cherries into the batter for a fruity surprise that pairs wonderfully with the cream cheese frosting.
Each variation brings its unique personality, making your Red Velvet Cake a cherished classic for any occasion! Want more inspiration? Check out my mouthwatering Chocolate Cherry Cake or the delightful Blueberry Coffee Cake for more treats to delight your loved ones.
Tips for the Best Red Velvet Cake
- Fresh Ingredients: Always check that your baking powder and baking soda are fresh; stale leavening agents can affect the rise and texture of your Red Velvet Cake.
- Room Temperature Eggs: Ensure your eggs are at room temperature. This helps them mix more easily and leads to a better cake texture.
- Do Not Overmix: When combining wet and dry ingredients, mix only until just incorporated. Overmixing can lead to a dense cake rather than a light, airy Red Velvet Cake.
- Use Gel Food Coloring: Opt for gel food coloring instead of liquid. It ensures a vibrant color without adding unnecessary moisture to the batter.
- Layer Cooling: Allow the cake layers to cool completely before frosting; warm cakes can cause the frosting to melt, ruining the appearance of your beautiful Red Velvet Cake.
What to Serve with Classic Red Velvet Cake
The tantalizing sweetness of this dessert begs for delicious companions that enhance your dining experience.
-
Fresh Berries: The tartness of strawberries or raspberries cuts through the sweetness, adding a refreshing bite and colorful contrast.
-
Vanilla Ice Cream: Creamy vanilla ice cream melts alongside the warm cake, creating a delightful interplay of textures and flavors, perfect for indulgence.
-
Chocolate Ganache: Drizzle glossy chocolate ganache over the cake for an extra layer of richness, marrying the flavors of cocoa and cream cheese beautifully.
-
Nutty Praline Topping: Chopped pecans or walnuts toasted with brown sugar add a crunchy texture that pairs wonderfully with the cake’s softness, providing an irresistible contrast.
-
Sparkling Juice or Champagne: A glass of bubbly complements the cake’s festivity, elevating the celebratory mood and refreshing the palate with every sweet bite.
-
Coffee or Espresso: The deep, rich flavor of coffee enhances the cake’s inherent cocoa notes, making it the perfect pairing for a satisfying finish to the meal.
How to Store and Freeze Red Velvet Cake
Room Temperature: Keep un-frosted cake layers tightly wrapped in plastic wrap at room temperature for up to 3 days to retain moisture.
Fridge: Store a frosted Red Velvet Cake in an airtight container in the refrigerator for up to 5 days. The cool environment helps preserve the cream cheese frosting’s freshness.
Freezer: For longer storage, wrap unfrosted cake layers in plastic wrap and aluminum foil, then freeze for up to 2 months. When ready, thaw in the fridge overnight before frosting.
Reheating: If you prefer your cake warm, you can microwave a slice for about 10-15 seconds. Enjoy the comforting indulgence of your Red Velvet Cake!
Red Velvet Cake Recipe FAQs
How do I select the best ingredients for my Red Velvet Cake?
Absolutely! When choosing your ingredients, make sure your buttermilk is fresh, with a slight tang. For flour, all-purpose is standard, but cake flour can yield an even lighter texture. When selecting cocoa powder, opt for unsweetened or Dutch-processed for a richer flavor. Lastly, for eggs, ensure they’re at room temperature to help with proper emulsification.
How should I store my Red Velvet Cake?
For optimal storage, un-frosted layers can be tightly wrapped in plastic wrap at room temperature for up to 3 days, keeping them deliciously moist. If your cake is already frosted, you’ll want to place it in an airtight container in the refrigerator, where it will stay fresh for up to 5 days.
Can I freeze my Red Velvet Cake?
Yes! To freeze, wrap your unfrosted cake layers in plastic wrap, then cover them with aluminum foil. This can keep your cake fresh in the freezer for up to 2 months. When you’re ready to enjoy, thaw the layers in the refrigerator overnight before frosting. For a quick serve option, you could even microwave a slice for about 10-15 seconds!
What if my cake is too dry or crumbly?
Very! If you find your Red Velvet Cake is dry, it’s likely due to overbaking or not enough moisture. To troubleshoot, start checking your cakes for doneness at the 25-minute mark and take them out once a toothpick comes out clean. If you’re using oil, ensure the measurement is accurate, as this contributes greatly to moisture. If needed, consider adding a simple syrup to the layers for added moisture once they come out of the oven.
Are there any dietary considerations for this recipe?
Indeed! If you’re baking for friends with dietary restrictions, you can substitute key ingredients. For a dairy-free version, use non-dairy milk with a splash of vinegar in place of buttermilk and coconut oil instead of butter. Always make sure to check for gluten sensitivities if using all-purpose flour, and consider using gluten-free flour blends. It’s always best to communicate with your guests regarding their dietary needs so everyone can enjoy your delightful Red Velvet Cake!
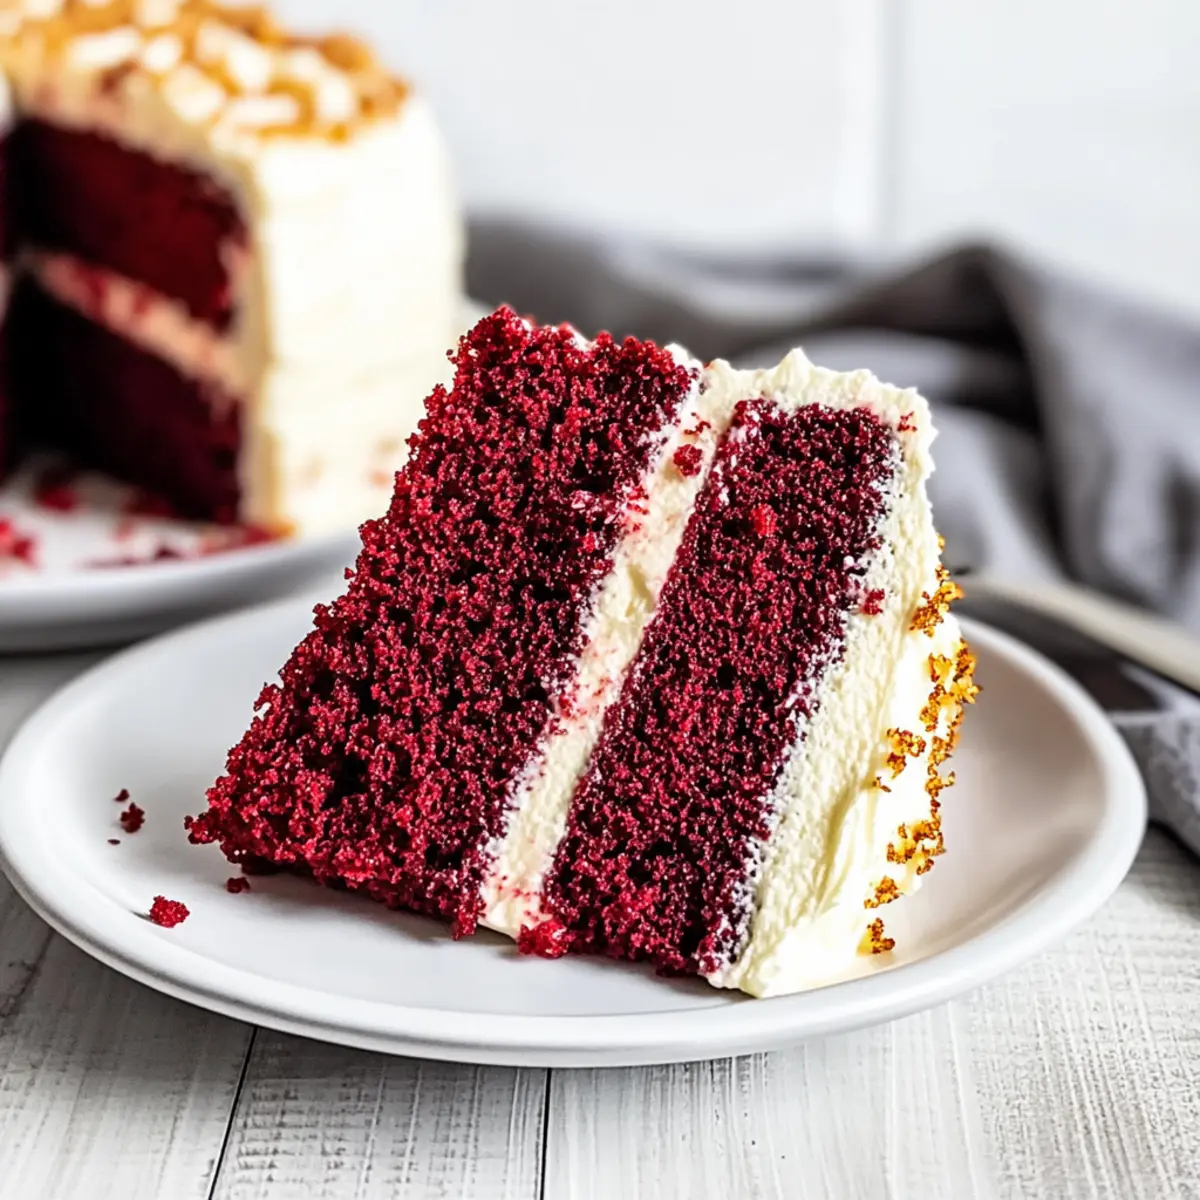
Irresistible Red Velvet Cake with Creamy Frosting Bliss
Ingredients
Equipment
Method
- Preheat your oven to 325°F (163°C) and prepare three 8-inch round cake pans.
- In a medium bowl, combine hot coffee and unsweetened cocoa powder and let it bloom for 5 minutes.
- Whisk together flour, baking powder, baking soda, and salt in a separate bowl.
- Blend sugar, oil, and melted butter until smooth and creamy. Beat in eggs one at a time.
- Incorporate buttermilk, vanilla extract, food coloring, and vinegar into the wet mixture.
- Gradually sift dry ingredients into the wet mixture, stirring gently until just combined.
- Divide the batter among the prepared pans and bake for 25-30 minutes.
- Cool the cake layers for 10 minutes then invert onto wire racks to cool completely.
- Beat softened cream cheese and butter until smooth, then mix in powdered sugar and vanilla.
- Assemble the cake by layering and frosting between each layer and on top and sides.
Leave a Reply