
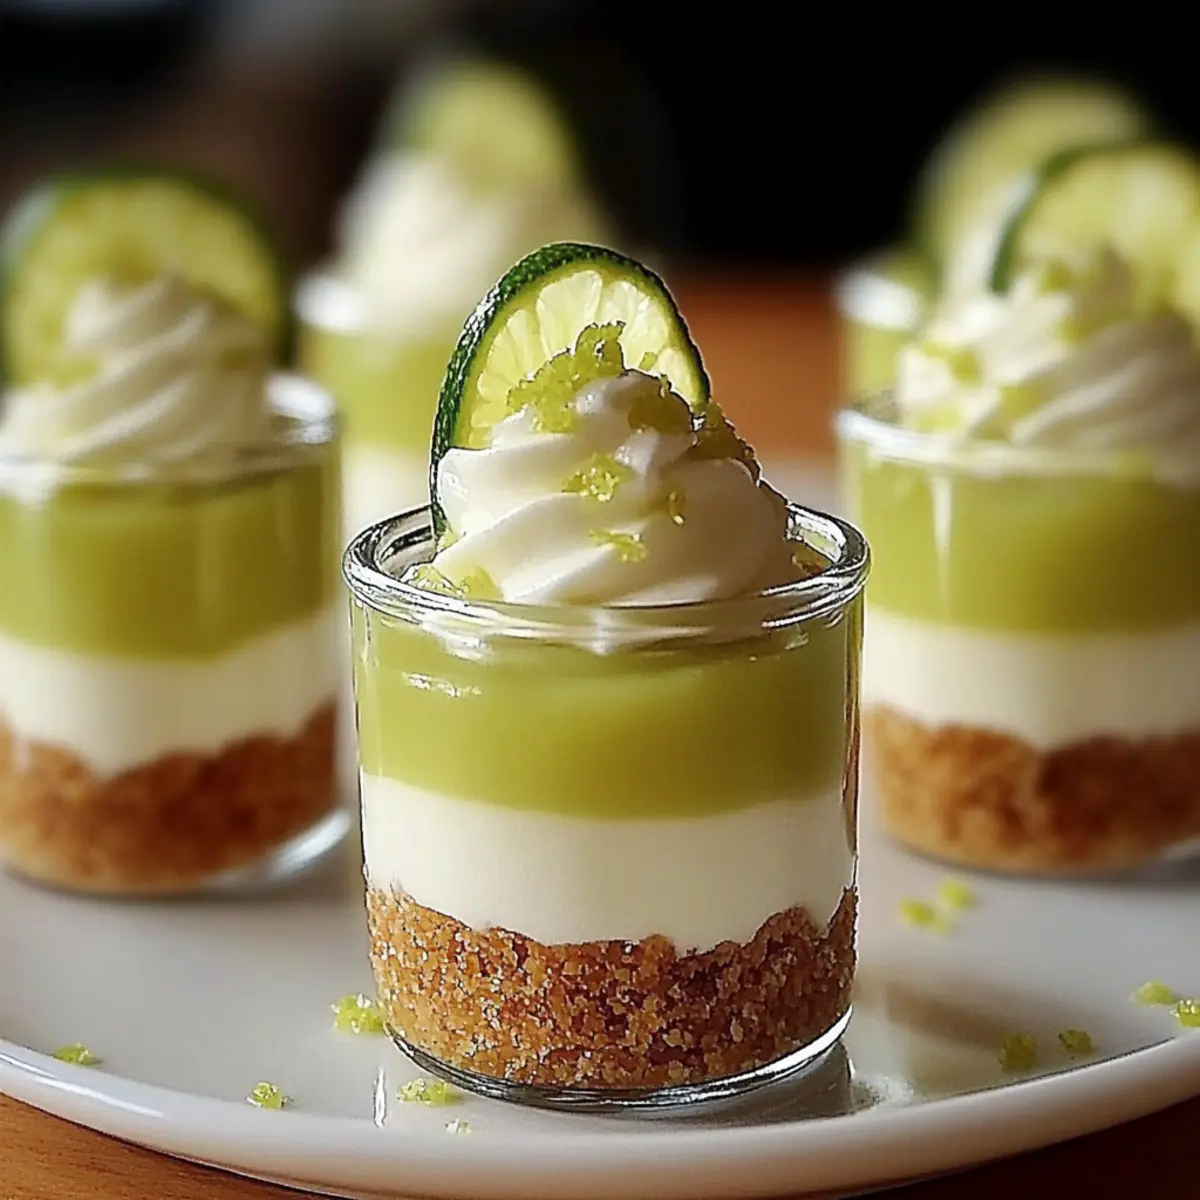
On a sweltering summer day, nothing quite beats the sensation of a cool treat that dances on your tongue with every bite. That’s where these delightful Key Lime Pie Mini Desserts come in—easy to make and refreshingly tangy, they’ll have you rethinking dessert for gatherings or simply a quiet night in. The beauty of this no-bake recipe is that not only does it offer a low-fat indulgence, but it’s also completely customizable to suit your taste buds—think gluten-free or dairy-free options! Whether you’re entertaining friends or wanting something light after dinner, these mini desserts are sure to impress with their vibrant layers and stunning presentation. Ready to uncover the magic behind these irresistible bites? Let’s get started!
Why Choose Key Lime Pie Mini Desserts?
Refreshing, Zesty Flavor: The bright, tangy key lime flavor makes these mini desserts a delightful treat, perfect for hot summer days.
No-Bake Convenience: Enjoy the simplicity of a no-bake recipe, saving you precious time and hassle in the kitchen.
Customizable Delight: Adapt to your dietary preferences by swapping ingredients for gluten-free or dairy-free options, ensuring everyone can indulge.
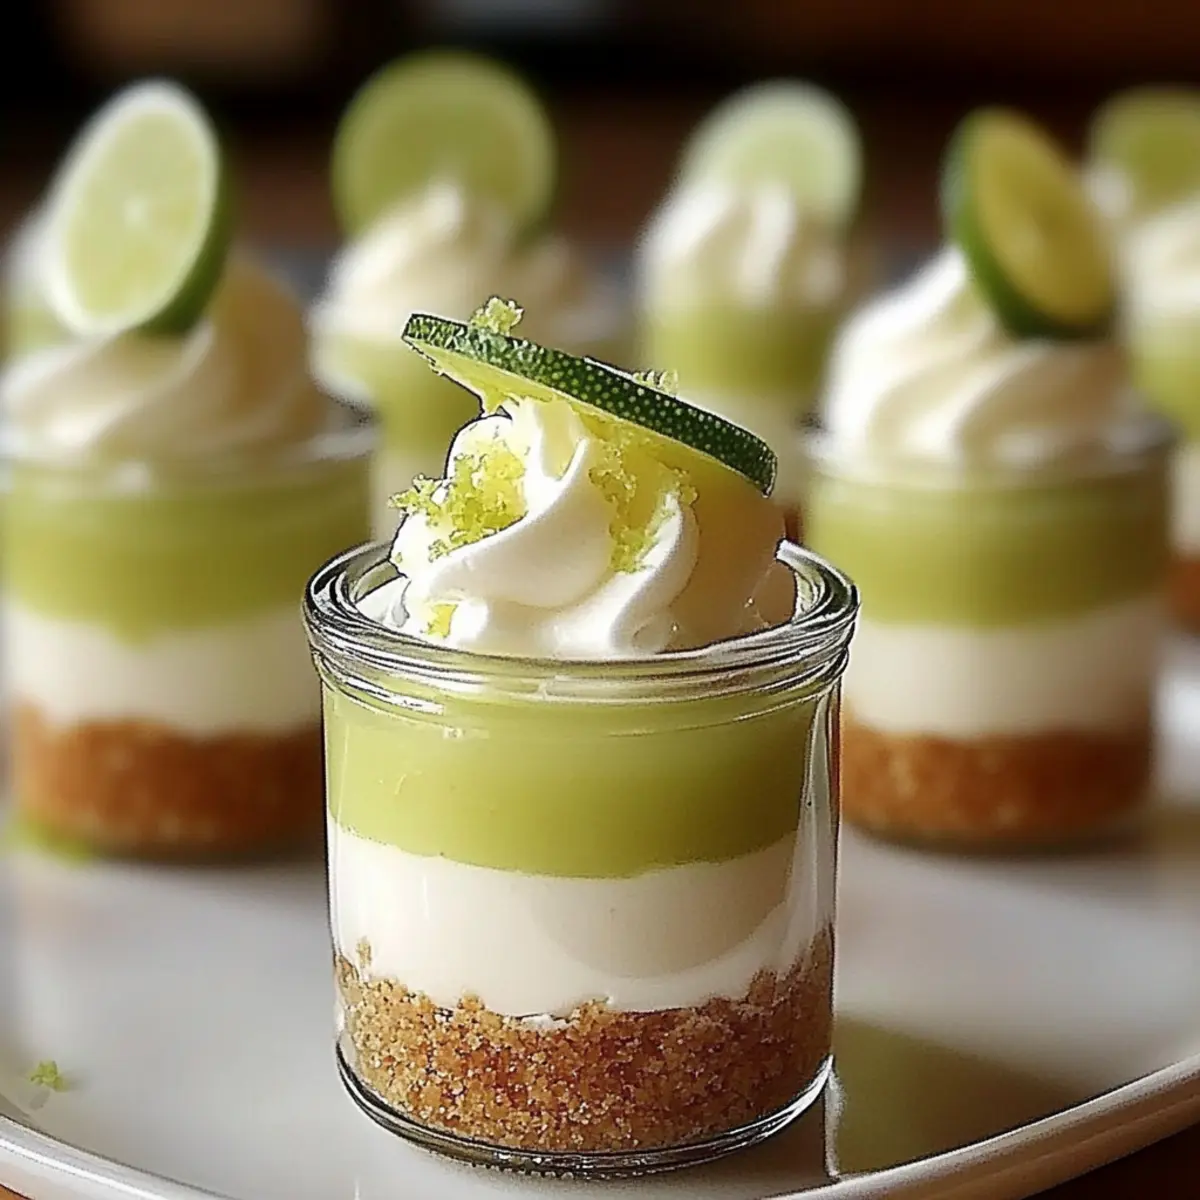
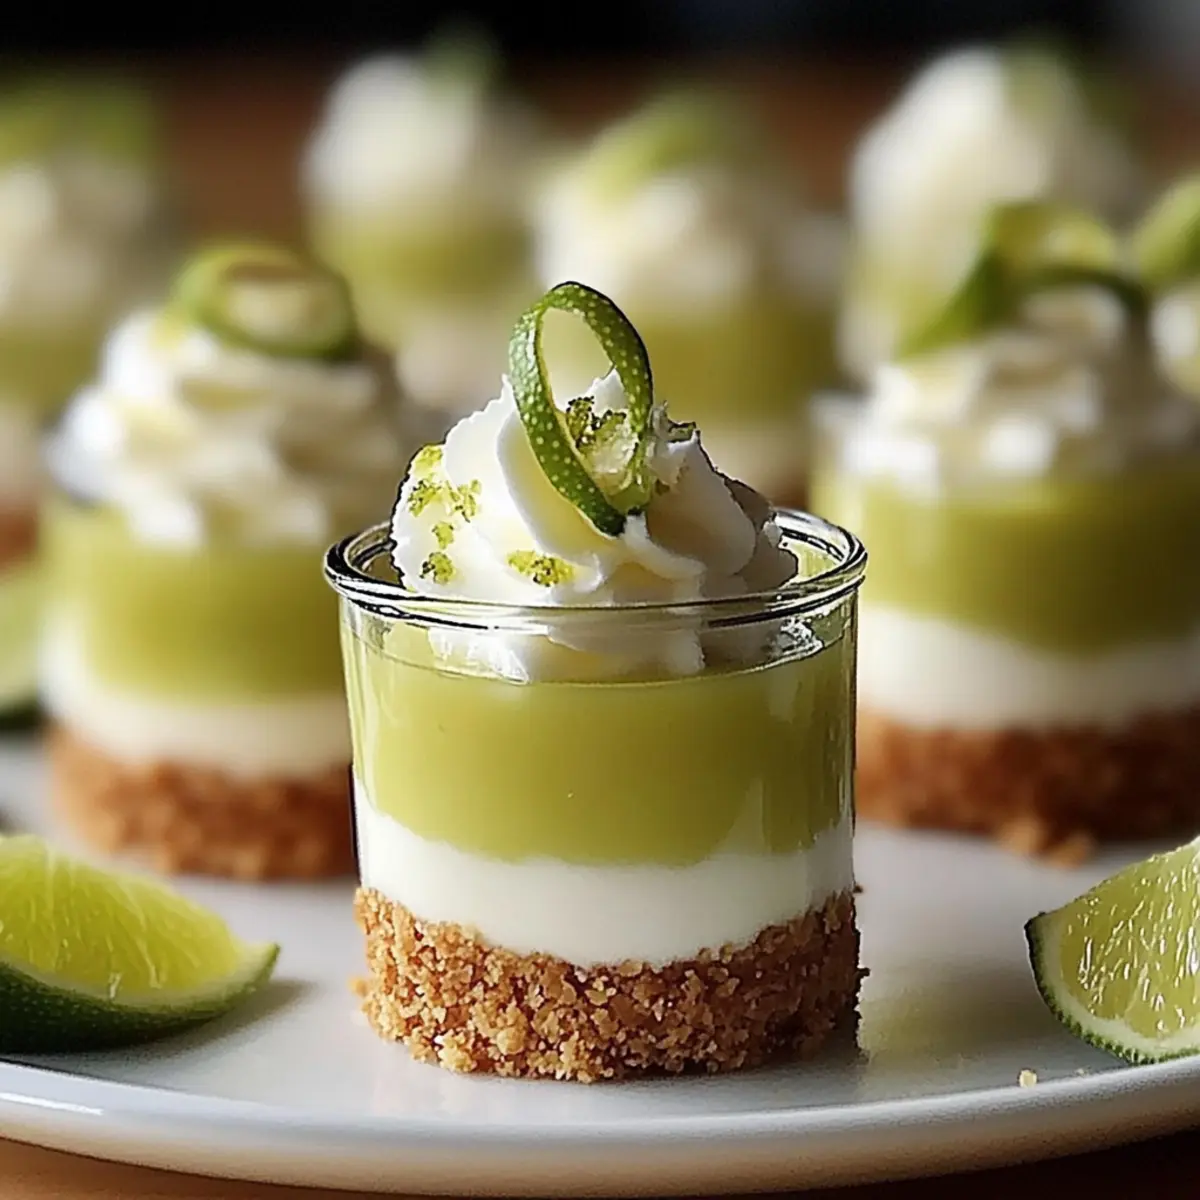
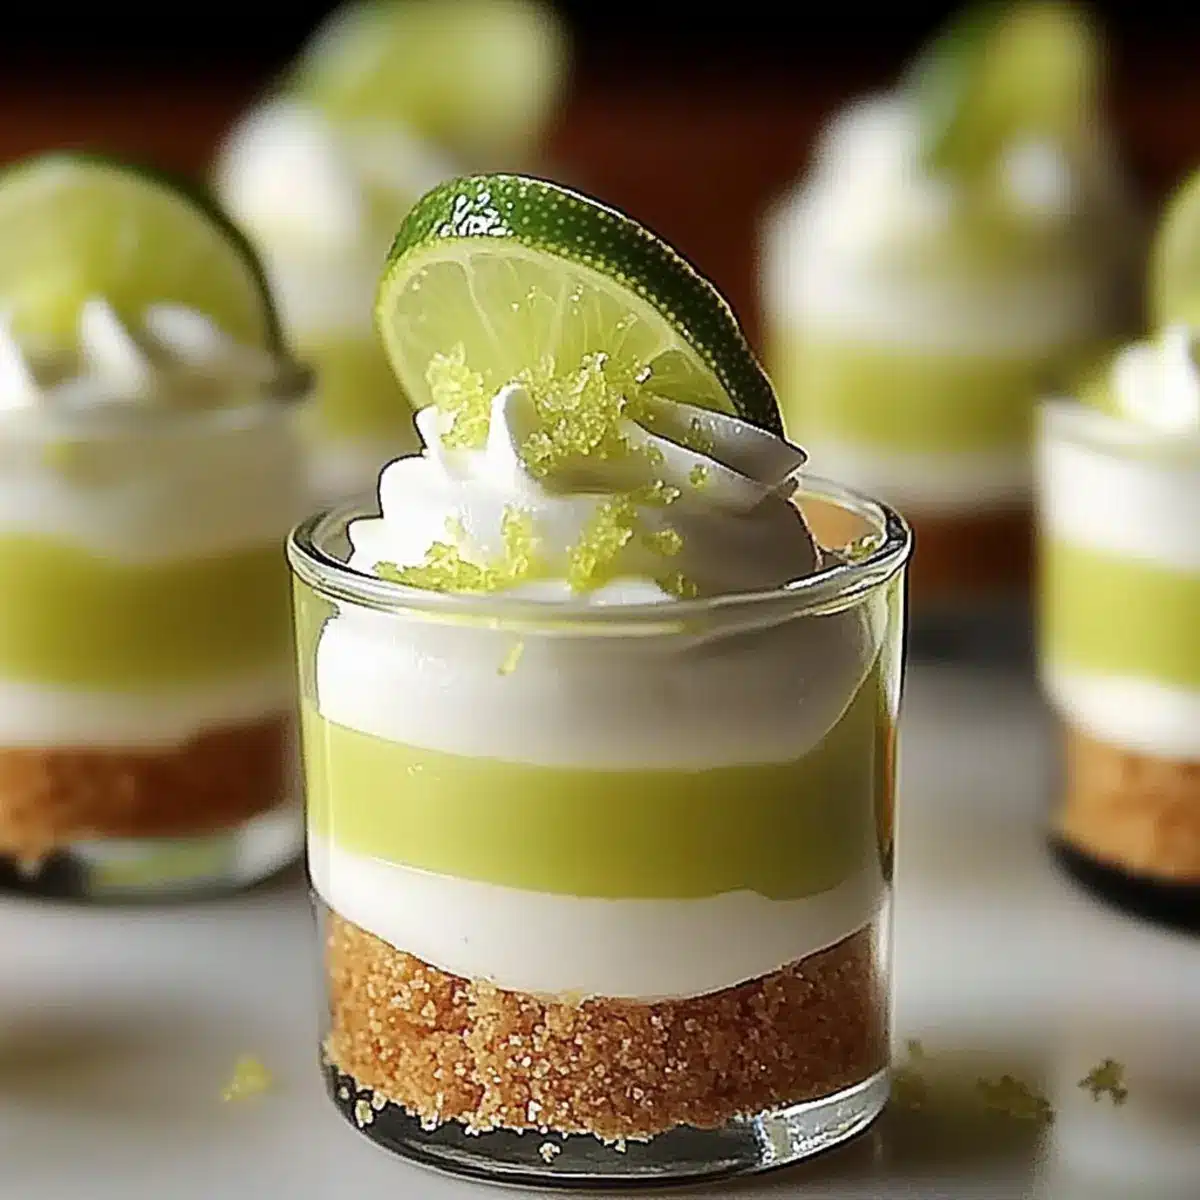
Elegant Presentation: Serve in mini jars for a stunning visual appeal that will impress your guests.
Crowd-Pleasing Appeal: This recipe is ideal for gatherings, ensuring your friends and family will be asking for seconds, just like they do with my Mini Pumpkin Pies and Apple Crisp Mini Cheesecakes.
Light and Guilt-Free: At approximately 179 calories per dessert, you can treat yourself without the heavy guilt that often accompanies sweet indulgence.
Key Lime Pie Mini Desserts Ingredients
For the Crust
- Graham Cracker Crumbs – Base structure for the crust; feel free to substitute with crushed ginger snaps or gluten-free options for variations.
- Melted Butter – Binds the crust ingredients; coconut oil works well for a dairy-free option.
- White Sugar – Adds sweetness to the crust.
For the Filling
- Reduced-Fat Cream Cheese – Provides creaminess in the filling; switch to full-fat cream cheese for a richer taste if desired.
- Low-Fat Vanilla Greek Yogurt – Adds protein and creaminess; use dairy-free yogurt for a completely dairy-free version.
- Fat-Free Sweetened Condensed Milk – Sweetens the filling while keeping it light; consider dairy-free condensed milk alternatives for a different twist.
- Key Lime Juice – The primary flavoring agent, delivering that signature tang; opt for fresh key limes instead of bottled juice for a fresher taste.
- Green Food Coloring (optional) – Enhances presentation for a two-tone filling if you wish.
Your journey to creating these delicious Key Lime Pie Mini Desserts starts here! Happy baking!
Step‑by‑Step Instructions for Key Lime Pie Mini Desserts
Step 1: Prepare the Crust
In a medium mixing bowl, combine graham cracker crumbs, melted butter, and white sugar until evenly mixed. Use a fork or spatula to ensure the mixture resembles wet sand. Grab about 2 tablespoons of the crust mixture and press it firmly into the bottom of each mini dessert jar, aiming for a level base. Set them aside as you prepare the luscious filling.
Step 2: Make the Lime Filling
In a large mixing bowl, beat together reduced-fat cream cheese and low-fat vanilla Greek yogurt until you achieve a smooth and creamy consistency, about 2-3 minutes. In a separate bowl, whisk the fat-free sweetened condensed milk and fresh key lime juice until well blended. Gently fold this mixture into the cream cheese blend until combined, creating a rich and tangy filling for your Key Lime Pie mini desserts.
Step 3: Color the Filling (Optional)
To add a delightful twist, divide the lime filling into two bowls. If using, add a few drops of green food coloring to one bowl, mixing until you reach your desired shade. This step adds a vibrant contrast for the layers in your mini desserts. With your colorful filling variations ready, it’s time to assemble these delightful treats!
Step 4: Assemble Desserts
Using a piping bag or a spoon, layer the filling into each dessert jar. Start with a layer of the plain filling, followed by a layer of the green colored filling. Alternate until you’ve filled each jar to the top, creating a beautiful marbled effect. Make sure the layers are even for a stunning presentation that showcases the delicious Key Lime Pie mini desserts.
Step 5: Chill
Once assembled, cover the mini dessert jars with lids or plastic wrap. Refrigerate them for at least 2 hours; this allows the filling to set and intensifies the flavors. The mini desserts should feel firm to the touch when ready to serve, ensuring a delightful, chilled treat perfect for warm days.
Step 6: Serve & Garnish
Before serving, top your Key Lime Pie mini desserts with a dollop of whipped cream, a sprinkle of lime zest, and a few crushed graham cracker crumbs for added texture. Arrange them on a platter for an elegant presentation. Enjoy this cool, creamy delight at gatherings, or simply savor them at home as a sweet escape.
Expert Tips for Key Lime Pie Mini Desserts
-
Chill Thoroughly: Refrigerate your mini desserts for the full 2 hours to ensure they set properly. This ensures a delightful, firm texture that is essential for the Key Lime Pie mini desserts.
-
Perfect Crust Pressing: Make sure to press the crust mixture firmly into the jars to create a stable base. A loose crust might crumble when you serve them, losing the elegant presentation.
-
Fresh Ingredients Matter: Use fresh key lime juice instead of bottled for a brighter flavor. It truly elevates the zesty tang you want in your mini desserts.
-
Customize Your Layers: Feel free to alternate fillings creatively! Mix in fresh fruit or flavored yogurt for unique layers that add delightful surprises in every bite.
-
Garnish at the Last Minute: Always add whipped cream and garnishes just before serving. This keeps them fresh and visually appealing, enhancing your dessert experience!
Make Ahead Options
These Key Lime Pie Mini Desserts are perfect for busy home cooks looking to save time without sacrificing flavor! You can prepare the crust and filling up to 24 hours ahead of time. Simply mix the graham cracker crumbs, melted butter, and sugar, and press them into the jars; then, whip up the creamy lime filling and layer it in. Cover the assembled desserts tightly and refrigerate for freshness. For best quality, add your garnishes—whipped cream, lime zest, and crushed graham cracker crumbs—just before serving. This way, you’ll have the delightful taste and texture of these mini treats, ready to impress your guests without the last-minute stress!
What to Serve with Key Lime Pie Mini Desserts?
Refreshing mini desserts deserve equally delightful companions to elevate your meal experience.
- Iced Tea: The crisp, cool notes of iced tea provide a refreshing palate cleanser that balances the tangy flavor of the mini desserts.
- Fresh Berries: Assorted fresh berries like strawberries and blueberries add a vibrant, juicy burst that complements the zesty lime perfectly.
- Coconut Whipped Cream: Light and fluffy, coconut whipped cream adds a tropical twist and extra creaminess that enhances the dessert’s delight.
- Citrus-Infused Cocktails: Sip a refreshing citrus cocktail with hints of lime or orange for a playful, spirited pairing that pairs wonderfully with dessert.
- Ginger Snap Cookies: The spicy crunch of ginger snaps adds a delicious contrast to the sweetness and acidity of the Key Lime Pie mini desserts.
- Cold Lemonade: Tart and sweet, a glass of cold lemonade amplifies the citrus theme, making for a blissfully refreshing meal finale.
- Mango Sorbet: Light and fruity, mango sorbet offers a tropical note alongside the mini desserts while cooling you down on warm days.
- Chocolate Covered Pretzels: For a sweet-salty crunch, chocolate-covered pretzels provide delightful texture that will keep guests reaching for more treats.
Storage Tips for Key Lime Pie Mini Desserts
Fridge: Store your Key Lime Pie mini desserts in an airtight container in the refrigerator for up to 3 days to maintain freshness and texture.
Freezer: For longer storage, freeze the mini desserts in individual jars for up to 1 month. Let them thaw overnight in the fridge before serving.
Reheating: Since this is a no-bake dessert, there’s no reheating required. Serve chilled for the best flavor and experience.
Check for Quality: Always check for any changes in texture or taste before serving if stored for extended periods.
Key Lime Pie Mini Desserts Variations
Feel free to tailor these mini delights to your liking and make each bite a unique experience.
- Gluten-Free: Substitute graham cracker crumbs with gluten-free cookies like almond flour crust for a delicious option.
- Dairy-Free: Use coconut yogurt and dairy-free cream cheese in place of their traditional counterparts for a creamy treat that everyone can enjoy.
- Fruit Layers: Add fresh layers of berries like strawberries or raspberries for a fruity twist that complements the tangy lime perfectly.
- Citrus Variations: Experiment with lemon or orange juice for a bright, zesty kick if you’re in the mood to mix things up.
- Sweetness Adjustment: Swap out regular sugar for honey or maple syrup for a natural touch, enhancing the dessert’s flavor profile beautifully.
- Extra Crunch: Fold in crushed nuts, such as pecans or almonds, into the crust for added texture and a delightful crunch that elevates these mini desserts.
- Spicy Kick: Incorporate a pinch of cayenne pepper or crushed red pepper flakes into the filling for an unexpected heat that will tantalize your taste buds.
- Layered Flavors: Try adding layers of flavored yogurts, like passionfruit or mango, between the lime for a tropical twist that’s sure to impress.
These adaptable ideas will keep your Key Lime Pie Mini Desserts exciting and full of flavor, much like my other family favorites, including Pecan Cream Pie and Holiday Cranberry Pie. Enjoy the creative process!
Key Lime Pie Mini Desserts Recipe FAQs
How do I choose ripe key limes for this recipe?
Absolutely! When selecting key limes, look for ones that are firm yet slightly soft when gently squeezed. The skin should be smooth and shiny, with a vibrant color. Avoid any limes with dark spots or blemishes, as these can indicate overripeness.
How should I store the leftovers of Key Lime Pie mini desserts?
To keep your delicious mini desserts fresh, store them in an airtight container in the refrigerator for up to 3 days. The intricate flavors continue to meld together, making each bite even tastier. If you know you won’t finish them in that timeframe, consider freezing for later enjoyment!
Can I freeze Key Lime Pie mini desserts?
Yes, you can! To freeze your mini desserts, place them in individual jars and cover tightly with plastic wrap or lids. These treats can be stored in the freezer for up to 1 month. When you’re ready to indulge, simply transfer them to the refrigerator overnight to thaw before serving.
What if my filling doesn’t set properly?
If your filling is too runny after chilling, it’s possible that the cream cheese was too soft or not blended enough. Make sure to beat the cream cheese and yogurt together until smooth and creamy before folding in the lime mixture. If you need to thicken it, try adding a little extra cream cheese or refrigerate it for a bit longer to firm up.
Are there any allergy considerations I should be aware of?
Very! This recipe can be made dairy-free by using alternatives like coconut yogurt and dairy-free condensed milk. For gluten-free options, ensure that you select gluten-free graham cracker crumbs. Always check labels to avoid cross-contamination with allergens, especially if you are serving guests with specific dietary restrictions.
How can I personalize my Key Lime Pie mini desserts?
The more the merrier! You can add layers of fresh berries between the lime filling or experiment with flavored yogurt instead of plain for a fun twist. Consider incorporating zest from other citrus fruits or even a hint of coconut for a tropical vibe. Don’t hesitate to get creative!
Irresistibly Creamy Key Lime Pie Mini Desserts You’ll Love
Ingredients
Equipment
Method
- In a medium mixing bowl, combine graham cracker crumbs, melted butter, and white sugar until evenly mixed. Use a fork or spatula to ensure the mixture resembles wet sand. Grab about 2 tablespoons of the crust mixture and press it firmly into the bottom of each mini dessert jar.
- In a large mixing bowl, beat together reduced-fat cream cheese and low-fat vanilla Greek yogurt until smooth. In a separate bowl, whisk the fat-free sweetened condensed milk and fresh key lime juice until blended. Fold into the cream cheese blend until combined.
- Divide the lime filling into two bowls. If using, add green food coloring to one bowl, mixing until the desired shade is achieved.
- Using a piping bag or a spoon, layer the filling into each dessert jar, alternating layers of plain and green colored filling until filled to the top.
- Cover the mini dessert jars and refrigerate for at least 2 hours to allow the filling to set.
- Before serving, top with whipped cream, lime zest, and crushed graham cracker crumbs. Arrange on a platter for an elegant presentation.
Leave a Reply