
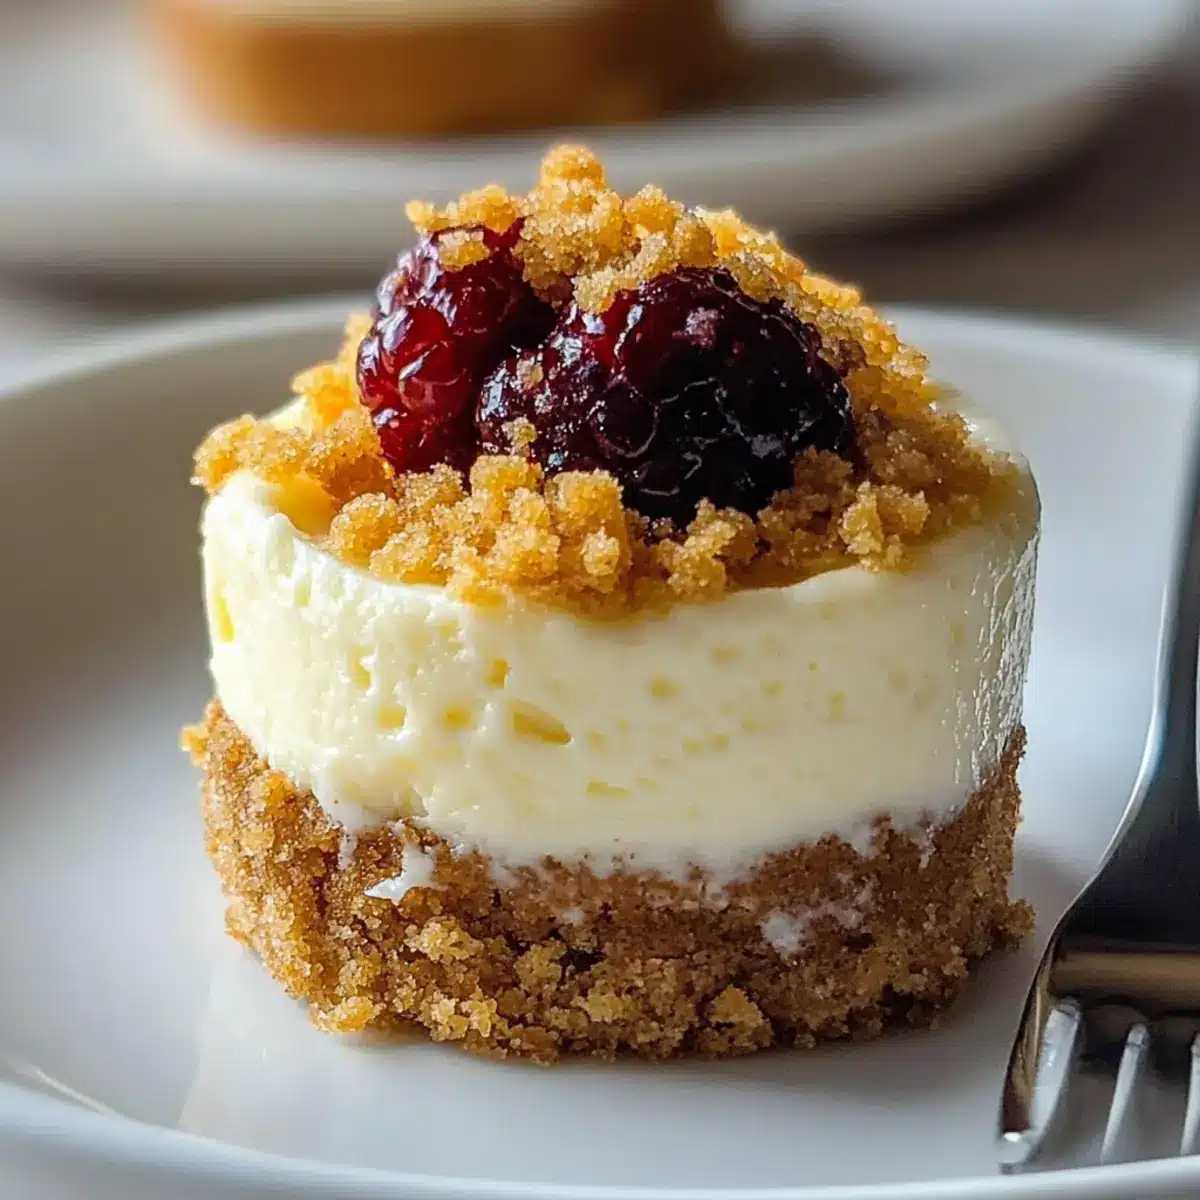
As I pulled my baking tin from the oven, a warm wave of nostalgia flooded over me, reminding me of family gatherings filled with laughter and playful competition over who could snag the last slice of cheesecake. These Gluten-Free Mini Cheesecakes, with their luscious, cream cheese filling and a crumbly graham cracker crust, distill those joyful moments into delightful, bite-sized portions. Not only are they incredibly easy to whip up, making them a perfect last-minute dessert, but they’re also a fantastic way for anyone to indulge without worry if they’re avoiding gluten. The subtle notes of lemon and vanilla dance on your palate, transforming any occasion into a celebration. Curious to learn how to make this creamy treat that everyone will love? Let’s dive in!
Why Are Mini Cheesecakes a Must-Try?
Bite-sized Bliss: These gluten-free mini cheesecakes pack all the creamy goodness of a full-sized version into adorable, shareable portions.
Customizable & Versatile: With options for different crusts and endless toppings, they can suit any occasion or preference—think fresh berries, chocolate drizzle, or caramel sauce!
Quick & Easy: You can whip these up in no time, making them a stress-free dessert option for last-minute gatherings.
Crowd-Pleasing Indulgence: Their lovely presentation and delightful taste mean they’ll be a hit at any party!
Make-Ahead Delight: Prepare them in advance and keep them in the fridge, ensuring you’ll always have a treat ready to impress.
Explore more delicious mini desserts like these Mini Lemon Cheesecakes or Crisp Mini Cheesecakes!
Mini Cheesecake Ingredients
• Here’s everything you need to create these irresistible mini cheesecakes!
For the Crust
- Gluten-Free Graham Cracker Crumbs – A perfect base for the crust; try using gluten-free shortbread or chocolate cookies for a different flavor twist.
- Light Brown Sugar – Adds sweetness and moisture; be sure to pack it tightly when measuring.
- Unsalted Butter (melted) – Binds the crust ingredients and adds a rich flavor.
For the Filling
- Cream Cheese (room temperature) – The star of the show, providing that creamy texture; you can substitute with lactose-free cream cheese.
- Sour Cream (room temperature) – Adds a delightful tanginess and creaminess to the filling; lactose-free options work here too.
- Eggs (room temperature) – Essential for structure and richness; make sure they’re well-beaten to avoid lumps.
- Granulated Sugar – Sweetens your filling beautifully.
- Pure Vanilla Extract – Enhances the flavor profile and adds warmth.
- Lemon Juice – Brings brightness to your mini cheesecakes, making them extra delectable.
With these mini cheesecake ingredients, you’re just a few steps away from creating a crowd-pleasing dessert that everyone will adore!
Step‑by‑Step Instructions for Gluten-Free Mini Cheesecakes
Step 1: Prepare Baking Pan
Preheat your oven to 350°F (177°C) and gather a 12-cup muffin tin. Line each cup with paper liners for easy removal later. This step is crucial for achieving clean, professional-looking mini cheesecakes that are simple to serve at any gathering.
Step 2: Form the Crust
In a mixing bowl, combine gluten-free graham cracker crumbs, light brown sugar, and melted unsalted butter. Stir until the mixture resembles wet sand. Press about 1½ tablespoons of the crust mixture firmly into the bottom of each muffin liner, ensuring an even distribution. This will create a deliciously crisp graham cracker base for your mini cheesecakes.
Step 3: Mix Filling
Using an electric mixer, beat the room-temperature cream cheese in a clean bowl until it’s light and fluffy—approximately 2-3 minutes. Next, add in the sour cream, eggs, granulated sugar, pure vanilla extract, and fresh lemon juice. Mix until smooth and creamy, taking care to scrape down the sides of the bowl. Your mini cheesecake filling should be rich and well-blended at this stage.
Step 4: Portion and Bake
Carefully fill each muffin liner to the top with the cheesecake batter, making sure they are evenly filled. Place the muffin tin in the preheated oven and bake for about 20 minutes. The cheesecakes should be just set and lightly browned on top—this indicates they are perfectly done!
Step 5: Cool and Refrigerate
Once the baking time is complete, remove the muffin tin from the oven and let the mini cheesecakes cool in the pan. Allow them to cool completely, which may take about 30 minutes. After cooling, cover them with plastic wrap or foil and refrigerate for at least 3 hours or overnight. This chilling process enhances their flavor and texture.
Step 6: Serve
Once chilled, gently remove the mini cheesecakes from the muffin tin by pulling on the paper liners. Serve them plain or with your choice of toppings, such as fresh berries or a drizzle of caramel sauce. These gluten-free mini cheesecakes are now ready to be enjoyed in all their creamy, delightful glory!

Mini Cheesecakes Variations & Substitutions
Feel free to get creative with these mini cheesecakes, tailoring them to your taste preferences for an unforgettable treat!
- Different Crusts: Use crushed gluten-free chocolate sandwich cookies for a delightful twist. The rich, chocolaty flavor will enhance that beloved creamy filling.
- Flavorful Swaps: Exchange lemon juice for orange or lime juice for a zesty new flavor. Each citrus fruit adds a unique brightness that transforms the cheesecake experience.
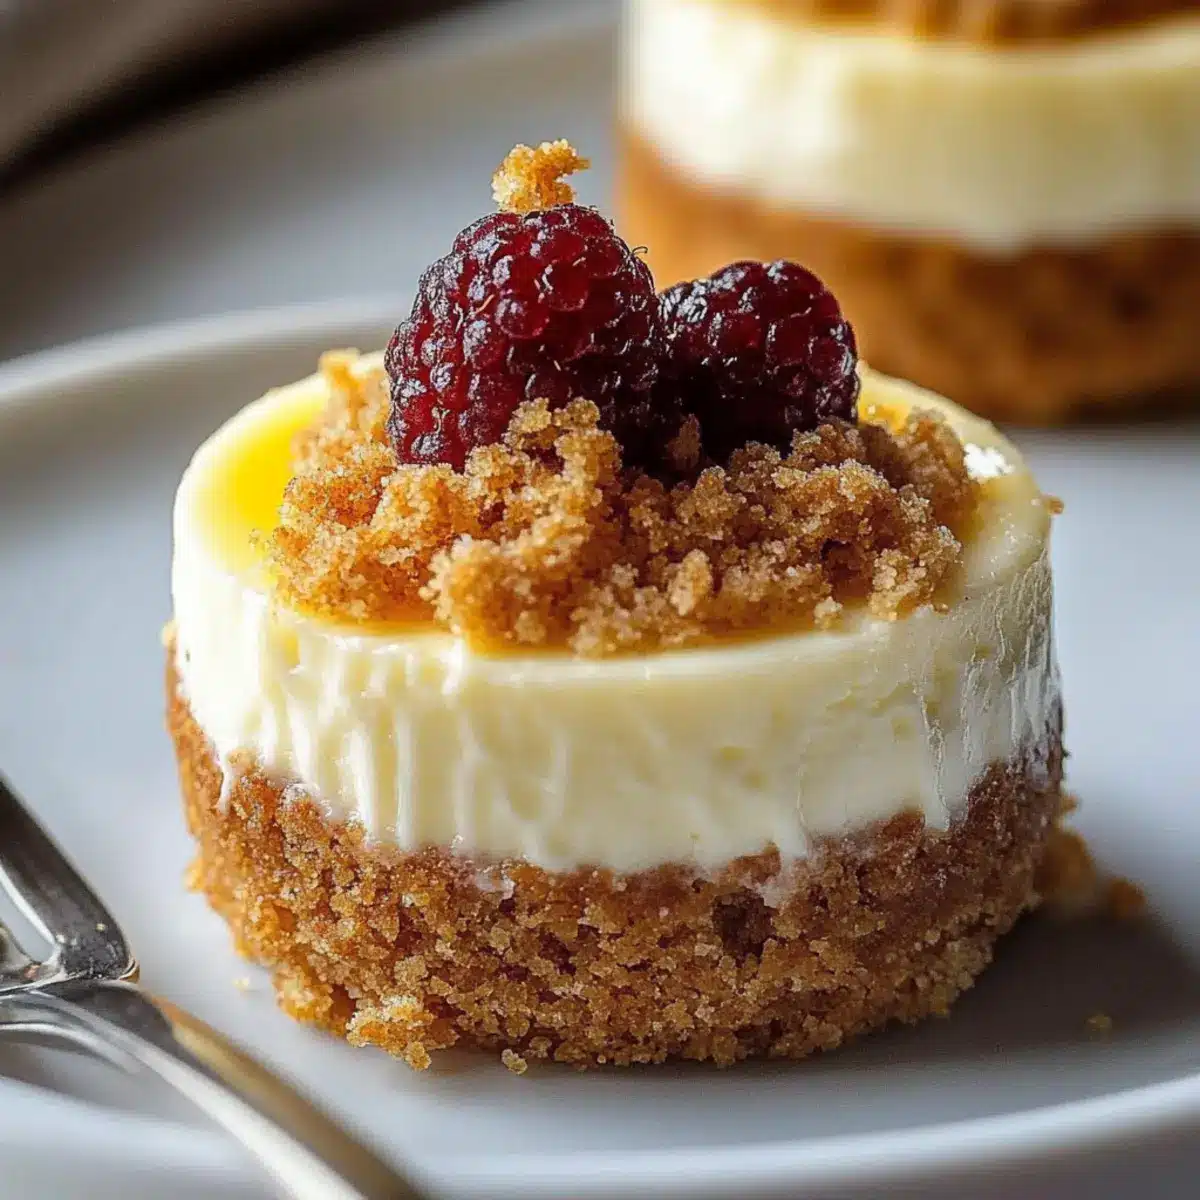
- Berry Bliss: Top with fresh berries such as strawberries, blueberries, or raspberries. Their natural sweetness and tartness provide a refreshing contrast to the creamy richness.
- Nutty Crunch: Sprinkle finely chopped nuts, like toasted pecans or walnuts, over the tops for added crunch. A little texture can elevate your mini cheesecakes to new flavor heights!
- Seasonal Spices: Incorporate spices like cinnamon or nutmeg into your filling for a cozy, warm flavor during the fall. These spices complement the sweetness beautifully and make it perfect for seasonal gatherings.
- Chocolate Drizzle: Drizzle melted chocolate over the cooled mini cheesecakes for an elegant finish. This addition not only looks stunning but adds a luxurious flavor dimension as well.
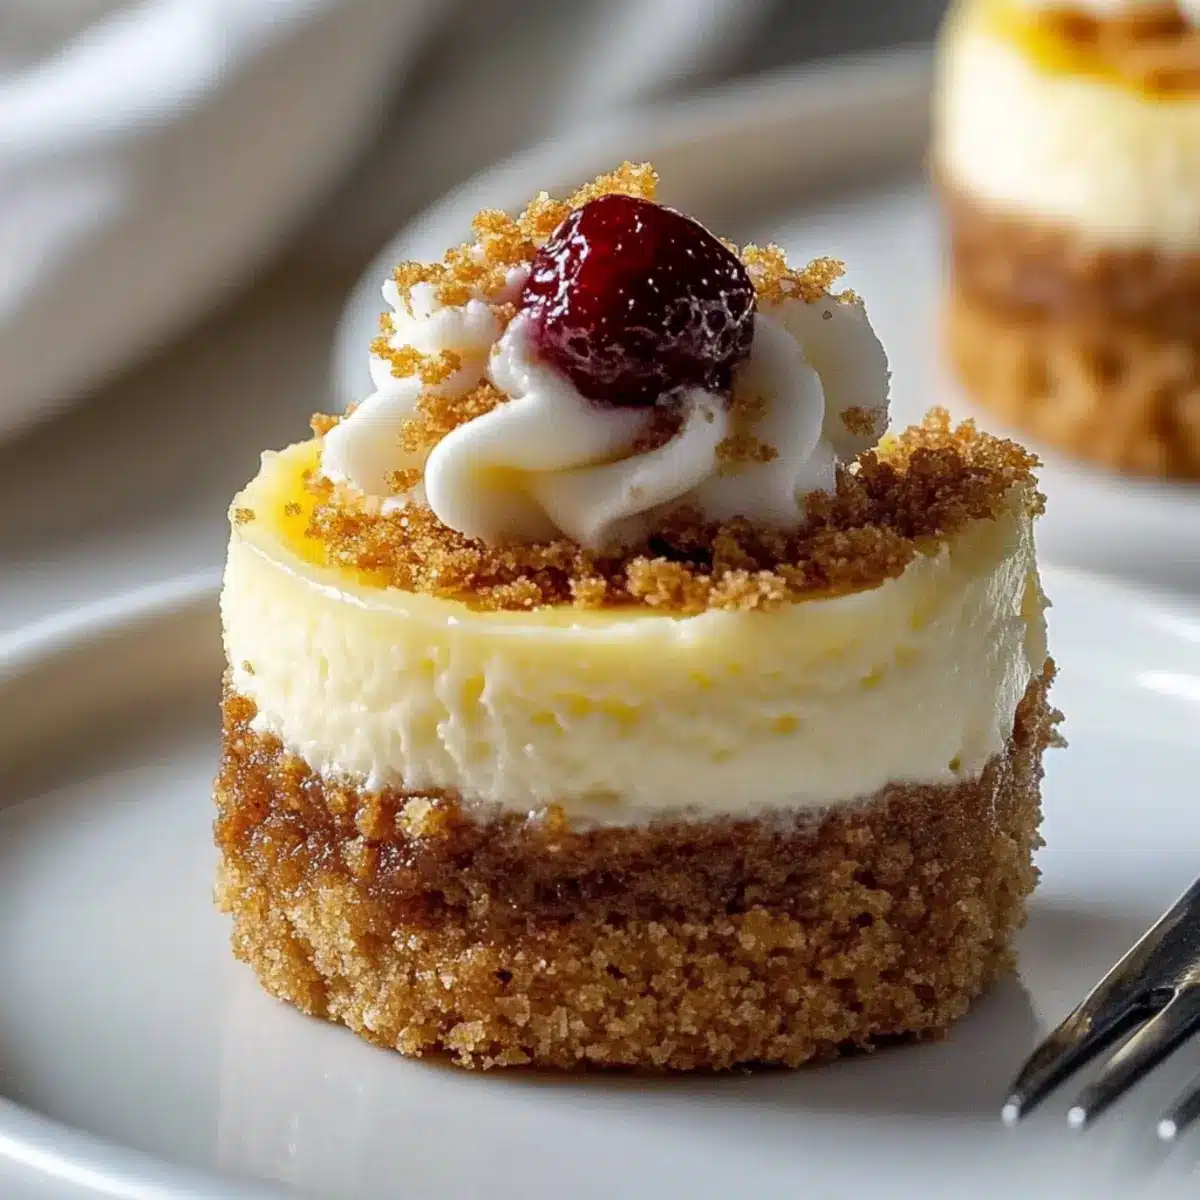
- Cool Whip Topping: For a light and fluffy texture, top each cheesecake with a dollop of whipped cream or Cool Whip before serving. This adds an extra layer of creaminess that’s simply irresistible!
With these ideas, you’ll make your mini cheesecakes even more delightful. If you’re also in the mood for a different dessert, don’t forget to check out my recipes for Mini Lemon Cheesecakes or White Chocolate Cheesecakes!
How to Store and Freeze Mini Cheesecakes
Fridge: Store your gluten-free mini cheesecakes in airtight containers for up to 3 days. This helps maintain their creamy texture and flavor.
Freezer: For longer storage, these mini cheesecakes can be frozen in an airtight container with parchment paper between layers. They will keep well for up to 1 month.
Thawing: When ready to enjoy, simply remove them from the freezer and let them defrost in the refrigerator overnight. This ensures they maintain their delightful consistency.
Reheating: There’s no need to reheat; these mini cheesecakes are best served cold or at room temperature, making them a hassle-free treat for any occasion!
Make Ahead Options
These Gluten-Free Mini Cheesecakes are perfect for busy weeknights or gatherings, allowing you to enjoy delicious desserts without last-minute stress! You can easily prepare the crust and filling up to 24 hours in advance. Simply combine the graham cracker crumbs, brown sugar, and melted butter for the crust, pressing it into the muffin liners, and prepare the cheesecake filling, then store both components separately in airtight containers in the refrigerator. When you’re ready to bake, fill the crusts with the filling and bake as directed. For maximum quality, refrigerate the baked mini cheesecakes for at least 3 hours or overnight before serving, ensuring they remain rich and creamy just as intended!
Expert Tips for Mini Cheesecakes
-
Room Temperature Ingredients: Ensure your cream cheese, sour cream, and eggs are at room temperature to achieve a smooth, creamy filling without lumps. This is crucial in making your mini cheesecakes irresistible!
-
Watch the Baking Time: Overbaking can lead to cracks. They should appear just set and puffed when taken out. Remember, they will continue to firm up as they cool!
-
Use Quality Ingredients: Opt for good-quality cream cheese and pure vanilla extract, as they significantly enhance the flavor of your mini cheesecakes. Your taste buds will thank you!
-
Cooling Time Matters: Allowing the cheesecakes to cool completely in the pan avoids soggy crusts. Refrigerate for at least three hours—this will blend the flavors beautifully!
-
Freeze for Later: If you plan to enjoy these mini cheesecakes later, freeze them before adding any toppings. This way, they’ll retain freshness and be ready to customize when you’re ready to serve!
What to Serve with Gluten-Free Mini Cheesecakes?
Elevate your dessert experience with some delightful pairings that perfectly complement these rich, creamy bites.
-
Fresh Berries: Bright, juicy strawberries or blueberries add a refreshing contrast and a pop of color to your mini cheesecakes. Their natural sweetness enhances the flavors beautifully.
-
Whipped Cream: Light and airy, a dollop of freshly whipped cream adds a luxurious touch to each bite, making your cheesecakes feel even more indulgent.
-
Chocolate Drizzle: A rich chocolate drizzle offers a decadent addition, amplifying the dessert’s sweetness and adding a delightful texture contrast with every forkful.
-
Caramel Sauce: This buttery sweetness creates a delightful balance with the tangy cheesecake, offering a cozy, comforting flavor that wraps each mini treat in warmth.
-
Coffee or Espresso: Pair your mini cheesecakes with a cup of freshly brewed coffee or espresso. The coffee’s depth beautifully offsets the dessert’s sweetness, creating a mouthwatering blend.
-
Citrus Salad: A light citrus salad with oranges and grapefruits brightens the palate and adds a refreshing touch that balances the richness of the cheesecakes.
-
Nutty Granola: A sprinkle of nutty granola on top or on the side adds a satisfying crunch, enhancing the dessert experience and providing a textural contrast.
-
Ice Cream: A scoop of vanilla or lemon sorbet serves as a refreshing accomplice that enhances the flavors of your cheesecakes, creating an inviting fusion of temperatures and tastes.
Gluten-Free Mini Cheesecakes Recipe FAQs
What type of gluten-free crust should I use?
Absolutely! For the crust base, gluten-free graham cracker crumbs work wonderfully, but you can also experiment with crushed gluten-free shortbread, vanilla wafers, or even chocolate cookies for a fun twist. The key is to ensure that whatever crust you choose, it complements the creamy filling beautifully.
How should I store leftover mini cheesecakes?
To keep your gluten-free mini cheesecakes fresh, store them in airtight containers in the refrigerator for up to 3 days. This method preserves their rich, creamy texture and delightful flavor, allowing you to enjoy them later without any compromise.
Can I freeze these mini cheesecakes?
Yes, you can! To freeze your mini cheesecakes, place them in an airtight container with parchment paper between layers to prevent sticking. They will stay fresh in the freezer for up to 1 month. When you’re ready to savor them, simply thaw in the refrigerator overnight, and they’ll be good as new!
What should I do if the mini cheesecakes crack during baking?
If you find your mini cheesecakes have cracked, don’t worry—this can happen sometimes! The key is to ensure you’re not overbaking them. They should appear just set and puffed when removed from the oven. If they do crack, topping them with fresh berries, whipped cream, or a drizzle of chocolate can beautifully disguise any imperfections while adding extra flavor.
Are these mini cheesecakes safe for people with lactose intolerance?
Very! You can easily modify this recipe for those who are lactose intolerant by substituting the cream cheese and sour cream with lactose-free alternatives. This maintains the creamy texture and taste without any discomfort for individuals who are sensitive to lactose.
Irresistible Mini Cheesecakes: A Delicious Gluten-Free Treat
Ingredients
Equipment
Method
- Preheat your oven to 350°F (177°C) and line a 12-cup muffin tin with paper liners.
- In a mixing bowl, combine gluten-free graham cracker crumbs, light brown sugar, and melted unsalted butter. Press 1½ tablespoons into each muffin liner.
- Beat the room-temperature cream cheese until light and fluffy, then add sour cream, eggs, granulated sugar, vanilla extract, and lemon juice, mixing until smooth.
- Fill each muffin liner with the batter and bake for about 20 minutes until set and lightly browned.
- Cool in the pan for 30 minutes, then refrigerate for at least 3 hours or overnight.
- Remove from the muffin tin and serve plain or with desired toppings.
Leave a Reply