
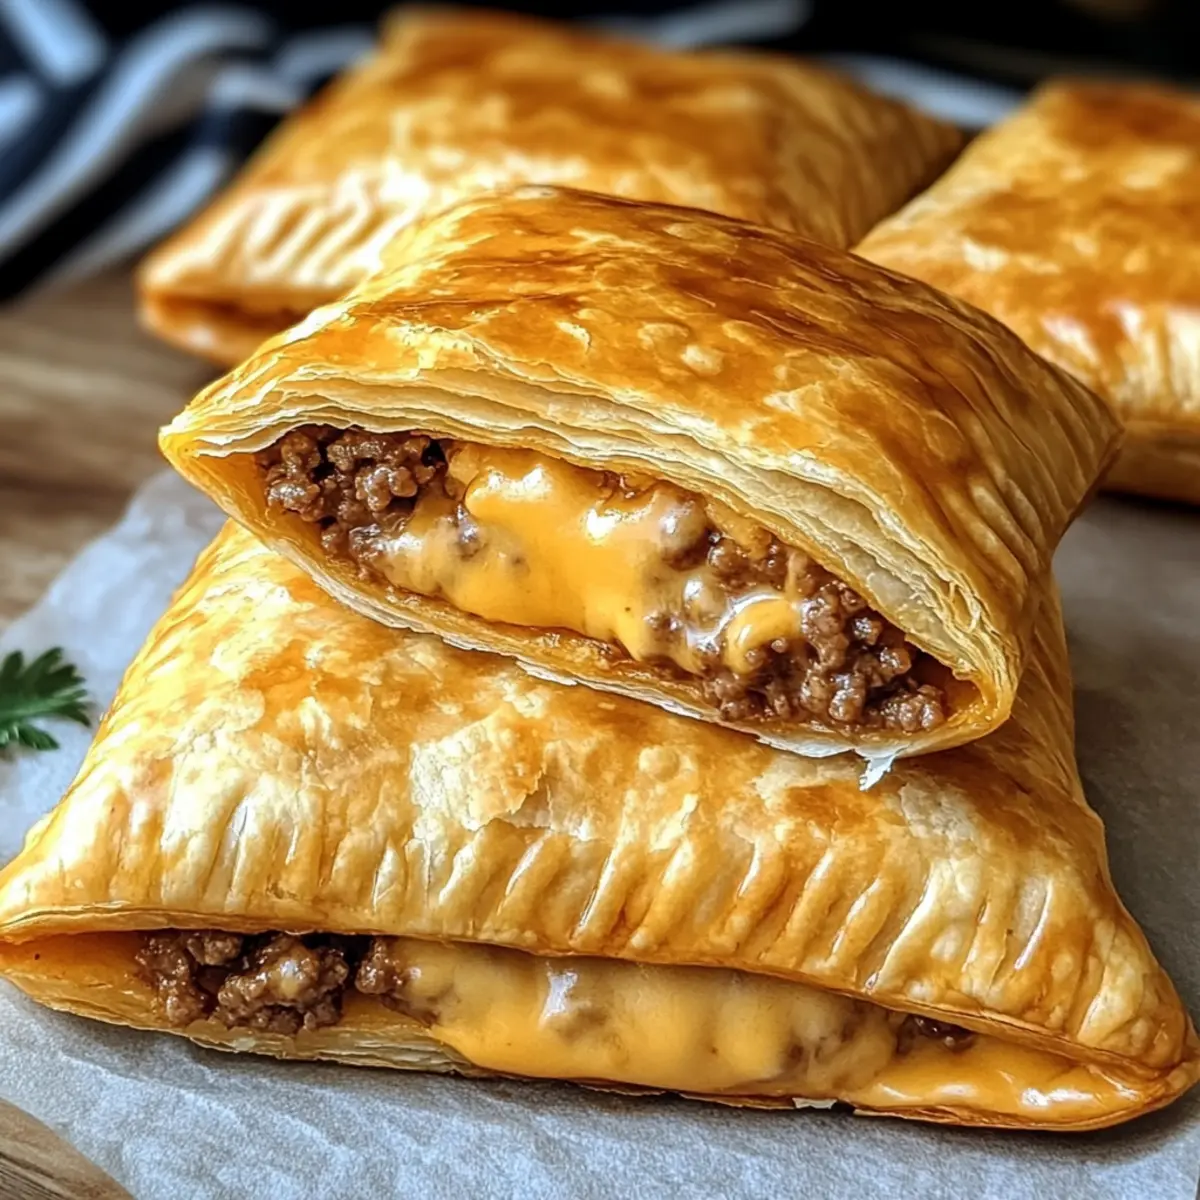
As I rummaged through my fridge one evening, I stumbled upon the perfect solution to a post-work dinner dilemma: Cheeseburger Hot Pockets. These delightful pockets are packed with ground beef, melted cheese, and a medley of spices, all nestled within a crisp, golden crust. Not only are they a quick meal that comes together in no time, but they’re also a hit with the whole family, ensuring that both picky eaters and gourmet chefs leave the table happy. The beauty of this recipe lies in its versatility—you can customize each pocket with flavors your loved ones adore. So, why settle for bland takeout when you can whip up these savory delights instead? Ready to dive into the details of creating your own homemade hot pockets?
Why You’ll Crave Cheeseburger Hot Pockets?
Versatile Customization: You can tailor these pockets with your favorite toppings—add bacon, extra cheese, or even veggies for a personal touch!
Quick Meal Solution: With minimal prep and cooking time, these pockets are perfect for busy weeknights when you need something delicious fast.
Family-Friendly Fun: Kids love them, and they make for a fantastic family cooking activity. Get everyone involved in assembling their own unique hot pockets!
Irresistible Flavor: The combination of seasoned beef and gooey cheese inside a flaky crust makes each bite a savory delight. They’re just as satisfying as a traditional cheeseburger!
Meal Prep Dream: Assemble a batch, freeze them, and bake whenever you need a quick meal. Pair your hot pockets with dipping sauces—try them with ketchup, mustard, or even Feta Crostini Hot for a gourmet twist!
Cheeseburger Hot Pocket Ingredients
For the Filling
• Ground Beef – Lean ground beef provides a hearty protein base; you can substitute with turkey for a lighter version.
• Chopped Onion – Adds sweetness and depth of flavor; shallots work as a great alternative too.
• Chopped Bell Pepper – Any color bell pepper adds a nice crunch and colorful touch; feel free to mix them up!
• Garlic – Fresh garlic enhances the overall flavor; powdered garlic can be used if fresh isn’t available.
• Salt – This essential seasoning brings out the best in all ingredients; a pinch is often all you need!
• Black Pepper – For a slight kick; cayenne can be used for those wanting extra heat.
• Paprika – Adds a touch of smokiness; consider smoked paprika for a deeper flavor profile.
• Dried Oregano, Basil, Thyme – These herbs lend a delicious aromatic quality; use three times the amount if using fresh.
• Onion Powder & Garlic Powder – Boost the savory flavor; they can be skipped if fresh is adequate.
• Shredded Cheddar Cheese – Rich and creamy, this cheese is a classic choice; pepper jack can add a spicy twist.
For the Crust
• Refrigerated Pie Crusts – These save time, making preparation easy; homemade pastry offers a richer taste if you’re up for it.
• Beaten Egg – This gives your hot pockets a beautiful golden finish; omit for a dairy-free option.
Step‑by‑Step Instructions for Cheeseburger Hot Pockets
Step 1: Preheat and Prepare Baking Sheet
Begin by preheating your oven to 375°F (190°C). While the oven warms up, line a baking sheet with parchment paper to prevent sticking. This simple step ensures a hassle-free cleanup later, making your cooking experience with these Cheeseburger Hot Pockets even more enjoyable.
Step 2: Brown the Ground Beef
In a large skillet set over medium heat, add the ground beef. Cook, stirring occasionally, for about 5–7 minutes or until the meat is browned and no longer pink. Aim to break up the beef into even crumbles. Once browned, drain any excess fat from the skillet to keep your filling perfectly savory.
Step 3: Sauté the Vegetables
Add the chopped onion, bell pepper, and minced garlic to the skillet with the beef. Continue cooking for another 4–5 minutes, or until the vegetables are tender and fragrant. This step enhances the flavor of your Cheeseburger Hot Pockets and creates a delicious base for the filling.
Step 4: Incorporate Spices and Cool
Sprinkle in the salt, black pepper, paprika, and dried herbs like oregano, basil, and thyme. Stir everything well to combine and allow the mixture to heat through for another 2 minutes. Afterward, transfer the beef filling to a bowl and let it cool slightly, ensuring it does not make the crust soggy.
Step 5: Roll Out Pie Crusts
While the filling cools, roll out the refrigerated pie crusts on a lightly floured surface. Use a sharp knife or pizza cutter to slice the crust into even squares, approximately 4–5 inches on each side. This will be the base of your Cheeseburger Hot Pockets, which will hold all the delicious filling.
Step 6: Fill the Crusts
Spoon a generous amount of the beef and veggie mixture onto one half of each square. Top each portion with a sprinkle of shredded cheddar cheese, enhancing the gooey goodness inside. Be mindful not to overfill; leaving space around the edges prevents bursting during baking.
Step 7: Seal the Hot Pockets
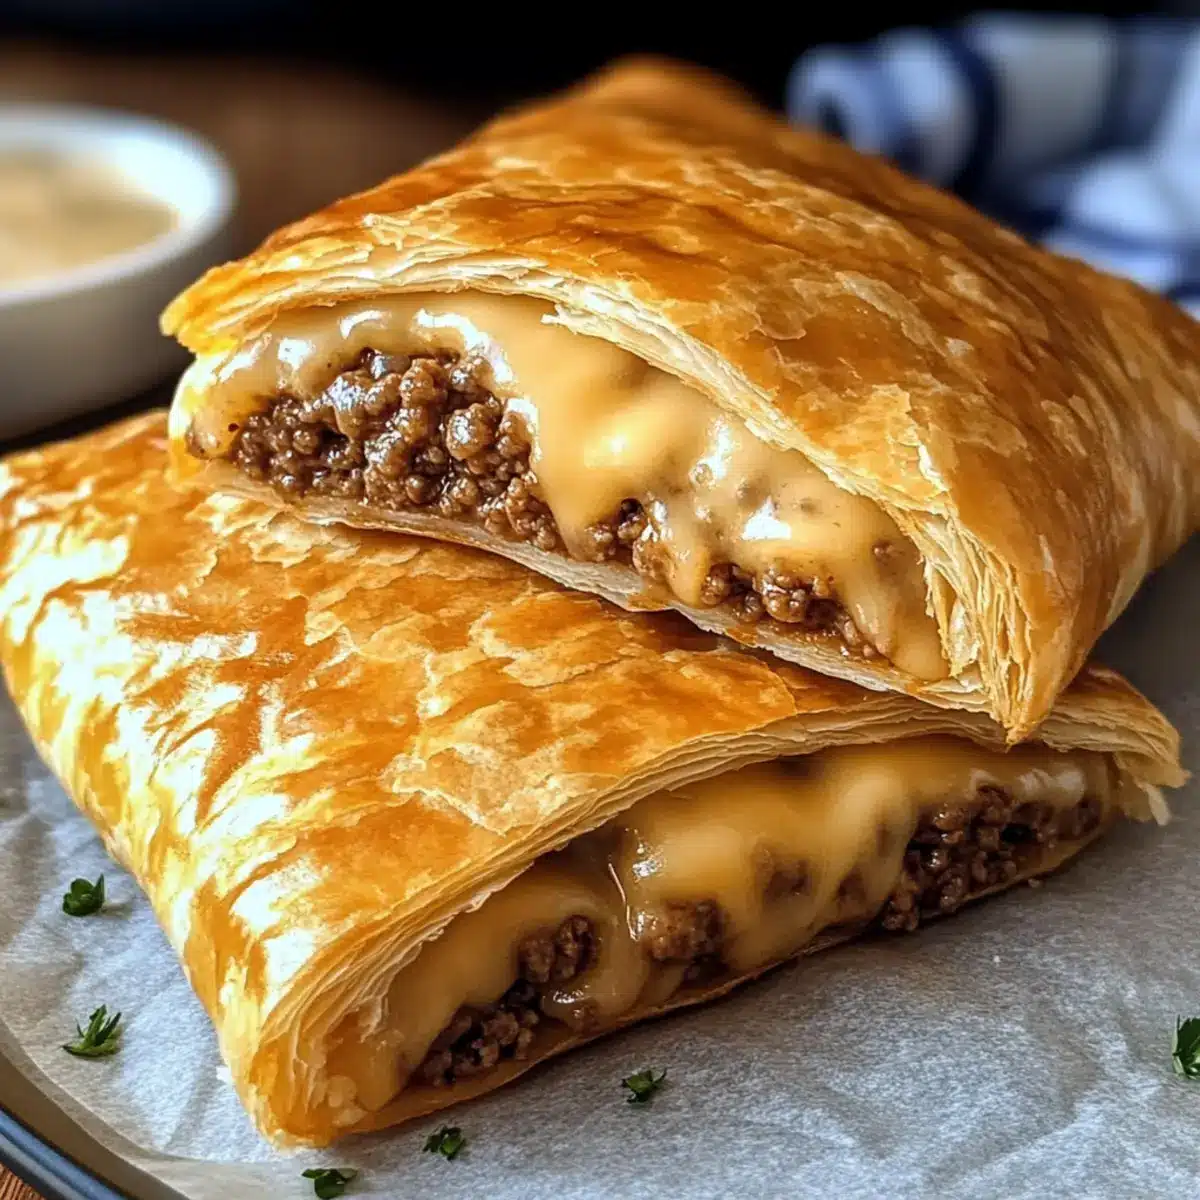
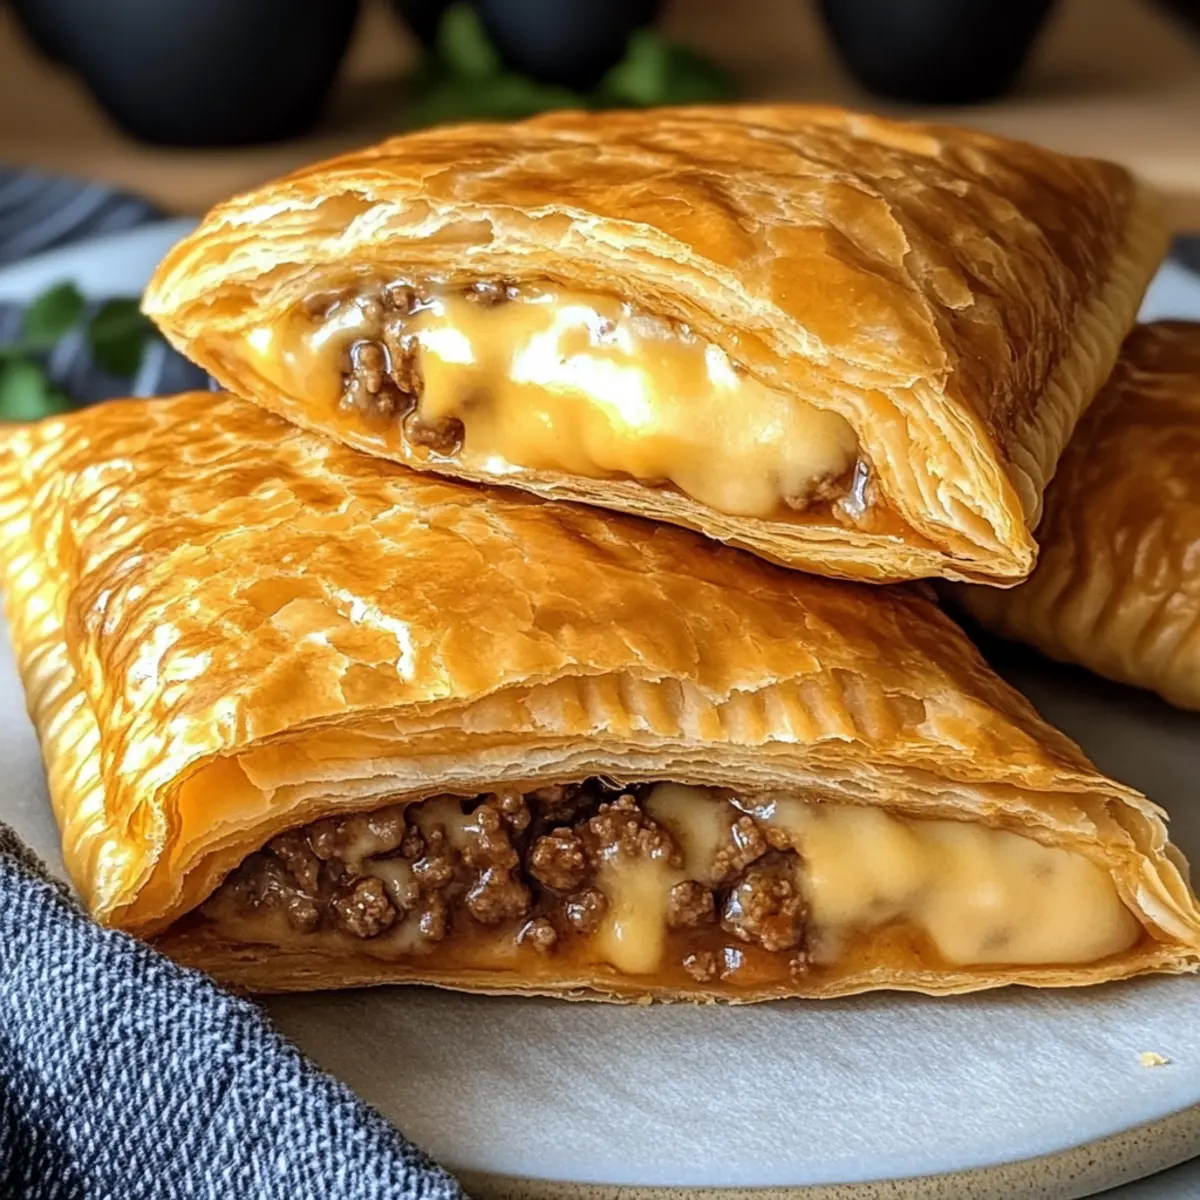
Fold the crust over the filling, creating a pocket shape, and press the edges tightly to seal them securely. You can use the tines of a fork to crimp the edges for a decorative touch and added sealing. This ensures that every bite of your Cheeseburger Hot Pockets is packed full of flavor.
Step 8: Brush and Bake
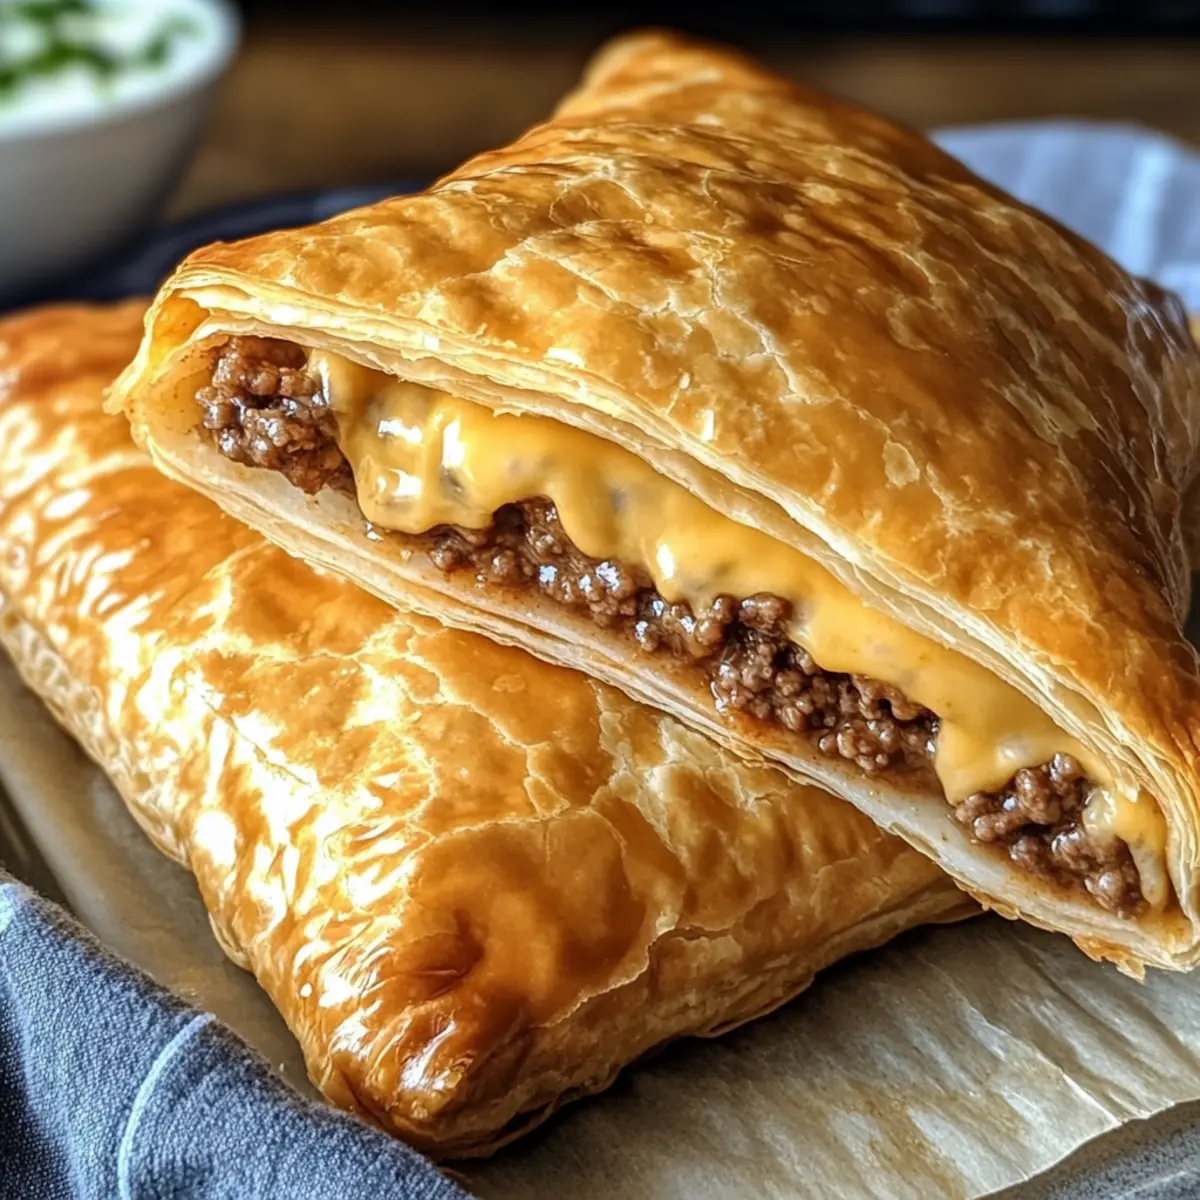
Place your filled pockets on the prepared baking sheet. In a small bowl, beat the egg and brush a thin layer over the top of each pocket, giving them a beautiful golden color as they bake. Put them into the preheated oven and bake for 20–25 minutes, or until the crust is golden brown.
Step 9: Cool and Serve
Once baked, remove the hot pockets from the oven and allow them to cool for a few minutes. This helps prevent burns when taking that first delicious bite. Serve warm alongside your favorite dipping sauces like ketchup, mustard, or ranch, and watch as everyone enjoys your homemade Cheeseburger Hot Pockets!
How to Store and Freeze Cheeseburger Hot Pockets
Fridge: Store baked Cheeseburger Hot Pockets in an airtight container for up to 3 days. This will keep them fresh and flavorful for quick snacks or meals.
Freezer: For longer storage, freeze unbaked hot pockets for up to 3 months. Wrap each pocket tightly in plastic wrap and place them in a freezer-safe bag.
Reheating: To enjoy frozen hot pockets, bake directly from frozen at 375°F (190°C) for an additional 5–10 minutes until golden and heated through.
Make-Ahead: Prepare the filling in advance and refrigerate it for up to 2 days, simplifying the assembly process on busy nights.
What to Serve with Cheeseburger Hot Pockets
Get ready to transform your Cheeseburger Hot Pockets into a complete meal that sings with flavor, texture, and delight!
-
Crispy French Fries: Perfectly fried fries bring a satisfying crunch and complement the savory goodness of the pockets. Dip them in ketchup for an irresistible pairing!
-
Fresh Garden Salad: A light, vibrant salad filled with crunchy veggies adds a refreshing contrast to the richness of the hot pockets. Drizzle with your favorite vinaigrette for extra zing.
-
Creamy Macaroni and Cheese: The unmistakable comfort of creamy mac adds a cheesy, nostalgic element to the meal. This dynamic duo is sure to please both kids and adults.
-
Coleslaw: The crunchy, tangy slaw balances the warmth of the hot pockets beautifully, offering a zingy freshness that brightens each bite.
-
Loaded Nachos: Crispy tortilla chips piled high with cheese, jalapeños, and sour cream create a fun appetizer that pairs perfectly with the handheld hot pockets.
-
BBQ Sauce Dipping Cups: Offering a sweet and smoky alternative to traditional ketchup, BBQ sauce can elevate the flavor experience of your cheeseburger pockets.
-
Milkshakes: For a refreshing drink, a thick chocolate or vanilla milkshake turns your meal into a nostalgic diner experience, bringing joy to the whole family!
-
Fruit Skewers: Colorful, fresh fruit on skewers introduces a light, sweet element to balance out the hearty hot pockets, making for a vibrant side dish.
These delicious pairings will take your Cheeseburger Hot Pockets from great to extraordinary, creating a meal everyone will love!
Make Ahead Options
These Cheeseburger Hot Pockets are a fantastic option for meal prep! You can prepare the filling (ground beef, veggies, and spices) up to 3 days in advance by storing it in an airtight container in the refrigerator. Simply allow it to cool completely before sealing to prevent moisture buildup. The assembled pockets can be refrigerated for up to 24 hours before baking. To maintain the quality of your Cheeseburger Hot Pockets, seal the edges tightly and cover them with plastic wrap. When you’re ready to enjoy, just brush them with egg wash and bake directly from the fridge for an effortless, golden-brown treat! Freezing is another option; individually wrap the uncooked pockets and freeze for up to 3 months. Bake from frozen, adding a few extra minutes to the cooking time for delicious, homemade convenience.
Expert Tips for Cheeseburger Hot Pockets
Cook Thoroughly: Ensure your ground beef and vegetables are fully cooked before assembly. This prevents soggy crusts and guarantees a flavorful filling.
Cool the Filling: Allow the beef mixture to cool slightly before spooning it onto the crust. This step prevents any steam from making the pastry soggy.
Don’t Overfill: While it’s tempting to pack in the goodness, avoid overfilling your hot pockets. A little space around the edges helps to seal them properly and prevents bursting.
Brush for Shine: Using beaten egg to brush the tops provides a beautiful golden color and glossy finish. This simple step elevates the overall presentation of your Cheeseburger Hot Pockets!
Let Them Rest: After baking, allow the hot pockets to cool for a few minutes before serving. This wait helps prevent burns and lets the flavors meld together perfectly.
Cheeseburger Hot Pockets Variations
Feel free to get creative and customize these delightful Cheeseburger Hot Pockets to match your family’s taste buds!
-
Veggie Boost: Add spinach or mushrooms for a nutritious twist. This not only enhances flavor but also packs in some extra vegetables!
-
Bacon Lovers: Incorporate crispy bacon bits for a smoky crunch. The delightful combo of beef and bacon will take your hot pockets to a whole new level.
-
Cheese Swap: Experiment with mozzarella or Swiss cheese for different textures and flavors. Mix and match for a truly unique cheesy experience!
-
Spice It Up: Add jalapeños or a dash of hot sauce to bring the heat. A little spice can elevate the flavor profile beautifully.
-
Herb Infusion: Use fresh herbs like cilantro or parsley instead of dried for a burst of fresh flavor. It brightens things up and looks gorgeous too!
-
Dipping Delight: Serve with a side of zesty ranch or sweet-and-sour sauce. These dips provide an extra layer of flavor that everyone will love.
-
Ground Turkey: Swap out ground beef for ground turkey to cut fat without sacrificing flavor. It’s a delicious and healthier alternative!
For more exciting recipes to try with your family, like these Hot Chocolate Cookies that bring joy to any occasion, keep exploring!
Cheeseburger Hot Pockets Recipe FAQs
How do I choose the best ground beef for my Cheeseburger Hot Pockets?
Absolutely! When selecting ground beef, go for lean varieties (around 85% lean) for a healthier option without too much grease. Opting for grass-fed beef can add a richer flavor and increased nutrients. It’s also good to check the color—fresh beef should be bright red, while avoid any with a dull brownish hue.
What’s the best way to store leftover Cheeseburger Hot Pockets?
Very! Once your Cheeseburger Hot Pockets are baked, let them cool to room temperature. Store them in an airtight container in the fridge for up to 3 days. If you’re planning to enjoy them later, consider freezing them to extend freshness; just wrap them tightly in plastic wrap and place them in a freezer-safe bag.
Can I freeze unbaked Cheeseburger Hot Pockets and how do I do it?
Absolutely! Freezing unbaked hot pockets is a great option for meal prepping. After you’ve assembled the pockets, wrap each one tightly in plastic wrap and place them in a freezer-safe bag. They’ll stay fresh for up to 3 months. When ready to enjoy, bake them straight from the freezer at 375°F (190°C) for 25-30 minutes, until golden brown and fully cooked.
What can I do if my Cheeseburger Hot Pockets are bursting while baking?
Very! If your hot pockets are bursting, it usually means they’re overfilled. To prevent this, only use about 2 tablespoons of filling per pocket and leave a little space at the edges to ensure a good seal. Additionally, gently crimp the edges with a fork or pinch them tightly to ensure they stay sealed during baking.
Are Cheeseburger Hot Pockets suitable for kids with dietary restrictions?
Definitely! These pockets are easily customizable to accommodate various dietary needs. You can use gluten-free pie crusts for those with gluten intolerance and substitute ground beef with ground turkey or even plant-based meat alternatives for a healthier twist. Always double-check that the cheese used is ok for lactose intolerance if that’s a concern.
How long can I refrigerate the filling before making Cheeseburger Hot Pockets?
Absolutely! If you’re looking to save some time, you can prepare the filling up to 2 days in advance. Just store it in an airtight container in the fridge. When you’re ready to make the hot pockets, let the filling cool down completely before using it, to ensure the crust remains crisp and delicious!
Delicious Homemade Cheeseburger Hot Pockets for Family Fun
Ingredients
Equipment
Method
- Preheat your oven to 375°F (190°C) and line a baking sheet with parchment paper.
- In a large skillet, add the ground beef and cook over medium heat for 5–7 minutes until browned. Drain any excess fat.
- Add the chopped onion, bell pepper, and minced garlic to the skillet. Cook for another 4–5 minutes until the vegetables are tender.
- Sprinkle in the salt, black pepper, paprika, and dried herbs. Stir well to combine and heat through for 2 minutes. Transfer to a bowl to cool slightly.
- Roll out the pie crusts on a lightly floured surface and slice into squares, about 4–5 inches each.
- Spoon the filling onto one half of each square and sprinkle with shredded cheese, ensuring not to overfill.
- Fold the crust over the filling and press edges to seal. Use a fork to crimp the edges.
- Place the pockets on the baking sheet, brush with beaten egg, and bake for 20–25 minutes until golden brown.
- Allow to cool for a few minutes before serving with dipping sauces like ketchup or mustard.
Leave a Reply