
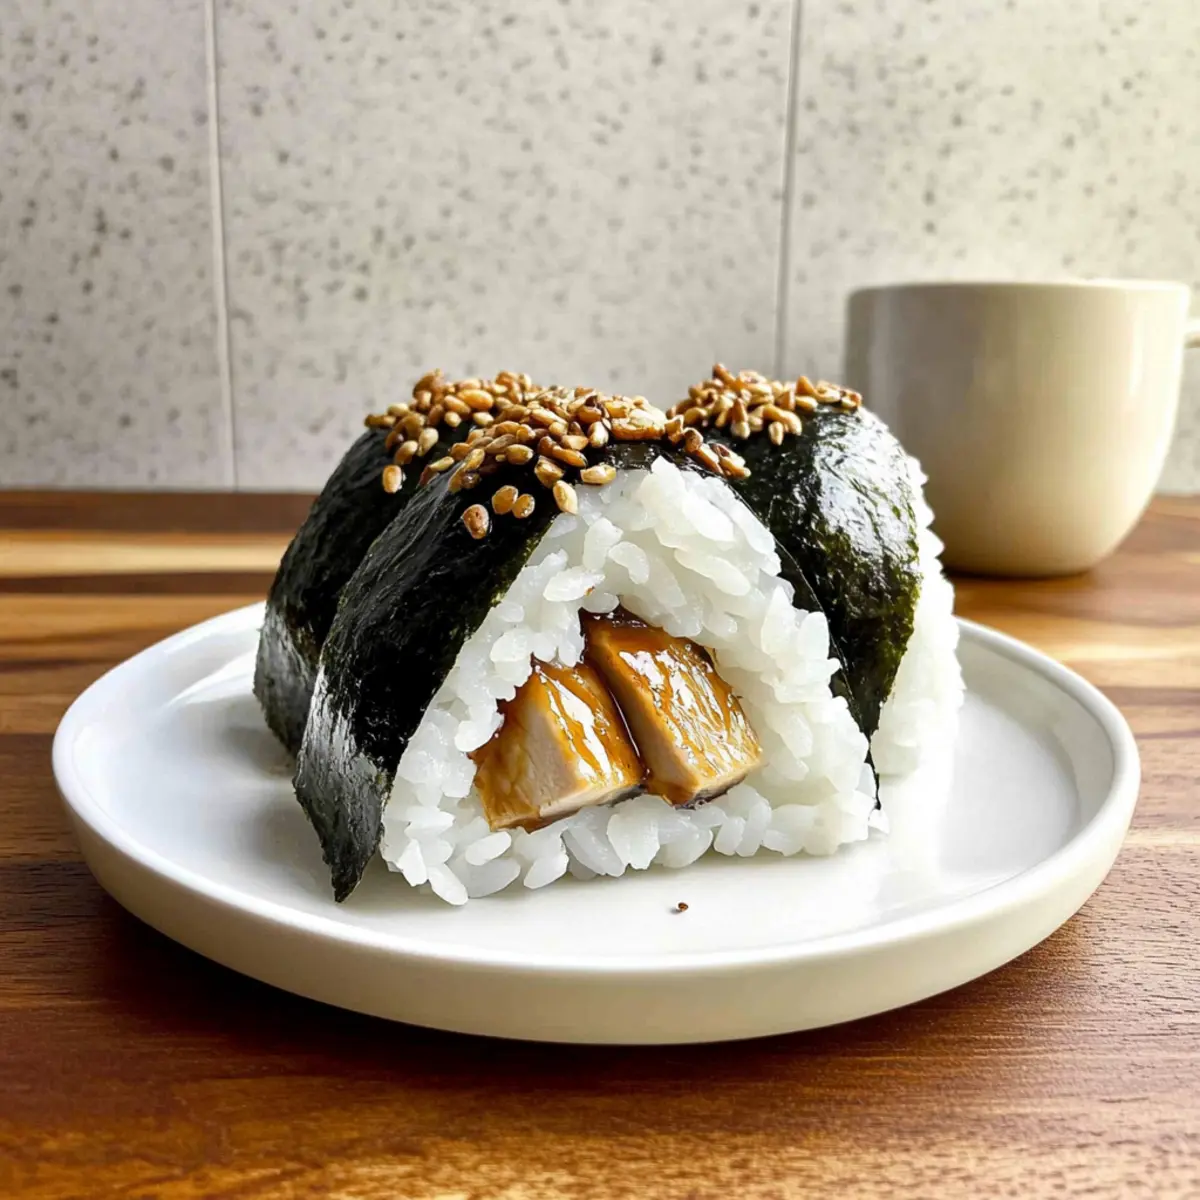
As I was packing my lunch for the week, I stumbled upon a little gem: Teriyaki Chicken Onigiri. These charming rice balls are not just adorable; they’re a delightful blend of simplicity and flair that whisks me straight to bustling Japanese street markets. Snagging that comforting bite filled with tender chicken and sticky rice is pure happiness! This recipe is a game-changer—perfect for an easy-to-make snack or a wonderful appetizer to impress friends at gatherings. Plus, you can enjoy them at home or take them on the go, making them a fantastic portable treat. Curious how to bring this taste of Japan into your kitchen? Let’s dive into the delicious world of Chicken Onigiri!
Why try Chicken Onigiri?
Unmatched Convenience: These delightful rice balls are perfect for a quick snack or a crowd-pleasing appetizer.
Bursting with Flavor: The teriyaki chicken filling delivers a savory punch, complemented by sticky sushi rice.
Versatility at Its Finest: Customize your onigiri with various fillings or spice it up with jalapeños for an extra kick.
Quick and Easy to Make: With minimal prep and cooking time, you’ll have these tasty delights ready in no time!
Portable and Wholesome: Ideal for lunch boxes or picnics, they’re a wholesome alternative to fast food. Give these Gnocchi Chicken Pot or Parmesan Crust Chicken a try on your next cooking adventure!
Chicken Onigiri Ingredients
• Ready to create the perfect Chicken Onigiri? Here’s what you’ll need!
For the Rice
- Cooked Sushi Rice – Essential for its stickiness, allowing perfect shaping into onigiri. Substitution: Use short-grain rice if sushi rice is unavailable.
- Salt – Enhances flavor in the rice. Use fine salt for better distribution.
- Furikake (optional) – Adds a layer of flavor and texture to the rice. Substitution: Can skip or replace with sesame seeds.
For the Chicken Filling
- Boneless Skinless Chicken – Main protein source; drumsticks used for flavor. Substitution: Can use chicken thighs or ground chicken.
- Soy Sauce – Provides salty, umami flavor. Use low-sodium soy sauce for a lighter option.
- Sake (or Water) – Enhances the marinade’s flavor. Substitution: For non-alcoholic, use water or rice vinegar.
- Baking Soda – Tenderizes chicken during marination.
- Cornstarch – Adds a slight crispness when stir-fried.
- Mirin – Sweet rice wine that balances the saltiness of soy sauce in the teriyaki sauce. Substitution: Can use honey or agave syrup for sweetness.
- Brown Sugar – Helps in creating a glaze for the chicken. Use white sugar or coconut sugar if preferred.
- Oil – For stir-frying the chicken. Substitution: Can use sesame oil for a nutty flavor.
- Minced Garlic – Adds aromatic flavors to the filling.
For Wrapping
- Nori Sheets – Wraps around the onigiri for a traditional touch. Substitution: None suggested.
Get ready to bring the delightful taste of Japanese cuisine right into your kitchen with these Chicken Onigiri ingredients!
Step‑by‑Step Instructions for Chicken Onigiri
Step 1: Prepare Rice
Begin by cooking your sushi rice according to the package instructions, typically using a rice cooker for optimal results. Once it’s fluffy and sticky—about 25 minutes—remove it from heat. Mix in fine salt and optional furikake to enhance flavor, allowing the rice to cool slightly while you prepare the filling.
Step 2: Marinate Chicken
Cut the boneless skinless chicken into small bite-sized pieces. In a bowl, combine the chicken with soy sauce, sake, baking soda, and cornstarch. This mixture will tenderize and flavor your chicken perfectly. Cover and refrigerate for about 30 minutes to let the flavors meld, making the filling more savory.
Step 3: Make Teriyaki Sauce
In a separate bowl, whisk together the soy sauce, mirin, and brown sugar to create a delicious teriyaki sauce. This will give your Chicken Onigiri that classic sweet and savory taste. Set aside the sauce for later; it’ll add an irresistible glaze to the chicken as you cook it.
Step 4: Stir-Fry Chicken
Heat a pan over medium heat and add a splash of oil. Once hot, add the marinated chicken pieces and stir-fry for about 2-3 minutes until they’re golden and nearly cooked through. Add the minced garlic and stir for another minute until fragrant, then pour in your prepared teriyaki sauce. Continue cooking until the sauce thickens slightly, about 2-3 more minutes.
Step 5: Shape Onigiri
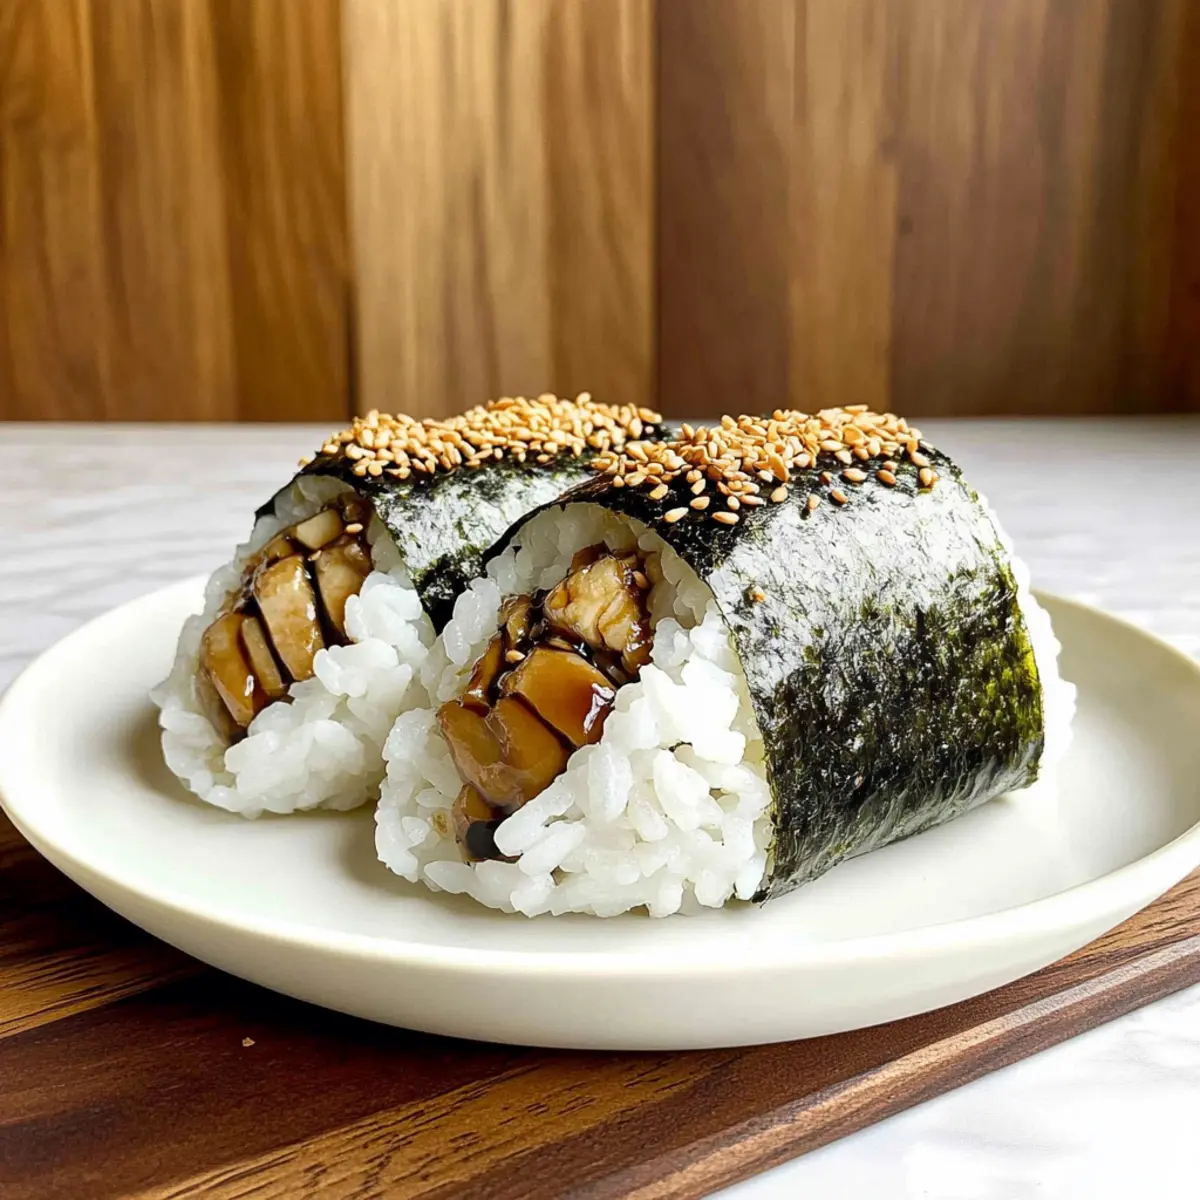
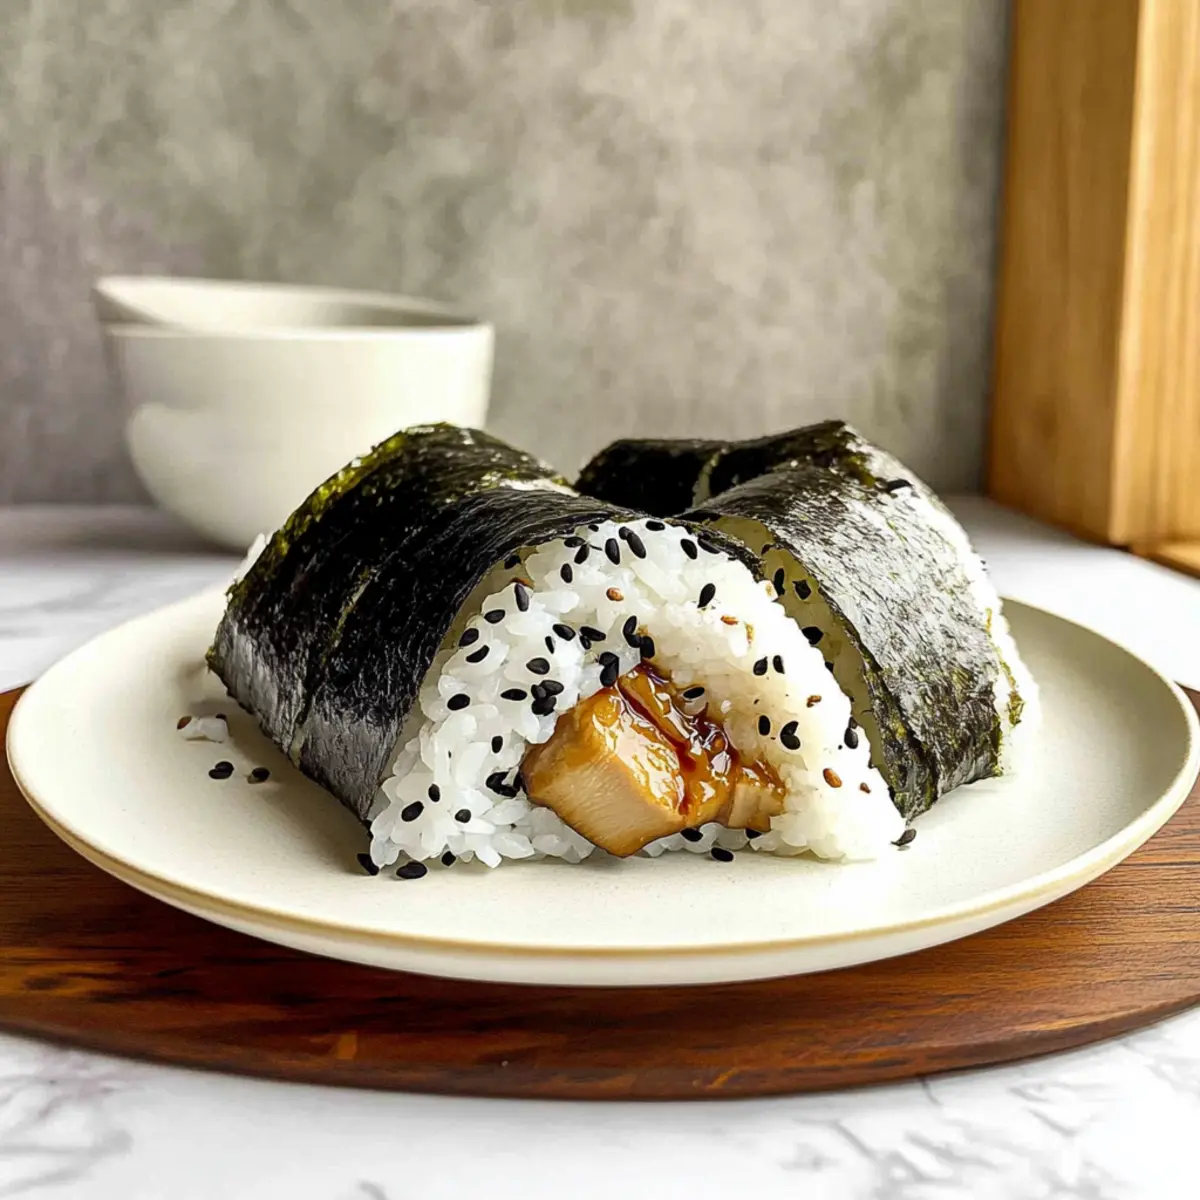
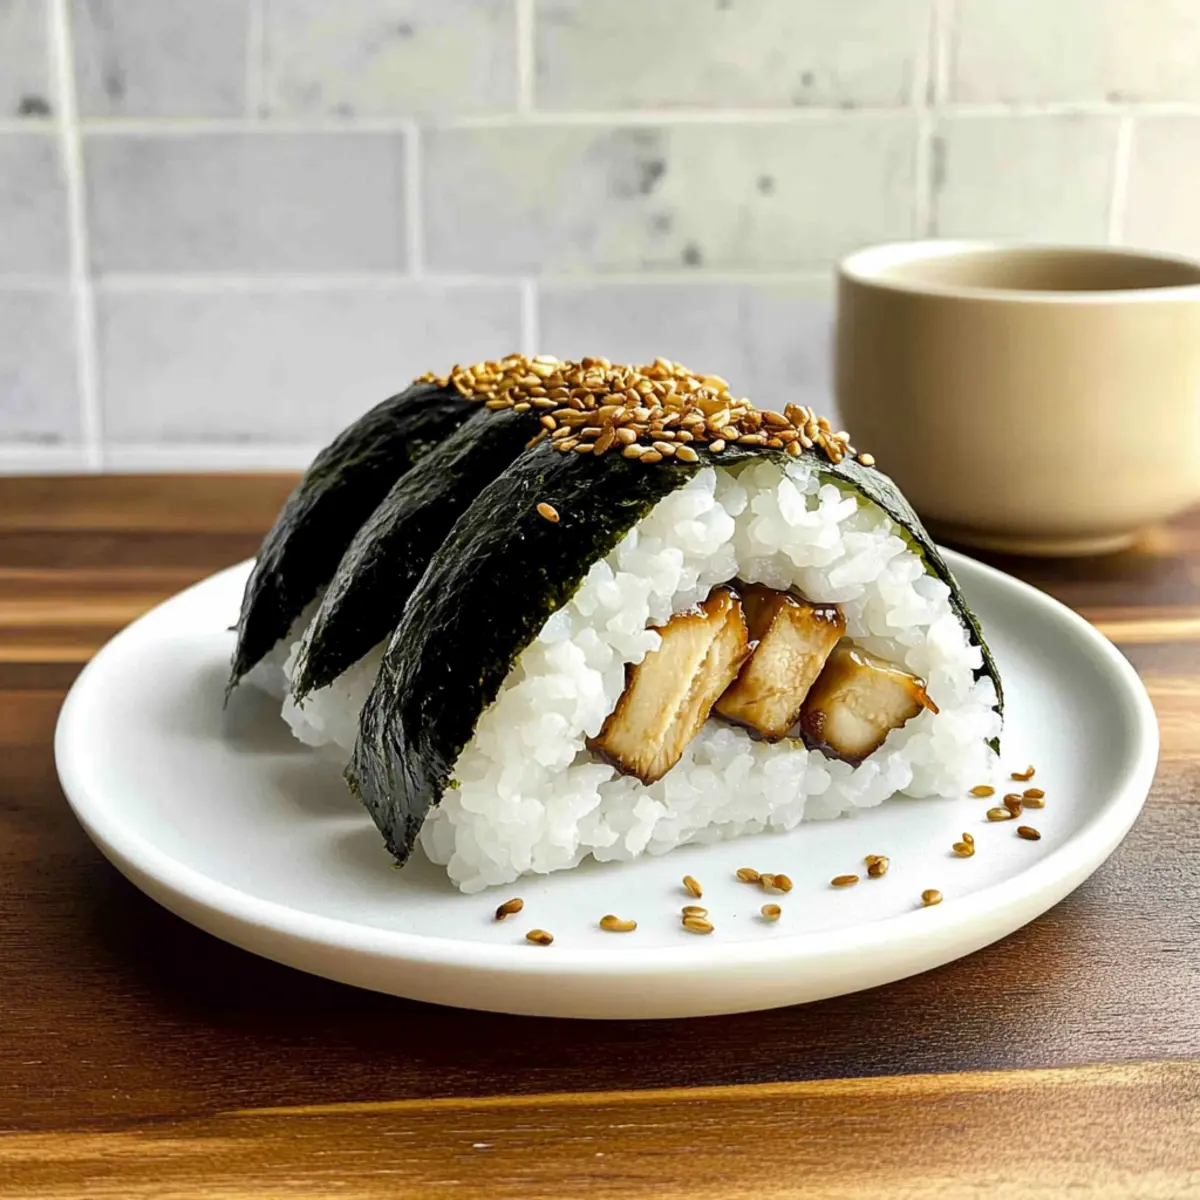
With wet hands to prevent sticking, take a small handful of sushi rice and form it into a triangle shape. Create an indentation in the center and fill it with the delicious teriyaki chicken. Press gently to enclose the filling, then shape a second layer of rice around the triangle for a neat finish.
Step 6: Wrap with Nori
Cut nori sheets into strips, and wrap one around each Chicken Onigiri for a traditional touch. This not only enhances the flavor but also adds an attractive contrast to the rice. Secure it lightly as you prepare your delicious snacks to enjoy a taste of Japanese cuisine, perfect for any occasion.
Chicken Onigiri: Flavorful Variations Await!
Feel free to let your culinary creativity shine with these delightful twists on Chicken Onigiri that will elevate your snack game!
-
Spice It Up: Add finely chopped jalapeños or sriracha to the chicken filling for a delightful kick that transforms each bite into a fiery adventure.
-
Go Vegetarian: Swap chicken for seasoned tofu or sautéed mushrooms to make a delicious vegetarian onigiri that’s just as satisfying.
-
Flavor Infusion: Enhance rice flavor by substituting water with chicken or vegetable broth when cooking sushi rice for an extra depth of umami.
-
Texture Twist: Mix in some cooked vegetables, such as peas or carrots, into the rice for added color and crunch, making your onigiri even more appealing!
-
Sweeter Note: For a touch of sweetness, try adding a hint of pineapple or mango chunks to the chicken filling for a tropical, savory-sweet fusion.
-
Nutty Goodness: Drizzle a little sesame oil into the teriyaki sauce to add a rich, nutty flavor that complements the chicken beautifully.
-
Hearty Addition: Blend in some cooked quinoa or bulgur wheat with the sushi rice for a heartier, nutritious version that still has all the traditional flavors.
-
Saucy Surprise: Serve with a side of spicy mayo or ponzu sauce for dipping, elevating the flavor profile and giving your onigiri an exciting new twist.
Explore these variations to personalize your Chicken Onigiri experience, and don’t forget to check out my other delicious recipes like Thai Coconut Chicken for more flavor inspiration!
Expert Tips for Chicken Onigiri
-
Perfect Rice Consistency: Ensure your sushi rice is sticky enough by adjusting the water ratio; use 15% more water for short-grain rice compared to regular.
-
Marinating Time Matters: Allow the chicken to marinate for at least 30 minutes to soak up all the teriyaki flavors, ensuring each bite is deliciously savory.
-
Avoid Overfilling: When shaping the onigiri, don’t overfill with chicken to maintain a good shape—use just enough to create a balanced bite.
-
Use Wet Hands: Wet your hands while forming onigiri to prevent the rice from sticking, making the shaping process much easier and cleaner.
-
Store Properly: If making ahead, keep onigiri in an airtight container in the fridge for up to 24 hours. Reheat gently before serving for best results.
Make Ahead Options
These Chicken Onigiri are fantastic for meal prep, allowing you to simplify your weeknight cooking! You can prepare the cooked sushi rice and chicken filling up to 24 hours in advance. Just store the rice in an airtight container and let it cool completely before refrigerating to maintain its perfect texture. For the chicken filling, marinate and stir-fry it, then allow it to cool before storing in the fridge. When you’re ready to serve, simply shape the onigiri with the chilled rice and fill it with the prepped chicken, wrapping each piece with nori as you go. This way, you’ll enjoy delicious, homemade Chicken Onigiri with minimal effort, making your busy days that much more delightful!
What to Serve with Teriyaki Chicken Onigiri?
There’s something magical about pairing the soft, savory delights of teriyaki chicken onigiri with complementary sides that elevate your meal.
-
Soy Sauce Dipping: A traditional accompaniment that enhances the savory notes, bringing out the umami flavor of the onigiri. Perfect for an interactive dining experience!
-
Pickled Ginger: This bright, tangy addition offers a refreshing contrast, cleansing the palate between bites and balancing the richness of the chicken.
-
Japanese Potato Salad: Creamy and slightly sweet, this side adds a delightful twist to the meal, contrasting the sticky rice with its smooth texture.
-
Edamame: Lightly salted and steamed, these protein-packed green beans provide a crunchy texture that complements the softness of the onigiri beautifully.
-
Seaweed Salad: This umami-rich salad introduces a burst of flavors, with sesame and vinegar bringing added depth that pairs well with the chicken.
-
Miso Soup: A warm bowl of miso soup creates a comforting, savory balance, making your meal feel even more complete and wholesome.
-
Sake: For a drink pairing, a well-chilled sake enhances the flavors of the dish, offering a traditional touch that makes every bite feel like a special occasion.
Each of these pairings adds its own unique flavors and textures, transforming your chicken onigiri into a wonderful feast that beckons the whole family to gather around the table.
How to Store and Freeze Chicken Onigiri
- Fridge: Store Chicken Onigiri in an airtight container for up to 24 hours. To keep them fresh, ensure they’re sealed well, preventing the nori from becoming soggy.
- Freezer: If you want to freeze them, wrap each onigiri tightly in plastic wrap and place them in a freezer-safe bag. They can be frozen for up to 3 months.
- Reheating: To reheat, remove from the freezer and let them thaw in the fridge overnight. Warm in the microwave for about 30 seconds before serving, ensuring you don’t overheat them.
- Freshness Tip: These delicious snacks are best enjoyed fresh, but proper storage allows you to savor Chicken Onigiri even a day or two later!
Chicken Onigiri Recipe FAQs
What type of rice is best for Chicken Onigiri?
Using cooked sushi rice is essential for achieving the perfect sticky texture that allows you to shape the onigiri easily. If sushi rice is unavailable, you can substitute it with short-grain rice. This type of rice will still yield a satisfying stickiness, just ensure you adjust the water ratio slightly for best results.
How should I store Chicken Onigiri?
For the best quality and flavor, store your Chicken Onigiri in an airtight container in the refrigerator for up to 24 hours. To prevent the nori from becoming soggy, make sure they are well-sealed. If you plan to enjoy them later, wrapping each piece in plastic wrap will help maintain their freshness.
Can Chicken Onigiri be frozen?
Absolutely! If you want to freeze your Chicken Onigiri, wrap each one tightly in plastic wrap and then place them in a freezer-safe bag. They can be stored in the freezer for up to 3 months. To reheat, let them thaw in the fridge overnight and warm them up in the microwave for about 30 seconds.
What if my onigiri falls apart or doesn’t hold its shape?
If your Chicken Onigiri isn’t holding its shape, it may be due to not enough moisture in the rice or using too much filling. Make sure your sushi rice is sticky enough and avoid overfilling the rice ball. Wetting your hands while shaping them can also help prevent sticking and aid in forming the perfect triangle.
Are there any dietary concerns with Chicken Onigiri?
While Chicken Onigiri is generally safe for most, always consider allergy concerns. The recipe typically includes soy sauce, which may contain gluten. For a gluten-free option, look for gluten-free soy sauce. If you’re preparing these for pets, be cautious about ingredients like garlic and soy sauce, which aren’t suitable for them.
How can I customize my Chicken Onigiri?
You can get creative with your Chicken Onigiri by incorporating various fillings! For a spicy twist, add kimchi or jalapeños. Alternatively, for a vegetarian option, replace the chicken with seasoned tofu or sautéed mushrooms. The versatility of onigiri allows you to tailor it to your taste preferences and dietary needs.
Savory Chicken Onigiri: Your New Favorite Snack Adventure
Ingredients
Equipment
Method
- Prepare sushi rice by cooking it according to package instructions, typically using a rice cooker. Mix in salt and optional furikake, then let it cool slightly.
- Cut the boneless skinless chicken into bite-sized pieces. Combine it with soy sauce, sake, baking soda, and cornstarch, cover, and refrigerate for 30 minutes.
- Whisk soy sauce, mirin, and brown sugar to create teriyaki sauce. Set aside.
- Heat oil in a pan, stir-fry marinated chicken for 2-3 minutes until golden. Add minced garlic and continue until fragrant. Pour in teriyaki sauce and cook until thickened.
- Shape sushi rice into triangles with pockets for chicken filling. Enclose carefully.
- Wrap nori strips around each onigiri, securing lightly to enhance flavor and presentation.
Leave a Reply