
You know those moments when you catch a whiff of something so chocolatey you just can’t resist? That’s exactly what happens when you whip up these Chocolate Mousse Brownies. With a moist, fudgy base and a light-as-air mousse layer, this dessert is perfect for anyone who craves that sweet touch without spending hours in the kitchen. They’re not just easy to make; their stunning appearance will leave your guests in awe and their taste buds singing. In no time, you’ll have a quick-prep treat that not only satisfies your chocolate cravings but also brings joy to those around you. Ready to dive into indulgence? Let’s get started!
Why Are These Brownies So Irresistible?
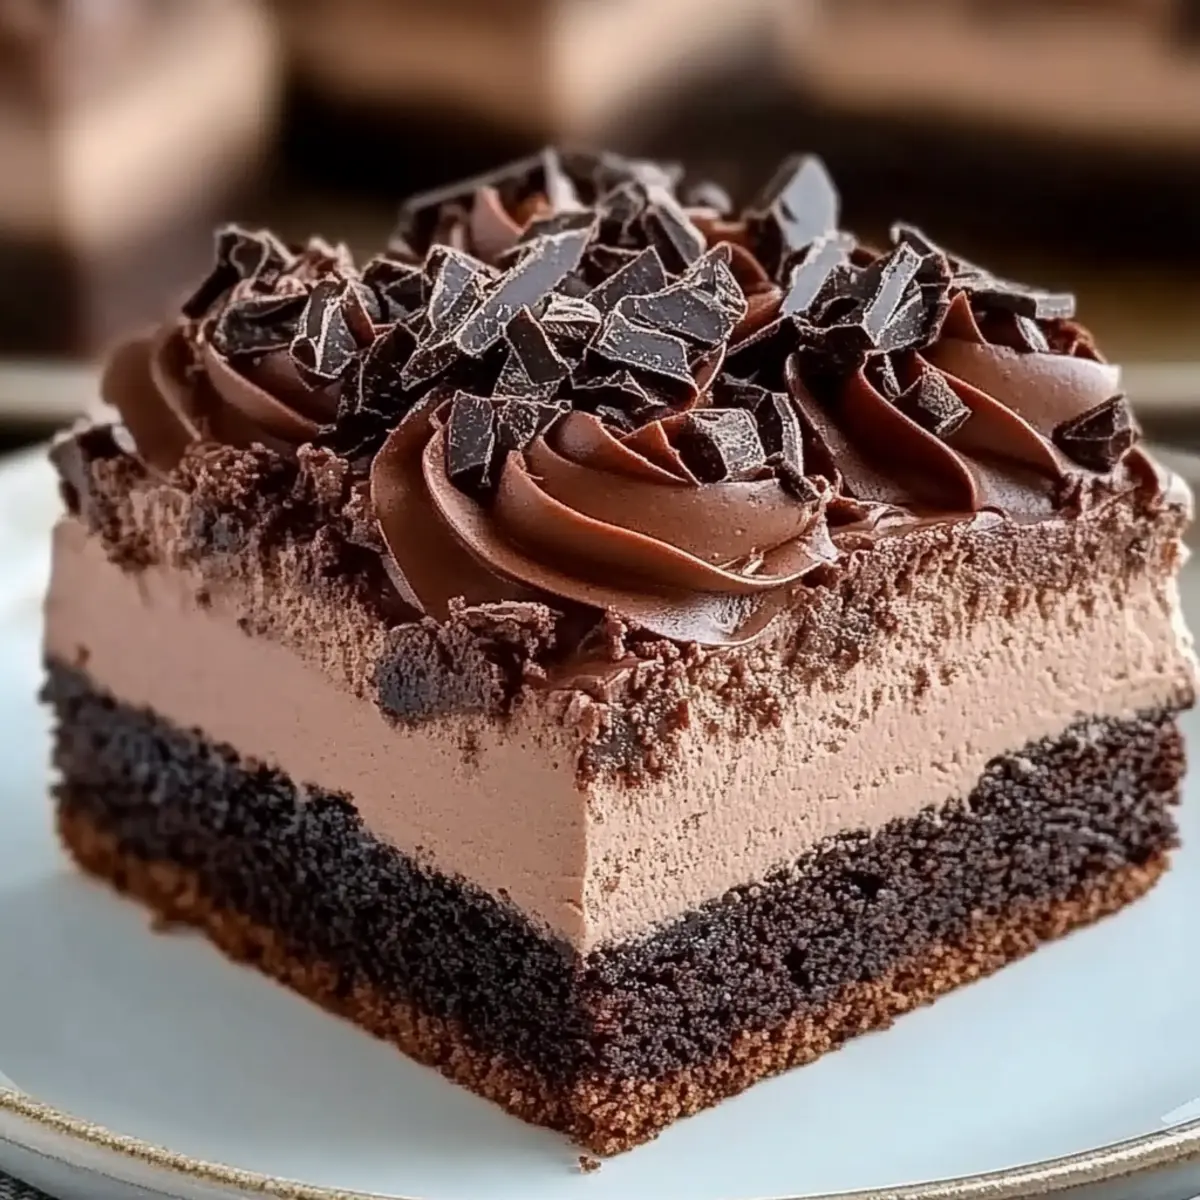
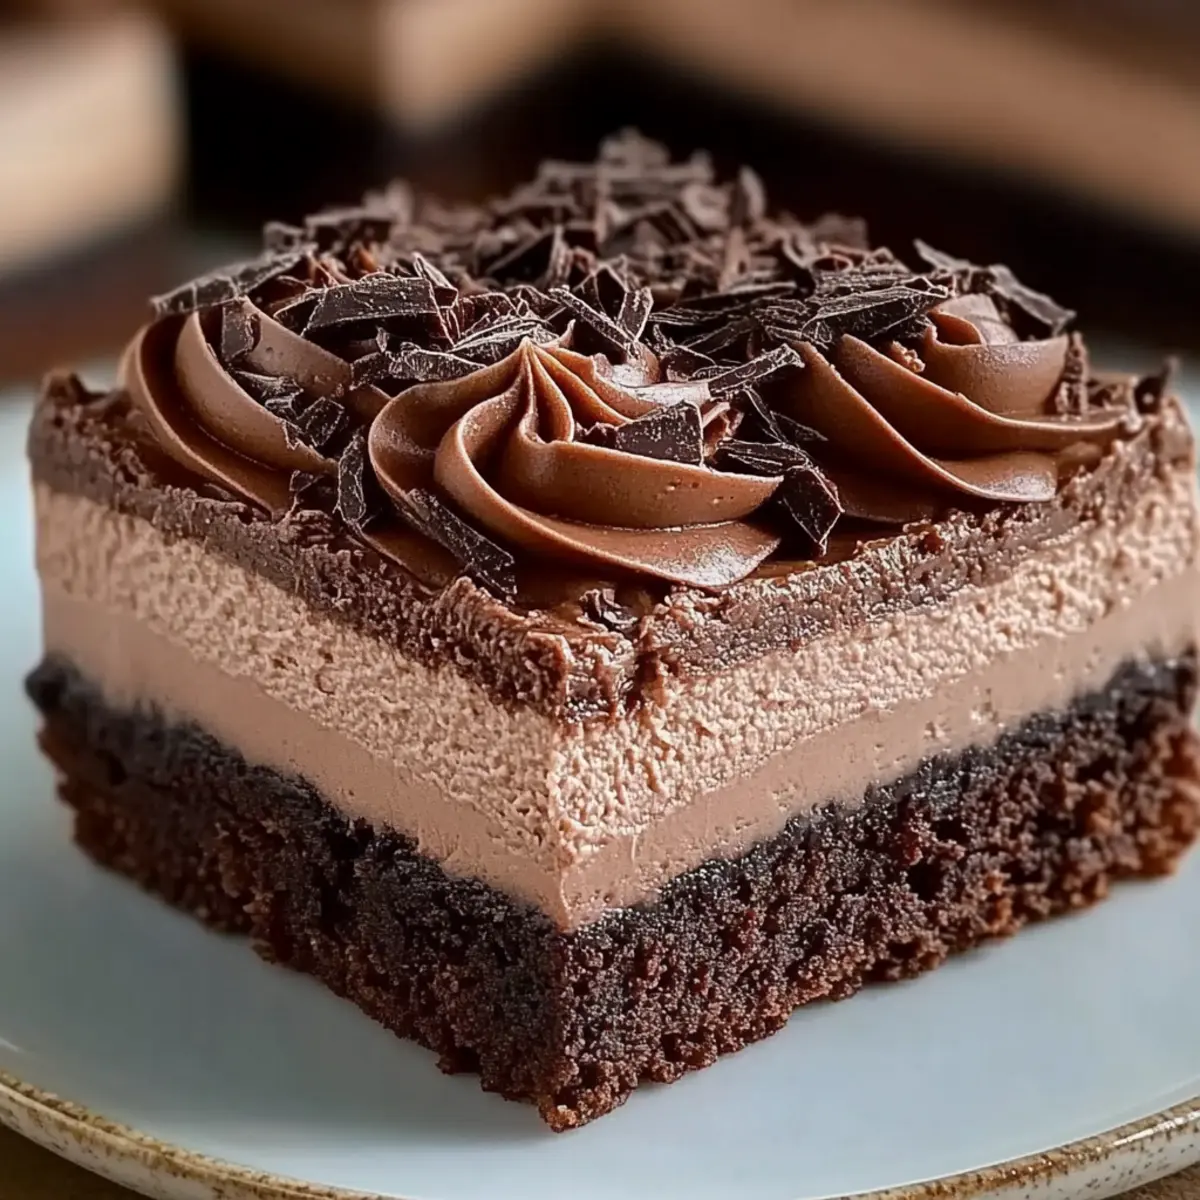
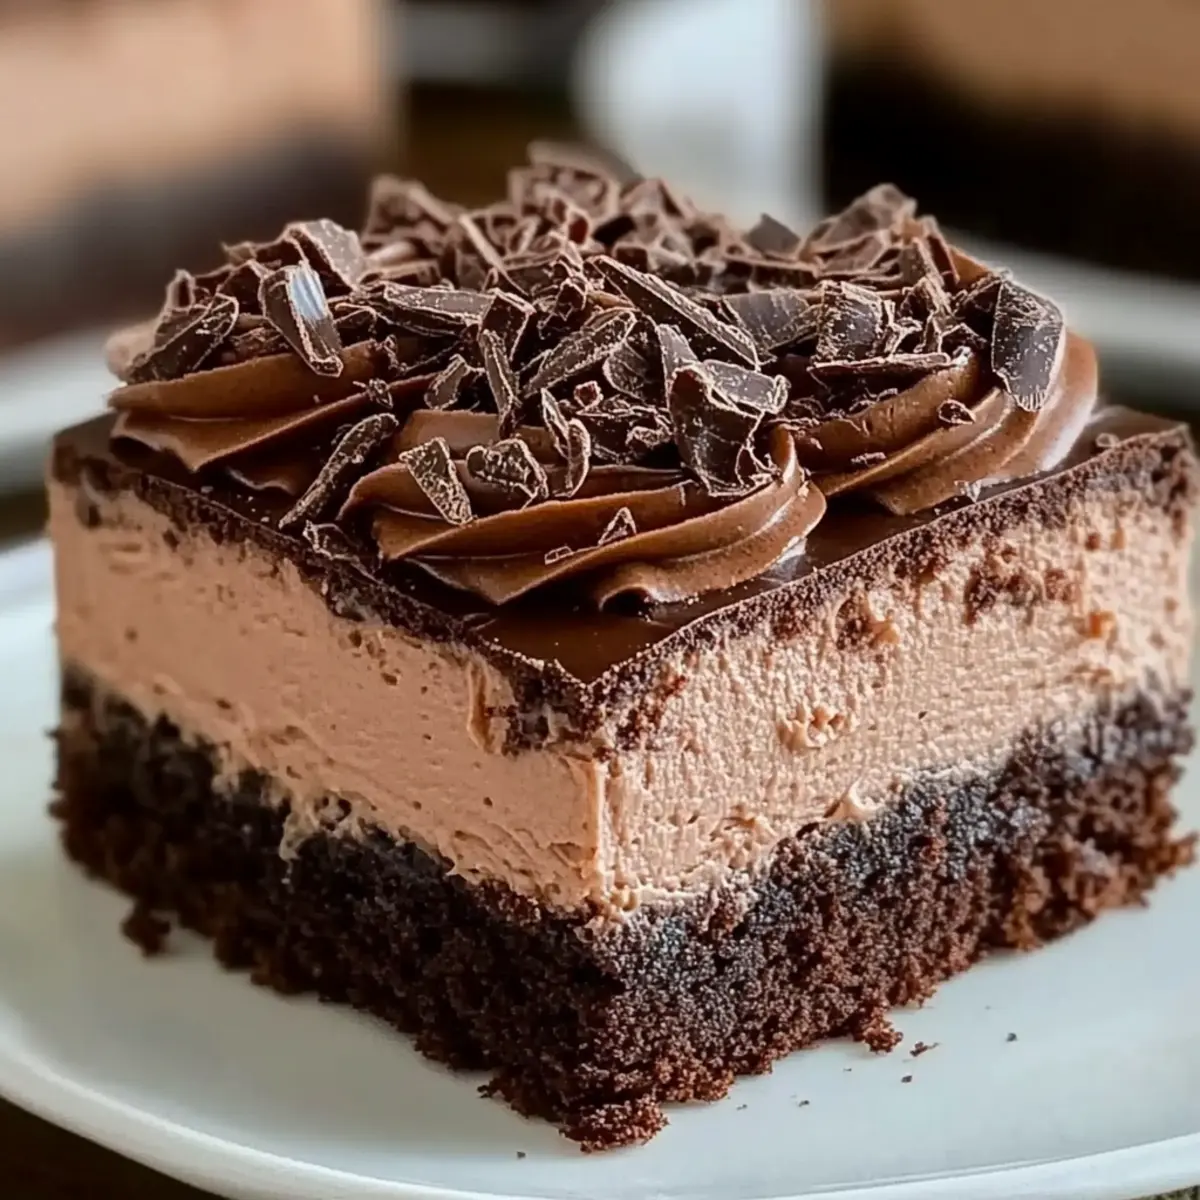
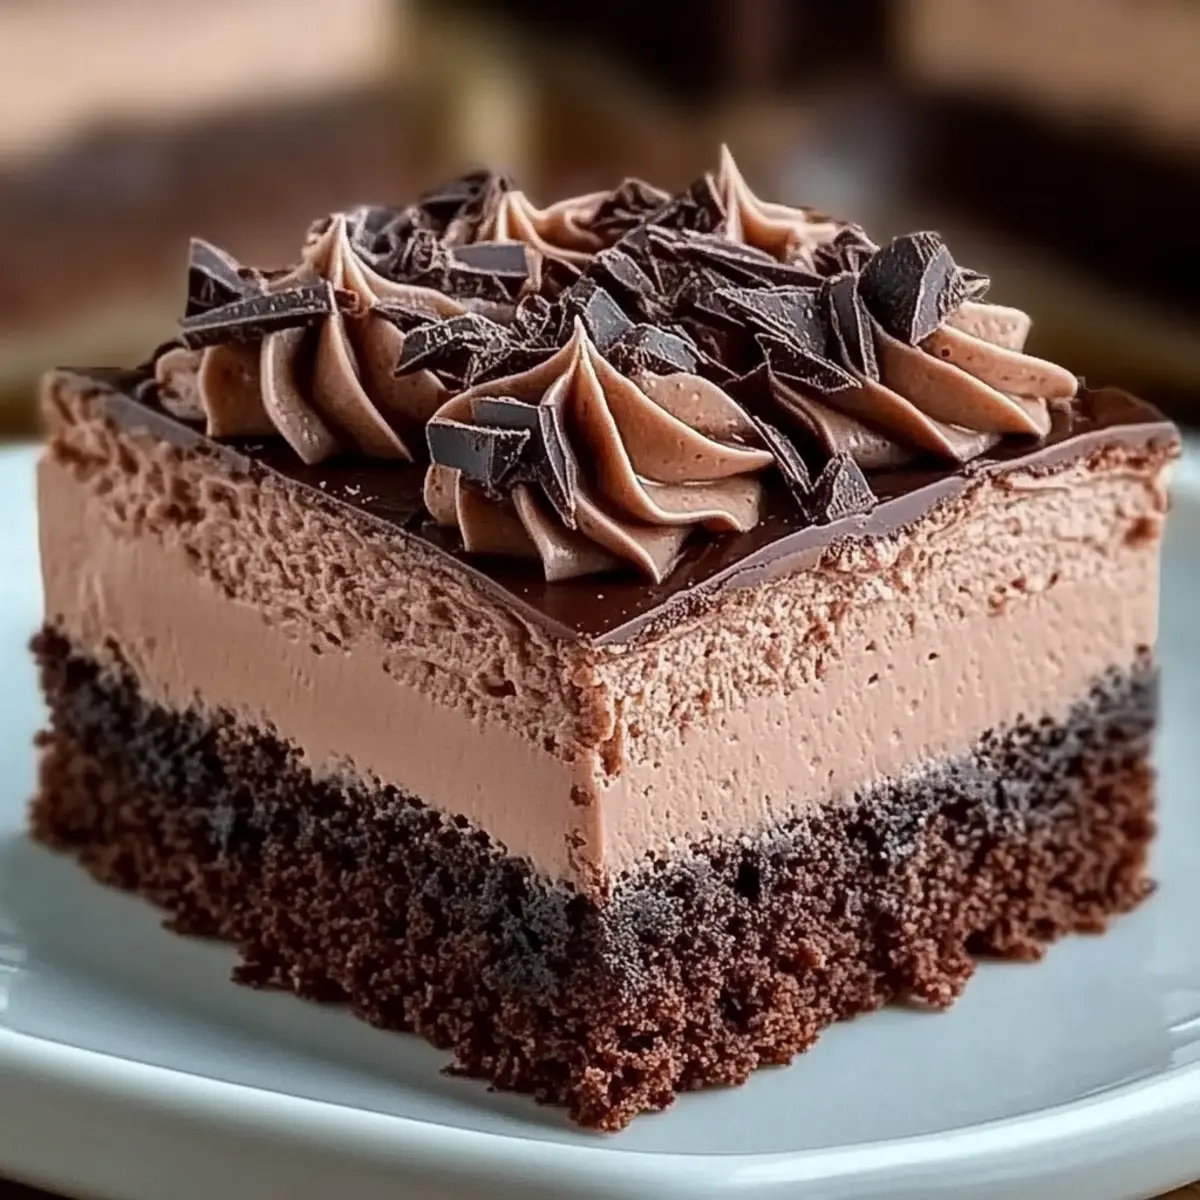
Decadent layers: Chocolate Mousse Brownies offer the perfect contrast of a rich, fudgy base topped with a light, airy mousse. This combination delights with each bite!
Quick prep: With only a few simple steps, you’ll whip up this impressive dessert in no time, making it ideal for unexpected guests or a cozy family treat.
Visual appeal: The stunning layers create a beautiful presentation that will wow your friends and family—perfect for gatherings!
Versatile options: You can mix in different flavors, like adding a hint of espresso or a drizzle of caramel on top, keeping your dessert exciting and unique.
Crowd-pleaser: These brownies are sure to satisfy chocolate lovers of all types—perfect for parties or whenever you have a chocolate craving! So, if you enjoy making delightful treats like Triple Chocolate Mousse or Chocolate Cherry Upside, this recipe is a must-try!
Chocolate Mousse Brownies Ingredients
For the Brownie Base
- Unsalted Butter – Provides richness and moisture; consider using coconut oil for a dairy-free alternative.
- Granulated Sugar – Sweetens the brownies; brown sugar can be used for added moisture and flavor.
- Large Eggs – Essential for binding; replace with flax eggs for an egg-free option.
- Vanilla Extract – Enhances the overall flavor profile; pure vanilla is best for rich taste.
- All-Purpose Flour – Gives structure to the brownies; substitute with a gluten-free flour blend if needed.
- Unsweetened Cocoa Powder – Provides the chocolate flavor; Dutch-processed cocoa deepens the taste.
- Salt – Enhances sweetness and balances flavors; kosher salt is a good choice.
- Baking Powder – Aids in rising the brownies; ensure it’s fresh for optimal results.
For the Chocolate Mousse Layer
- Heavy Whipping Cream – Creates a light texture; coconut cream can be used for a dairy-free substitute.
- Semi-Sweet Chocolate – Offers rich flavor for the mousse; dark chocolate can be used for a more intense taste.
- Egg Whites – Provides volume and aeration; swap with aquafaba for a vegan option.
- Granulated Sugar (for Mousse) – Sweetens the mousse; adjust the amount based on your sweetness preference.
- Vanilla Extract (for Mousse) – Complements the richness of the chocolate.
Unleash your creativity with these Chocolate Mousse Brownies ingredients and let the sweet magic unfold!
Step‑by‑Step Instructions for Chocolate Mousse Brownies
Step 1: Preheat and Prepare
Begin by preheating your oven to 350°F (175°C). Grease a 9×13 inch baking pan generously with butter or cooking spray to prevent sticking, ensuring an easy release once baked. This initial step sets the foundation for your decadent Chocolate Mousse Brownies!
Step 2: Melt and Mix
In a medium saucepan over low heat, melt the unsalted butter, stirring gently until completely melted. Once melted, remove it from the heat and stir in granulated sugar until fully combined. This mixture should appear glossy and smooth, ready for the next ingredients that will make your brownies irresistibly rich.
Step 3: Add Eggs and Vanilla
Let the butter-sugar mixture cool slightly, then whisk in the large eggs and pure vanilla extract until smooth. This vital step adds moisture and richness, blending well with the previous ingredients. Your mixture should now have a lovely, glossy appearance, setting the stage for that fudgy brownie batter.
Step 4: Sift Dry Ingredients
In a separate bowl, sift together the all-purpose flour, unsweetened cocoa powder, salt, and baking powder. This step aerates the dry ingredients, contributing to the texture of your brownies. Ensure there are no lumps in the flour and cocoa, as this will enhance the overall quality of your Chocolate Mousse Brownies.
Step 5: Combine Wet and Dry Mixtures
Gradually stir the dry mixture into the wet mixture, using a spatula to combine gently. Mix until just combined, being careful not to overwork the batter; a few flour streaks are fine. This careful blending helps maintain the fudginess of your brownies, which is key to their delectability.
Step 6: Transfer to Pan
Pour the brownie batter into your prepared baking pan, spreading it evenly with a spatula. The batter should be thick and rich, with a slightly shiny surface. Make sure it’s distributed uniformly to ensure even baking of your Chocolate Mousse Brownies, which will create the perfect base for the mousse.
Step 7: Bake to Perfection
Place the pan in the preheated oven and bake for 30 to 35 minutes. Keep an eye on them—when a toothpick inserted comes out with moist crumbs instead of wet batter, they’re perfect! This visual cue will let you know your brownies are done without overbaking, maintaining that delicious fudgy texture.
Step 8: Cool Before Topping
Once baked, remove the brownies from the oven and allow them to cool completely in the pan on a wire rack. This cooling stage is essential for achieving the right consistency for layering the mousse on top, preventing any melting and ensuring a beautiful presentation.
Step 9: Prepare the Mousse
In a heatproof bowl, melt the semi-sweet chocolate. Place it over a saucepan of simmering water and stir gently until smooth. Allow the melted chocolate to cool slightly before incorporating it into the mousse to avoid affecting the texture as you blend it with the whipped cream.
Step 10: Whip the Cream
In a medium bowl, use an electric mixer to whip the heavy cream until soft peaks form. Ensure your bowl and beaters are chilled for the best results. This fluffy whipped cream is key to creating the light, airy mousse layer that will sit atop your rich brownie base, balancing the flavors perfectly.
Step 11: Beat Egg Whites
In another clean bowl, beat the egg whites until foamy. Gradually add granulated sugar while continuing to beat until stiff peaks form. This light and fluffy mixture will elevate your mousse, ensuring it has a delightful texture that contrasts beautifully with the brownies.
Step 12: Combine Mousse Elements
Gently fold the melted chocolate into the whipped cream until fully combined, then carefully incorporate the beaten egg whites. This folding technique preserves the airiness of the mousse, creating a luscious layer that will crown your Chocolate Mousse Brownies beautifully.
Step 13: Spread the Mousse
Pour the chocolate mousse mixture over the cooled brownie base, spreading it gently into an even layer using a spatula. This topping adds an irresistible creamy finish, enhancing the dessert’s appeal and creating a stunning visual presentation when served.
Step 14: Chill and Serve
Chill the assembled brownies in the refrigerator for 1-2 hours, allowing the mousse to set properly. Once firm, slice into squares and serve chilled. Your Chocolate Mousse Brownies are now ready to impress with their decadent layers and delightful textures!
Chocolate Mousse Brownies Variations & Substitutions
Feel free to let your creativity shine! These suggestions will add delightful twists to your Chocolate Mousse Brownies.
- Dairy-Free: Substitute unsalted butter with coconut oil and heavy whipping cream with coconut cream for a creamy, dairy-free treat.
- Gluten-Free: Use a gluten-free flour blend instead of all-purpose flour to make these brownies suitable for everyone.
- Egg-Free: Try flax eggs in place of large eggs to accommodate your vegan friends without losing the rich texture.
- Flavor Boost: Add a teaspoon of espresso powder to the brownie batter for a caffeine kick that amplifies the chocolate flavor.
- Caramel Swirl: Drizzle a layer of caramel sauce over the mousse before it sets for a decadent, sweet surprise in every bite!
- White Chocolate Twist: Replace semi-sweet chocolate with white chocolate for a unique flavor profile that still feels indulgent.
- Nutty Delight: Fold in chopped walnuts or pecans into the brownie batter for added texture and nutty flavor.
- Spiced Up: Incorporate a dash of cinnamon or chili powder to the brownie batter for a warm, spicy twist that complements the chocolate beautifully.
With these variations, you’re sure to keep your family and friends on their toes. If you’re inspired to experiment further, why not whip up a batch of Triple Chocolate Mousse or explore a delightful Double Chocolate Peppermint treat? Your dessert game just got even more exciting!
How to Store and Freeze Chocolate Mousse Brownies
-
Room Temperature: Keep uneaten brownies at room temperature for up to 1 day in an airtight container to maintain freshness.
-
Fridge: Store leftover Chocolate Mousse Brownies in the refrigerator for up to 4 days, tightly sealed to avoid drying out and absorbing odors.
-
Freezer: For longer storage, freeze the brownies by cutting them into squares, wrapping each piece in plastic wrap, and placing them in a freezer-safe container. They’ll last for up to 3 months.
-
Reheating: Thaw frozen brownies overnight in the fridge. Enjoy them cold, or warm slightly in the microwave for a few seconds to enhance their fudginess before serving!
Make Ahead Options
These Chocolate Mousse Brownies are perfect for busy home cooks looking to save time! You can prepare the brownie base up to 24 hours in advance—simply bake, cool completely, then cover tightly and refrigerate. For the mousse layer, it can be made up to 3 days ahead; just cover the bowl with plastic wrap to prevent any drying out. When you’re ready to serve, spread the prepared mousse over the chilled brownies and allow it to set in the fridge for at least 1-2 hours before slicing. This make-ahead strategy ensures you have a delicious dessert on hand with minimal effort on the day of serving—delighting your family or guests with a stunning treat!
What to Serve with Decadent Chocolate Mousse Brownies
When you create these heavenly morsels, consider pairing them with delightful accompaniments that will elevate your decadent dessert experience.
-
Fresh Berries: The tartness of raspberries or strawberries provides a refreshing contrast to the rich chocolate, enhancing each bite.
-
Vanilla Ice Cream: A scoop of creamy vanilla ice cream adds a delightful temperature contrast, melting slightly against the warm brownie base.
-
Whipped Cream: A dollop of freshly whipped cream is light and airy, balancing the dense texture of the mousse brownies perfectly.
-
Chocolate Sauce: Drizzling warm chocolate sauce over each slice not only enhances the chocolate flavor but makes for an indulgent treat!
-
Coffee or Espresso: A hot cup of coffee complements the richness of the chocolate, making it an ideal pairing for an after-dinner delight.
-
Sweet Wine: A glass of dessert wine, like a Port or a sweet red, contrasts beautifully with the brownies’ sweetness while bringing out their cocoa notes.
-
Coconut Macaroons: These chewy, sweet treats bring a tropical flair while their texture contrasts nicely with the smooth mousse layers.
Choose any or all of these pairings to make your dessert table shine and create an unforgettable chocolate experience!
Expert Tips for Chocolate Mousse Brownies
Cool Before Mousse: Ensure the brownies are completely cooled before adding the mousse to prevent melting and maintain layers.
Chill for Whipped Cream: For the best whipped cream consistency, chill your mixing bowl and beaters beforehand to achieve soft peaks easily.
Careful Mixing: Avoid overmixing the brownie batter; it should be just combined for the best fudgy texture that melts in your mouth.
Fresh Ingredients: Check the freshness of your baking powder and cocoa powder for optimal brownie rise and rich chocolate flavor in your Chocolate Mousse Brownies.
Layering Ideas: Experiment with flavors by adding crushed nuts or caramel drizzle atop the mousse for a delightful visual and flavor contrast!
Chocolate Mousse Brownies Recipe FAQs
How do I select the right cocoa powder for the brownies?
Absolutely! When selecting cocoa powder, for a deeper chocolate flavor, I recommend using Dutch-processed cocoa. This type undergoes an alkalization process, which mellows the acidity and enhances the richness of the chocolate. If you want a more traditional cocoa flavor, unsweetened natural cocoa works well too!
What are the best storage methods for leftover Chocolate Mousse Brownies?
Very! To maintain the freshness of your brownies, store them in an airtight container in the refrigerator for up to 4 days. Make sure they are fully cooled before sealing them to avoid extra moisture, which could lead to sogginess.
Can I freeze Chocolate Mousse Brownies for later?
Absolutely! For freezing, slice your brownies into squares, then wrap each piece tightly in plastic wrap. Place them in a freezer-safe container or zip-top bag to prevent freezer burn. They can be frozen for up to 3 months. When you’re ready to enjoy, simply thaw them overnight in the fridge!
What should I do if my brownies are too dry?
Don’t worry! If your brownies turn out dry, it likely means they were overbaked or the oven temperature was too high. To fix this in the future, try reducing the baking time by a few minutes. Also, make sure to test doneness with a toothpick—it should come out with moist crumbs, not clean! You can also consider adding an extra tablespoon of butter to your batter for moisture.
Are Chocolate Mousse Brownies safe for people with allergies?
Very! These brownies contain eggs, butter, and dairy, which may not be suitable for those with dairy allergies or vegans. For a dairy-free option, substitute with coconut cream for the mousse and use egg replacers like flax eggs or aquafaba. Always check packaging for allergens if serving to others.
What visual cues should I look for to know my brownies are done baking?
Absolutely! While baking, look for a shiny, cracked top and the edges pulling slightly away from the pan. When testing, insert a toothpick into the center; it should come out with moist crumbs, not wet batter. This means you’ve achieved that delectable fudginess we all crave!
Decadent Chocolate Mousse Brownies That Wow Every Time
Ingredients
Equipment
Method
- Preheat your oven to 350°F (175°C) and grease a 9x13 inch baking pan.
- Melt the unsalted butter in a medium saucepan over low heat, stirring until completely melted. Remove from heat and stir in granulated sugar until glossy and smooth.
- Let the butter-sugar mixture cool slightly, then whisk in the eggs and vanilla extract until smooth.
- Sift together the flour, cocoa powder, salt, and baking powder in a separate bowl.
- Gradually stir the dry mixture into the wet mixture, mixing gently until just combined.
- Pour the brownie batter into the prepared baking pan, spreading evenly.
- Bake for 30 to 35 minutes, until a toothpick inserted comes out with moist crumbs.
- Allow the brownies to cool completely in the pan on a wire rack.
- Melt the semi-sweet chocolate in a heatproof bowl over simmering water, then let it cool slightly.
- Whip the heavy cream in a medium bowl until soft peaks form.
- Beat the egg whites until foamy, then gradually add sugar and continue beating until stiff peaks form.
- Fold the melted chocolate into the whipped cream, then incorporate the beaten egg whites.
- Spread the mousse mixture over the cooled brownie base, smoothing into an even layer.
- Chill in the refrigerator for 1-2 hours until set, then slice into squares and serve chilled.
Leave a Reply