
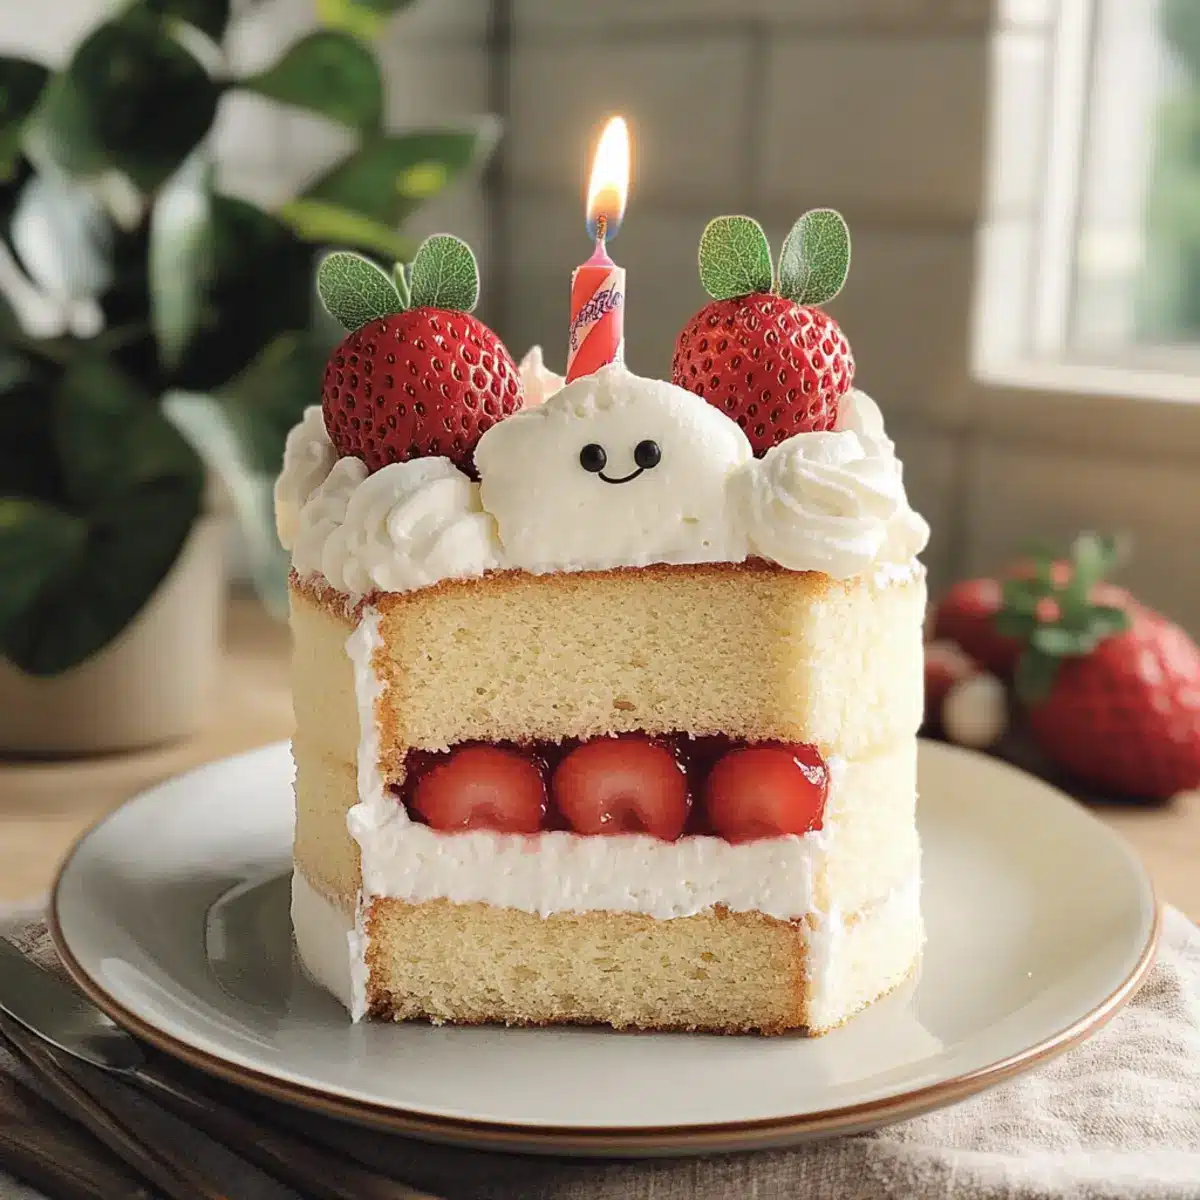
The laughter of children fills the room, their eyes sparkling in delight at the sight of a whimsical cake inspired by their favorite plushie. Meet the Jellycat Birthday Cake, a sweet creation that not only brings joy but also serves as the perfect centerpiece for any celebration. With its soft vanilla layers, oozy strawberry jam, and airy whipped cream, this dessert is a fun twist on traditional birthday cakes—both adorable and irresistibly scrumptious! Plus, it’s easy to make, whether you’re crafting a 6-inch version for an intimate gathering or doubling the ingredients for a bigger bash. Imagine the smiles as you slice into this delightful treat, making memories one bite at a time. Ready to bake up some joy? Let’s get started!
Why is This Cake a Must-Try?
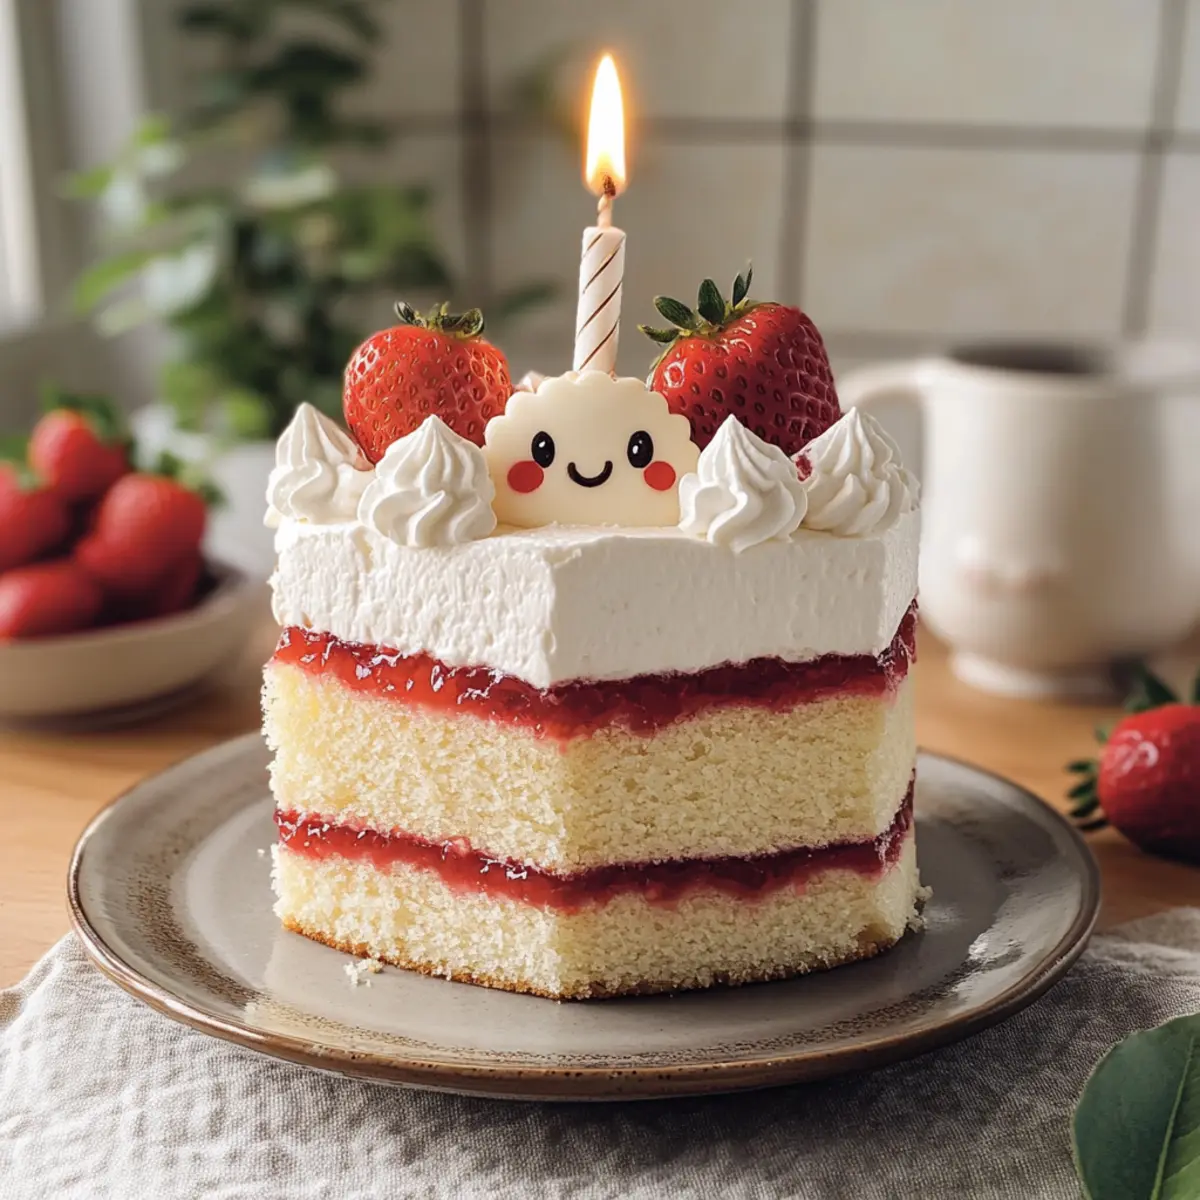
Whimsical Fun: The Jellycat Birthday Cake is not just a dessert; it’s an experience that adds joy to any celebration, especially for kids!
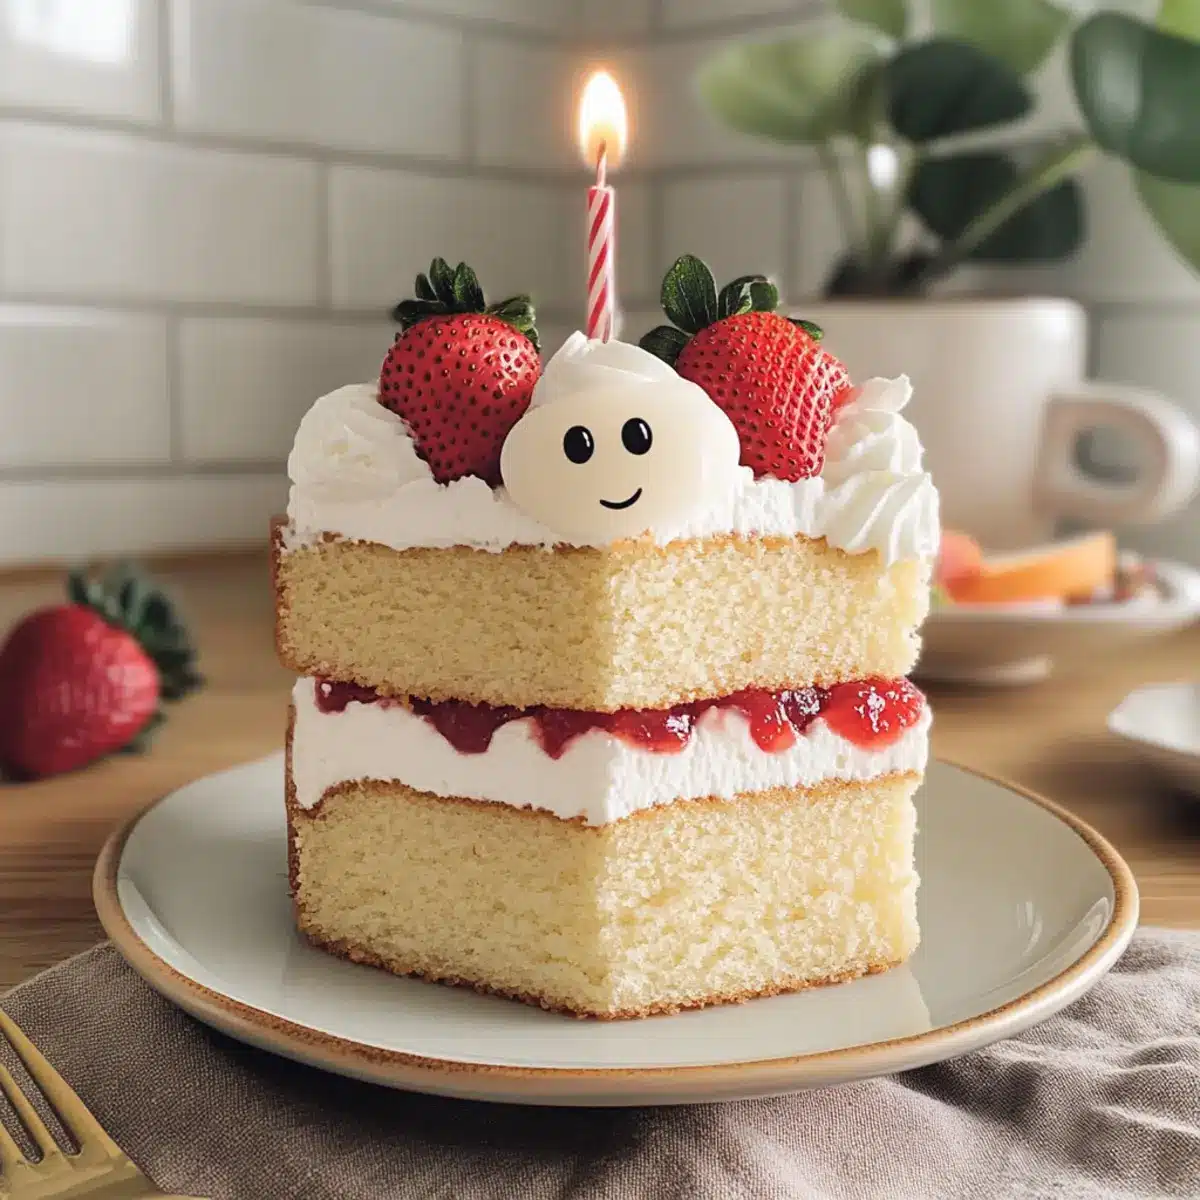
Delicious Layers: With soft vanilla cake and oozy strawberry jam, every bite is a burst of flavor that will have everyone asking for seconds.
Easy to Make: You don’t need to be a professional baker to whip up this charming cake—just follow the simple steps and enjoy the process!
Endless Variations: Feel free to customize with different jams or even try a chocolate version by experimenting with whipped cream flavors.
Whether you’re hosting a birthday party or a casual get-together, this cake is sure to be a crowd-pleaser, much like the delightful Chocolate Cherry Cake or the comforting Butter Pecan Cake.
Jellycat Birthday Cake Ingredients
For the Cake
- All-purpose flour – Provides structure to the cake; substitute with cake flour for a lighter texture.
- Baking powder – Helps the cake rise and become fluffy.
- Salt – Enhances the cake’s sweetness.
- Large eggs – Contributes to moisture and richness; use room temperature eggs for better incorporation.
- Granulated sugar – Sweetens the cake while helping retain moisture.
- Unsalted butter – Adds flavor and richness; can be substituted with margarine if needed.
- Milk – Provides moisture; can be replaced with dairy-free alternatives like almond milk.
- Oil – Keeps the cake moist; can use vegetable or canola oil.
- Vanilla extract – Enhances flavor; almond extract can be used for a different taste.
For the Whipped Cream
- Whipping cream – Essential for frosting, providing lightness; ensure the cream is cold for optimal whipping.
- Powdered sugar – Sweetens the cream for a delightful finish.
- Cocoa powder – Adds chocolate flavor to a portion for decorative piping.
For the Filling and Decoration
- Strawberry jam – Used as a filling; can be homemade or store-bought for convenience.
- Fresh strawberries – Used for decoration; either diced or halved to add a fresh touch.
- Dark chocolate – For piping the features of the cake; milk chocolate is also an option for a sweeter touch.
This Jellycat Birthday Cake is sure to create smiles and sweet memories, making it the perfect addition to any celebration!
Step‑by‑Step Instructions for Jellycat Birthday Cake
Step 1: Preheat the Oven
Begin by preheating your oven to 350°F (175°C). While the oven warms up, prepare two 6-inch round cake pans by lining the bottoms with parchment paper, ensuring easy release after baking. This attention to detail will help your Jellycat Birthday Cake maintain its perfect shape and delightful soft texture.
Step 2: Mix the Dry Ingredients
In a medium bowl, whisk together 2 cups of all-purpose flour, 1 tablespoon of baking powder, and ½ teaspoon of salt until well combined. This mixture creates a fluffy base for your cake. Set the bowl aside to focus on the wet ingredients, as these will help bring your batter together seamlessly.
Step 3: Heat the Wet Ingredients
In a small saucepan, combine ½ cup of unsalted butter, ½ cup of milk, ⅓ cup of vegetable oil, and 1 teaspoon of vanilla extract. Heat over medium-low heat, stirring until the butter melts completely, but be careful not to let it boil. Once melted, remove from heat and allow it to cool slightly before adding to your batter.
Step 4: Beat the Eggs and Sugar
In a large mixing bowl, use an electric mixer to beat together 3 large eggs and 1 cup of granulated sugar on high speed for about 6 minutes. You’ll know it’s ready when the mixture turns pale and fluffy, tripling in volume, which will provide your Jellycat Birthday Cake with incredible lift and texture.
Step 5: Combine Wet and Dry Ingredients
Gently fold the cooled butter mixture into the egg and sugar mixture. Gradually add the dry ingredients, mixing on low speed until just combined. Be careful not to overmix; you want the batter to remain light and airy for that melt-in-your-mouth experience in each slice of your cake.
Step 6: Bake the Cake
Divide the cake batter evenly between the prepared pans, filling each one about halfway. Place them in the preheated oven and bake for 35-40 minutes, or until a toothpick inserted in the center comes out clean. Keep an eye on the cakes as they bake; they should rise beautifully and become golden brown.
Step 7: Cool the Cakes
Once baked, remove the cakes from the oven and let them cool in the pans for about 15 minutes. Afterward, gently turn them out onto a wire rack to cool completely. This step is crucial to avoid a soggy bottom on your Jellycat Birthday Cake, allowing for a light and fluffy finish.
Step 8: Prepare the Whipped Cream
In a large bowl, combine 2 cups of cold whipping cream, ½ cup of powdered sugar, and 1 teaspoon of vanilla extract. Beat with an electric mixer on high speed until stiff peaks form. Remember to monitor closely to avoid over-whipping, which could result in a grainy texture for your frosting.
Step 9: Mix Cocoa for Piping
Set aside about 1 cup of the whipped cream for frosting the cake. To the remaining cream, gently fold in 2 tablespoons of cocoa powder, creating a beautifully rich chocolate mixture for decorative piping. This adds a delightful contrast to your playful Jellycat Birthday Cake.
Step 10: Assemble the Cake
To assemble your Jellycat Birthday Cake, place one cooled layer on a serving platter. Pipe a layer of whipped cream on top, then spread a generous layer of strawberry jam evenly over the cream. Carefully place the second layer on top, creating a lovely surprise filling.
Step 11: Decorate the Cake
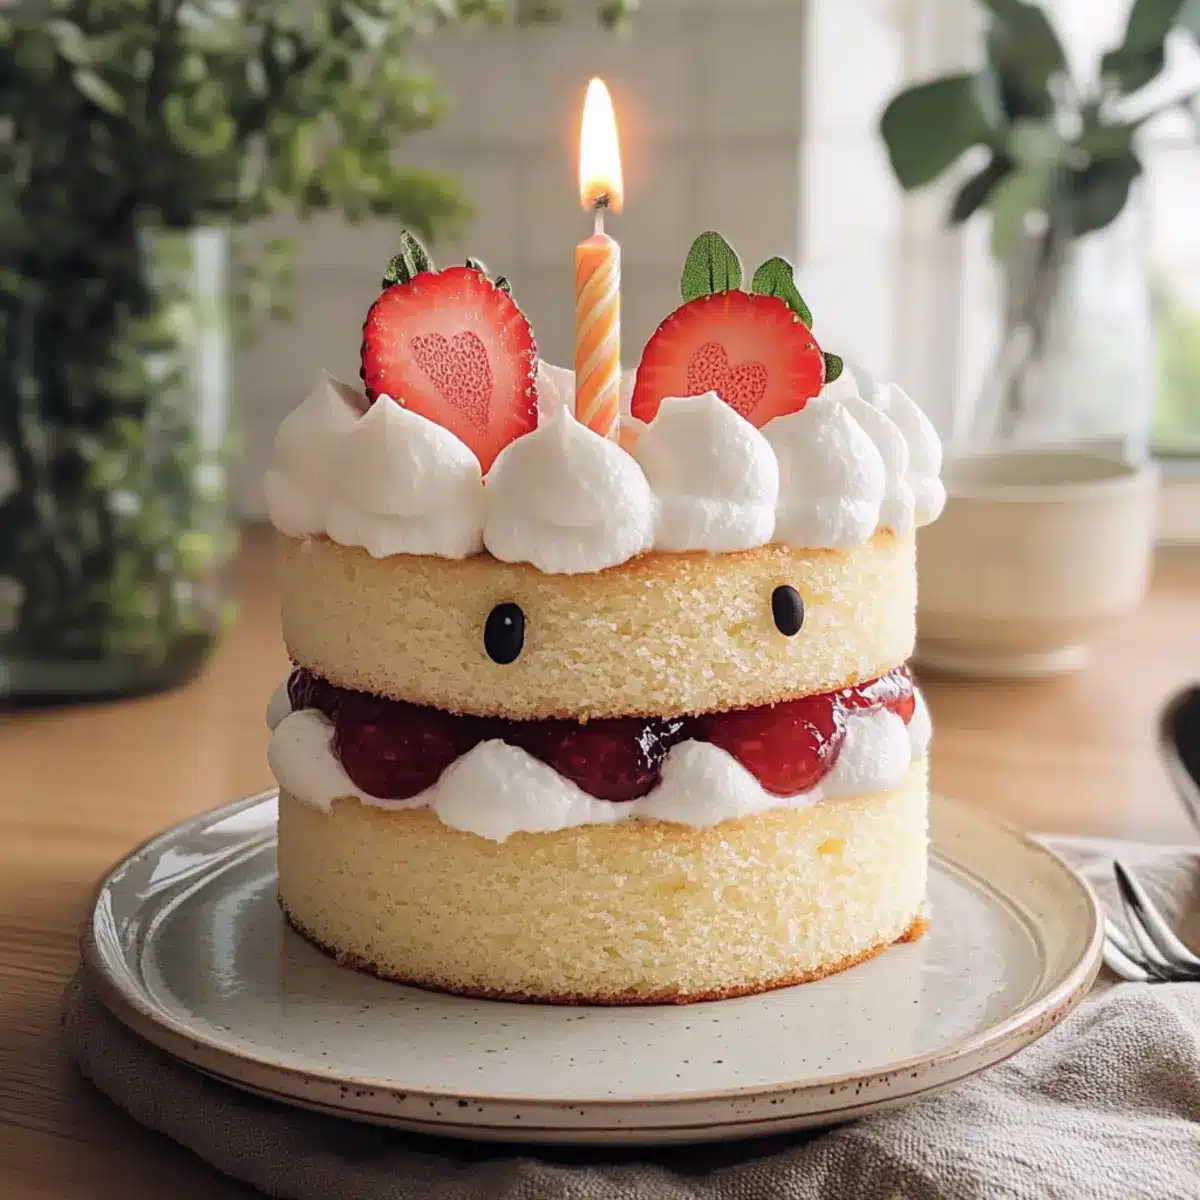
For a final touch, use the remaining whipped cream to frost the top and sides of the cake. Decorate with fresh strawberries, either halved or diced, for a vibrant visual appeal. This step enhances not just the flavor, but also the whimsy of your Jellycat Birthday Cake!
Step 12: Pipe the Chocolate Details
Melt 2 ounces of dark chocolate in a microwave or double boiler and pour it into a piping bag. Carefully pipe the face of your Jellycat Birthday Cake onto the top, crafting adorable features that will surely delight everyone. It’s the perfect finishing touch to this playful birthday centerpiece!
Expert Tips for Jellycat Birthday Cake
-
Perfect Temperature: Ensure your milk and butter mixture is warm but not boiling when adding to the batter. This helps achieve a lighter, fluffier texture in your Jellycat Birthday Cake.
-
Room Temperature Eggs: Using room temperature eggs allows for better incorporation into your batter, resulting in a moist cake. Don’t skip this step!
-
Avoid Over-Whipping: When whipping the cream, stop once stiff peaks form to avoid graininess. This keeps your frosting light and airy.
-
Cool Completely: Allow the cakes to cool completely before frosting. Frosting a warm cake can lead to melted cream and a messy appearance.
-
Cut with Care: Use a serrated knife to level the cooled cake layers for a neat stacking surface, ensuring your Jellycat Birthday Cake is beautiful from every angle.
-
Experiment with Flavors: Don’t hesitate to switch up the jams or add food coloring to the whipped cream. These small changes can make a big impact on both presentation and taste!
Make Ahead Options
These Jellycat Birthday Cakes are perfect for those busy home cooks looking to save time! You can bake the cake layers up to 3 days in advance; simply cool, wrap them tightly in plastic wrap, and refrigerate. The whipped cream can also be prepared up to 24 hours ahead—just keep it in the refrigerator and give it a quick whip before using to restore its airy texture. If you’re planning to assemble the cake later, wait until you’re ready to serve to spread the strawberry jam and add the fresh strawberries, ensuring they stay vibrant and maintain quality. With these make-ahead tips, you’ll have a delightful dessert ready with minimal effort, perfect for any celebration!
How to Store and Freeze Jellycat Birthday Cake
Fridge: Store leftover Jellycat Birthday Cake in an airtight container for up to 3 days. This keeps the cake moist while protecting its whimsical decorations.
Freezer: For longer storage, freeze the cake wrapped tightly in plastic wrap and foil for up to 1 month. Let it thaw overnight in the fridge for the best texture when ready to serve.
Reheating: If you prefer enjoying your cake slightly warm, microwave a slice for about 10-15 seconds. This makes the whipped cream even fluffier while maintaining the delightful flavors.
What to Serve with Jellycat Birthday Cake?
Indulge in the whimsical joy of serving this delightful cake alongside complementary delights that will make your celebration even sweeter.
- Vanilla Ice Cream: The creamy, rich taste of vanilla ice cream balances the sweetness of the cake, creating a comforting duo that melts in your mouth.
- Fresh Fruit Salad: A colorful mix of berries and citrus adds a refreshing contrast to the cake’s sweetness, cutting through the richness with bright flavors.
- Chocolate Sauce: Drizzling warm chocolate sauce over a slice of cake adds a luxurious touch that elevates the dessert experience for any chocolate lover.
- Whipped Cream: Serve extra whipped cream on the side for those who can’t resist an extra dollop, enhancing the cake’s fluffy texture and sweetness.
Pair the Jellycat Birthday Cake with refreshing beverages to round out the meal beautifully.
- Sparkling Lemonade: The effervescent zest of sparkling lemonade refreshes the palate, complementing the cake’s flavors with its playful tartness.
- Mint Iced Tea: This lightly sweetened, herbal drink pairs well with cake, offering a soothing contrast to the sugary delight with aromatic notes.
- Coffee: A cup of freshly brewed coffee balances the sweetness and adds a warm note, making it the perfect end to an enchanting meal.
- Mini Cupcakes: For additional variety, serve a selection of mini cupcakes alongside, giving guests delightful options that match the fun spirit of the Jellycat Birthday Cake.
Jellycat Birthday Cake Variations
Feel free to personalize your Jellycat Birthday Cake with these fun twists that’ll make each creation your own!
-
Double Layer: Increase the joy by doubling the ingredients for an impressive 8″ cake, perfect for larger gatherings. Everyone will adore the extra layers of fun!
-
Buttercream Bliss: Swap out whipped cream for buttercream frosting for a richer, creamier texture. This is especially great for warmer days when you want extra stability.
-
Jam Varieties: Experiment with different flavors of jam, like raspberry or peach, to add a unique touch to the filling. Each fruit brings its own delightful twist, making each slice exciting.
-
Colorful Whipped Cream: Add a few drops of food coloring to your whipped cream to match any celebration theme. Vibrant shades will transform your cake into a festive masterpiece!
-
Nutty Crunch: Incorporate crushed nuts or a sprinkle of toasted almonds on top for added texture and flavor. This delightful crunch complements the soft cake beautifully.
-
Dairy-Free Delight: Use coconut cream instead of regular whipping cream for a dairy-free alternative that’s just as luscious. Your guests will love this unique twist without missing out!
-
Chocolate Lover’s Version: Fold cocoa powder or melted chocolate into the batter for a chocolatey cake base instead of vanilla. Pair it with a chocolate jam for a truly decadent dream!
-
Spice It Up: Add a dash of cinnamon or nutmeg to your batter for a warm, inviting flavor that adds depth. This cozy twist will keep everyone coming back for more!
Looking for more cake inspiration? Check out this delightful Blueberry Coffee Cake or indulge in the rich flavors of a Chocolate Mousse Cake for a sweet surprise!
Jellycat Birthday Cake Recipe FAQs
What type of flour should I use for the Jellycat Birthday Cake?
I recommend using all-purpose flour, which provides great structure for the cake. If you’re looking for an even lighter texture, feel free to substitute with cake flour instead!
How should I store the Jellycat Birthday Cake?
Store your leftover Jellycat Birthday Cake in an airtight container in the refrigerator for up to 3 days. This will help keep it moist and preserve its delightful decorations. If you find you have more cake than you can eat, you can also freeze it!
Can I freeze the Jellycat Birthday Cake?
Absolutely! To freeze the cake, first wrap it tightly in plastic wrap, followed by a layer of foil to prevent freezer burn. It can be stored in the freezer for up to 1 month. When you’re ready to enjoy it, simply thaw overnight in the refrigerator for the best texture.
What should I do if my whipped cream curdles?
If your whipped cream curdles, it may be due to over-whipping. Stop whipping as soon as stiff peaks form and consider starting over with fresh cream. Remember to keep your cream very cold for optimal results, and practice gentle folding when mixing in any flavors!
Are there any allergies I should consider with this recipe?
Yes! This Jellycat Birthday Cake contains common allergens such as eggs, dairy, and gluten. If you are serving guests with dietary restrictions, I recommend using dairy-free milk alternatives and egg substitutes. For gluten-free cakes, consider using a gluten-free flour blend!
Can I personalize the Jellycat Birthday Cake for different themes?
The more the merrier! You can definitely customize this cake. Consider using flavored jams instead of strawberry, adding food coloring to the whipped cream, or even using different toppings like sprinkles or fruit to fit different birthday celebrations or festive themes.
Whimsical Jellycat Birthday Cake for Sweet Celebrations
Ingredients
Equipment
Method
- Preheat your oven to 350°F (175°C) and prepare two 6-inch round cake pans by lining the bottoms with parchment paper.
- In a medium bowl, whisk together 2 cups of all-purpose flour, 1 tablespoon of baking powder, and ½ teaspoon of salt.
- In a small saucepan, combine ½ cup of unsalted butter, ½ cup of milk, ⅓ cup of vegetable oil, and 1 teaspoon of vanilla extract over medium-low heat until the butter melts.
- In a large mixing bowl, beat together 3 large eggs and 1 cup of granulated sugar on high speed for about 6 minutes.
- Gently fold the cooled butter mixture into the egg and sugar mixture, then add the dry ingredients.
- Divide the batter between the prepared pans and bake for 35-40 minutes.
- Once baked, let the cakes cool in the pans for about 15 minutes before transferring them to a wire rack.
- In a large bowl, combine 2 cups of cold whipping cream, ½ cup of powdered sugar, and 1 teaspoon of vanilla extract. Beat until stiff peaks form.
- Fold 2 tablespoons of cocoa powder into a portion of the whipped cream.
- To assemble, place one cooled layer on a serving platter, pipe a layer of whipped cream, and spread a generous layer of strawberry jam.
- Use the remaining whipped cream to frost the top and sides of the cake, and decorate with fresh strawberries.
- Melt 2 ounces of dark chocolate and pipe the features on top of the cake.
Leave a Reply