
The aroma wafting through my kitchen was nothing short of magic as I stirred the savory concoction of my latest obsession: Korean Pot Roast. This hands-off recipe has transformed our weeknight dinners, inviting my family to gather around the table and savor each succulent bite of tender beef bathed in a luscious sauce of soy, garlic, and the delightful kick of gochujang. Not only is it a comforting dish that warms the soul, but it’s a true lifesaver for busy evenings—just toss everything in your Dutch oven, set the timer, and let it work its wonders. Whether you’re looking for a hearty meal to impress or simply want to revive your love for homemade food, this pot roast delivers both flavor and ease. Curious to see how easily it can become your new family favorite? Let’s dive in!
Why choose this Korean Pot Roast?
Hearty Comfort: This Korean pot roast is the ultimate comfort food, soaking your home in rich, savory aromas while providing a warm and filling meal for everyone.
Hands-Off Cooking: With its easy-to-follow instructions, you can set it and forget it! Just toss everything in a Dutch oven and let it slow-cook into tender perfection, freeing up your valuable time.
Unique Flavor Profile: The combination of soy sauce, garlic, and gochujang creates a delightful symphony of flavors that will surely excite your taste buds. Whether served with steamed rice or a side of kimchi, it’s a must-try!
Kid-Friendly Appeal: Picky eaters will love the tender meat and mild sweetness of the sauce, making it a family-friendly option. Perfect for those busy weeknight dinners!
Storage Magic: Enjoy leftovers that only get better with time. This pot roast can be refrigerated for up to four days or frozen for future meals. In no time, you’ll be cherishing its cozy charms again, just like with my Gnocchi Chicken Pot recipe!
Korean Pot Roast Ingredients
For the Roast
- Chuck Roast – Use well-marbled cuts for tenderness; avoid lean cuts for best results.
- Kosher Salt – Essential for seasoning; adjust to taste based on preference.
For the Savory Sauce
- Fresh Ginger – Adds warmth and spiciness; freshly grated is preferred for optimal flavor.
- Garlic – Provides aromatic depth; always opt for fresh cloves for a stronger taste.
- Soy Sauce or Tamari – The base of the sauce; low-sodium options help control saltiness.
- Gochujang Paste – Essential for that signature heat and hint of sweetness; use authentic Korean brands.
- Brown Sugar – Balances the savory flavors and enhances caramelization; adjust to taste for desired sweetness.
For Added Depth
- Sweet Onion – Adds a natural sweetness; yellow onion can be used as a substitute.
- Vegetable Oil – Necessary for searing the meat, enhancing flavor through browning.
- Beef Stock – Keeps the meat moist and flavorful; chicken stock is a lighter alternative.
Expert Notes
- Optional Vegetables – Feel free to add carrots or potatoes for heartiness, making this Korean pot roast even more satisfying.
- Storage Tips – Refrigerated leftovers can be enjoyed for up to four days; the flavors continue to improve over time.
Step‑by‑Step Instructions for Korean Pot Roast
Step 1: Preheat and Prepare
Begin by preheating your oven to 350°F (175°C). While it heats up, gather your trust Dutch oven and place it on the stovetop. Ensure it’s ready to go for the delicious Korean pot roast that awaits. This is essential for getting that perfect braise you’re aiming for!
Step 2: Season the Meat
Pat the chuck roast dry with paper towels to ensure a great sear. Generously season all sides with kosher salt, this is important for enhancing the flavor of the beef in your Korean pot roast. Make sure the salt is evenly distributed, clinging to the meat for optimal seasoning.
Step 3: Sear the Beef
Heat a couple of tablespoons of vegetable oil in your Dutch oven over medium-high heat. Once shimmering, carefully place the seasoned chuck roast into the pot. Sear each side for about 2-3 minutes until you get a rich golden-brown color, which will intensify the flavors in your final dish. Once browned, remove the roast and set it aside.
Step 4: Sauté the Onion
With the Dutch oven still on medium heat, add your chopped sweet onion to the pot. Sauté for approximately 4 minutes until it begins to soften and become translucent. This will create a flavorful base for your Korean pot roast sauce that will complement the richness of the beef beautifully.
Step 5: Add Aromatics
Stir in minced garlic and freshly grated ginger into the sautéed onions, cooking for about 1 minute or until fragrant. This step infuses your pot roast with enticing aromas that provide depth and warmth in the final dish. Keep stirring to prevent burning!
Step 6: Deglaze the Pot
If you notice any brown bits sticking to the bottom of the Dutch oven, it’s time to deglaze! Pour in half a cup of beef stock, scraping the bottom with a wooden spoon to lift those delicious flavors. This process not only cleans the pot but adds even more richness to your Korean pot roast.
Step 7: Assemble the Sauce
Next, stir in gochujang paste, brown sugar, and soy sauce until everything is well combined. Let the sauce bubble for a minute, allowing the heat to meld all the wonderful flavors together. You should see a beautiful, vibrant sauce that’s ready to embrace the chuck roast.
Step 8: Return the Beef
Now it’s time to return the seared beef to the pot along with any juices that have collected. Pour in the remaining beef stock until the roast is mostly submerged. Bring everything to a gentle simmer on the stovetop for about 5 minutes, allowing the flavors to merge once again before heading to the oven.
Step 9: Bake to Perfection
Cover the Dutch oven with its lid and transfer it to your preheated oven. Let the Korean pot roast cook for about 2 hours or until the beef becomes incredibly tender and easily shreddable. The aromas wafting from the oven will be mouthwatering, signifying that deliciousness is on the way!
Step 10: Rest and Serve
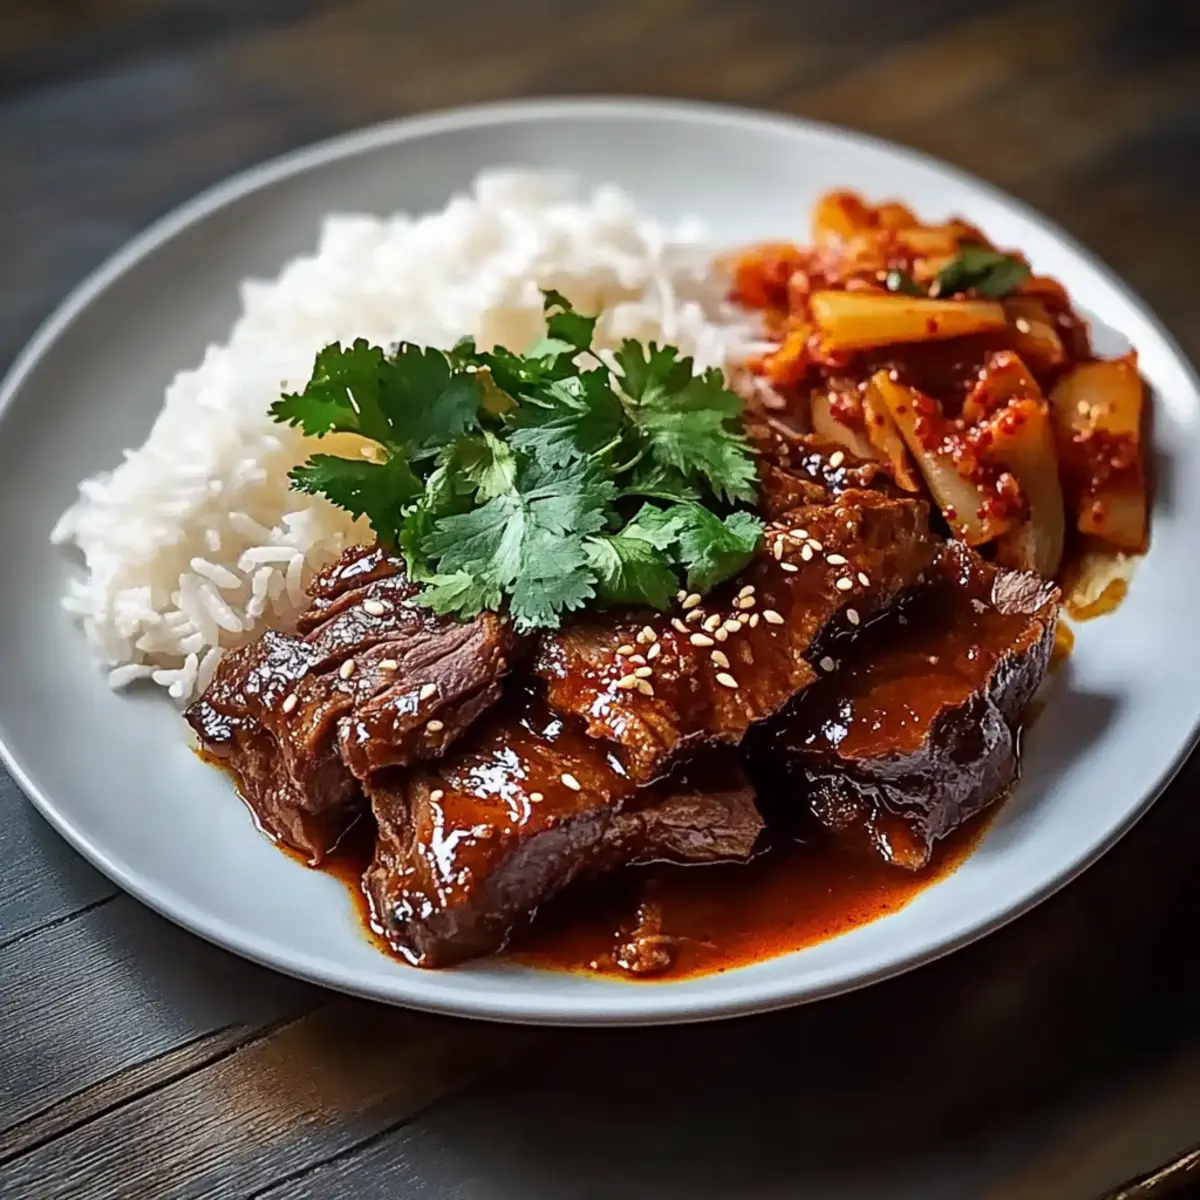
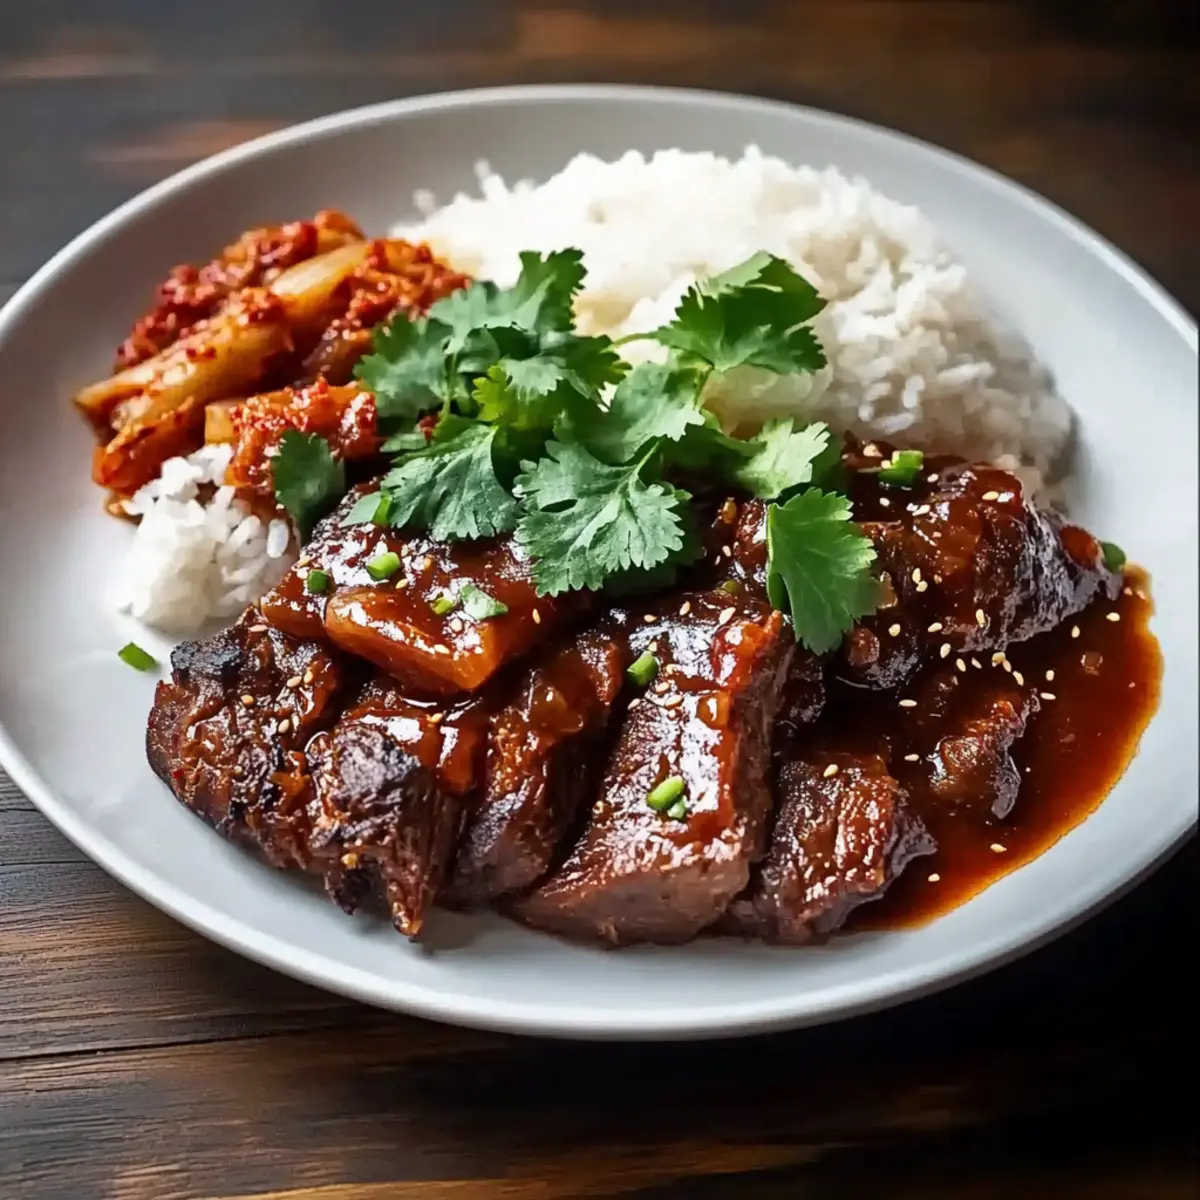
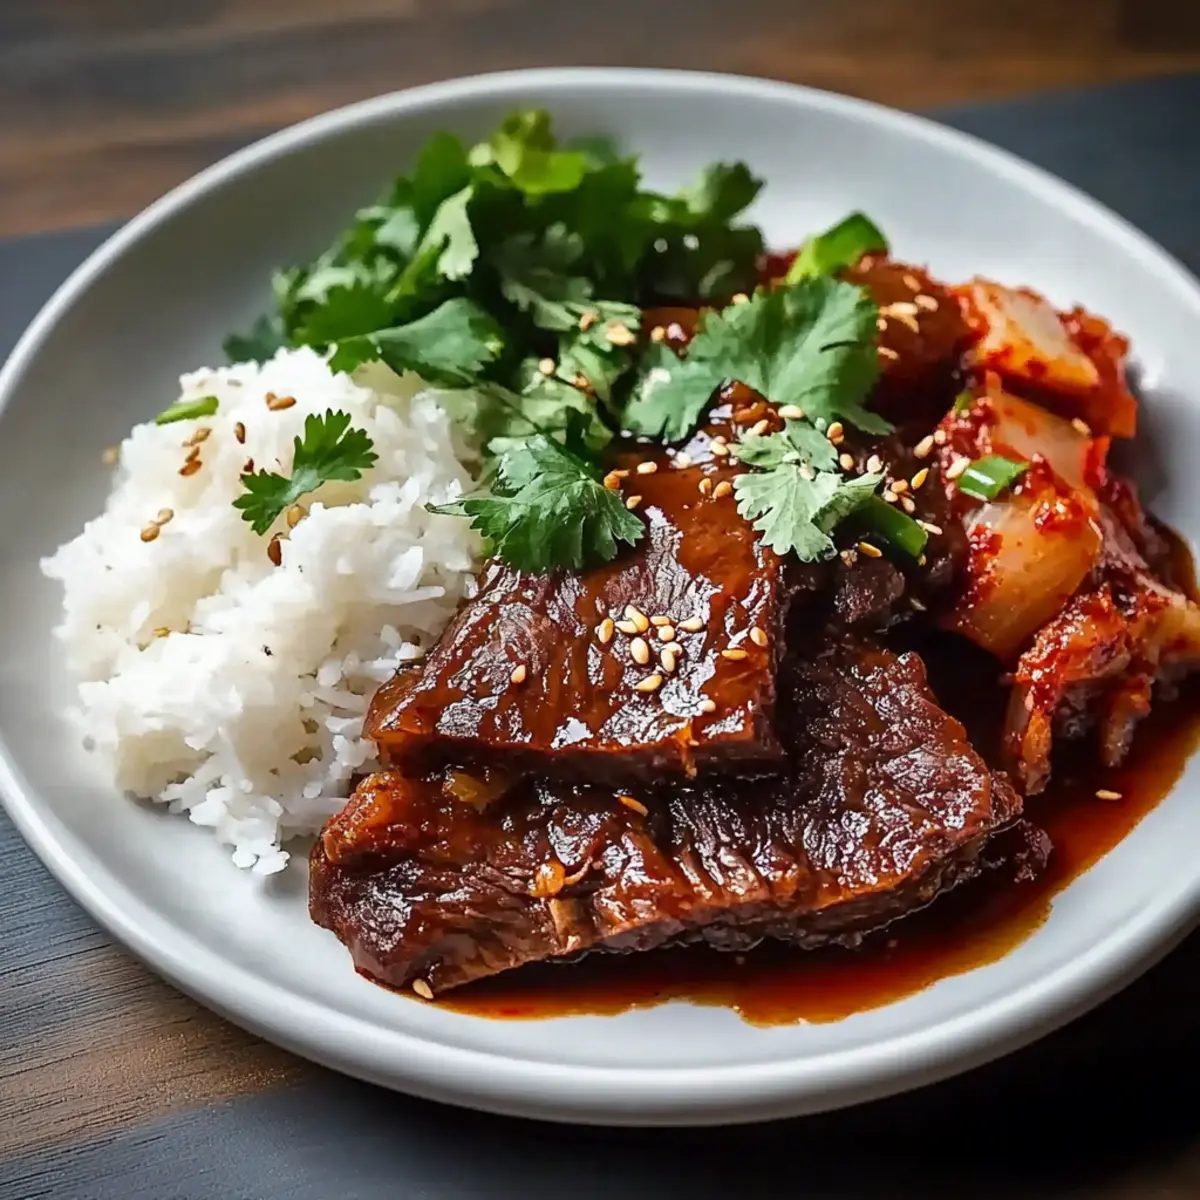
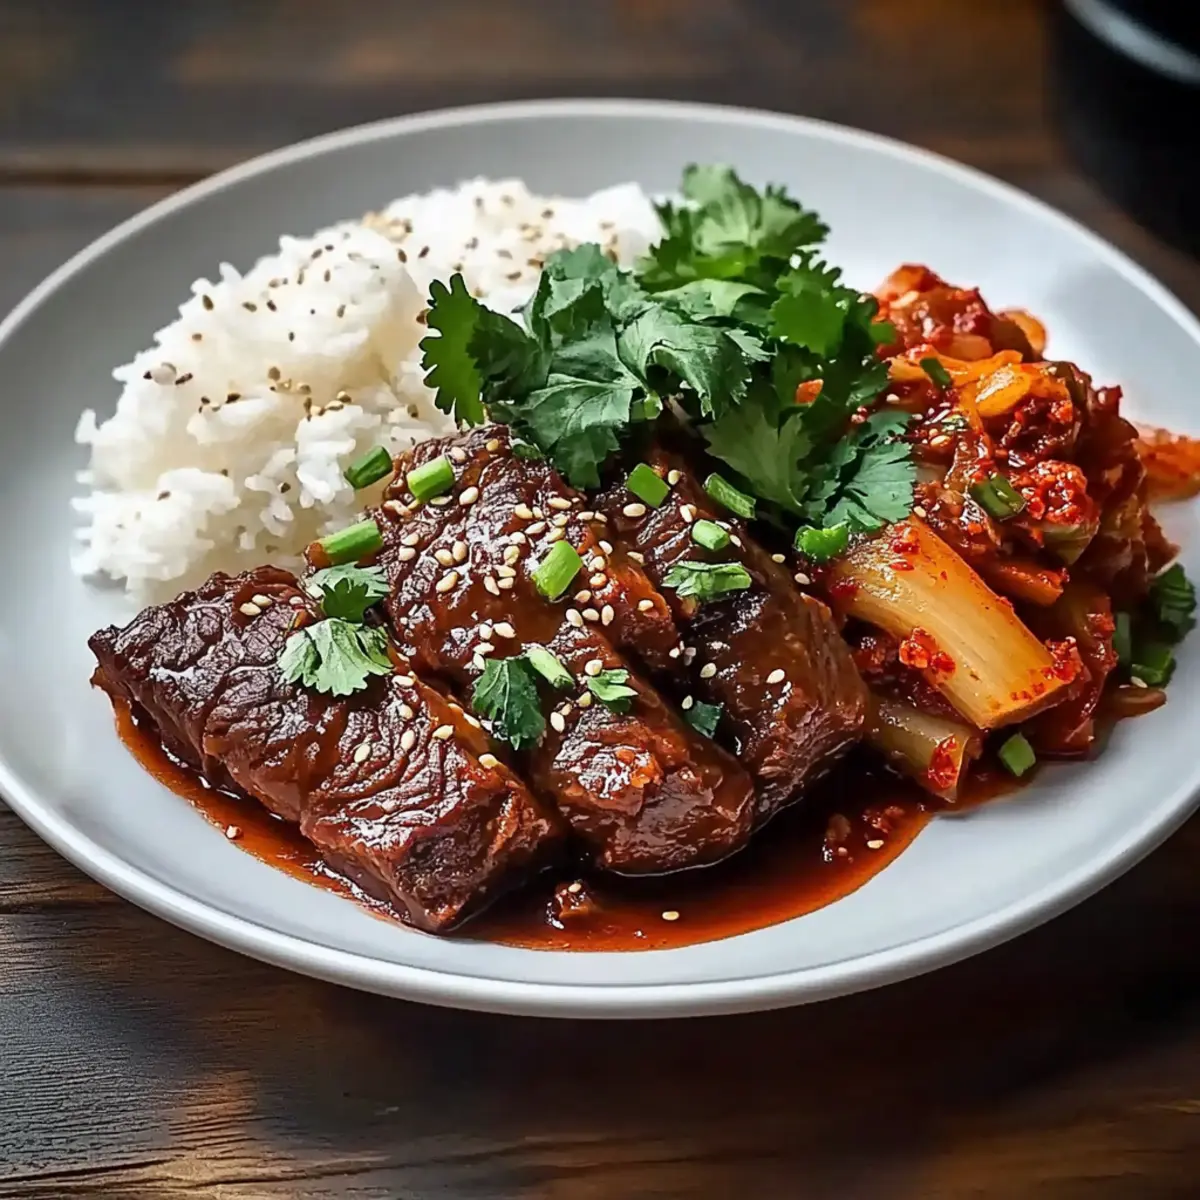
Once the cooking time is up, carefully remove the pot from the oven. Let the Korean pot roast rest for 10-15 minutes before slicing. This resting period ensures the juices redistribute, making each bite succulent. Serve it with steamed rice, fresh cilantro, and a side of kimchi for a comforting meal that will surely delight your family!
Korean Pot Roast Variations & Substitutions
Feel free to get creative and customize your Korean pot roast to suit your family’s tastes and dietary needs!
- Brisket: Swap chuck roast for brisket for a richer, deeper flavor and a touch more fat.
- Short Ribs: Try using short ribs for a more succulent, meaty experience with a unique texture twist.
- Vegetable Medley: Add carrots, potatoes, or even zucchini for hearty vegetable goodness that melds beautifully with the sauce.
- Spicy Kick: If you like it hotter, increase the gochujang or toss in some fresh chili peppers for an exciting heat elevation.
- Alternative Sweeteners: Replace brown sugar with honey or maple syrup for a delightful but slightly different sweetness.
- Soy-Free Option: Use coconut aminos instead of soy sauce or tamari for a soy-free version that still packs plenty of flavor.
- Umami Boost: Stir in a tablespoon of miso paste for an umami punch that deepens the complexity of the sauce.
- Smoky Flavor: Incorporate a dash of smoked paprika for a surprising twist that adds depth and warmth to the overall dish.
Mix and match these variations to create a Korean pot roast that’s truly your own! And while you’re at it, why not explore a side of Honey Curry Roasted Cauliflower or a serving of Roasted Pears with Blue Cheese for a delightful meal pairing that complements the flavors beautifully?
What to Serve with Irresistible Korean Pot Roast?
Enhance your dining experience with these delightful side dishes that perfectly complement the savory depth of the pot roast.
-
Steamed White Rice: A classic pairing that absorbs the rich sauce, providing a perfect balance of flavors and textures. It’s the ultimate comfort you want beside tender meat.
-
Kimchi: This tangy, spicy condiment adds a refreshing crunch that cuts through the richness of the pot roast, elevating your meal with a zesty kick.
-
Sautéed Bok Choy: Lightly sautéed, this green vegetable offers a subtle crunch and a hint of earthiness, creating a wonderful contrast to the tender roast.
-
Roasted Carrots: With their natural sweetness, roasted carrots add vibrant color and a caramelized flavor that harmonizes beautifully with the savory notes of the beef.
-
Miso Soup: A warm, umami-rich miso soup serves as a light appetizer to start the meal, bringing a warm embrace before diving into the hearty main course.
-
Cucumber Salad: A fresh salad with thinly sliced cucumbers dressed in sesame oil brings a crunchy and refreshing element that lightens the overall meal experience.
-
Red Wine: A glass of smooth red wine, like a Merlot or Cabernet Sauvignon, pairs exquisitely, enhancing the robust flavors of the pot roast while rounding out a memorable dinner.
-
Chocolate Cake: For dessert, a slice of rich chocolate cake offers a sweet ending to your cozy meal, contrasting with the savory main dish. It’s an indulgent treat that everyone will adore!
Each of these pairings beautifully complements the Korean pot roast, creating a well-rounded meal that will make your family gatherings extra special.
Make Ahead Options
This Korean Pot Roast is ideal for meal prep enthusiasts looking to save time during busy weeknights! You can season and sear the chuck roast up to 24 hours in advance, then store it in the refrigerator until you’re ready to cook. The savory sauce can also be prepared in advance; simply combine the ingredients, store them in an airtight container, and refrigerate for up to 3 days. When ready to enjoy your pot roast, just follow the last steps by adding the meat and sauce to your Dutch oven, then bake for that melt-in-your-mouth experience. By prepping these components ahead, you’ll still achieve that rich, comforting flavor without the last-minute rush.
Expert Tips for Korean Pot Roast
-
Proper Seasoning: Always generously season the chuck roast with kosher salt before searing. A well-seasoned meat is crucial for bringing out the robust flavors in your Korean pot roast.
-
Avoid High Heat: Resist the urge to crank up the heat; low and slow cooking is key for achieving tender, melt-in-your-mouth beef.
-
Don’t Skip Searing: Browning the meat adds rich flavors to your pot roast. Skipping this step results in a less satisfying taste profile.
-
Deglazing is Essential: Be sure to deglaze your pot! This captures all those flavorful bits stuck at the bottom, enhancing the overall taste of your dish.
-
Resting Period Matters: After baking, allow the pot roast to rest for 10-15 minutes before slicing. This step helps retain the juices and keep the meat succulent.
-
Keep an Eye on Liquid: Avoid adding too much liquid initially; the roast will release its own juices. You can always adjust later if needed!
How to Store and Freeze Korean Pot Roast
Fridge: Refrigerate leftovers in an airtight container for up to 4 days; this allows the flavors to meld and improve over time.
Freezer: Freeze your Korean pot roast in portions along with the sauce for up to 3 months. Ensure it’s well-wrapped to prevent freezer burn.
Reheating: To reheat, thaw in the refrigerator overnight, then gently warm on the stovetop over low heat until heated through, preserving its tenderness.
Enjoyment Tip: Relish the comforting flavors even after a busy evening; this pot roast will deliver a warm embrace any night of the week.
Korean Pot Roast Recipe FAQs
What type of chuck roast should I use for the best results?
Absolutely! For the tastiest Korean pot roast, look for well-marbled chuck roast. The marbling will ensure that the beef stays tender and juicy during the slow cooking process. Avoid lean cuts, as they tend to dry out.
How should I store leftovers, and how long will they last?
You can refrigerate leftovers in an airtight container for up to 4 days. The flavors of the Korean pot roast continue to improve with time, making it a delightful option for your next meal!
Can I freeze Korean pot roast, and if so, how?
Yes, you can freeze your Korean pot roast! To do this, let it cool to room temperature, then portion it out along with the sauce in freezer-safe containers. It will keep well for up to 3 months. When you’re ready to enjoy it, thaw overnight in the refrigerator and gently reheat on the stovetop to retain its tenderness.
What are some common troubleshooting tips if my pot roast isn’t tender?
If your roast isn’t as tender as you’d like, it may not have cooked long enough. Aim for about 2 hours in the oven at 350°F; if it’s still tough, give it more time. Additionally, ensure you’re using enough liquid—beef should be mostly submerged to cook properly and develop tenderness. If you find the sauce too thin afterward, you can thicken it by simmering it on the stovetop for a few minutes.
Can I make this recipe gluten-free?
Very much! To make your Korean pot roast gluten-free, simply substitute regular soy sauce with gluten-free tamari or coconut aminos. Both options will maintain the savory umami flavor without the gluten.
Is this dish safe for pets?
While the ingredients here are generally safe for humans, including onions and garlic, they can be toxic to dogs and cats. Always check with your veterinarian for pet-safe food options. Enjoy the comfort of your Korean pot roast without sharing it with the furry family members!
Melt-in-Your-Mouth Korean Pot Roast for Cozy Family Nights
Ingredients
Equipment
Method
- Begin by preheating your oven to 350°F (175°C) and prepare your Dutch oven.
- Pat the chuck roast dry and season with kosher salt on all sides.
- Heat vegetable oil in the Dutch oven and sear the roast until golden-brown on all sides.
- Sauté chopped sweet onion for 4 minutes until softened.
- Add minced garlic and grated ginger, cooking until fragrant.
- Deglaze the pot with beef stock, scraping up any brown bits.
- Stir in gochujang paste, brown sugar, and soy sauce until combined.
- Return the seared beef to the pot and add remaining beef stock.
- Cover and bake for about 2 hours or until the beef is tender.
- Allow the roast to rest before slicing, then serve with rice and kimchi.
Leave a Reply