
As I stood in my kitchen, the sweet-tart scent of fresh rhubarb filled the air, transporting me back to warm spring afternoons spent baking with family. Today, I’m thrilled to share my recipe for Simple and Tangy Rhubarb Dream Bars, a delightful dessert that perfectly combines that signature tangy flavor with a creamy custard-like filling atop a buttery shortbread crust. The best part? This nostalgic treat requires just six simple ingredients and comes together in no time—ideal for those busy weeknights when you crave something homemade without the fuss. Plus, these bars are incredibly versatile; feel free to swap in your favorite fruits, like strawberries or raspberries, or use a gluten-free flour blend if needed. Curious to transform your rhubarb into this sweet, dreamy dessert? Let’s dive in!
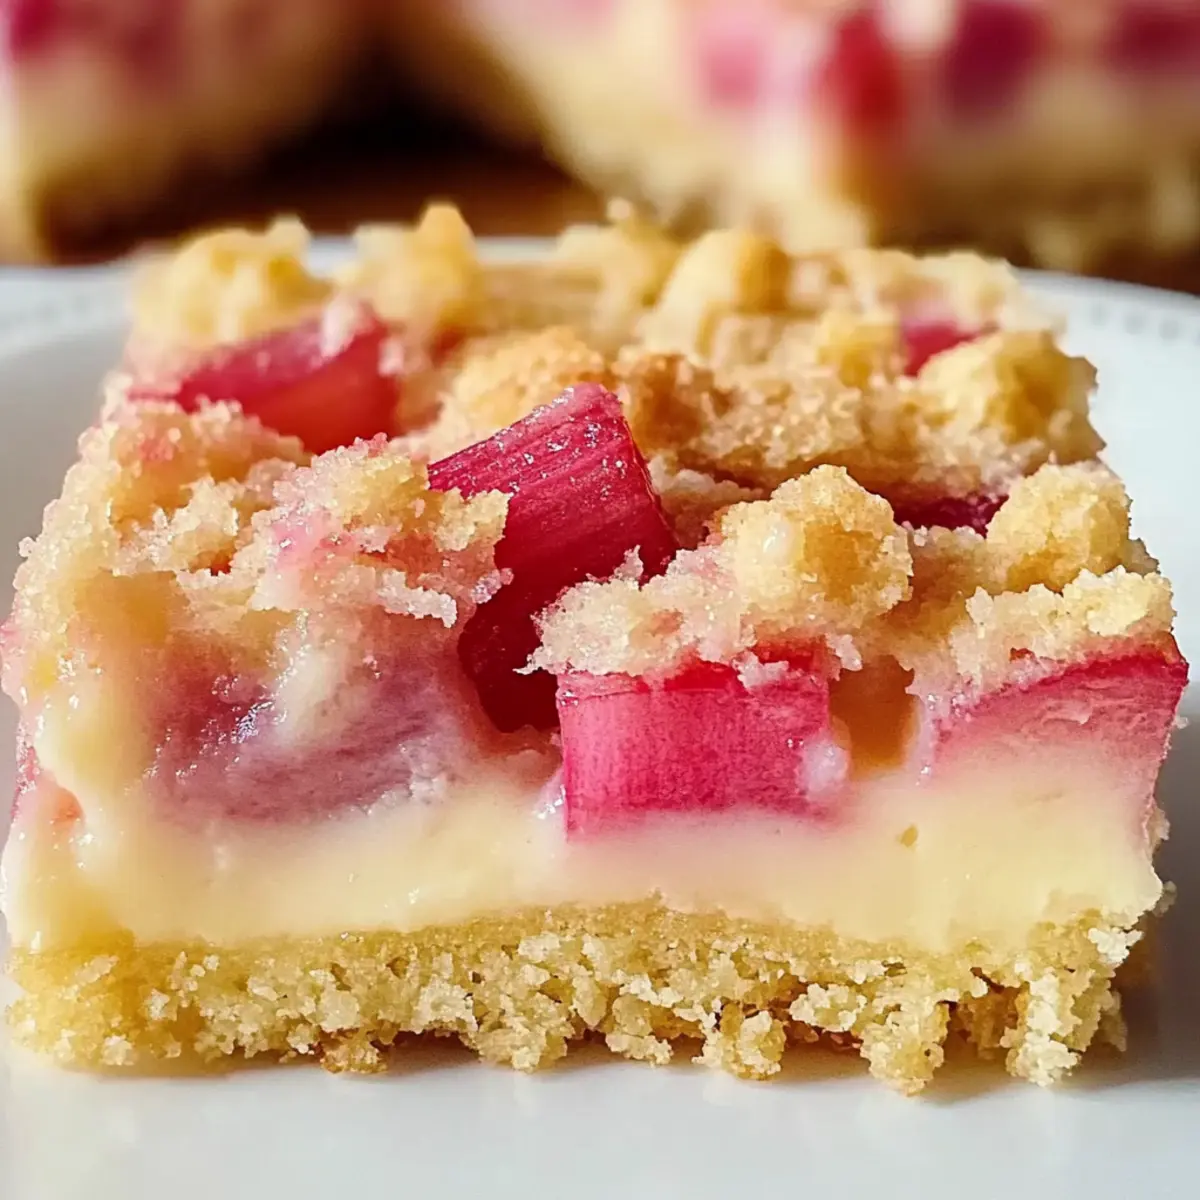
Why are Rhubarb Dream Bars so special?
Simplicity shines through in this delightful dessert, as it requires only six ingredients. Nostalgic flavor is evoked with every bite, bringing back cherished spring memories. Versatile options are a bonus, allowing you to swap rhubarb for strawberries or raspberries, making it adaptable for any palate. Quick to prepare, these bars are perfect for busy weeknights, effortlessly impressing family and friends. Finally, their wonderful texture—a buttery crust topped with a creamy filling—creates an irresistible treat you’ll want to make again and again! If you’re looking for more sweet inspirations, check out these delicious Chocolate Cheesecake Bars.
Rhubarb Dream Bars Ingredients
• Perfect for this nostalgic dessert!
For the Crust
- All-purpose flour – Provides structure for the crust; swap with a gluten-free flour blend for a gluten-free option.
- Powdered sugar – Adds sweetness and contributes to a tender texture.
- Butter (cold and cubed) – Ensures a flaky crust; using cold butter helps maintain its texture.
For the Filling
- Large eggs – Bind the filling together; room temperature eggs mix better for an even texture.
- Granulated sugar – Sweetens the filling perfectly.
- Salt – Enhances the flavors throughout the dessert.
- Diced rhubarb – The star of the dish, providing that tangy punch; fresh or frozen works well when properly drained.
- Optional: ground cinnamon – Adds warmth to the flavor profile; feel free to omit if you prefer a cleaner taste.
Embrace the tangy goodness with these Rhubarb Dream Bars, and let each bite transport you back to those cherished spring afternoons!
Step‑by‑Step Instructions for Rhubarb Dream Bars
Step 1: Preheat and Prepare
Start by preheating your oven to 325°F (165°C). While it warms up, grease a 9×13 inch baking pan with butter or non-stick spray to ensure easy removal of your Rhubarb Dream Bars later. This preparation is crucial for achieving that perfect, tender crust, which will set the stage for your tangy filling.
Step 2: Make the Crust
In a large mixing bowl, combine all-purpose flour and powdered sugar. Cut in cold, cubed butter using a pastry cutter or your fingers, until the mixture resembles coarse crumbs. This step is essential for a flaky crust, so ensure the butter remains cold to achieve that desirable texture. Once combined, you’ll have a beautifully crumbly mixture ready for the pan.
Step 3: Bake the Crust
Press the crumb mixture evenly into the bottom of the prepared baking pan, ensuring a smooth, even layer. Place it in the oven and bake for about 15 minutes, until the edges are slightly golden and the base looks set. Keep an eye on it, as you want a light golden hue to give your crust that delightful flavor without overbaking.
Step 4: Prepare the Filling
Using the same bowl to minimize cleanup, lightly beat the room temperature large eggs until blended. Stir in granulated sugar, a pinch of salt, and the optional ground cinnamon for an extra flavor kick. Add a small amount of flour to help bind the filling. Mix until everything is well combined, creating a silky batter that will hold your rhubarb beautifully.
Step 5: Incorporate the Rhubarb
Gently fold the diced rhubarb into your filling mixture, ensuring that each piece is well-coated with the egg mixture. This step is crucial, as the rhubarb will release its tangy juice during baking, infusing the filling with an irresistible flavor. Take care not to overmix, so the rhubarb maintains its structure and texture.
Step 6: Assemble and Bake
Pour the rhubarb filling over your pre-baked crust, spreading it evenly with a spatula. This assembly is key to ensuring every bite of your Rhubarb Dream Bars is perfectly balanced between the crispy crust and tangy filling. Return the pan to the oven and bake for about 60 minutes, or until the center is set and no longer jiggly, indicating it’s beautifully cooked.
Step 7: Cool and Slice
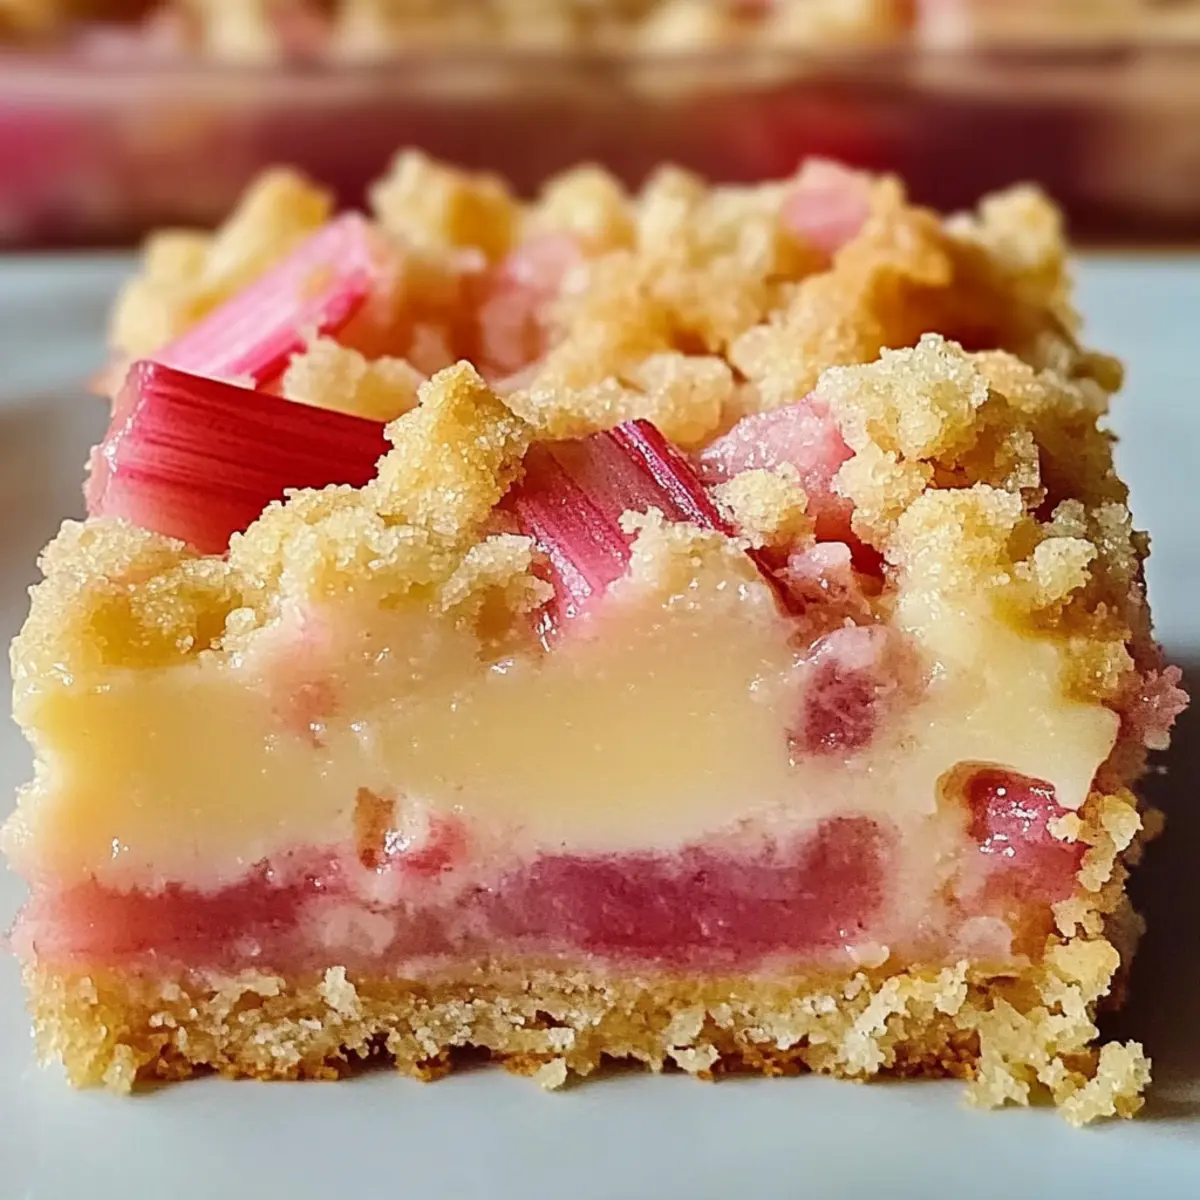
Once baked, remove the Rhubarb Dream Bars from the oven and let them cool completely in the pan on a wire rack. Allowing them to cool fully is vital for achieving clean edges when cutting. For an even better texture, consider refrigerating them overnight before slicing into squares for a delightful treat that’s a perfect balance of buttery crust and custard-like filling.
Make Ahead Options
These Rhubarb Dream Bars are ideal for meal prep, allowing you to savor homemade goodness even on the busiest of days! You can prepare the crust up to 24 hours in advance; just store it tightly wrapped in the refrigerator to keep it fresh. The rhubarb filling can also be mixed ahead of time and refrigerated for up to 3 days. To maintain the integrity and flavor, make sure the rhubarb is well-drained if using frozen. When you’re ready to finish, simply pour the prepared filling over the crust and bake right before serving, letting the delightful aroma fill your home as you indulge in these delicious bars!
How to Store and Freeze Rhubarb Dream Bars
Fridge: Store leftover Rhubarb Dream Bars in an airtight container to maintain their freshness for up to 4-5 days. Chilling will enhance their texture and flavor.
Freezer: For longer storage, wrap the bars individually in plastic wrap and layer them between parchment paper in an airtight container or freezer bag. They can last up to 2 months.
Thawing: To enjoy frozen bars, simply transfer them to the fridge and let them thaw overnight. They can also be served directly from the freezer for a refreshing treat.
Reheating: If you prefer warm bars, reheat them in a preheated oven at 350°F for about 10-15 minutes until warmed through, but be careful not to dry them out!
Rhubarb Dream Bars: Creative Twists
Feel free to customize your Rhubarb Dream Bars with these delightful variations for a touch of personal flair!
-
Strawberry Delight: Substitute diced strawberries for rhubarb for a sweeter, juicy alternative that brightens up the flavors.
-
Berry Medley: Mix in a combination of diced strawberries and raspberries for a beautiful twist of colors and flavors; both add a lovely sweetness to balance the tartness.
-
Gluten-Free Option: Swap out all-purpose flour for a 1:1 gluten-free flour blend in both the crust and filling, ensuring everyone can enjoy this treat.
-
Nutty Extra Crunch: Fold in chopped pecans or almonds before baking for a delightful crunch, enhancing the texture of your bars.
-
Spiced Up: Add a pinch of cardamom along with the optional ground cinnamon to elevate the flavor profile and introduce a warm, aromatic touch.
-
Citrus Zing: A touch of lemon zest in the filling brightens the tartness of the rhubarb, making every bite a refreshing experience.
-
Creamy Indulgence: Top with a dollop of whipped cream or a scoop of vanilla ice cream for a decadent dessert that pairs perfectly with the tangy bars.
-
Chocolate Lovers: Drizzle melted chocolate over the cooled bars for a rich contrast; a hint of chocolate can take your dessert to new heights.
Explore these variations and truly make the Rhubarb Dream Bars your own! And if you’re on the lookout for more delicious desserts, don’t miss these tempting Chocolate Cheesecake Bars.
What to Serve with Rhubarb Dream Bars
Delight in creating a charming meal experience that beautifully complements your sweet, tangy bars.
- Whipped Cream: A luscious dollop of fluffy whipped cream adds a creamy contrast, enhancing the bars’ tangy flavors.
- Vanilla Ice Cream: The smooth, sweet ice cream melts into the warm bars, creating a delightful harmony of textures on your palate.
- Fresh Berries: A mix of strawberries or raspberries brings a refreshing burst of flavor, enhancing the nostalgic fruitiness of the dessert.
- Herbal Tea: A cup of soothing chamomile or mint tea provides a light, fragrant pairing, perfect for balancing the bar’s sweetness.
- Lemonade: A glass of zesty lemonade adds a refreshing citrusy kick that complements the tanginess of the rhubarb.
- Shortbread Cookies: The buttery crunch of shortbread echoes the bars’ crust, creating a delightful textural contrast with every bite.
- Cheesecake Squares: A rich slice of cheesecake adds a decadent touch to your dessert spread, pleasing those with a sweet tooth.
- Almond Milk: For a lighter option, cool almond milk provides a nutty flavor that pairs beautifully with the tangy bars.
- Fruit Salad: A light, colorful fruit salad made with seasonal fruits adds a vibrant, fresh element that brightens the table.
Expert Tips for Rhubarb Dream Bars
-
Cool Completely: Allow the bars to cool fully before slicing, ensuring clean, beautiful edges for presentation.
-
Chill Overnight: For the best texture, refrigerate the bars overnight. This will enhance their flavor and firmness, making them even more delightful.
-
Use Fresh Rhubarb: Fresh rhubarb is ideal, but if using frozen, ensure it’s properly thawed and drained to prevent excess moisture in the filling.
-
Butter Temperature Matters: Use cold butter for the crust to achieve that flaky texture; warm or softened butter can lead to a tough crust.
-
Don’t Overmix: When folding in the rhubarb, gently mix to maintain the fruit’s structure and prevent mushiness in your Rhubarb Dream Bars.
Rhubarb Dream Bars Recipe FAQs
What kind of rhubarb should I use?
I recommend using fresh rhubarb for the best flavor and texture. Look for stalks that are firm and crisp, with vibrant color and no dark spots. If fresh isn’t available, frozen rhubarb can be used—just be sure to thaw and drain it to avoid excess moisture in your filling.
How should I store leftover Rhubarb Dream Bars?
Store leftover Rhubarb Dream Bars in an airtight container in the refrigerator for up to 4-5 days. Make sure to place a piece of parchment paper between layers to prevent sticking, enhancing their texture when you enjoy them later!
Can I freeze Rhubarb Dream Bars?
Absolutely! To freeze, wrap the bars individually in plastic wrap, and layer them between parchment paper in an airtight container or freezer bag. They should keep well for up to 2 months, allowing you to enjoy this delightful dessert anytime.
What should I do if my filling is too runny?
If your filling seems runny, it may be due to using too much rhubarb or not draining frozen rhubarb properly. I recommend reducing the amount of diced rhubarb next time or letting the mixture rest for about 10 minutes before baking, which helps it thicken slightly.
Are Rhubarb Dream Bars safe for people with allergies?
These bars contain gluten and eggs, so they may not be suitable for those with gluten intolerance or egg allergies. However, you can make a gluten-free version by using a 1:1 gluten-free flour blend, and if you need an egg substitute, try ¼ cup of unsweetened applesauce for each egg. Always check ingredients to ensure they’re safe for your dietary needs!
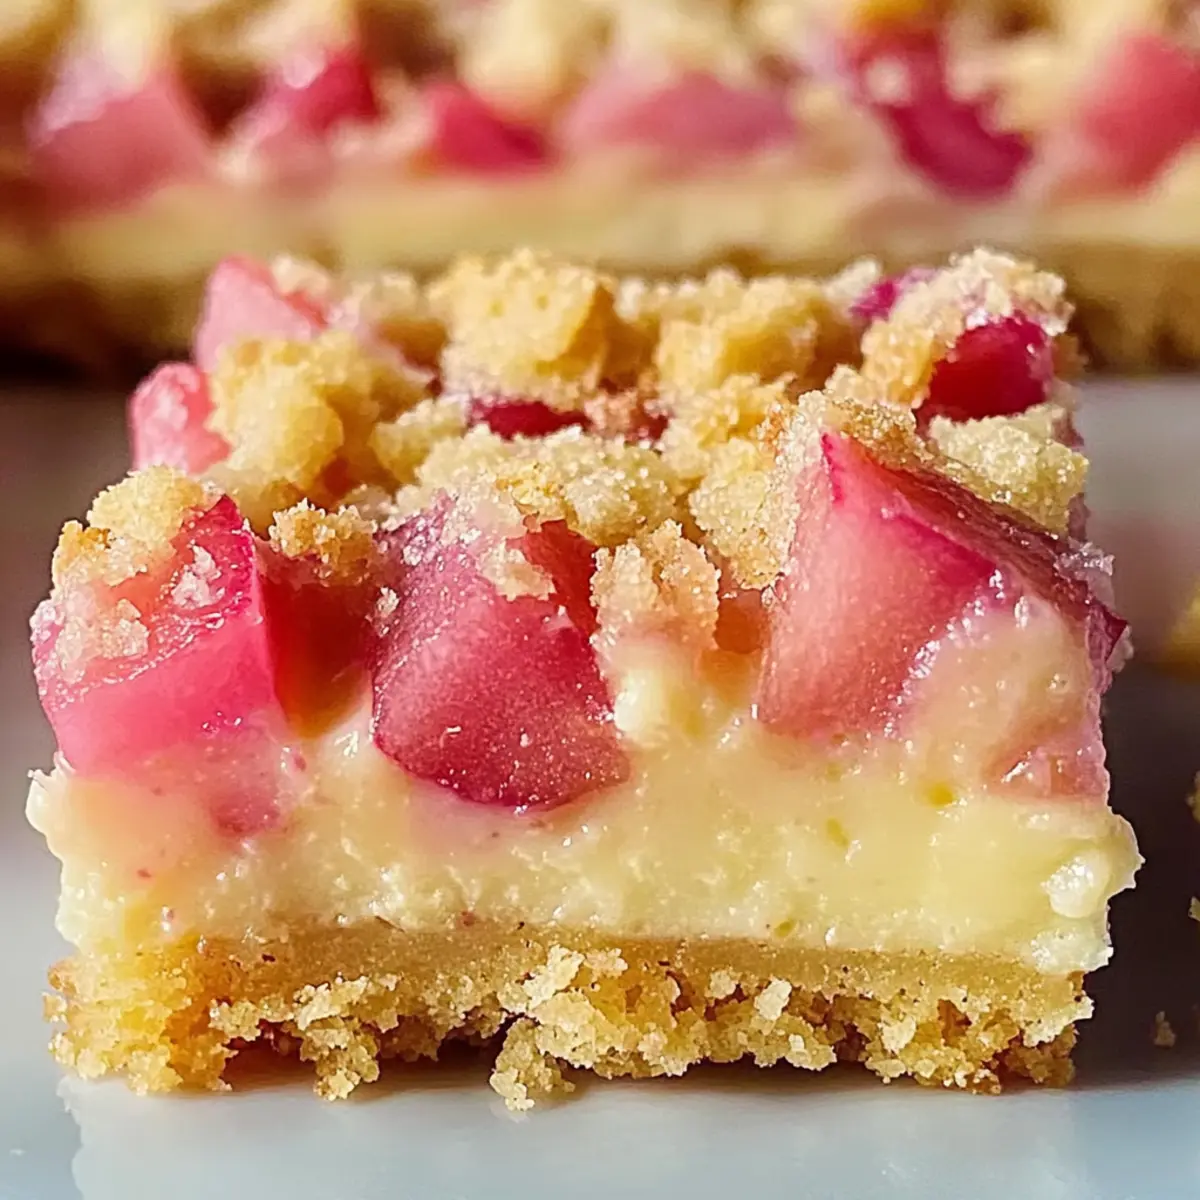
Irresistible Rhubarb Dream Bars That Bring Spring to Life
Ingredients
Equipment
Method
- Preheat your oven to 325°F (165°C) and grease a 9x13 inch baking pan.
- In a large mixing bowl, combine all-purpose flour and powdered sugar. Cut in cold, cubed butter until it resembles coarse crumbs.
- Press the crumb mixture evenly into the bottom of the prepared baking pan and bake for about 15 minutes, until the edges are slightly golden.
- In the same bowl, lightly beat the room temperature eggs, then stir in granulated sugar, salt, and optional ground cinnamon.
- Gently fold in diced rhubarb, ensuring each piece is well-coated, without overmixing.
- Pour the rhubarb filling over the pre-baked crust and spread evenly. Bake for about 60 minutes until the center is set.
- Remove from the oven and let cool completely in the pan on a wire rack.
Leave a Reply