
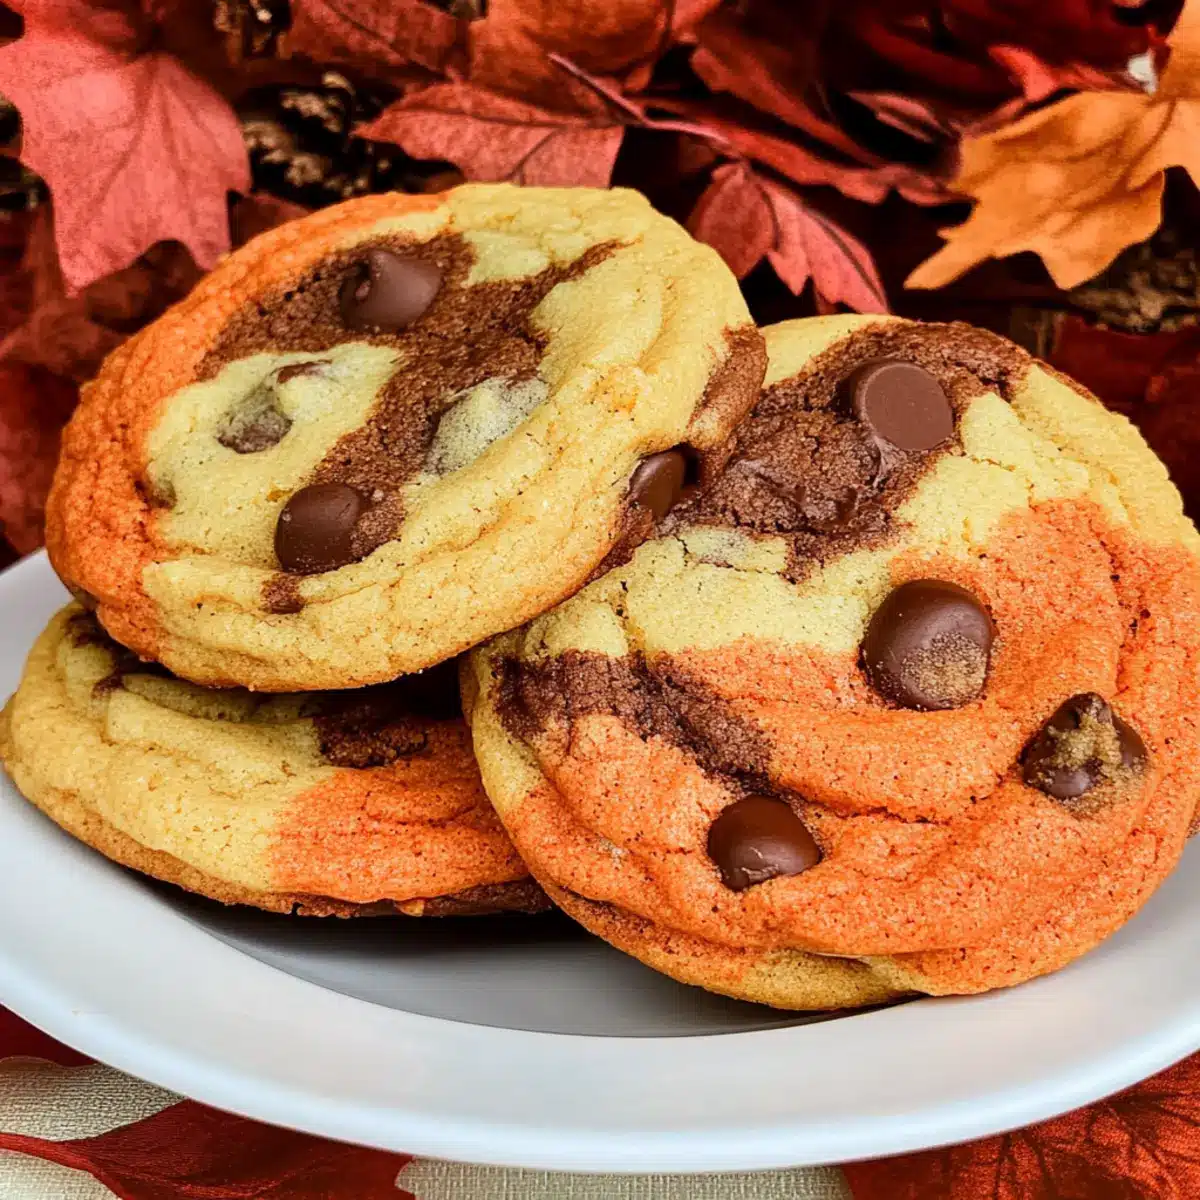
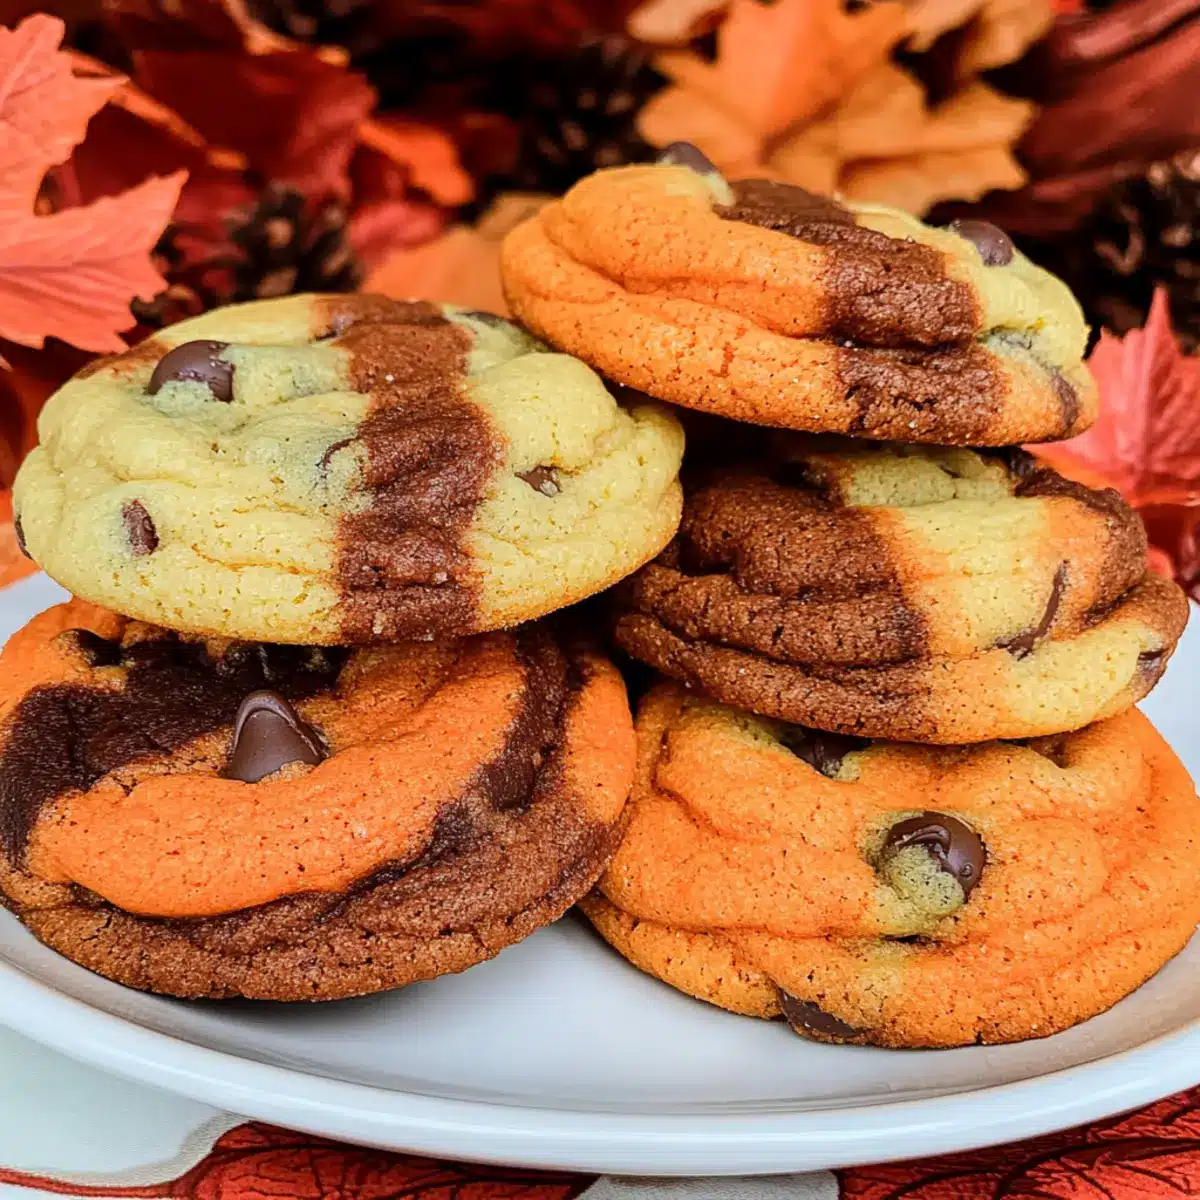
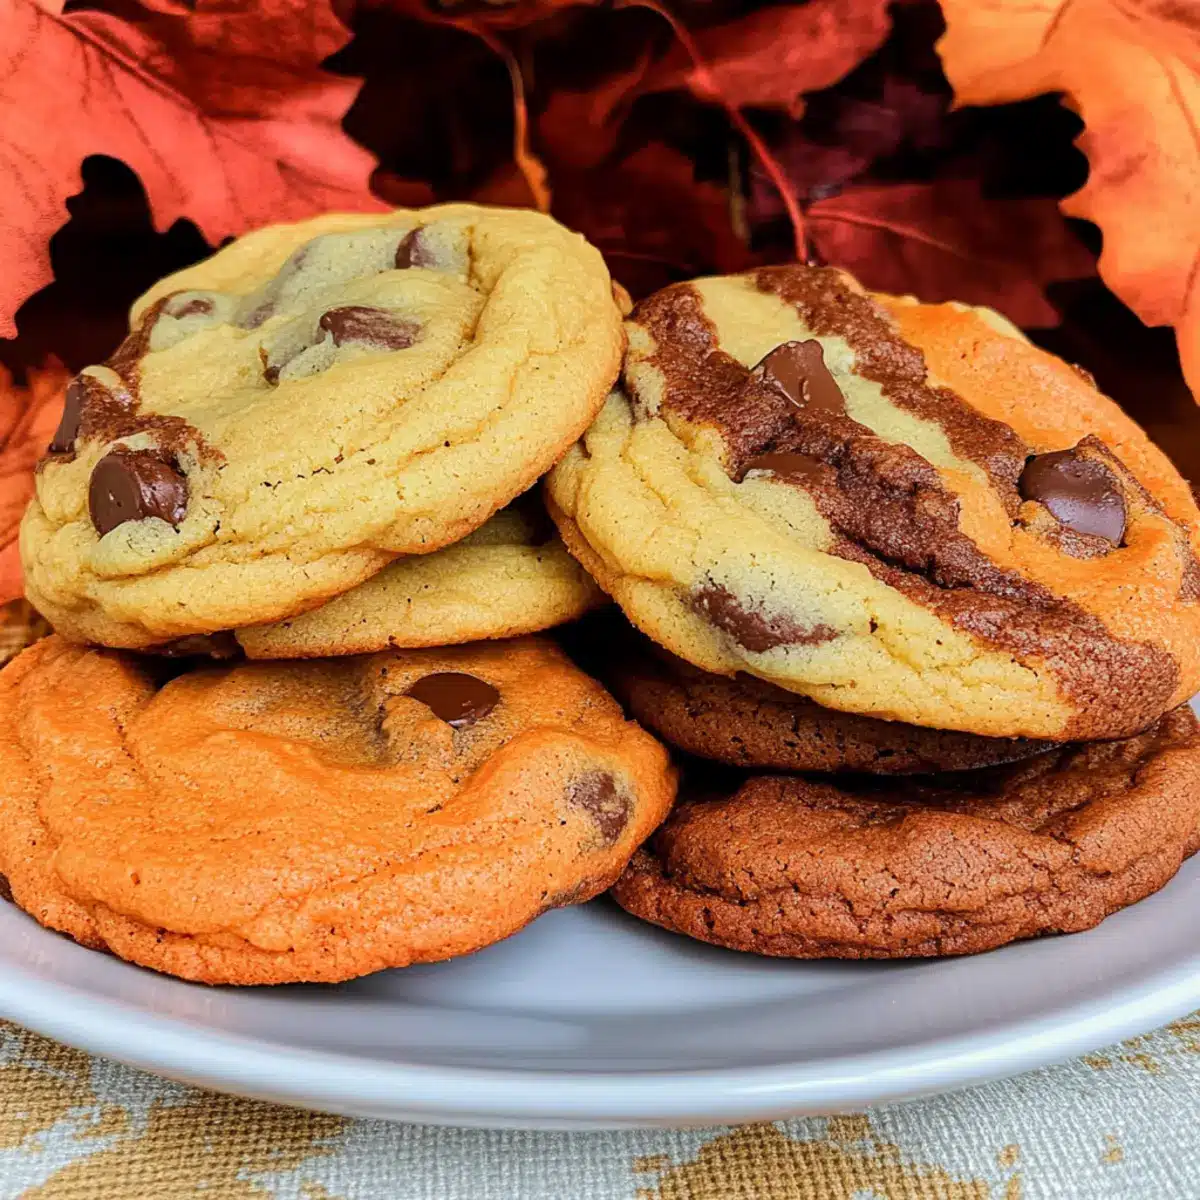
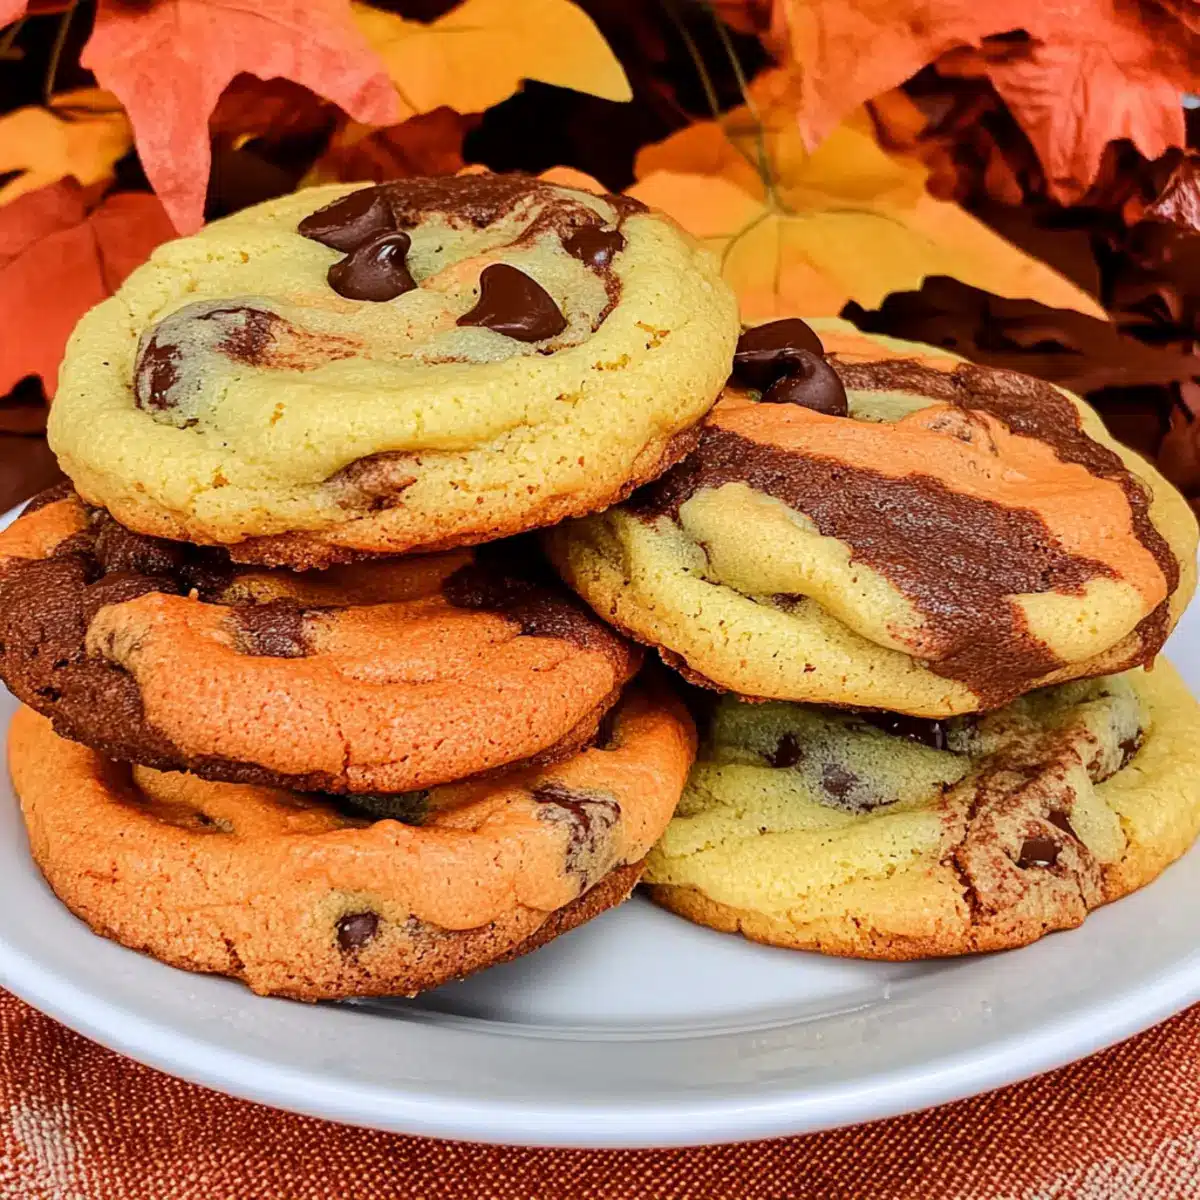
As my kitchen filled with the warm aroma of melting chocolate and buttery dough, a wave of nostalgia washed over me. These Harvest Marble Chocolate Chip Cookies are a celebration of autumn, transforming a classic treat into a festive masterpiece. Each cookie boasts a vibrant swirl of orange and brown, reflecting the beautiful fall landscape outside. Not only are these visually stunning, but they’re also a delightful alternative to traditional pies, making them perfect for Thanksgiving gatherings or cozy afternoons at home. With a straightforward recipe and minimal prep time, you’ll savor every moment spent baking. Are you ready to impress your family and friends with these festive cookies that are sure to become a new fall favorite?
Why are These Cookies a Must-Bake?
Visual Appeal: Your dessert table will never look the same! The marbled colors of orange and brown create a stunning centerpiece that captures the essence of fall.
Easy to Prepare: This recipe is beginner-friendly, making it ideal for those new to baking or anyone looking for a fun family activity.
Delicious Flavor: Each cookie is not just pretty; it’s loaded with rich, buttery flavor and the perfect balance of chocolatey goodness.
Versatile Treat: Try adapting the recipe by swapping chocolate chips for white chocolate or adding nuts for an extra crunch! Perfect for any preference.
Crowd-Pleasing: Whether it’s Thanksgiving, a holiday gathering, or just a cozy afternoon snack, these cookies are guaranteed to be a hit. Pair them with warm drinks and watch them disappear!
Baking these Marble Chocolate Chip Cookies is more than just making a dessert; it’s about creating sweet memories in your kitchen.
Marble Chocolate Chip Cookies Ingredients
For the Dough
- Butter – Provides richness and texture; use unsalted for better flavor control.
- Granulated Sugar – Adds sweetness and helps achieve a crispy edge; can be replaced with coconut sugar for a deeper flavor.
- Brown Sugar – Contributes moisture and a rich flavor; choose light or dark based on your preference for depth.
- Eggs – Binds the ingredients and adds moisture; substitute with a flax egg for a vegan option.
- Vanilla Extract – Enhances sweetness and adds classic flavor; pure vanilla extract is recommended for the best taste.
- Baking Soda – Provides leavening for a fluffy texture; make sure it’s fresh for optimal results.
- Salt – Balances sweetness and enhances overall flavor.
- All-Purpose Flour – Gives structure to the cookies; swap for gluten-free flour if needed.
For the Chocolate Swirls
- Chocolate Chips – Adds sweetness and chocolatey richness; semi-sweet is preferred, but feel free to adjust based on your taste.
For the Coloring
- Food Coloring – Use orange and brown to achieve the vibrant fall hues that make these Marble Chocolate Chip Cookies visually delightful.
Step‑by‑Step Instructions for Marble Chocolate Chip Cookies
Step 1: Cream the Butters and Sugars
In a large mixing bowl, use a hand mixer to cream together 1 cup of softened unsalted butter, ½ cup of granulated sugar, and ½ cup of brown sugar. Beat the mixture on medium speed for 2-3 minutes until it becomes light, fluffy, and pale in color, showcasing the perfect base for your Marble Chocolate Chip Cookies.
Step 2: Add Eggs and Vanilla
Crack in 2 large eggs and pour in 1 teaspoon of pure vanilla extract to the creamed mixture. Continue mixing on medium speed for about 3 minutes until fully combined and slightly airy. This step is essential to create a rich texture that complements the marbled look of your cookies.
Step 3: Incorporate Dry Ingredients
Sprinkle in 1 teaspoon of baking soda and a pinch of salt while mixing at low speed just until incorporated. This helps activate the baking soda for a fluffy cookie. Take care not to overmix, as we want the dough for our Marble Chocolate Chip Cookies to remain tender and inviting.
Step 4: Add the Flour
Gradually add in 2 cups of all-purpose flour using a spatula to fold it into the wet ingredients. Mix just until the flour disappears and the dough pulls together. Aim for a smooth consistency without any dry patches, ensuring your Marble Chocolate Chip Cookies will bake evenly and beautifully.
Step 5: Color the Dough
Divide the dough into three equal portions and place them in separate bowls. Color two of the portions with orange and brown food coloring, mixing thoroughly until you achieve vibrant hues. This colorful step creates the marbled effect in your Marble Chocolate Chip Cookies, reflecting the beauty of fall!
Step 6: Fold in Chocolate Chips
Fold in ½ cup of chocolate chips to each colored dough portion, ensuring an even distribution. This chocolaty goodness will add an irresistible element to each bite, enhancing the overall flavor profile of your Marble Chocolate Chip Cookies.
Step 7: Shape the Cookies
Weigh out 2 oz. portions of dough from each colored portion and gently combine them for a marbled effect. Roll these into balls and slightly flatten them, forming a beautiful, cohesive shape. This step ensures each cookie has varied colors that delight the eyes as much as the taste buds!
Step 8: Prepare for Baking
Place the shaped dough balls on a parchment-lined cookie sheet, leaving enough space between each to allow for spreading. Preheat your oven to 375°F (190°C) while you get ready for that delightful baking aroma to fill your kitchen!
Step 9: Bake the Cookies
Bake your Marble Chocolate Chip Cookies in the preheated oven for 8-10 minutes, or until the edges are beautifully golden brown. Keep an eye on them, as the centers may still look soft. This indicates they’ll remain soft and chewy once cooled, capturing the essence of a perfect fall cookie treat!
How to Store and Freeze Marble Chocolate Chip Cookies
Room Temperature: Keep your cookies in an airtight container at room temperature for up to 1 week. This preserves their soft and chewy texture.
Fridge: If you prefer, store them in the fridge for up to 2 weeks. Just be sure they’re covered to prevent them from drying out.
Freezer: For longer storage, freeze your Marble Chocolate Chip Cookies in a single layer on a baking sheet, then transfer to an airtight container for up to 3 months.
Reheating: To enjoy your cookies warm, pop them in the microwave for about 10-15 seconds. This will bring back that freshly-baked taste!
Make Ahead Options
These Harvest Marble Chocolate Chip Cookies are perfect for meal prep enthusiasts! You can prepare the cookie dough up to 24 hours in advance. Simply follow the recipe up to the shaping step, then wrap the dough tightly in plastic wrap and refrigerate it. This will help the flavors meld beautifully while maintaining quality. When you’re ready to bake, just remove the dough, shape it into balls, slightly flatten them, and bake as directed for a delightful treat that’s just as delicious as freshly made. Now you can enjoy the warm, inviting aroma of cookies even on busy weeknights!
Marble Chocolate Chip Cookies Variations
Feel free to let your creativity shine while making these delicious cookies—each twist offers a unique flavor experience!
-
Nutty Delight: Add ½ cup of chopped walnuts or pecans for an extra crunch that pairs beautifully with the chocolate.
-
Spice It Up: Introducing a dash of cinnamon or pumpkin spice to the dough enhances the autumn flavors, making every bite feel like a warm hug.
-
Dairy-Free: Substitute the butter with coconut oil and use dairy-free chocolate chips to enjoy a delicious vegan-friendly version.
-
Zesty Twist: Incorporate the zest of one orange into the dough for a refreshing citrus note that beautifully complements the rich chocolate.
-
Cookie Sandwiches: Once baked, scoop your favorite ice cream between two cookies to create delightful ice cream sandwiches for any occasion.
-
Salted Caramel Swirl: Drizzle melted salted caramel over your cookies post-baking for a sweet-salty combo that’s simply irresistible.
-
Fruitful Addition: Mix in dried cranberries or chopped dried apricots for an added burst of sweetness and chewy texture, perfect for a festive touch.
-
Chocolate Overload: Double up on chocolate chips by mixing in chunks of dark chocolate or even using a combination of milk and semi-sweet chips!
Baking these Marble Chocolate Chip Cookies not only fills your home with warmth but takes you on a delightful journey of flavors. Enjoy each variation as you create sweet moments with family and friends!
Expert Tips for Marble Chocolate Chip Cookies
-
Precision Counts: Use a food scale to weigh your dough portions; this helps ensure uniform baking and perfect cookie texture.
-
Fresh Ingredients: Always check that your baking soda is fresh! Old baking soda can lead to flat cookies rather than the fluffy texture you desire.
-
Don’t Overmix: Mix the flour into the dough just until combined to prevent tough cookies. Tenderness is key for delicious Marble Chocolate Chip Cookies!
-
Coloring Caution: Add food coloring gradually; start with a little and mix. You can always add more if needed, ensuring you achieve the perfect fall hues.
-
Storage Sweetness: Store your cookies in an airtight container to keep them fresh. For longer storage, freeze them—just pop them in the microwave to warm up when you’re ready to enjoy!
What to Serve with Harvest Marble Chocolate Chip Cookies
Indulging in freshly baked cookies creates the perfect opportunity to build a delightful meal experience around them.
- Spiced Apple Cider: The warm, aromatic flavors of spiced cider perfectly balance the sweetness of the cookies, enhancing that cozy, autumn feel.
- Creamy Pumpkin Soup: This velvety soup offers a savory contrast to the sweet cookies, making for a wonderfully comforting pairing on a chilly day.
- Vanilla Ice Cream: A scoop of rich vanilla ice cream melts beautifully atop the warm cookies, creating an irresistible treat that’ll have everyone coming back for more.
- Chocolate Milk: Pairing these cookies with a glass of chocolate milk intensifies the chocolate flavor while adding a nostalgic touch for young and old alike.
- Cheese Platter: Serve alongside a selection of soft cheeses for a sophisticated twist. The creaminess of the cheese complements the sweetness of the cookies remarkably well.
- Nutty Pear Salad: A fresh salad with pears and walnuts adds a crisp, refreshing contrast to the cookies, balancing their sweetness with earthy tones.
- Maple Pecan Latte: Pair these delightful cookies with a warm latte topped with pecans for a cozy coffee break that encapsulates the flavors of fall.
- Caramel Sauce: Serve the cookies drizzled with rich, warm caramel for an extra layer of decadence that will leave taste buds dancing.
- Homemade Whipped Cream: Lightly sweetened whipped cream can be dolloped beside your cookies, introducing a lightness that contrasts the cookies’ chewy texture.
Marble Chocolate Chip Cookies Recipe FAQs
How do I know if my ingredients are ripe or fresh?
Always choose fresh ingredients for the best flavor and texture! For butter, make sure it’s well within its expiration date and has a creamy, smooth texture. Check that your eggs are not past their sell-by date, and when using baking soda, ensure it’s active by adding a little vinegar to it; if it bubbles, it’s good to go!
How should I store my Marble Chocolate Chip Cookies after baking?
To enjoy your cookies at their best, store them in an airtight container at room temperature for up to 1 week. If you live in a particularly warm or humid area, the fridge is a great option—just ensure they are well-covered to keep them moist.
Can I freeze Marble Chocolate Chip Cookies? If so, how?
Absolutely! Freezing is a wonderful way to preserve your Marble Chocolate Chip Cookies. First, place the baked cookies in a single layer on a baking sheet and freeze until solid (about 1-2 hours). Then, transfer them to an airtight container or a freezer bag, separating layers with parchment paper if stacking. They will maintain quality for up to 3 months. When you’re ready to indulge, just pop them in the microwave for 10-15 seconds to return them to that freshly-baked state!
What should I do if my cookies spread too much while baking?
If you find that your cookies spread excessively, it might be because the dough was too warm when you placed it in the oven. Chill your dough for at least 30 minutes before baking next time. Additionally, make sure your butter is softened properly, not melted, as this can affect how much they spread during baking.
Are there any dietary considerations I should keep in mind with this recipe?
Definitely! If you have dietary restrictions, you can easily adapt this recipe. Replace the eggs with a flax egg (1 tablespoon of flaxseed meal mixed with 2.5 tablespoons of water), and use gluten-free flour instead of all-purpose flour for a gluten-free treat. Always remember to check for allergies, especially when adding chocolate chips or any nuts!
Can I use different types of chocolate or flavors in this recipe?
The more the merrier! You can swap out semi-sweet chocolate chips for white chocolate or butterscotch chips if you fancy a different flavor profile. Also, adding chopped nuts like pecans or walnuts can provide delightful crunch and depth. Just make sure to account for the additional texture when shaping your dough!
Marble Chocolate Chip Cookies: A Colorful Fall Delight
Ingredients
Equipment
Method
- Cream together the butter, granulated sugar, and brown sugar until light and fluffy.
- Add eggs and vanilla extract; mix until combined.
- Incorporate baking soda and salt at low speed.
- Gradually add flour; mix until just combined.
- Divide dough into three portions, color two portions with food coloring.
- Fold in chocolate chips into each colored dough portion.
- Shape dough into 2 oz. portions, creating a marbled effect.
- Place dough balls on a cookie sheet and preheat oven to 375°F (190°C).
- Bake for 8-10 minutes, until edges are golden brown.
Leave a Reply