
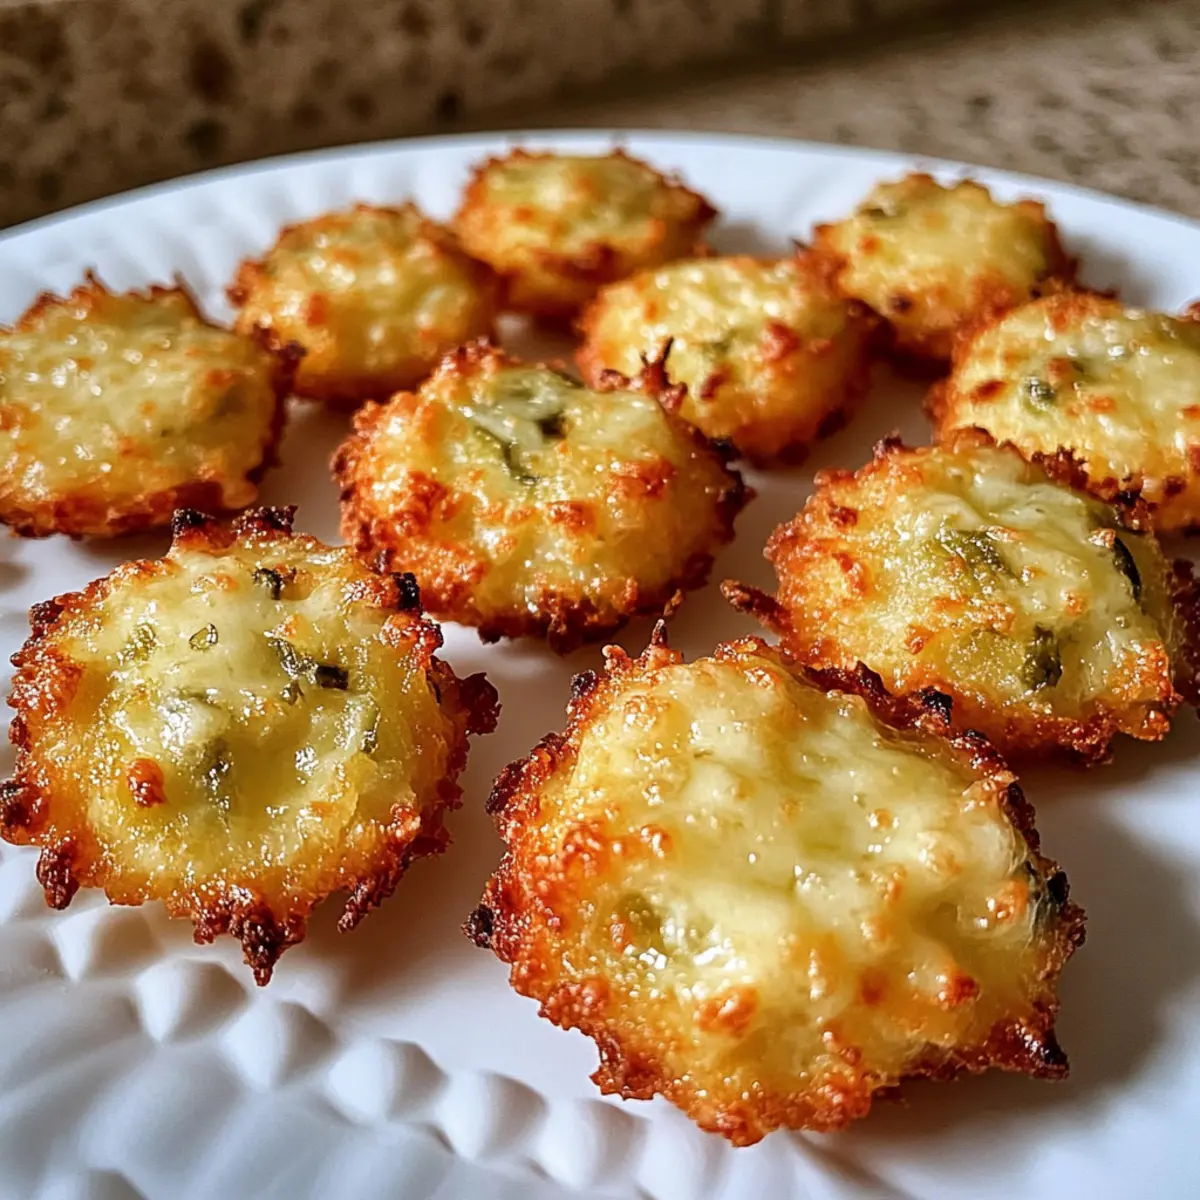
As I rummaged through my fridge, a brilliant idea struck me—what if I could transform a few simple ingredients into something utterly snackable? These Easy Crispy Pickle Cheese Bites are exactly that! Combining the tangy crunch of dill pickles with gooey cheese, this recipe delivers a homemade treat that’s ready in just 20 minutes. Perfect for last-minute gatherings or a cozy night in, these bites are not only quick to whip up but also allow for endless variations—swap in your favorite cheeses or pickles to make them truly your own. Plus, they’re gluten-free with an easy substitution! Are you ready to savor a snack that’s as fun to make as it is to eat? Let’s dive into the recipe!

Why You’ll Crave These Bites?
Irresistible Crunch: Each bite boasts a satisfying crunch that will keep you coming back for more!
Versatile Ingredients: Feel free to mix and match cheese types or even swap dill pickles for sweet bread-and-butter options for a personalized twist.
Gooey Goodness: The combination of melted cheddar and mozzarella ensures that every bite is deliciously cheesy.
Quick & Easy: Made in just 20 minutes, these bites are perfect for those short on time yet craving homemade snacks.
Crowd-Pleasing Flavor: Ideal for game nights or casual get-togethers, serve them alongside a dipping sauce like ranch or spicy sriracha mayo for even more fun!
Gluten-Free Option: Don’t miss out if you’re gluten-free; simply substitute with gluten-free breadcrumbs and indulge without worry!
These Easy Crispy Pickle Cheese Bites exemplify simple yet delightful snacking that everyone can enjoy!
Crispy Pickle Cheese Bites Ingredients
For the Cheese Mixture
- Shredded Cheddar Cheese – Provides a creamy, tangy flavor; substitute with Monterey Jack for a milder option.
- Shredded Mozzarella Cheese – Offers a melty texture; can be replaced with Provolone or Gouda if needed.
For the Pickle Base
- Finely Chopped Dill Pickles – Adds delightful tang and crunch; avoid fresh cucumbers due to moisture; relish is a possible substitute if drained well.
For Flavoring
- Garlic Powder – Elevates the overall taste; a pinch of smoked paprika or cayenne can add extra spice.
For Crispiness
- Breadcrumbs – Optional for an extra crunch; gluten-free breadcrumbs will work for a gluten-free option.
- Nonstick Spray/Parchment Paper – Essential for preventing the bites from sticking and ensuring even cooking.
With these ingredients at your side, you’re just moments away from making irresistible Crispy Pickle Cheese Bites that everyone will love!
Step‑by‑Step Instructions for Crispy Pickle Cheese Bites
Step 1: Preheat and Prepare
Begin by preheating your oven to 375°F (190°C). While the oven is heating up, prepare a baking sheet by lining it with parchment paper or spraying it lightly with nonstick spray. This will ensure your Crispy Pickle Cheese Bites bake evenly and don’t stick, making for an easier cleanup later.
Step 2: Combine Ingredients
In a mixing bowl, combine 1 cup of shredded cheddar cheese, 1 cup of shredded mozzarella cheese, and 1 cup of finely chopped dill pickles. Add 1 teaspoon of garlic powder to enhance the flavors. If you’re using breadcrumbs, toss in about half a cup now. Mix all these ingredients thoroughly until they come together into a cohesive mixture that’s full of tantalizing textures.
Step 3: Form the Bites
Once your mixture is well combined, use your hands to form small, bite-sized balls—about 1 inch in diameter. This step is crucial for getting that perfect crispy texture on the outside while keeping the inside deliciously gooey. If the mixture feels too sticky, chill it in the refrigerator for about 10 minutes, which will make shaping easier.
Step 4: Arrange on Baking Sheet
Carefully place the formed balls onto your prepared baking sheet, making sure they’re spaced apart. This allows the hot air in the oven to circulate and achieve that delightful crispy exterior. Keep them about 1 inch apart to avoid them sticking together while cooking.
Step 5: Bake Until Golden
Slide the baking sheet into the preheated oven and bake the Crispy Pickle Cheese Bites for about 10 minutes. You’ll know they’re ready when they turn a gorgeous golden brown and start to become crispy on the outside. The cheese inside will be melty and inviting, ready to be enjoyed.
Step 6: Cool Before Serving
Once baked, remove the tray from the oven and let the bites cool for a few minutes. This is important, as the cheese may be extremely hot. Allowing them to cool will make it easier to handle and serve these tasty treats, giving you the perfect snack for game nights or casual gatherings!
Storage Tips for Crispy Pickle Cheese Bites
- Fridge: Store any leftover Crispy Pickle Cheese Bites in an airtight container in the fridge for up to 2 days. This will help maintain their flavor and texture.
- Reheating: To restore the crispiness, reheat the bites in the oven at 350°F (175°C) for 5-7 minutes. This will ensure they stay deliciously crunchy.
- Freezer: It’s best to avoid freezing these bites, as the cheese may lose its delightful texture. Enjoy them fresh for the ultimate snacking experience!
- Cooling Tip: Allow the bites to cool completely before storing in the fridge to prevent condensation, which can make them soggy.
What to Serve with Crispy Pickle Cheese Bites
Set the stage for a delightful snacking experience that balances these cheesy delights with delicious sides and beverages.
-
Creamy Ranch Dip: A classic choice, the cool creaminess of ranch perfectly complements the tangy bursts of flavor from the bites. Dunking is highly encouraged!
-
Spicy Sriracha Mayo: For those who crave a kick, this spicy condiment adds a zesty punch that harmonizes wonderfully with the cheesy textures.
-
Fresh Veggie Platter: Crisp carrots, cucumbers, and bell peppers provide a refreshing crunch, balancing the richness of the cheese bites for a wholesome platter.
-
Zesty Dill Yogurt Sauce: Whip up a tangy yogurt sauce with fresh dill, garlic, and lemon—this herby dip ties in beautifully with the pickle theme.
-
Savory Charcuterie Board: Pair your Crispy Pickle Cheese Bites with cured meats, cheeses, and olives for an unforgettable assortment of flavors that invites sharing.
-
Refreshing Lemonade or Iced Tea: Keep your drinks light and refreshing to cleanse the palate in between bites. Homemade lemonade or a sweet iced tea will do the trick!
These delicious suggestions ensure your gathering is a hit and perfectly complements the irresistible Crispy Pickle Cheese Bites.
Variations & Substitutions for Crispy Pickle Cheese Bites
Feel free to unleash your creativity and customize these bites with exciting variations for a personal touch!
-
Different Cheeses: Try mixing in Gouda or Provolone for a unique flavor twist; they’ll melt beautifully and add depth.
-
Spicy Addition: Add pickled jalapeños for a fiery kick that elevates the tangy profile; your taste buds will thank you!
-
Sweet Option: Substitute dill pickles with bread-and-butter pickles for a delightful sweetness; it creates a wonderful contrast, perfect for kids too.
-
Gluten-Free: Swap regular breadcrumbs for gluten-free alternatives to enjoy everyone’s favorite snack without any fuss.
-
Herb Infusion: Incorporate fresh herbs like dill or chives into the cheese mixture; it gives these bites a fresh, vibrant aroma that’s equally delicious.
-
Cheesy Explosion: Add a spoonful of cream cheese to the mix for extra creaminess and flavor; it also helps bind everything together beautifully.
-
Healthier Crunch: Use baked or air-fried breadcrumbs for a lighter twist. You can still achieve that satisfying crunch without all the oil.
-
Serve with Dips: Pair with unique dips like spicy sriracha mayo or a cool dill yogurt sauce to take your snacking experience to the next level; it’s all about that contrast!
With these variations, you can explore new flavors and textures—every batch can be a delightful surprise! Don’t forget to check out these other tasty recipes: Bang Salmon Bites or Blueberry Cream Cheese for more culinary inspiration!
Expert Tips for Crispy Pickle Cheese Bites
-
Cool Before Serving: Allow the bites to cool slightly before serving to prevent burns from the hot cheese, ensuring a delicious experience.
-
Chill for Ease: If the cheese mixture is sticky, refrigerate it for about 10 minutes before shaping. This will make it easier to form into perfect bite-sized balls.
-
Blot Pickles: Don’t skip blotting the finely chopped dill pickles with a paper towel to remove excess moisture; this will contribute to a crispier texture in your Crispy Pickle Cheese Bites.
-
Breadcrumb Substitution: For a gluten-free option, substitute regular breadcrumbs with gluten-free breadcrumbs to enjoy these tasty snacks without worry.
-
Air Fryer Option: If you’re short on time, cook the bites in an air fryer at 375°F for 6-8 minutes, shaking halfway for even crisping.
-
Variety is Key: Feel free to experiment with different types of cheese or pickles, tailoring your Crispy Pickle Cheese Bites to your personal taste preferences!
Make Ahead Options
These Crispy Pickle Cheese Bites are a fantastic choice for meal prep enthusiasts! You can prepare the cheese mixture (1 cup each of shredded cheddar and mozzarella, 1 cup chopped dill pickles, and seasoning) up to 24 hours in advance; just store it in an airtight container in the refrigerator. When you’re ready to bake, simply form the mixture into bite-sized balls and proceed with baking. Additionally, you can already shape the bites and refrigerate them for up to 3 days before cooking. To maintain their crispy texture, ensure they are well-spaced on the baking sheet before baking, allowing for even cooking and optimum crunchiness. With these prep steps, you’ll enjoy delicious snacks with minimal last-minute effort!

Crispy Pickle Cheese Bites Recipe FAQs
What type of pickles should I use?
Absolutely! I recommend using finely chopped dill pickles for that tangy crunch. Avoid fresh cucumbers as they contain too much moisture. If necessary, relish can be used, but make sure to squeeze out any excess liquid first for the best results.
How long can I store the Crispy Pickle Cheese Bites?
These delicious bites can be stored in an airtight container in the fridge for up to 2 days. Just remember to allow them to cool completely before storing to prevent condensation, which can make them soggy.
Can I freeze Crispy Pickle Cheese Bites?
I advise against freezing these bites, as cheese tends to lose its delightful texture after freezing. They are best enjoyed fresh! However, if you absolutely need to freeze them, wrap each bite individually in plastic wrap and store in a freezer-safe bag for up to 3 months. Just be prepared that they might not have the same crispy texture when reheated.
What if the mixture is too sticky to form into balls?
Very! If you’re finding the mixture too sticky, simply refrigerate it for about 10 minutes. This will help firm it up and make it much easier to shape into bite-sized balls without the mess.
Are there any dietary considerations for pets or allergies?
It’s important to note that these Crispy Pickle Cheese Bites contain cheese, which is safe for humans but not necessarily for pets. If you have guests with dairy allergies, you can experiment with non-dairy cheese substitutes to accommodate them. Always be sure to check ingredient labels for allergens!
Can I customize the cheese in this recipe?
Absolutely! Feel free to mix and match different cheeses based on your taste preferences. Options like Monterey Jack or Gouda can provide unique flavors. The more the merrier when it comes to cheese combinations!
Crispy Pickle Cheese Bites – Irresistibly Tangy Snacks
Ingredients
Equipment
Method
- Preheat your oven to 375°F (190°C) and prepare a baking sheet by lining it with parchment paper or spraying it lightly with nonstick spray.
- In a mixing bowl, combine 1 cup of shredded cheddar cheese, 1 cup of shredded mozzarella cheese, 1 cup of finely chopped dill pickles, and 1 teaspoon of garlic powder. If using breadcrumbs, add about half a cup now and mix thoroughly.
- Form small, bite-sized balls of about 1 inch in diameter with the mixture. If too sticky, chill the mixture in the refrigerator for about 10 minutes.
- Place the formed balls onto the prepared baking sheet, spaced about 1 inch apart.
- Bake in the preheated oven for about 10 minutes until golden brown and crispy.
- Remove the tray from the oven and let the bites cool for a few minutes before serving.
Leave a Reply