
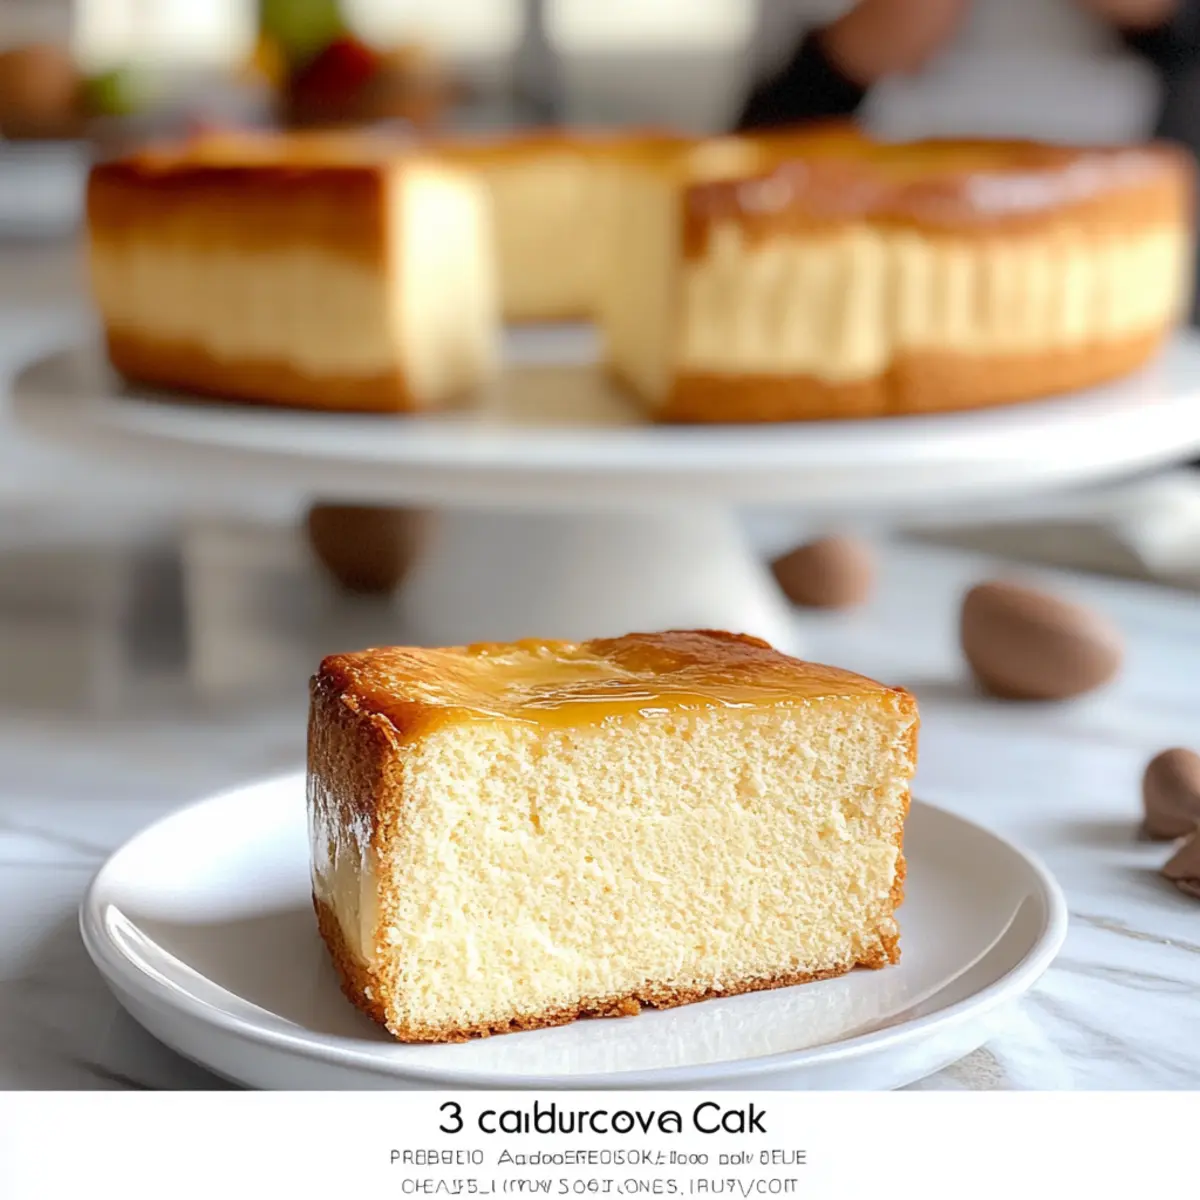
There’s something truly magical about whipping up a dessert with just three simple ingredients—like my 3-Ingredient Creamy Yogurt Cake. As I stirred together the creamy yogurt and sugar, I marveled at how such modest components could create something so soft and satisfying. This recipe not only frees you from the hassle of eggs and butter, but it also invites creativity with the option to transform it into sweet or savory variations. It’s an effortless way to impress guests or simply treat yourself to a homemade delight. Whether you’re a seasoned baker or just starting out, this cake is perfect for those busy evenings when you crave something wholesome without complicated steps. Curious to discover how easy and delicious this yogurt-based treat can be? Let’s dive into the recipe!
Why is Creamy Yogurt Cake a Must-Try?
Simplicity at Its Best: This 3-Ingredient Creamy Yogurt Cake cuts down on prep time, making it perfect for busy days.
Rich, Tangy Flavor: The yogurt adds a delightful tang that elevates the sweetness of the cake, providing a unique flavor profile.
Versatile Variations: You can easily switch it up by creating a savory version with cheese and herbs, or add vanilla for a sweet twist.
Perfect for Everyone: Ideal for those avoiding eggs and butter, this cake caters to various dietary preferences while impressing all who taste it.
Quick and Easy: With just a few simple steps, you’ll have a homemade dessert that feels gourmet—perfect for everyday indulgence or entertaining guests!
Consider pairing it with fresh fruit or a drizzle of honey for an extra touch of deliciousness.
Creamy Yogurt Cake Ingredients
Discover the magic of making a cake with just three simple staples!
For the Cake
- Yogurt – Provides moisture and tenderness; opt for plain yogurt for a balanced flavor.
- Self-Rising Flour – Acts as a leavening agent and structure; can substitute with all-purpose flour mixed with baking powder and salt, but this increases ingredient count.
- Sugar – Adds sweetness and enhances flavor balance; feel free to omit if you’re making a savory version of the Creamy Yogurt Cake.
Step‑by‑Step Instructions for Creamy Yogurt Cake
Step 1: Preheat the Oven
Begin by preheating your oven to 350°F (175°C). This ensures that the heat is evenly distributed when you place the Creamy Yogurt Cake in, promoting that perfect golden crust. While the oven is heating, gather your mixing bowls and an 8-inch round cake pan; lightly grease the pan to prevent sticking.
Step 2: Mix Yogurt and Sugar
In a medium-sized mixing bowl, combine 1 cup of yogurt and ½ cup of sugar. Using a spatula or whisk, mix the ingredients vigorously for about 2–3 minutes until the mixture is fully combined and smooth. You’ll know it’s ready when the sugar has dissolved, and the texture is creamy and homogeneous, setting a solid foundation for your cake.
Step 3: Incorporate Self-Rising Flour
Gradually sift in 1 cup of self-rising flour into the yogurt-sugar mixture, stirring gently with a spatula. Mix until just combined, ensuring no dry flour remains visible. This step should take about 1–2 minutes. The batter will become thick and smooth, showcasing the beauty of your simple Creamy Yogurt Cake as it comes to life.
Step 4: Pour Batter into the Pan
Carefully pour the batter into the prepared 8-inch cake pan, using a spatula to scrape out every bit of that luscious mix. Gently tap the pan on your countertop to release air bubbles and ensure an even surface. The batter should spread uniformly, ready for the magic of baking!
Step 5: Bake the Cake
Place the cake pan in the preheated oven and bake for 25–30 minutes. Keep an eye on it, and when the top is a lovely golden brown and a toothpick inserted in the center comes out clean, you’ll know your Creamy Yogurt Cake is done. Enjoy the delightful aroma wafting through your kitchen as you wait!
Step 6: Cool Before Serving
Once baked, remove the cake from the oven and let it cool in the pan for about 10 minutes. Afterward, gently transfer the cake to a wire rack to cool completely. Patience is key here—allowing it to cool will enhance its texture and flavor, making your dessert even more enjoyable when served.
Expert Tips for Creamy Yogurt Cake
-
Use Fresh Yogurt: Ensure your yogurt is fresh for optimal moisture. Expired yogurt can compromise the cake’s texture and taste.
-
Monitor Mixture Consistency: When mixing in the self-rising flour, do not over-mix. This can make your Creamy Yogurt Cake dense instead of light and fluffy.
-
Avoid Ingredient Overload: Stick to the three main ingredients. Adding too many extras can overwhelm the cake and detract from its simple charm.
-
Measure Precisely: If substituting all-purpose flour, be precise with your ratios of baking powder and salt to maintain the cake’s structure.
-
Cool Completely: Allow the cake to cool fully before serving or adding toppings; this enhances texture and flavor, making every bite more delightful.
How to Store and Freeze Creamy Yogurt Cake
Fridge: Store the Creamy Yogurt Cake in an airtight container in the refrigerator for up to 3 days to maintain its soft texture and freshness.
Freezer: For longer storage, wrap the cooled cake tightly in plastic wrap and then in aluminum foil. It can be frozen for up to 2 months; just thaw overnight in the fridge before serving.
Reheating: To enjoy the cake warm, slice and gently reheat in the microwave for 15-20 seconds, ensuring it remains moist and tender for that fresh-baked taste.
Make Ahead Options
These 3-Ingredient Creamy Yogurt Cakes are perfect for busy weeknights and meal prep enthusiasts! You can prepare the cake batter up to 24 hours in advance, simply mixing together your yogurt, sugar, and self-rising flour, then store it in an airtight container in the refrigerator to keep it fresh. To maintain the cake’s delightful texture, avoid adding any toppings or additional ingredients until you’re ready to bake. When you’re ready to enjoy your creamy delight, pour the batter into the prepared pan and bake as instructed. This method allows you to serve up a homemade dessert with minimal effort while still delivering that soft, moist, and indulgent flavor that everyone loves!
What to Serve with 3-Ingredient Creamy Yogurt Cake
Enhance your delightful dessert experience with these delicious pairings that evoke warmth and satisfaction.
-
Fresh Berries: Juicy strawberries, blueberries, or raspberries add bursts of flavor and a refreshing contrast to the cake’s softness. A colorful fruit medley brightens both the presentation and palate, inviting a symphony of tastes.
-
Flavored Whipped Cream: Lightly sweetened whipped cream infused with vanilla or lemon zest elevates every slice, adding a fluffy and indulgent touch. Drizzle it generously, and feel the creaminess complement the cake’s texture.
-
Honey Drizzle: A simple drizzle of honey brings a natural sweetness that enhances the yogurt’s tanginess. This golden touch transforms your cake into a sweet masterpiece perfect for afternoon tea or dessert.
-
Citrusy Compote: A homemade fruit compote, such as citrus or berry, offers a zesty punch and a glossy finish that complements the cake beautifully. Each bite combines the yogurt’s creaminess with a zingy pop, creating a delightful contrast.
-
Nutty Granola: A sprinkle of toasted granola on top introduces crunch and a nutty flavor that contrasts with the cake’s tenderness. It makes for an enticing textural experience, adding both flavor and heartiness.
-
Chilled Herbal Tea: Serve this airy cake alongside a cup of iced herbal tea, like mint or chamomile, to refresh your senses. The soothing flavors balance the cake’s sweetness, making this a perfect pairing for warm afternoons.
Creamy Yogurt Cake Variations & Substitutions
Looking to take your Creamy Yogurt Cake to the next level? Let your imagination run wild and transform this delightful dessert!
-
Savory Version: Replace sugar with grated cheese and fresh herbs like rosemary or thyme for a mouthwatering savory cake.
-
Add Citrus Zest: Incorporate lemon or orange zest into the batter for a refreshing zing that brightens each bite. Just think about that vibrant, sunny flavor!
-
Nutty Crunch: Stir in a handful of chopped nuts, like walnuts or almonds, to add a delightful crunch and rich flavor that contrasts with the cake’s softness.
-
Coconut Twist: Add shredded coconut to the batter for a tropical flair that makes each slice a little paradise on your plate.
-
Richer Texture: Swap in Greek yogurt for a denser cake with even more creamy goodness. It gives a lovely tang that pairs perfectly with a touch of honey on top.
-
Chocolate Indulgence: Fold in cocoa powder or melted chocolate for a delicious chocolate version, satisfying every chocolate lover’s craving.
-
Fruit-Filled Delight: Consider incorporating fresh berries or diced peaches into the batter for natural sweetness and a pop of color. The juicy fruits will keep it moist while adding wonderful flavor!
-
Spicy Kick: Add a dash of cayenne or chili powder for those who enjoy a little heat, making for an unforgettable flavor experience. The spicy notes will beautifully contrast with the cake’s sweetness.
Don’t forget to check out these crowd-pleasing desserts for more inspiration: Lemon Blueberry Yogurt or Blueberry Coffee Cake. Let your creativity shine with these variations, and enjoy making your Creamy Yogurt Cake truly yours!
Creamy Yogurt Cake Recipe FAQs
How do I select the right yogurt for my Creamy Yogurt Cake?
Absolutely! For the best results, choose plain yogurt, as it provides the perfect balance of tang and moisture. Greek yogurt can also work well, creating a denser texture. Avoid flavored varieties, as they can alter the desired taste of your cake.
How should I store leftovers of the Creamy Yogurt Cake?
To keep your cake fresh, store it in an airtight container in the refrigerator for up to 3 days. This helps maintain its soft texture. If it develops any dark spots or a hardened crust, it may be time to enjoy those last slices!
Can I freeze the Creamy Yogurt Cake, and how do I do it?
Yes, you can freeze it! Once the cake has completely cooled, wrap it tightly in plastic wrap, and then in aluminum foil for extra protection. It can be frozen for up to 2 months. When ready to enjoy, simply thaw it overnight in the refrigerator, and you’ll have a delightful treat waiting for you.
**What should I do if my cake doesn’t rise?
**If you find that your cake hasn’t risen as expected, it could be due to expired self-rising flour or not mixing the ingredients properly. To troubleshoot, first ensure your flour is fresh; I often recommend checking the expiration date. Make sure to combine the yogurt and sugar thoroughly before adding the flour—this creates a good base for the cake to rise.
Can pets eat the Creamy Yogurt Cake?
While yogurt is safe for most pets in small amounts, the sugar and flour in the cake are not suitable. It’s best to avoid giving any cake to your pets, as added sugars can lead to health issues for our furry friends. Always double-check with your vet if you’re unsure about any new treats for them!
What are some creative variations I can try with this recipe?
The more the merrier! For a savory twist, substitute the sugar with grated cheese and herbs like rosemary or thyme. You can also add a splash of vanilla or spices like cinnamon for a sweet version. Just remember to stick closely to the three main ingredients to keep the simplicity of the original Creamy Yogurt Cake!
Indulge in Bliss with Creamy Yogurt Cake: Easy & Light Delight
Ingredients
Equipment
Method
- Preheat the oven to 350°F (175°C) and grease an 8-inch round cake pan.
- In a medium mixing bowl, mix 1 cup of yogurt and 1/2 cup of sugar until smooth.
- Gradually sift in 1 cup of self-rising flour, stirring gently until combined.
- Pour the batter into the prepared cake pan and tap to release air bubbles.
- Bake for 25-30 minutes until golden brown and a toothpick comes out clean.
- Cool in the pan for 10 minutes, then transfer to a wire rack to cool completely.
Leave a Reply