
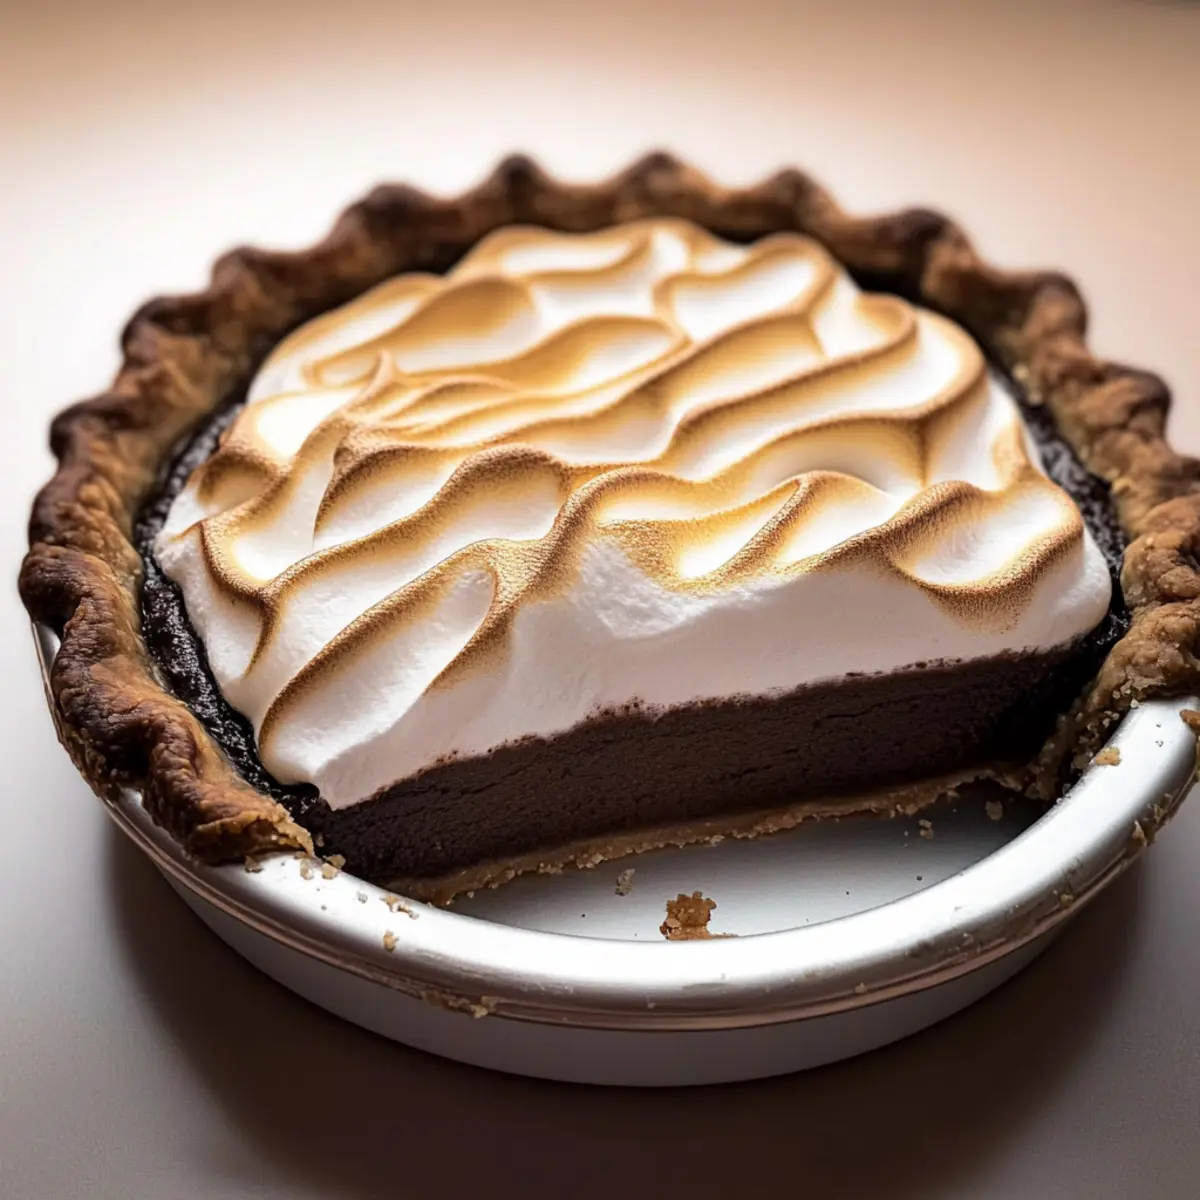
Imagine the first bite of winter’s warmth enveloping you in a cozy embrace. This is precisely what you’ll experience with my decadent Hot Cocoa Pie, a delightful twist on the classic winter beverage. Featuring a crunchy chocolate shortbread crust and a silky milk chocolate filling that mirrors the taste of your favorite hot drink, this pie is the ultimate indulgence. But the magic doesn’t stop there—the fluffy, melty marshmallow topping offers a gooey texture that will have you reaching for seconds. Plus, this recipe is not only a comfort food hero for chilly evenings, but it also impresses guests, making it a perfect dessert for gatherings. Ready to learn how to capture the essence of winter in every slice? Let’s dive into this delicious journey together!
Why is Hot Cocoa Pie a Must-Try?
Decadent flavor: This pie combines silky milk chocolate with rich cocoa, creating an unforgettable treat.
Easy to prepare: With straightforward steps, you’ll have a delightful dessert without the fuss.
Impressive presentation: Guests will rave about the fluffy meringue topping, making it a perfect centerpiece.
Versatile delights: Try adding a dash of cinnamon or peppermint for a seasonal twist!
For added indulgence, serve with whipped cream or vanilla ice cream, just like with my Apple Cider Whoopie or Pecan Cream Pie. This pie is a delicious way to cozy up this winter!
Hot Cocoa Pie Ingredients
Dive into the decadence of Hot Cocoa Pie with these essential ingredients!
For the Chocolate Shortbread Crust
- Chocolate Bar – Opt for a high-quality chocolate bar to create a deliciously crumbly crust.
- Unsalted Butter – Provides richness; using unsalted helps control the overall saltiness of your pie.
- Granulated Sugar – Sweetens the crust without overwhelming the chocolate flavor.
- All-Purpose Flour – The base of your crust, giving it a sturdy yet tender texture.
- Salt – Just a pinch enhances the flavor of the chocolate.
For the Chocolate Filling
- Milk Chocolate – The star of this dessert; avoid brands like Hershey’s for a richer flavor, choosing choices like Ghirardelli or Callebaut instead.
- Granulated Sugar – Adds sweetness to the filling; perfect for balancing the rich chocolate.
- Large Eggs – Ensure your eggs are large as they help bind the ingredients, creating that luscious filling.
- Cocoa Powder – Intensifies the chocolate taste; remember to sift it to keep the filling smooth.
- Cream of Tartar – Optional, but helpful for stabilizing the meringue topping.
For the Meringue Topping
- Egg Whites – The key to a fluffy and airy meringue.
- Granulated Sugar – Helps to sweeten and stabilize the meringue, creating a beautiful glossy finish.
- Cream of Tartar – Optional; helps maintain the structure and volume of your meringue.
For the Final Touch
- Marshmallows (or Marshmallow Fluff) – Offers a delightful gooey finish that completes the Hot Cocoa Pie charm.
With these ingredients in your kitchen, you’re well on your way to creating a delightful Hot Cocoa Pie that captures the warmth of winter in every delicious slice!
Step‑by‑Step Instructions for Hot Cocoa Pie
Step 1: Make the Chocolate Shortbread Crust
In a food processor, blend together the chocolate bar, unsalted butter, granulated sugar, all-purpose flour, and a pinch of salt until crumbly in texture. Once mixed, chill the dough for 30 minutes to 2 hours to allow it to firm up. After chilling, roll out the dough and fit it into a metal pie plate, ensuring the edges are neatly crimped.
Step 2: Prepare the Filling
To create the rich filling for your Hot Cocoa Pie, melt the butter and high-quality milk chocolate over a double boiler, stirring until smooth and fully combined. Once melted, remove from heat and whisk in granulated sugar, large eggs, and sifted cocoa powder until silky. Strain the mixture through a fine sieve to eliminate any clumps or bubbles for a flawless filling.
Step 3: Bake the Pie
Preheat your oven to 375°F (190°C). Carefully pour the smooth chocolate filling into the prepared shortbread crust and gently spread it to ensure even distribution. Bake in the preheated oven for 25-30 minutes, monitoring closely until the filling is set but still has a slight jiggle in the center. Remove from the oven and let it cool slightly.
Step 4: Prepare the Swiss Meringue
In a heatproof bowl, combine egg whites and granulated sugar over a double boiler. Whisk gently until the sugar has fully dissolved, which allows for a glossy meringue. Remove the bowl from heat and whip the mixture using an electric mixer until it becomes fluffy and glossy, about 5-7 minutes.
Step 5: Top the Pie
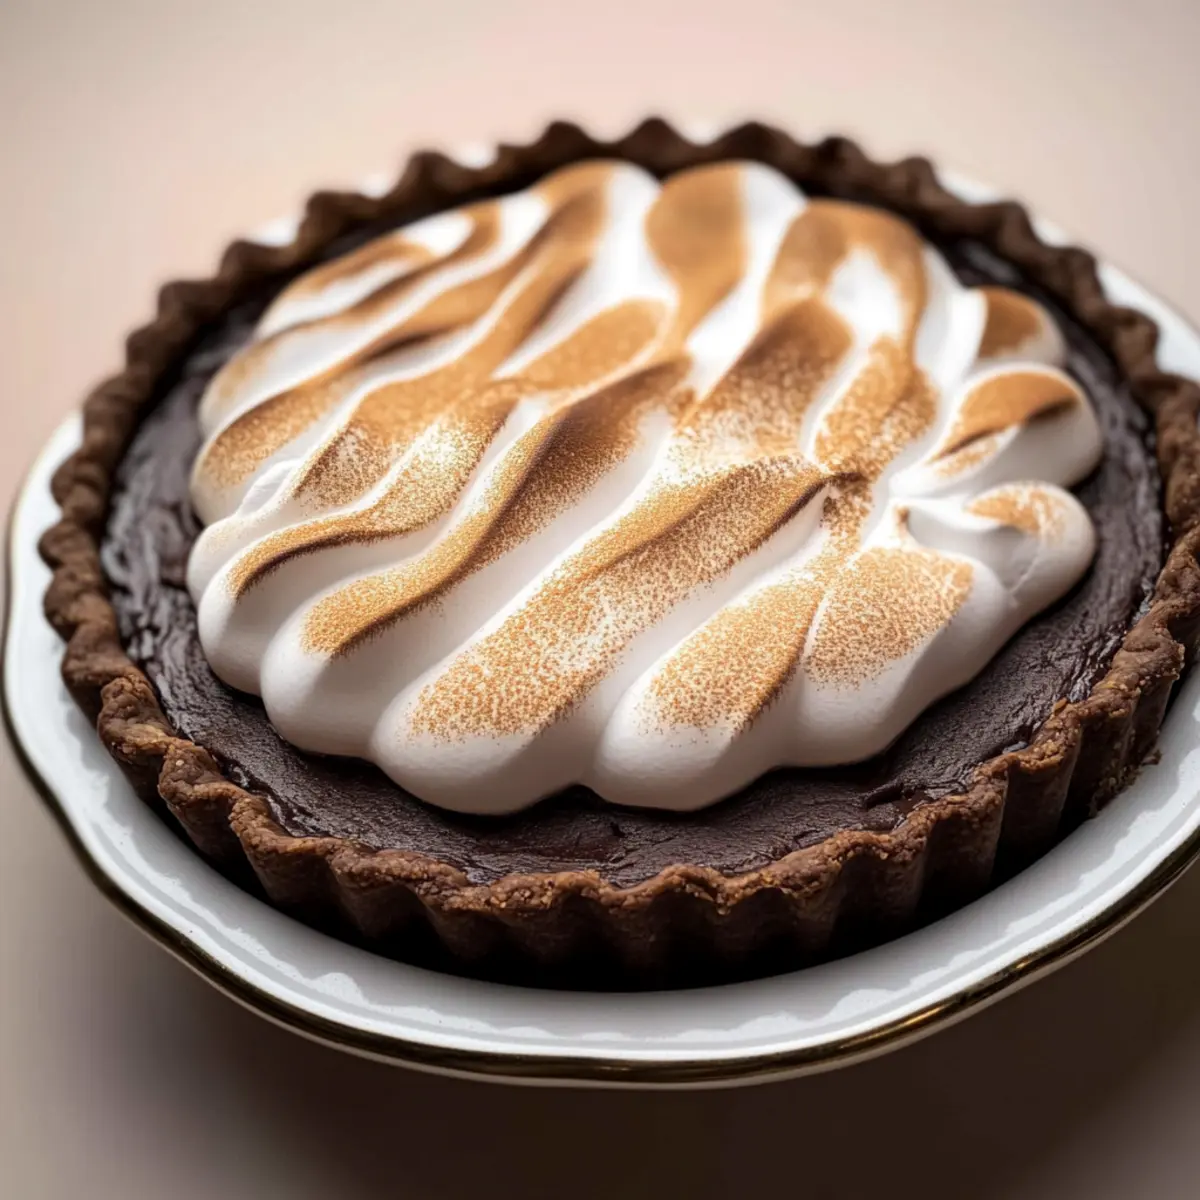
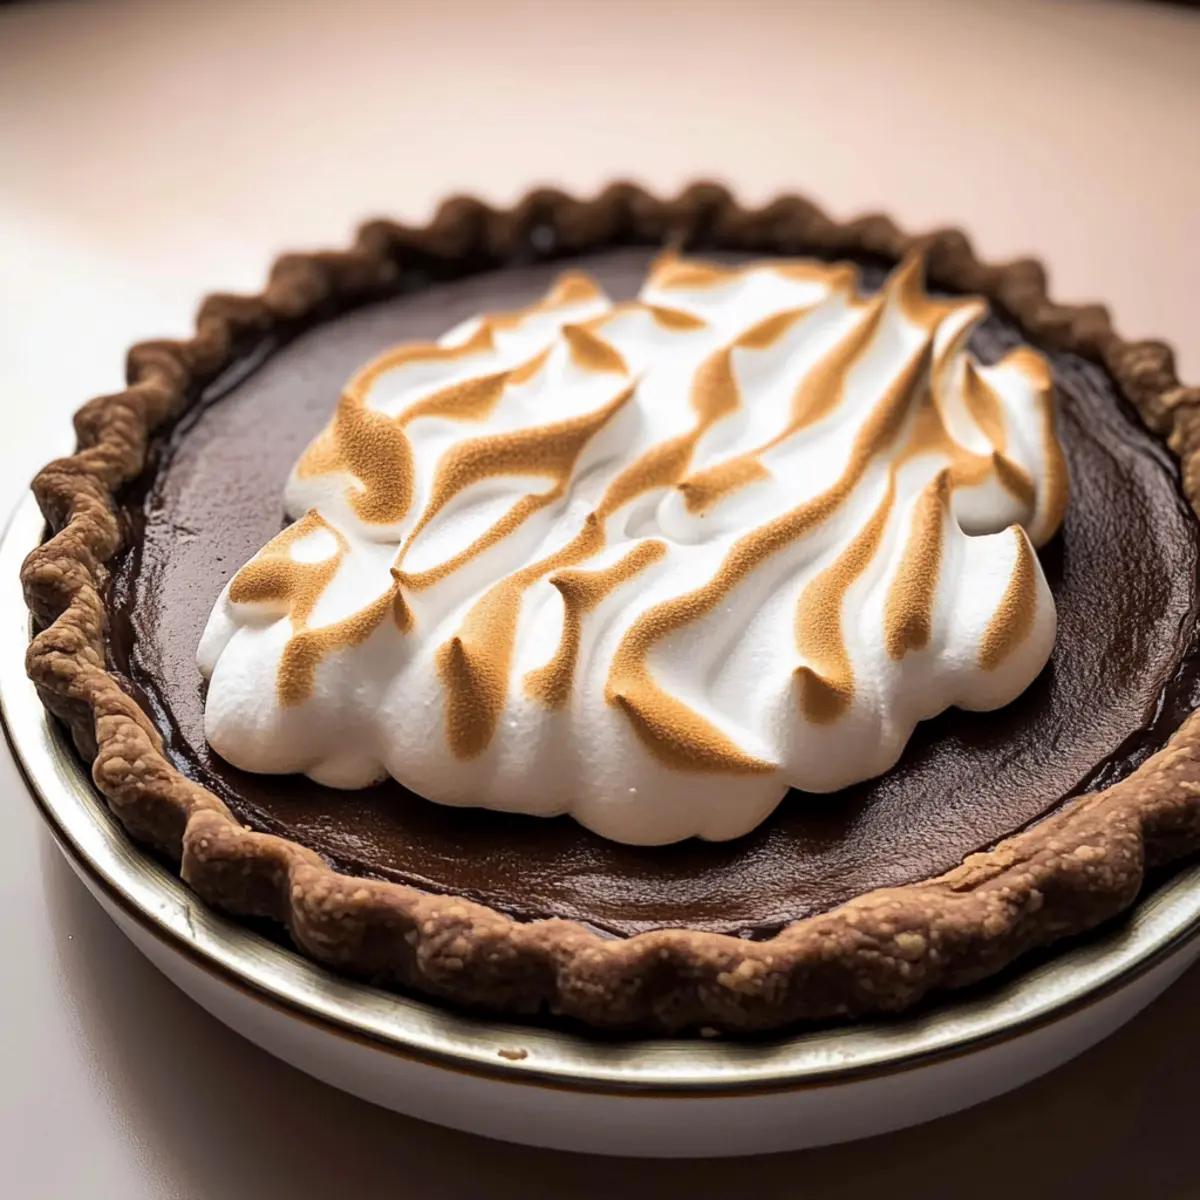
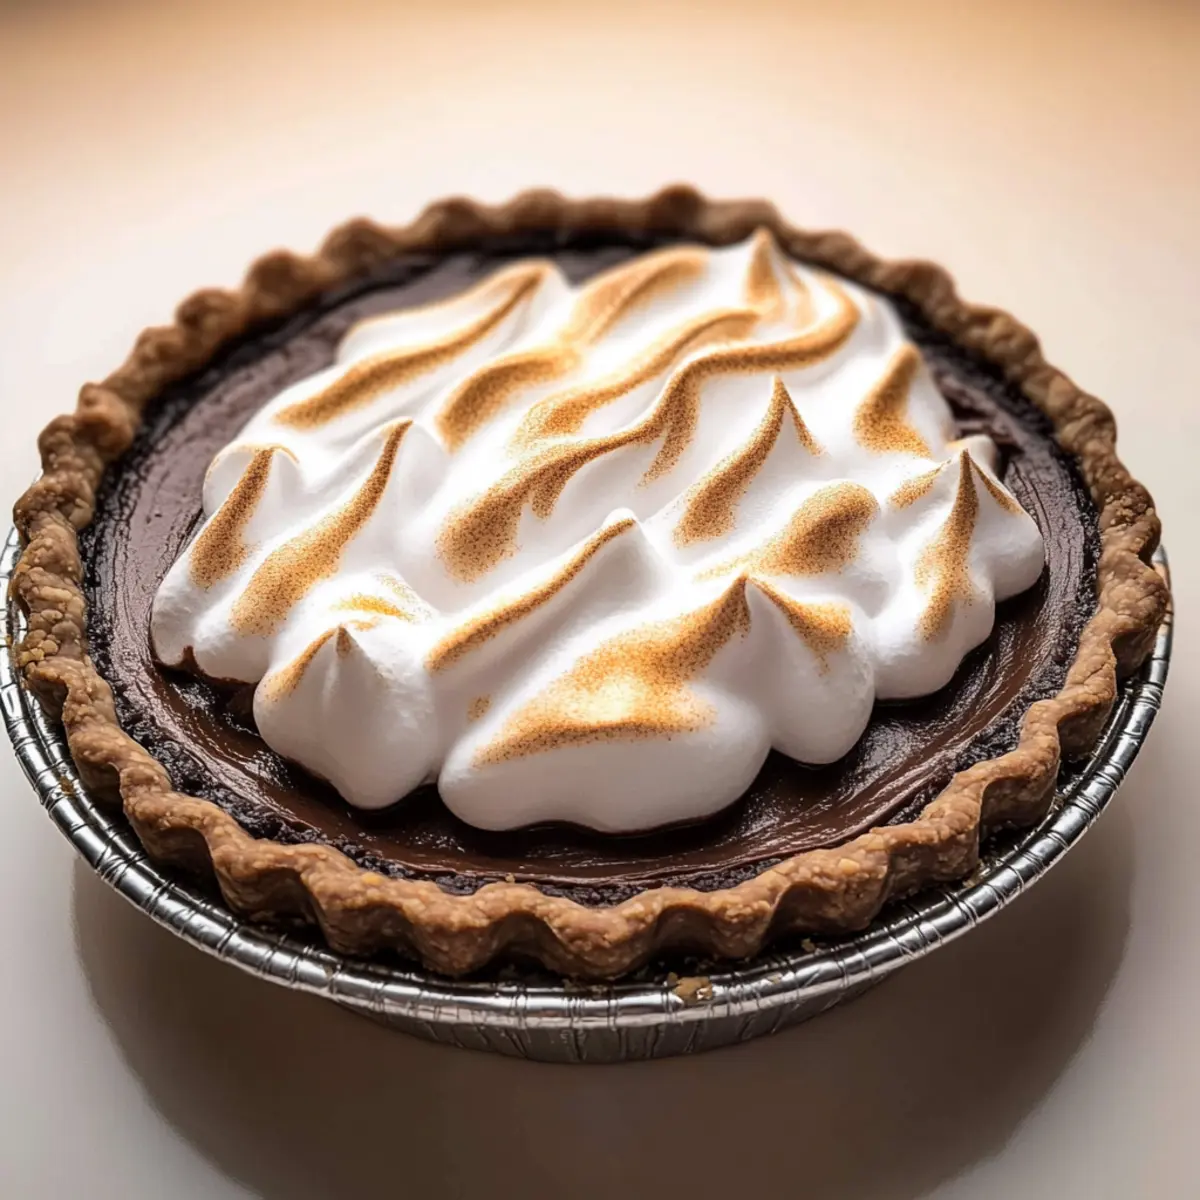
Once the pie has cooled and the filling is set, spread the fluffy meringue over the warm filling, creating peaks and swirls for a beautiful presentation. Return the pie to the oven and broil on low for 2-3 minutes, just until the meringue turns golden brown. Keep a close eye to prevent burning!
Step 6: Rest and Serve
Let your Hot Cocoa Pie sit at room temperature for about 30 minutes, allowing flavors to meld while the meringue slightly firms up. Once rested, serve warm for the ultimate indulgence, and relish each slice of this delightful winter treat.
Storage Tips for Hot Cocoa Pie
Fridge: Store your Hot Cocoa Pie in the refrigerator for up to 3 days in an airtight container for best results. This keeps the filling creamy and the meringue fluffy.
Freezer: If you want to save it for later, freeze the pie, wrapped tightly in plastic wrap and aluminum foil, for up to 3 months. Thaw in the fridge before serving.
Reheating: To enjoy your pie warm, reheat individual slices in the microwave for about 15-20 seconds. This maintains the gooey filling while softening the meringue.
Serving Fresh: For the best taste and texture, aim to enjoy your Hot Cocoa Pie fresh; it’s best savored within the first couple of days after baking.
Hot Cocoa Pie Variations & Substitutions
Feel free to explore different flavors and textures with these fun twists on the classic Hot Cocoa Pie!
-
Dark Chocolate: Substitute milk chocolate with dark chocolate for a richer, more intense flavor that pairs beautifully with the pie’s sweetness.
-
Seasonal Spices: Add a pinch of cinnamon or nutmeg to the filling for a delightful seasonal spin, enhancing the warmth and coziness of your dessert. Think of the delightful scents wafting through your kitchen!
-
Peppermint Twist: Incorporate a few drops of peppermint extract into the filling for a refreshing take on the classic hot cocoa flavor, perfect for holiday gatherings.
-
Nutty Crust: Use ground almonds or hazelnuts in place of some of the flour for your crust. This will add a lovely nutty flavor and an extra layer of texture.
-
Marshmallow Fluff: If you’re pressed for time, substitute the meringue with marshmallow fluff for quick assembly without sacrificing that gooey finish.
-
Spicy Kick: Add a hint of cayenne pepper to the filling for a subtle heat that contrasts beautifully with the sweetness. Your guests will be pleasantly surprised!
-
Chocolate Ganache Topping: Drizzle a warm chocolate ganache over the meringue for an added layer of decadence that enhances every slice.
-
Fruity Filling: Fold in some fresh raspberries or cherries into the filling for a tart burst of flavor that complements the chocolate beautifully.
For even more comforting treat ideas, why not also try my warm and indulgent Hot Cocoa Pie alongside a cozy Chicken Pot Pie for the ultimate winter feast?
Expert Tips for Hot Cocoa Pie
- Quality Counts: Use high-quality milk chocolate brands like Ghirardelli or Callebaut for the richest flavor. Avoid Hershey’s as it can be too sweet and bland.
- Proper Chilling: Ensure the chocolate shortbread crust is chilled for at least 30 minutes to keep it from shrinking during baking.
- Sift Cocoa Powder: Always sift cocoa powder before adding it to the filling to avoid clumps, ensuring a smooth and silky Hot Cocoa Pie.
- Meringue Mastery: Whip the egg whites until stiff peaks form for a fluffy meringue that won’t deflate. Don’t skip the cream of tartar for stability!
- Mind the Baking: Keep an eye on the pie during the last few minutes of baking to prevent the meringue from burning. A quick broil can create a beautiful golden top.
- Serving Size: This pie is indulgent—consider cutting it into smaller slices for a satisfying treat that won’t overwhelm.
What to Serve with Hot Cocoa Pie
Imagine curling up with a slice of this rich dessert, surrounded by cozy winter vibes and warm flavors.
- Whipped Cream: A dollop of airy whipped cream adds a light touch that perfectly balances the pie’s rich filling.
- Vanilla Ice Cream: Creamy vanilla ice cream offers a delightful contrast and melts into the warm pie for pure indulgence.
- Chocolate Sauce: Drizzle with chocolate sauce for an extra dose of chocolatey goodness that enhances the overall flavor experience.
- Peppermint Bark: Serve alongside small squares of peppermint bark for a festive crunch that complements the cocoa flavors beautifully.
- Fresh Berries: The tartness of fresh raspberries or strawberries brings a refreshing contrast to the rich sweetness of the pie. Their juicy burst will elevate each bite!
- Coffee or Hot Cocoa: Pair with a steaming cup of coffee or a classic hot cocoa for a comforting combination that warms the soul.
- Chocolate-Covered Pretzels: The salty crunch of chocolate-covered pretzels adds texture and a fun salty-sweet dynamic to your dessert spread.
- Spiced Chai Tea: A soothing cup of spiced chai tea infuses warmth and spice, making it an ideal drink to sip alongside the pie.
- Marshmallow Fluff Dip: For a playful touch, serve a side of marshmallow fluff dip for an extra layer of gooey sweetness that mirrors the pie’s topping.
Make Ahead Options
These Hot Cocoa Pies are perfect for busy home cooks looking to save time without sacrificing flavor! You can prepare the chocolate shortbread crust up to 24 hours in advance by rolling it out and fitting it into your pie plate. Cover it tightly with plastic wrap and refrigerate to maintain its freshness and prevent drying. Additionally, the filling can be made up to 3 days ahead; simply refrigerate it in an airtight container. When you’re ready to serve, pour the filling into the crust and bake as directed for that just-baked taste. Top with meringue and broil right before serving for a light and fluffy finish that’s just as delightful as if made fresh that day!
Hot Cocoa Pie Recipe FAQs
How do I choose the right chocolate for my Hot Cocoa Pie?
Absolutely! For the richest flavor in your Hot Cocoa Pie, opt for high-quality milk chocolate brands like Ghirardelli or Callebaut. Avoid using Hershey’s, as it can taste overly sweet and dull. Look for chocolate that has a smooth, creamy texture and a high cocoa content for that perfect indulgent taste!
How should I store leftover Hot Cocoa Pie?
You can store your Hot Cocoa Pie in an airtight container in the refrigerator for up to 3 days. This keeps the creamy filling fresh and helps maintain the fluffy meringue. If you’d like to keep it longer, wrap it tightly in plastic wrap and aluminum foil to freeze it for up to 3 months. Just thaw in the fridge before serving for the best texture!
Can I freeze Hot Cocoa Pie?
Yes! To freeze your Hot Cocoa Pie, first let it cool completely. Then, wrap it tightly in plastic wrap and aluminum foil, ensuring no air is exposed. You can freeze it for up to 3 months. When you’re ready to enjoy it, thaw the pie in the refrigerator overnight. To reheat, slice individual pieces and pop them in the microwave for 15-20 seconds for warm, gooey goodness.
What if my meringue doesn’t whip up properly?
If your meringue doesn’t whip up to stiff peaks, check a few things! Make sure your bowl and beaters are entirely clean and free of grease, as even a tiny bit can inhibit whipping. Adding cream of tartar can help stabilize the meringue. Also, ensure your egg whites are at room temperature for better volume. If all else fails, a store-bought marshmallow fluff can be your quick fix for a topping!
Is this Hot Cocoa Pie safe for pets?
It’s important to note that the Hot Cocoa Pie contains chocolate, which is toxic to dogs and cats, so keep it out of their reach. If you have any pets, consider making a separate pet-safe treat to enjoy while you’re indulging in this delicious dessert. Always check with your vet if you’re unsure about what foods are safe for your furry friends.
Can I make this pie ahead of time?
Yes, you can prepare the crust in advance and store it in the fridge for up to 2 days. However, I recommend making the filling just before baking to ensure it stays warm and gooey. If you’re thinking of making the meringue ahead, whip it just before topping the pie to get that perfect fluffy texture!
Indulgent Hot Cocoa Pie: Cozy Up with Every Slice
Ingredients
Equipment
Method
- Blend together chocolate bar, unsalted butter, granulated sugar, all-purpose flour, and salt until crumbly. Chill for 30 mins to 2 hours.
- Melt butter and milk chocolate over a double boiler, whisk in sugar, eggs, and sifted cocoa until smooth.
- Preheat oven to 375°F. Pour filling into crust, bake for 25-30 minutes until set with a jiggle.
- Whisk egg whites and sugar over double boiler until dissolved, then beat until fluffy and glossy.
- Spread meringue over filling, broil for 2-3 minutes until golden brown.
- Let sit at room temperature for 30 minutes, then serve warm.
Leave a Reply