
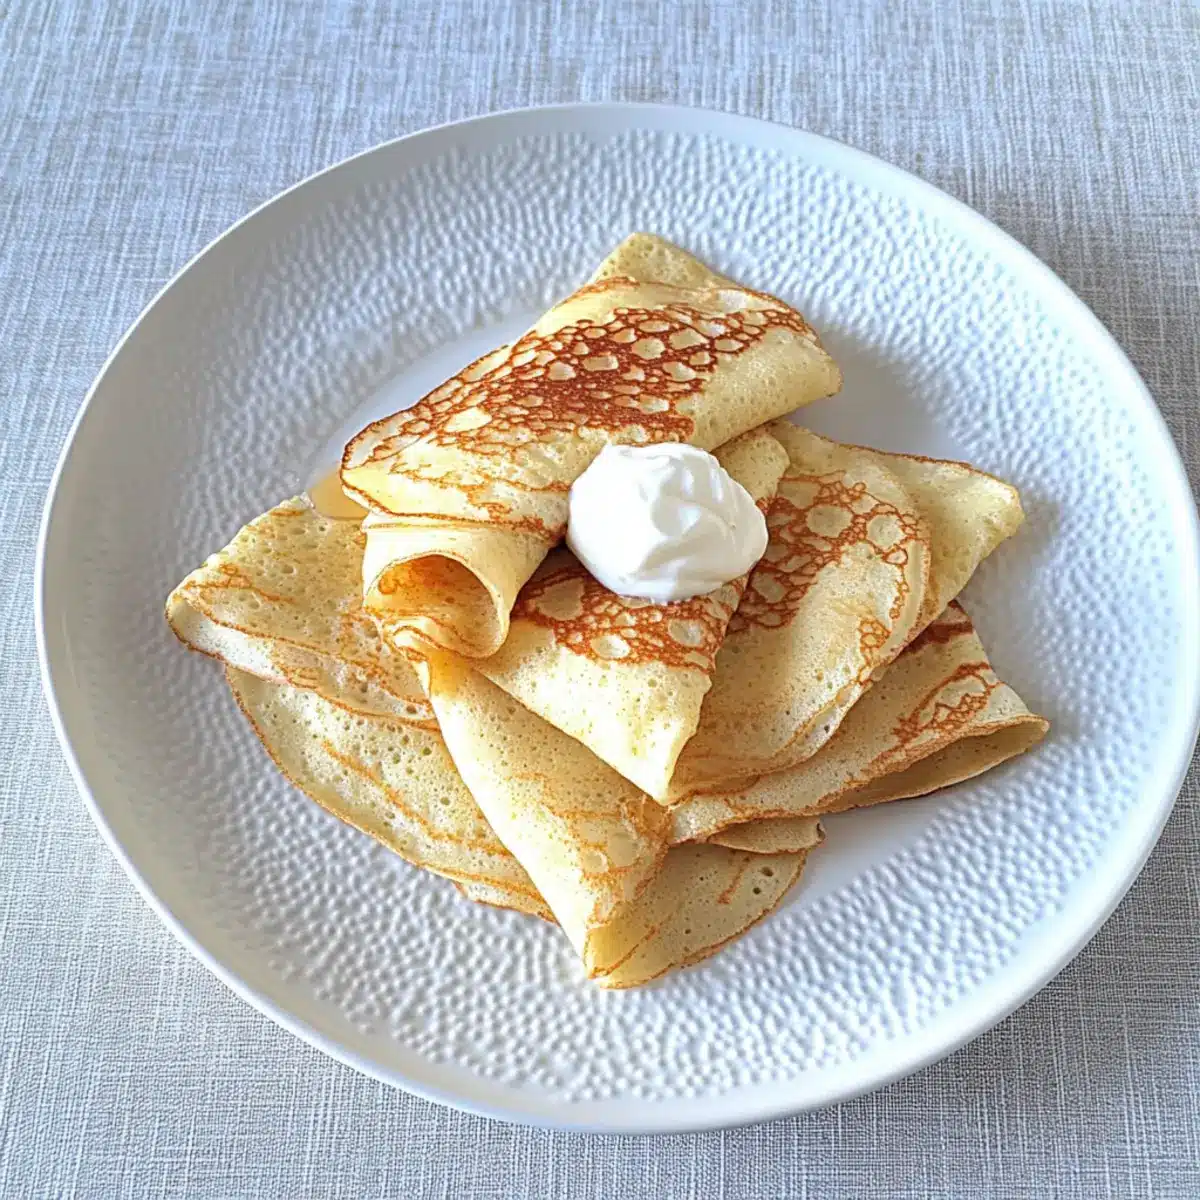
The aroma of warm crepes sizzling in the pan can instantly transport me to a cozy Parisian café, where the world slows down for just a moment. Today, I want to share a delightful recipe for gluten-free crepes that’s both simple and incredibly versatile. Whether you’re in the mood for a sweet treat filled with Nutella and strawberries or a savory version packed with herbed cheese and sautéed vegetables, these crepes can be tailored to your taste. The beauty of this recipe lies not only in its adaptability but also in its meal-prep friendliness—whip up a batch, store them in the fridge or freezer, and you’ll always have a delicious option ready to enjoy. Ready to explore the wonderfully light and crispy world of gluten-free crepes? Let’s dive in!

Why Choose Gluten Free Crepes?
Versatility: These crepes are perfect for any meal, whether you prefer sweet or savory. Customization is key—feel free to experiment with your favorite fillings!
Easy to Make: With simple ingredients and straightforward steps, even beginner cooks can succeed. Minimal prep time means you can enjoy a satisfying dish in no time.
Meal-Prep Friendly: Make a large batch and store them in your fridge or freezer. Ready-to-eat options are always a win for busy days!
Crowd-Pleasing: Serve these crepes at brunch or dinner, and they’re sure to impress your friends and family. If you love delicious alternatives to fast food, you’ll find inspiration in these Gluten Free Popovers too!
Incredible Texture: Expect thin, delicate crepes that are both crispy on the edges and soft inside, a perfect canvas for all your favorite toppings.
Gluten Free Crepe Ingredients
• Get ready to create the perfect gluten-free crepes with these simple ingredients!
For the Batter
- Bob’s Red Mill Gluten Free 1-to-1 Flour Blend – Provides the base structure; feel free to substitute with your preferred gluten-free flour blend.
- Salt – Enhances overall flavor; no substitutions necessary, but adjust according to your taste.
- Eggs (3) – Bind ingredients together and add richness; for an egg-free option, try using flaxseed meal or chia eggs.
- Milk (2 cups) – Adds moisture, creating a smooth batter; you can swap in any dairy-free milk without issue.
- Oil or Melted Butter (1 tablespoon) – Imparts flavor and helps prevent sticking; coconut oil is a great substitute for a dairy-free version.
For Sweet Crepes
- Sugar (1 tablespoon) – Sweetens the crepes to your liking; feel free to adjust or substitute with your favorite sweetener.
- Vanilla Extract (1 teaspoon) – Adds depth of flavor; almond extract can also be a delightful alternative if you wish to vary it a bit.
With these ingredients, you’ll be well on your way to flipping up delightful gluten-free crepes that will please any palate!
Step‑by‑Step Instructions for Easy Gluten-Free Crepes
Step 1: Combine Dry Ingredients
In a mixing bowl, whisk together 1 cup of Bob’s Red Mill Gluten Free 1-to-1 Flour Blend and a pinch of salt. This blend creates the ideal foundation for your gluten-free crepes. Make sure there are no lumps, as a smooth batter is key to achieving that delicate crepe texture.
Step 2: Mix Wet Ingredients
Add in 3 eggs to the dry mixture, using a whisk to combine them thoroughly. Gradually pour in 2 cups of milk, mixing continuously to eliminate any lumps. If you’re making sweet gluten-free crepes, at this stage, stir in 1 tablespoon of sugar and 1 teaspoon of vanilla extract for an added touch of flavor.
Step 3: Rest the Batter
Once your batter is fully combined, let it rest for about 30 minutes at room temperature. Resting is crucial for gluten-free crepes as it helps the mixture meld and enhances its texture. Alternatively, you can refrigerate it overnight, giving you even better results the next day.
Step 4: Cook Crepes
Heat a non-stick or crepe pan over medium-high heat and lightly grease it with oil or melted butter. Pour about ¼ cup of the rested batter into the center of the pan, tilting it gently to spread the mixture into a thin layer. Cook for 1-3 minutes until the edges turn slightly golden and the top appears set.
Step 5: Flip and Finish Cooking
When the crepe edges appear golden and the surface looks mostly dry, use a spatula to carefully flip it over. Cook the second side for an additional 10-30 seconds until it’s light golden brown. This careful technique will ensure your gluten-free crepes are both delicious and pliable.
Step 6: Serve and Enjoy
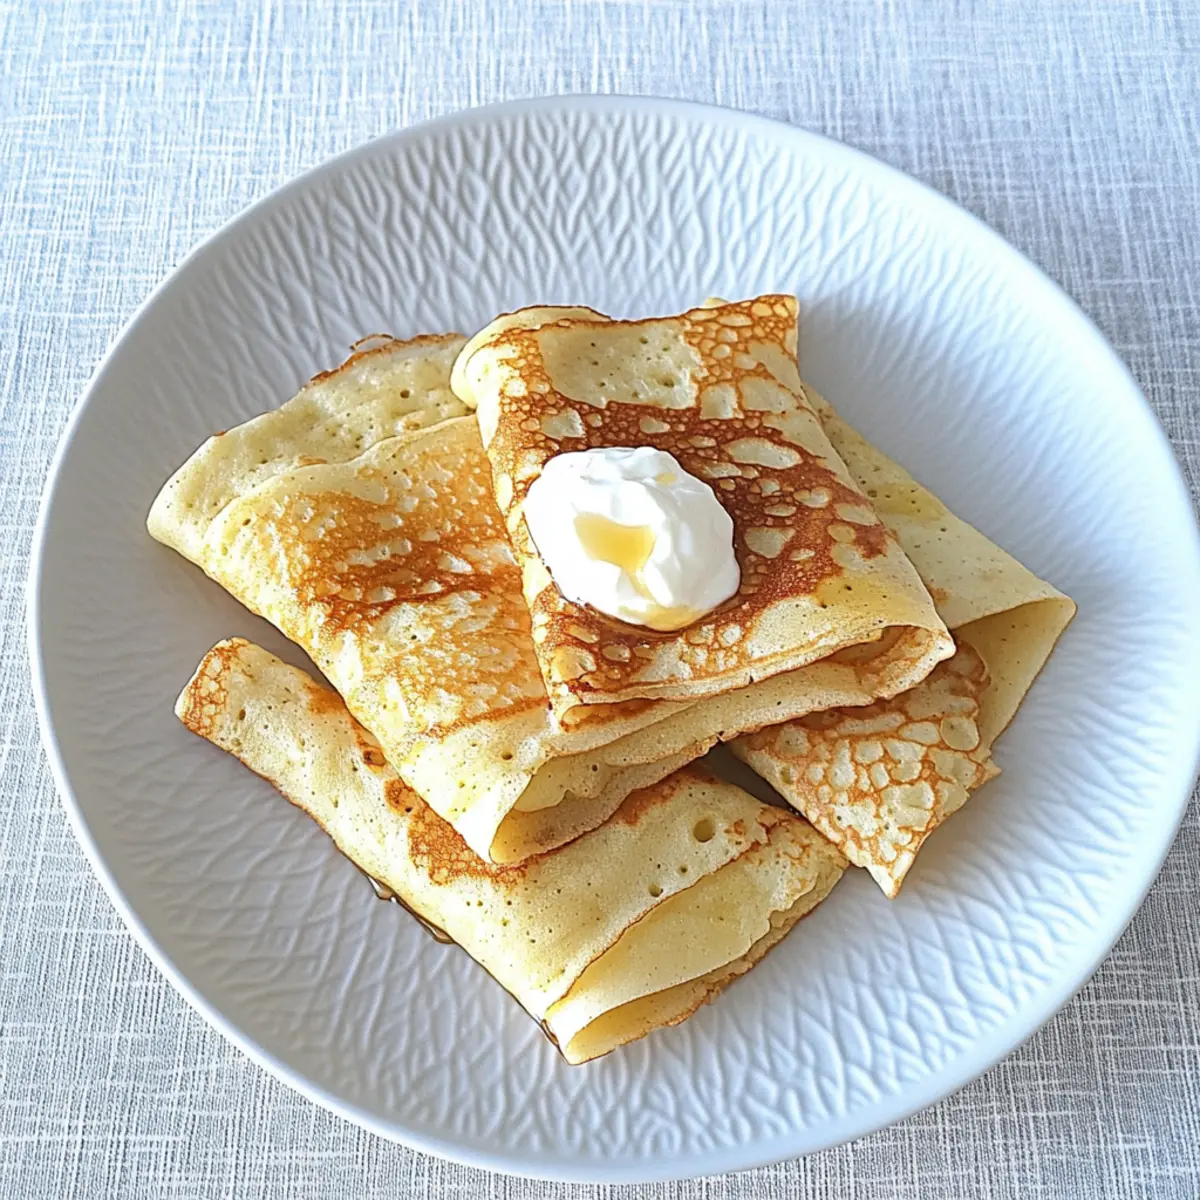
Remove the cooked crepe from the pan and transfer it to a plate. Repeat the process with the remaining batter, stacking the crepes as you go. Serve them warm, filled with your favorite toppings—whether they are sweet, savory, or a delightful mix of both.
Expert Tips for Gluten Free Crepes
-
Batter Consistency: Ensure your batter is smooth and free of lumps for perfectly delicate gluten free crepes. A whisk or blender can help achieve this.
-
Resting Time: Don’t skip the resting period! Allowing the batter to rest for at least 30 minutes enhances the texture, making crepes less fragile.
-
Non-Stick Pan: Using a good-quality non-stick pan is key to preventing sticking and achieving that lovely golden color. A crepe pan works wonders if you have one.
-
Cooking Temperature: Keep the heat at medium-high. Too hot will burn the crepes, while too low can lead to a chewy texture. Aim for a balanced heat for the best results.
-
Creative Fillings: Get adventurous with toppings! From Nutella and bananas to spinach and feta, gluten free crepes can be tailored to any craving. Don’t hold back in experimenting!
Make Ahead Options
These Gluten Free Crepes are a fantastic option for busy home cooks looking to save time during the week! You can prepare the batter up to 24 hours in advance; simply mix your ingredients and refrigerate the batter in an airtight container. This resting time enhances the texture and flavor. Once you’re ready to cook, just give the batter a quick stir and proceed with the cooking instructions as normal. If you have leftover crepes, they can be stored in the fridge for up to 3 days or frozen for up to 3 months—just place parchment paper between layers to prevent sticking. When ready to serve, reheat the crepes in a non-stick pan for a few seconds on each side, and you’ll have delicious, fresh-tasting gluten-free crepes ready to enjoy!
What to Serve with Easy Gluten-Free Crepes?
Delight in a flavorful feast by pairing your crepes with complementary sides and treats that elevate every bite.
-
Savory Scrambled Eggs: Perfectly seasoned scrambled eggs provide a protein boost and a fluffy texture that balances the lightness of the crepes. Add herbs for a fresh touch!
-
Fresh Salad Greens: A simple mixed greens salad with a light vinaigrette adds a refreshing crunch. The acidity in the dressing beautifully contrasts with the richness of any fillings.
-
Sautéed Vegetables: Colorful sautéed bell peppers, zucchini, and spinach enrich your plate with vibrant flavors. Their sweetness complements the delicate crepes effortlessly.
-
Berries and Greek Yogurt: A sweet topping of mixed berries with creamy Greek yogurt creates a delightful dessert. The tartness of the berries and creaminess of the yogurt offer balance and freshness.
-
Maple Syrup or Honey: Drizzle warm maple syrup or honey over sweet crepes for an indulgent treat. The natural sweetness enhances the flavors and adds a comforting touch.
-
Glass of Fresh Juice: Serve with a refreshing glass of orange or cranberry juice to cleanse the palate. The brightness of the juice enhances your overall dining experience.
-
Nutella and Banana: Treat yourself with the classic combination of Nutella and banana as a sweet filling. Creamy, chocolaty, and fruity—this pairing is pure bliss.
-
Chocolate Sauce: A drizzle of rich chocolate sauce on sweet crepes makes for an irresistible dessert option. It adds a luxurious touch that chocolate lovers will adore.
Storage Tips for Gluten Free Crepes
-
Fridge: Store the cooked gluten free crepes in an airtight container for up to 1 week. This keeps them fresh and ready for a quick meal or snack!
-
Freezer: Freeze crepes in a freezer-safe container for up to 3 months, placing wax paper between layers to prevent sticking. Perfect for meal prep!
-
Reheating: Reheat thawed crepes in a skillet over low heat for a few minutes on each side. This will restore their delicate texture and warmth.
-
Room Temperature: If serving immediately, keep crepes warm in a covered dish at room temperature for up to 1 hour. Enjoy them fresh from the pan!
Variations & Substitutions for Gluten Free Crepes
Feel free to let your creativity shine as you tailor these delightful crepes to your own taste preferences!
-
Dairy-Free: Swap regular milk for almond, soy, or oat milk to keep your crepes dairy-free. Coconut milk can also lend a tropical twist!
-
Herb-Infused: Add fresh herbs like basil or thyme to the batter for an extra layer of flavor in savory crepes. This simple addition elevates your dish to a gourmet level.
-
Spicy Kick: Mix in a pinch of cayenne pepper or chili flakes for a zesty touch. Your savory crepes will look and taste vibrant with this heat boost!
-
Nutty Flavor: Incorporate a tablespoon of ground almonds or hazelnuts into the batter for a nutty depth that perfectly complements both sweet and savory fillings.
-
Sweet Alternatives: Use maple syrup or honey instead of granulated sugar for sweet crepes. Both options lend a lovely flavor while keeping things natural.
-
Chocolate Lovers: Stir in cocoa powder to make chocolate-flavored crepes that are perfect for dessert! Top with fresh fruit and whipped cream for a decadent treat.
-
Whole Grain: For added nutrition, substitute half of the gluten-free flour with a whole grain blend, such as chickpea or buckwheat flour. This adds beneficial fiber and an earthy taste.
-
Vegetable Boost: Blend in pureed spinach or beetroot into the batter for a colorful and nutritious twist. These produce beautiful colored crepes that are sure to impress!
Dive into these variations and watch your meals transform! If you’re looking for more gluten-free variety, don’t forget to check out these delicious Gluten Free Popovers — they make a wonderful addition to any gathering.

Gluten Free Crepes Recipe FAQs
Are there specific guidelines for choosing gluten-free flour?
Absolutely! I recommend using a gluten-free flour blend like Bob’s Red Mill Gluten Free 1-to-1 Flour Blend for the best results. This blend is specially formulated to mimic the texture of wheat flour. If you want to substitute, any other quality gluten-free flour blend should work, but be mindful that different blends may yield varying results.
How can I store leftover gluten-free crepes?
You can refrigerate the cooked crepes in an airtight container for up to 1 week, making them convenient for quick meals or snacks. If you want to keep them longer, I suggest freezing them. Just layer wax paper between each crepe and place them in a freezer-safe container—this will prevent them from sticking together.
What’s the best way to freeze gluten-free crepes?
For freezing, stack your cooked gluten-free crepes with a layer of wax paper between each one. Place the stack in a freezer-safe container or wrap them tightly in plastic wrap to keep out air. They’ll stay fresh for up to 3 months. When you’re ready to enjoy, thaw them overnight in the fridge before reheating.
My crepes keep tearing while cooking. What can I do?
This can happen for a few reasons! First, ensure your batter has rested for at least 30 minutes—this helps improve texture and flexibility. Second, check your cooking temperature; too high can lead to brittle crepes, while too low can make them tough. Finally, ensure you are using a well-greased non-stick pan, or a crepe pan, to facilitate flipping.
Can gluten-free crepes be made dairy-free?
Absolutely! You can substitute the milk with any dairy-free milk of your choice, such as almond, coconut, or oat milk. Additionally, for the oil or butter, using coconut oil is a fantastic option to keep the recipe dairy-free, and it will also add a subtle flavor.
Are gluten-free crepes safe for my children or pets?
Yes! Gluten-free crepes can be a great fit for children who need to avoid gluten. As with any recipe, keep an eye on allergies—especially with any fillings you choose. If you’re considering sharing with pets, please avoid fillings like chocolate or sweeteners like xylitol, which are toxic to dogs. Always consult your vet if unsure!
Delightful Gluten Free Crepes: Your New Favorite Treat
Ingredients
Equipment
Method
- In a mixing bowl, whisk together 1 cup of Bob's Red Mill Gluten Free 1-to-1 Flour Blend and a pinch of salt until smooth.
- Add in 3 eggs to the dry mixture and whisk to combine. Gradually pour in 2 cups of milk, mixing continuously.
- If making sweet gluten-free crepes, stir in 1 tablespoon of sugar and 1 teaspoon of vanilla extract.
- Let the batter rest at room temperature for about 30 minutes.
- Heat a non-stick pan over medium-high heat, lightly greased with oil or melted butter. Pour about ¼ cup of batter into the pan, tilting to form a thin layer.
- Cook for 1-3 minutes until edges are golden and the top is set. Flip and cook for 10-30 seconds until light golden brown.
- Transfer the cooked crepe to a plate and repeat, stacking the crepes. Serve warm with your favorite toppings.
Leave a Reply