
As I stood by the stove, the sizzle of beef hitting the hot skillet filled the air, igniting my senses with a whiff of something truly special. Beef Yakiniku, a delightful Japanese grilled beef dish, has become my go-to recipe for those busy weeknights when I crave something quick yet delicious. This meal not only brings the joy of umami-rich flavors to the table, but it also packs a protein punch, making it a hearty option the whole family will love. With minimal prep time and the added bonus of being gluten-free if you choose tamari, you’ll find yourself reaching for this recipe time and again. Ready to transform your dinner routine into an unforgettable experience? Let’s dive into this flavorful adventure together!
Why is Beef Yakiniku a Must-Try?
Quick Preparation: You’ll love how effortlessly this dish comes together! With just a few ingredients and minimal time, dinner can be ready in under 30 minutes.
Rich and Savory: The combination of marinated beef and nutty sesame flavors creates a taste experience that’s sure to delight your taste buds.
Versatile Variations: Enjoy beef your way! Substituting different meats or adding veggies allows you to customize each serving. For instance, adding stir-fried onions or bell peppers can elevate your dish even more.
Protein-packed Delight: As a protein-rich meal, Beef Yakiniku not only satisfies but also fuels your body, making it perfect for busy days or post-workout dinners.
Perfect for Families: This dish brings everyone together—easy to serve, delicious to share, and sure to be a hit at the dining table. If you enjoy vibrant meals like this, check out these fantastic Thai Basil Beef creations for more inspiration!
Beef Yakiniku Ingredients
For the Marinade
• Low-Sodium Light Soy Sauce – Adds umami and saltiness; for a gluten-free option, swap with tamari or coconut aminos.
• Gochujang (Korean Red Chili Paste) – Brings mild heat and complexity; sriracha can be used if needed.
• Mirin – Enhances flavor with its sweet undertones.
• Minced Ginger – Freshness and spice at its best; garlic paste can be a convenient alternative.
• Garlic Powder or Paste – Deepens the savory profile of the dish.
• Sesame Oil – Imparts a rich, nutty aroma to the marinade.
• Light Brown Sugar – Balances flavors with its sweetness; adjust for personal preference.
For the Beef
• Flank or Skirt Steak – Tender cuts that absorb the marinade beautifully; slice them very thin for the best texture.
For Cooking
• Neutral Oil (e.g., Avocado or Rapeseed) – Perfect for searing, giving a high smoke point.
For Serving
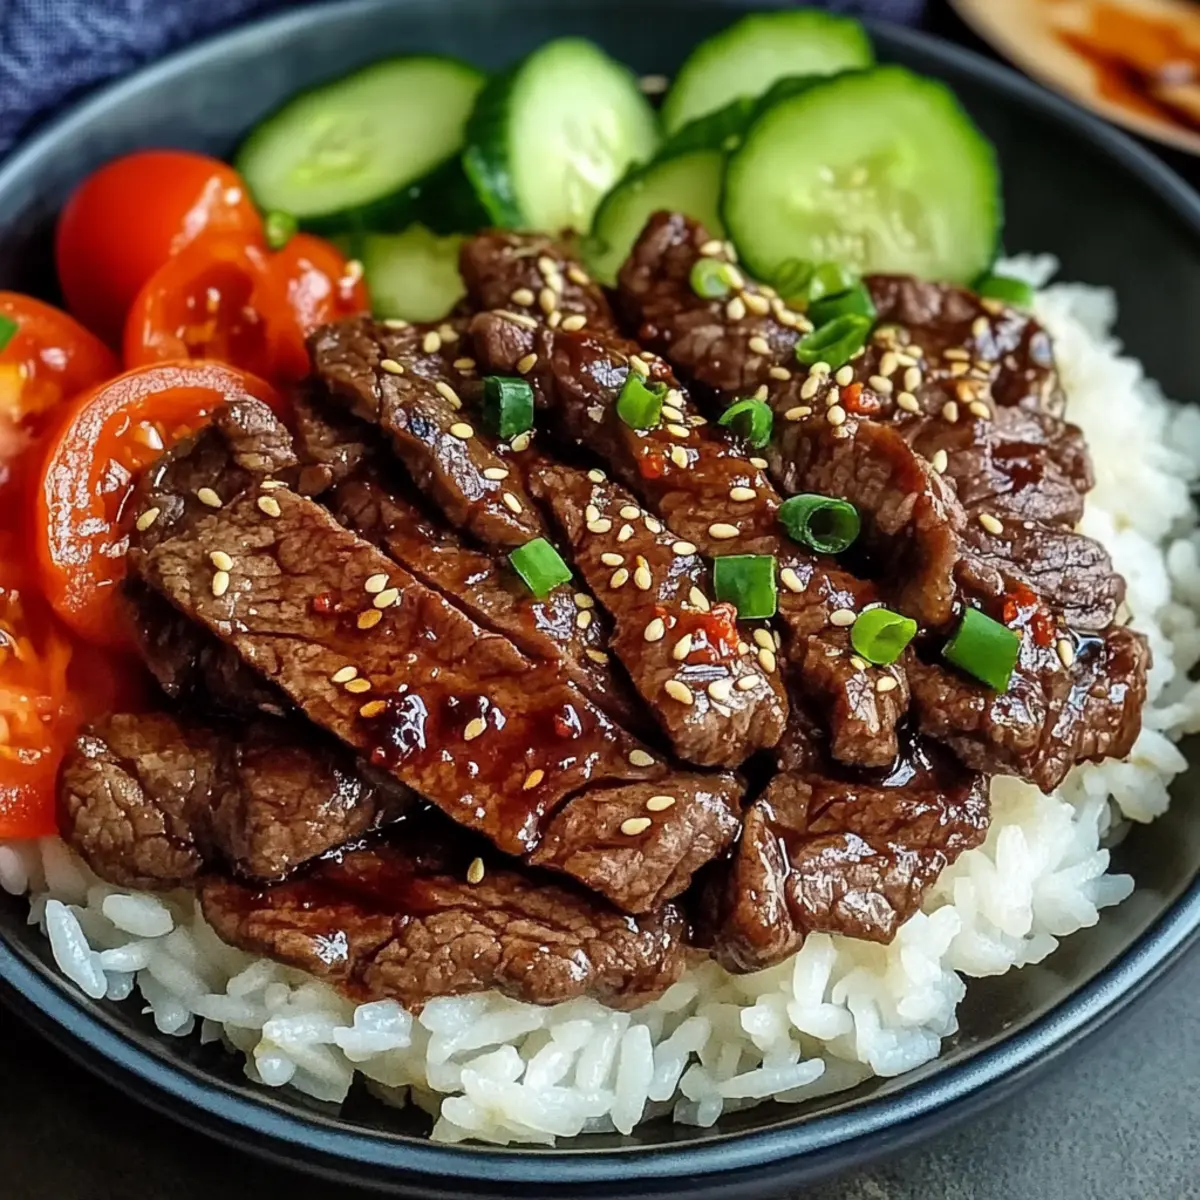
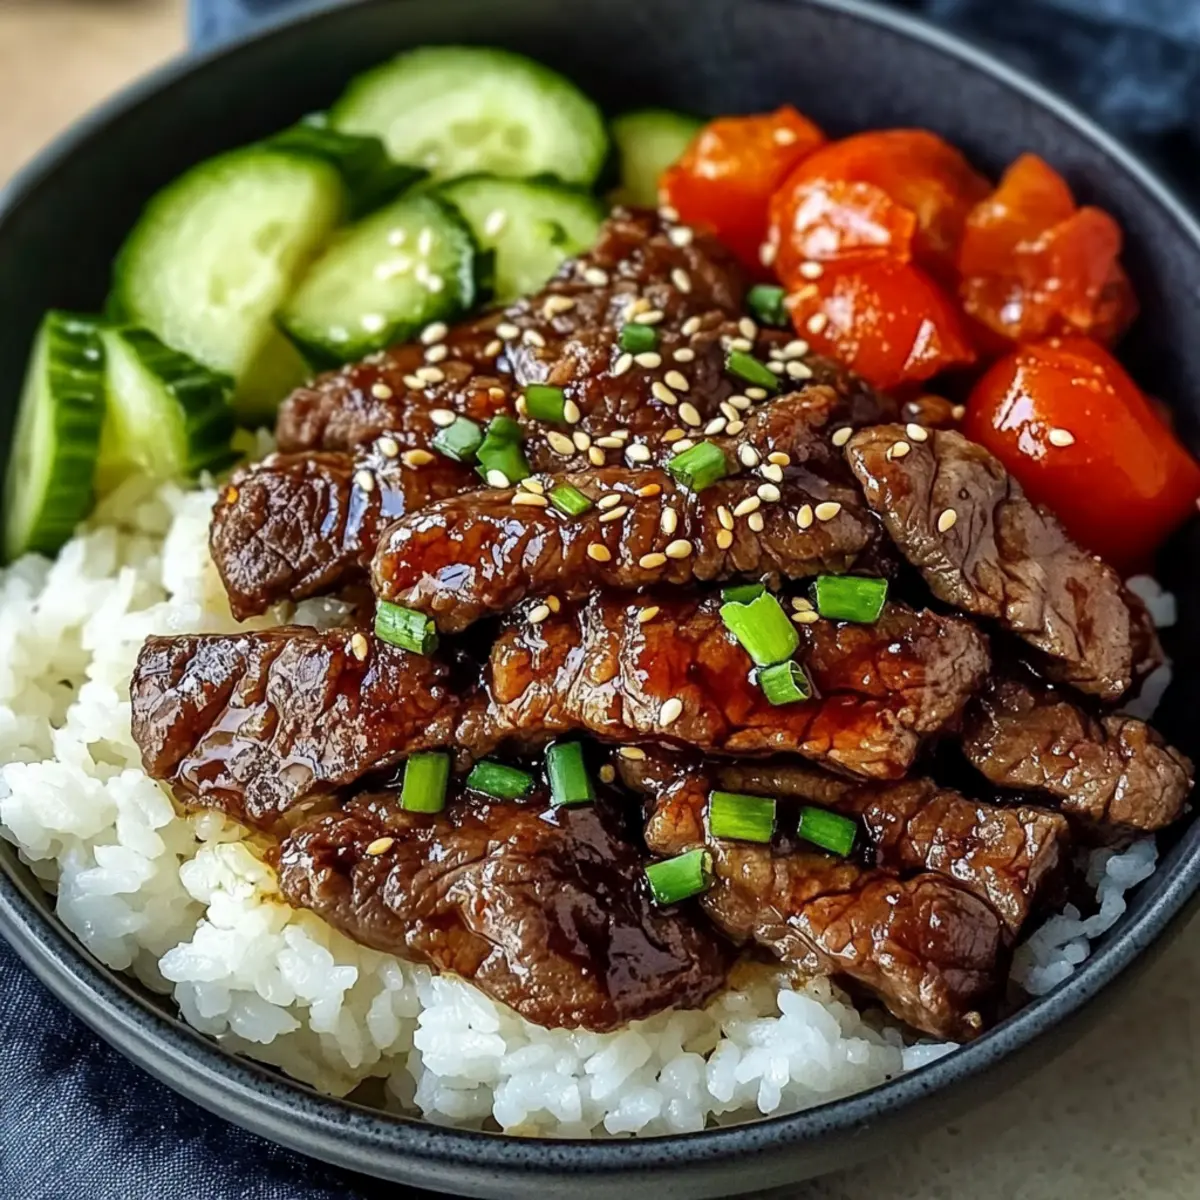
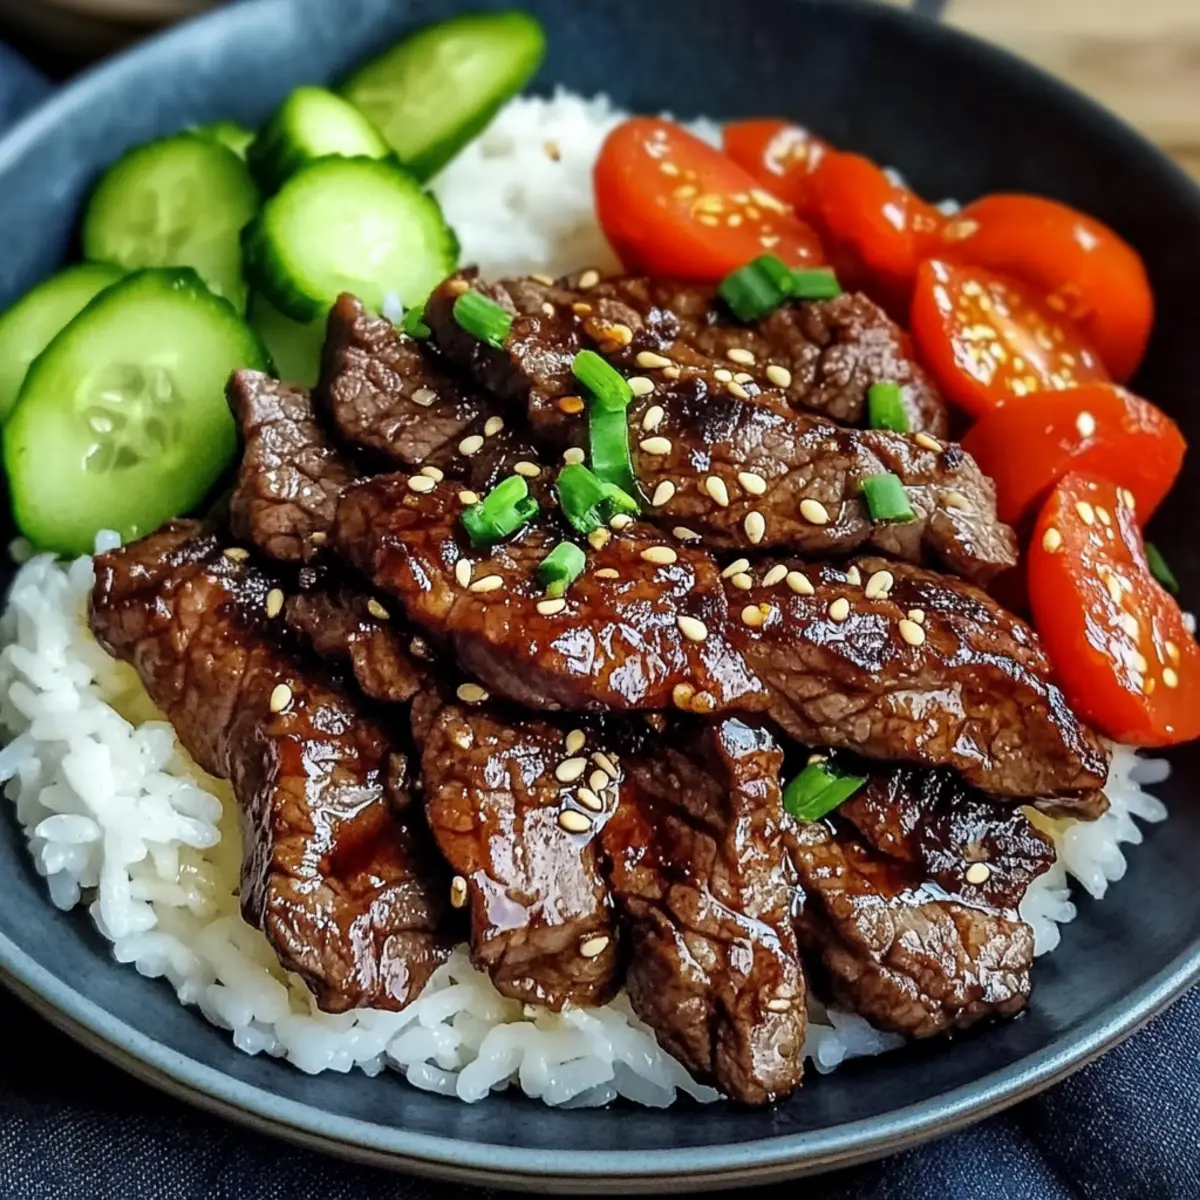
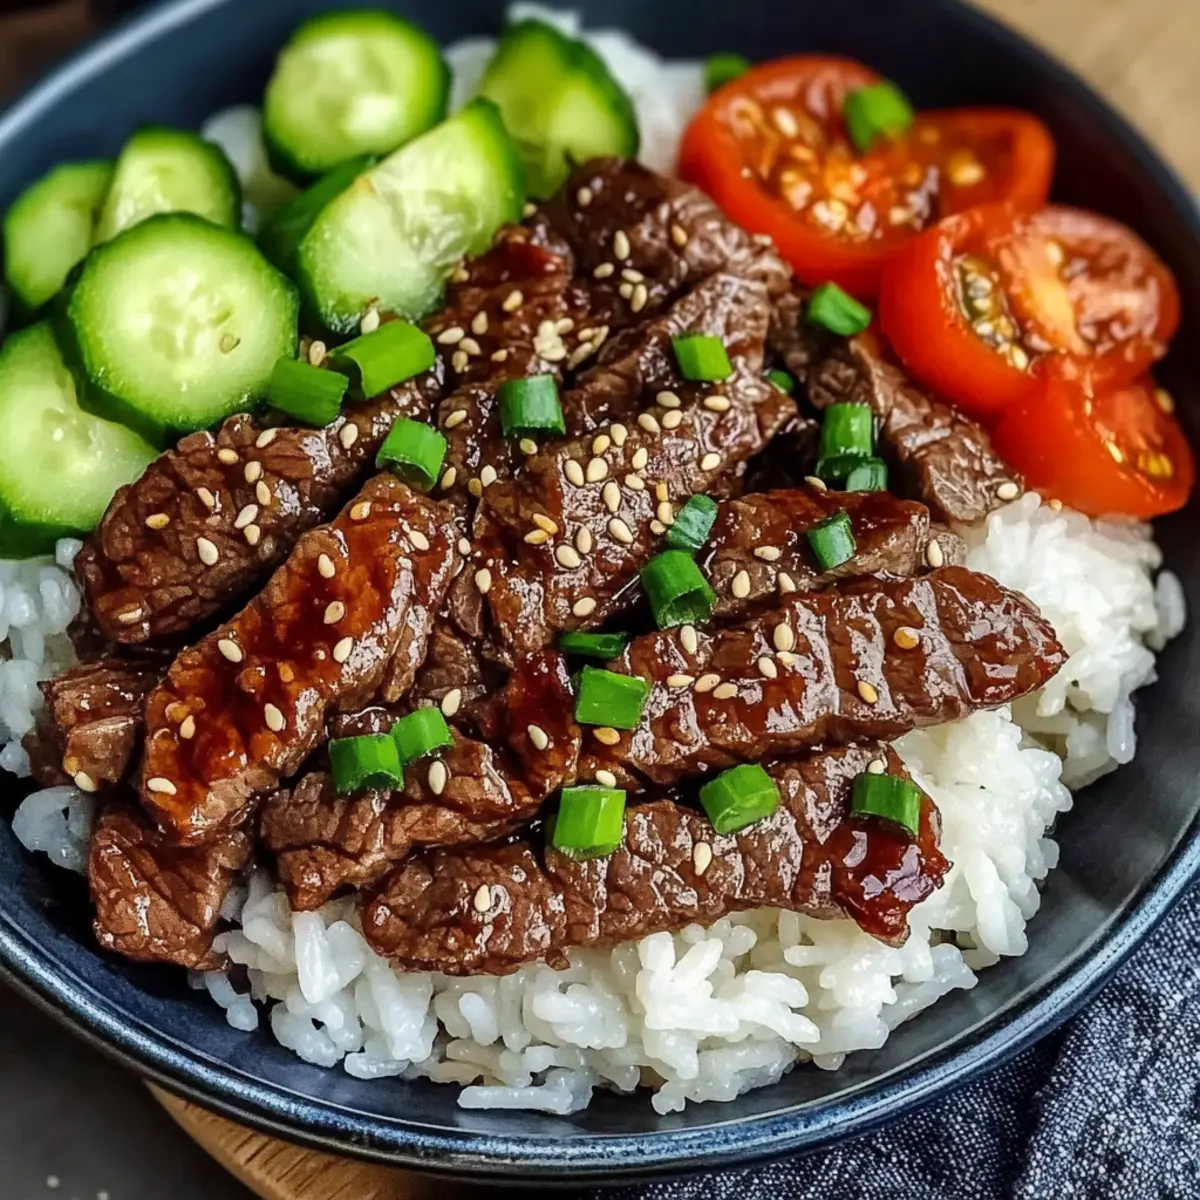
• Boiled Rice – The ideal base to soak up the delicious flavors of Beef Yakiniku.
• Chopped Cucumber and Tomato – Fresh accompaniments that add crunch and color.
• Sesame Seeds – Garnish with these for an extra pop of flavor and texture.
Now that you have the Beef Yakiniku ingredients at your fingertips, it’s time to experience the vibrant flavors of this beloved dish!
Step‑by‑Step Instructions for Beef Yakiniku
Step 1: Prepare the Marinade
In a medium mixing bowl, whisk together ¼ cup low-sodium soy sauce, 2 tablespoons gochujang, 2 tablespoons mirin, 1 tablespoon minced ginger, 1 teaspoon garlic powder, 2 tablespoons sesame oil, 1 tablespoon neutral oil, and 2 teaspoons light brown sugar. You’ll want the mixture to be smooth, with the sweet and savory aromas mingling together. This flavorful marinade is the key to your Beef Yakiniku’s delightful taste.
Step 2: Marinate the Steak
Thinly slice your flank or skirt steak against the grain into strips no thicker than ¼ inch. Place the beef strips into the marinade, ensuring each piece is well-coated. Cover the bowl with plastic wrap and refrigerate for at least 2 hours, allowing the beef to absorb those rich flavors. If you have time, letting it marinate for up to 24 hours enhances the taste even further.
Step 3: Preheat Cooking Surface
While the beef marinates, preheat your cooking surface. If using a wok, heat it over high heat until it begins to smoke slightly, which may take about 5 minutes. For serving, warm a bowl in the oven at a low temperature to keep the cooked beef deliciously warm while you finish cooking the rest. The high heat is essential for achieving that wonderful char on your Beef Yakiniku.
Step 4: Cook the Steak
In batches, add the marinated beef to the hot wok in a single layer, ensuring not to overcrowd it. Allow the beef to sear undisturbed for about 3 minutes until well caramelized. Then, stir briefly and continue to cook for another 2 to 3 minutes until the beef is browned and cooked through. Once done, transfer the beef to the warm bowl and repeat with the remaining batches.
Step 5: Garnish and Serve
As the last batch of Beef Yakiniku finishes cooking, sprinkle sesame seeds generously over the top. Serve immediately over a steaming bed of boiled rice, accompanied by fresh chopped cucumber and tomato on the side for a colorful crunch. This beautiful presentation, filled with rich flavors, makes for a mouthwatering meal that your family will adore!
How to Store and Freeze Beef Yakiniku
Fridge: Store leftover Beef Yakiniku in an airtight container for up to 3 days. Make sure to let it cool completely before sealing to maintain freshness.
Freezer: If you want to freeze it, place Beef Yakiniku in a freezer-safe container or zip-top bag. It can be frozen for up to 2 months. Thaw in the fridge overnight before reheating.
Reheating: To reheat, warm the Beef Yakiniku in a skillet over medium heat until heated through, stirring occasionally. Adding a splash of water or soy sauce can help restore moisture.
Make-Ahead: You can marinate the beef up to 24 hours ahead of cooking. This not only saves time but also enhances the flavor of your Beef Yakiniku, making it even more delicious!
Make Ahead Options
Beef Yakiniku is a fantastic recipe for meal prep that will save you time during your busy weeknights! You can marinate the beef up to 24 hours in advance, allowing the flavors to deepen and develop. Simply slice the flank or skirt steak and coat it in the marinade before covering and refrigerating. If you’re short on time, a minimum of 2 hours will work just fine. For maintaining quality, be sure to keep the marinated beef in an airtight container to prevent it from drying out. When you’re ready to serve, just heat your wok and cook the beef as directed—your Beef Yakiniku will be just as delicious, and you’ll enjoy a stress-free meal in no time!
Expert Tips for Beef Yakiniku
• Slice Correctly: Always slice the beef against the grain to ensure tenderness. Partially freezing the meat for a short time helps create perfect thin slices.
• High Heat Is Key: Make sure your wok or skillet is super hot before adding the beef. This prevents steaming and promotes that sought-after caramelization for your Beef Yakiniku.
• Avoid Overcrowding: Cook the beef in batches rather than piling it all at once. This keeps each piece perfectly browned and maintains a delightful texture.
• Marinate Longer for Flavor: If time allows, marinate the beef for up to 24 hours. This allows the flavors to penetrate deeply, enhancing the overall taste of your dish.
• Customize with Veggies: Feel free to add stir-fried vegetables like bell peppers or onions during cooking. They not only increase nutrition but also add vibrant color to your Beef Yakiniku.
What to Serve with Quick and Flavorful Beef Yakiniku
Elevate your dining experience by pairing this savory dish with delightful accompaniments that enhance every bite.
-
Steamed Jasmine Rice: A fragrant base that beautifully soaks up the rich marinade flavors, complementing the beef perfectly.
-
Miso Soup: This warm, umami-rich soup adds a comforting touch, balancing the savory notes of the Beef Yakiniku.
-
Japanese Pickles: Tangy and crisp, these pickles provide a refreshing contrast and cleanse the palate between bites.
-
Grilled Vegetables: Lightly charred veggies like bell peppers, zucchini, and eggplant add color and sweetness to your meal, enhancing the overall flavor experience.
-
Chilled Cucumber Salad: A cool, crunch-filled addition that contrasts the warmth of the beef while providing a delightful textural change.
-
Sake or Japanese Beer: These beverages enhance the flavors of the beef while offering a culturally compatible dining experience that brings authenticity to the table.
Elevate this dish by combining bold flavors and textures for a feast that will make your weeknight dining extraordinary!
Beef Yakiniku Variations & Substitutions
Feel free to get creative with your Beef Yakiniku by making delightful swaps and additions to suit your taste!
-
Different Cuts: Swap flank or skirt steak for sirloin or ribeye for richer, more marbled flavors. Each cut brings its unique twist to the dish.
-
Vegetarian Delight: Use marinated tofu or tempeh instead of beef for a plant-based option. This allows everyone to enjoy a savory experience, no matter their dietary preference.
-
Veggie Boost: Add stir-fried onions, bell peppers, or mushrooms to the mix. These ingredients not only provide vibrant color but also pack in extra nutrients.
-
Spice It Up: For those who love heat, include a spoonful of gochugaru (Korean red pepper flakes) along with gochujang. The added spice elevates the dish beautifully, leaving you craving more!
-
Gluten-Free Magic: Switch regular soy sauce with tamari or coconut aminos to keep this recipe gluten-free. It’s just as delicious while catering to your dietary needs.
-
Citrusy Freshness: Add a squeeze of lemon or lime juice before serving for a zesty sparkle that brightens up the rich flavors of the beef.
-
Flavorful Dips: Serve with a side of soy sauce mixed with wasabi or a ponzu sauce for added layers of depth. These dipping sauces complement the dish remarkably well.
-
Mixing Bases: Instead of just boiled rice, serve the Yakiniku over quinoa, cauliflower rice, or even a whimsical noodle salad. These alternatives can keep meals exciting and diverse!
Explore these variations, and be sure to visit our flavorful Thai Basil Beef for another delicious family-friendly recipe that keeps the dinner table lively!
Beef Yakiniku Recipe FAQs
What type of beef should I use for Beef Yakiniku?
I recommend using flank or skirt steak for their tenderness and ability to absorb flavors. Thinly slice the beef against the grain for the best texture!
How should I store leftover Beef Yakiniku?
Store any leftover Beef Yakiniku in an airtight container for up to 3 days in the refrigerator. Ensure it cools completely before sealing to keep it fresh and delicious.
Can I freeze Beef Yakiniku?
Absolutely! Beef Yakiniku can be frozen in a freezer-safe container or zip-top bag for up to 2 months. Just remember to thaw it in the fridge overnight when you’re ready to enjoy it again.
What can I do if my Beef Yakiniku isn’t cooking evenly?
The trick is to avoid overcrowding the pan. Cook the beef in batches, ensuring each piece has enough space to sear properly. This way, you’ll get that perfect caramelization and texture.
Is there a gluten-free option for Beef Yakiniku?
Yes! For a gluten-free version, simply substitute low-sodium soy sauce with tamari or coconut aminos. Both options provide a delicious depth of flavor without gluten.
How long can I marinate the beef for maximum flavor?
Marinating the beef for at least 2 hours is great, but I often marinate it for up to 24 hours. This allows the flavors to sink in deeply, resulting in an even tastier Beef Yakiniku!
Savory Beef Yakiniku: Quick Japanese Grilled Flavor Explosion
Ingredients
Equipment
Method
- In a medium mixing bowl, whisk together the marinade ingredients until smooth.
- Thinly slice the beef against the grain and marinate for at least 2 hours in the refrigerator.
- Preheat your cooking surface over high heat until smoking.
- Cook marinated beef in batches for about 3 minutes per side until caramelized and browned.
- Sprinkle sesame seeds over cooked beef and serve immediately over rice, with cucumber and tomato on the side.
Leave a Reply