
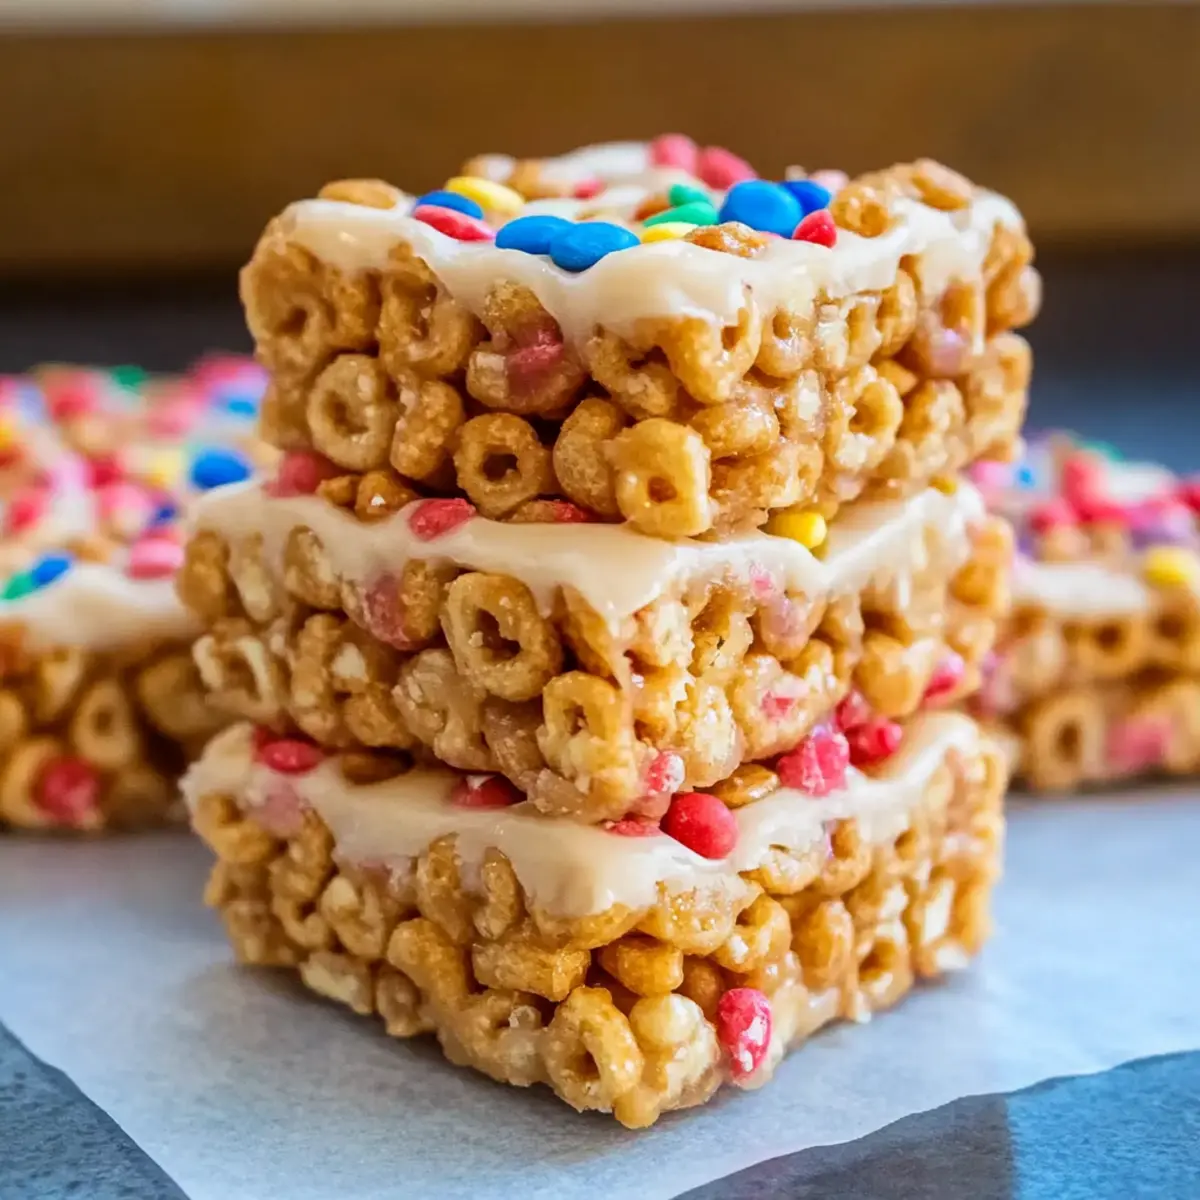
As I stirred together just three simple ingredients in my bowl, a wave of nostalgia washed over me. Homemade cereal bars have a way of bringing us back to our childhood—those carefree mornings filled with fun breakfast choices. Not only are these Quick and Easy 3-Ingredient Cereal Bars a healthier alternative to store-bought versions, but they’re also a breeze to whip up, making them a perfect option for busy families. With endless customization possibilities—from chocolate to strawberry—there’s a flavor for everyone. Say goodbye to the mornings of rushing out the door, and greet a quicker, tastier breakfast that you can stash in your bag for on-the-go snacking. Curious about how to make these chewy delights? Let’s dive in!
Why Are You Going to Love Cereal Bars?
Simplicity at Its Best: Just three ingredients are all you need for these delightful bars, making them a breeze to prepare.
Endless Customization: From chocolate to strawberry, everyone can enjoy their favorite flavors!
Healthy & Wholesome: Packed with nutritious ingredients, they offer a guilt-free way to start the day.
No-Bake Convenience: No oven required, so you can make these treats even on the hottest days!
Perfect for On-the-Go: These bars are easy to grab for busy mornings or after-school snacks.
Kid-Approved: A great way to involve the little ones in the kitchen, just like with Chocolate Cheesecake Bars; making breakfast fun!
Cereal Bars Ingredients
• Discover the essentials to make delicious, homemade cereal bars!
For the Base
• Cereal – Use small flake or shaped cereals like Cheerios or Rice Krispies for a sturdy foundation; ensure to check for vegan options if necessary.
• Peanut Butter (or Nut Butter) – Acts as a binder for the cereal bars, adding creaminess and flavor; consider substitutes like almond or sunflower seed butter for a nut-free alternative.
For Sweetness
• Agave, Honey, or Brown Rice Syrup – Provides the necessary moisture and sweetness; for a vegan option, stick to agave or brown rice syrup.
Optional Enhancements
• Optional Salt – Boosts the flavor profile; use sparingly as needed.
• Optional Protein Powder – Incorporate for an extra nutritional boost; a great way to enhance the fiber and protein content of your cereal bars.
With these simple yet essential ingredients, you’re just a few steps away from enjoying your very own homemade cereal bars!
Step‑by‑Step Instructions for Quick and Easy 3-Ingredient Cereal Bars
Step 1: Prepare the Pan
Begin by lining an 8-inch square pan with wax or parchment paper, allowing some overhang for easy removal later. If you’re making a larger batch, double the recipe and use a 9×13-inch pan. This step is crucial for ensuring your homemade cereal bars don’t stick and are easy to slice when set.
Step 2: Warm the Nut Butter
If your nut butter is too thick to stir easily, gently warm it in a microwave-safe bowl for about 20-30 seconds until it’s soft and easily spreadable. This simple step makes combining with the other ingredients seamless, allowing the flavors to blend beautifully into the cereal bars.
Step 3: Mix Ingredients
In a large mixing bowl, combine your cereal, warmed nut butter, and your choice of sweetener. Stir everything together until fully incorporated; the mixture should be sticky and hold together well. This is the foundation of your cereal bars, so ensure there are no dry patches left in the mixture for an even consistency.
Step 4: Press into the Pan
Pour the mixture into your prepared pan, using a spatula or a piece of parchment paper to evenly spread it out. Press down firmly, ensuring the mixture is compact and level. This pressure will help your cereal bars hold their shape once cut. Aim for a smooth top to make slicing easier later on.
Step 5: Chill to Set
Place the pan in the freezer for about 30 minutes, allowing the cereal bars to firm up completely. This chilling time is essential for achieving that perfect chewy texture, making slicing much easier once you take them out. Keep an eye on them, as you want them to be set but not overly frozen.
Step 6: Slice and Store
Once firm, remove the cereal bars from the pan using the overhang of parchment paper. Place them on a cutting board and slice into bars of your desired size. Store any leftovers in an airtight container at room temperature for a couple of days, or refrigerate for a week. For longer storage, consider freezing them.
Make Ahead Options
These Quick and Easy 3-Ingredient Cereal Bars are perfect for busy weeknights! You can prepare the mixture up to 24 hours in advance—simply follow the initial steps of mixing your cereal, nut butter, and sweetener, then press it into the pan. Once pressed, cover the pan with plastic wrap and refrigerate. The key to maintaining their chewy texture is to make sure they are well-pressed into the pan, preventing crumbling later on. When you’re ready to enjoy these delightful bars, just slice them into portions after chilling for at least 30 minutes in the freezer. With this make-ahead option, you’ll have delicious, homemade snacks on hand whenever you need them!
What to Serve with Quick and Easy 3-Ingredient Cereal Bars
Elevate your snacking game by pairing these delightful bars with fresh, bright flavors and complementary textures.
- Fresh Fruit: Crisp apple slices or juicy berries add a refreshing contrast and a burst of natural sweetness.
- Greek Yogurt: Creamy and tangy, it rounds out your breakfast and provides a satisfying protein boost.
- Nut Butter Dipping Sauce: Drizzle or dip into your favorite nut butter for added richness and a delightful flavor combo.
- Chia Seed Pudding: This healthy, nutrient-packed pudding offers a different texture that complements the chewiness of cereal bars.
- Smoothies: A vibrant berry or banana smoothie brings a playful, fruity element, perfect for a quick breakfast on the go.
- Dark Chocolate Drizzle: A simple drizzle over the bars adds an indulgent touch that pleases the sweet tooth without overpowering.
- Herbal Tea or Coffee: Warm up your morning routine by pairing with your favorite herbal tea or a comforting cup of coffee for a cozy feel.
- Granola Toppings: Sprinkle some crunchy granola on yogurt alongside the bars, giving a delightful contrast in texture.
Enjoy these combinations for a truly satisfying and well-rounded meal!
Tips for the Best Cereal Bars
• Firm Pressure: Press the mixture down firmly in the pan to ensure your cereal bars hold their shape and don’t crumble when sliced.
• Customize Wisely: Feel free to experiment with different cereals and nut butters, but avoid overly moist ingredients to keep your cereal bars from getting soggy.
• Sweetener Balance: When substituting sweeteners, maintain the same consistency; too much liquid can affect the bar’s texture and make it fall apart.
• Flavors Galore: For chocolate bars, mix in cocoa powder and a touch of vanilla extract; it adds a rich depth without complicating the recipe.
• Storage Solutions: Keep your cereal bars in an airtight container to maintain freshness; refrigerate or freeze for longer shelf life.
Cereal Bars Variations & Substitutions
Feel free to explore these delightful variations and make this recipe truly your own!
-
Chocolate Delight: Add cocoa powder to the mixture for a rich, chocolatey flavor that will satisfy any sweet tooth. You can even dip your bars in melted chocolate for an irresistible finish.
-
Nutella Dream: Swap the nut butter for Nutella to create a sinfully delicious treat that’s sure to please chocolate lovers. This option makes for a decadent snack that’s so easy to prepare!
-
Cookie Dough Twist: Incorporate mini chocolate chips and use cashew butter to give your bars a cookie dough vibe. For added texture, fold in crushed graham crackers—it’s like dessert for breakfast!
-
Berry Bliss: Stir in freeze-dried strawberries or blueberries for a fruity burst of flavor. This simple addition not only brightens up your bars but also provides a delightful chew.
-
Marshmallow Magic: Fold in mini marshmallows to the mix before pressing into the pan for chewy sweetness and a fun treat that’s reminiscent of s’mores!
-
Granola Boost: Mix in your favorite granola for extra crunch and flavor. This adds a hearty texture that can make your cereal bars even more satisfying.
-
Nut-Free Option: Use sunbutter instead of peanut or almond butter for a nut-free version without compromising on taste or texture. This is perfect for school lunches and allergy-friendly families.
-
Spiced Pumpkin: Add pumpkin puree with a dash of cinnamon and nutmeg for a seasonal twist. These bars will be perfect for fall while still keeping all the delicious chewiness.
These variations can turn your basic cereal bars into exciting, personalized snacks. Enjoy experimenting, and while you’re at it, don’t forget to check out my Chocolate Cheesecake Bars for even more dessert inspiration!
How to Store and Freeze Cereal Bars
Room Temperature: Store cereal bars in an airtight container at room temperature for up to 3 days. Make sure they are in a cool, dry spot to maintain freshness.
Fridge: For extended freshness, keep your cereal bars in the refrigerator for up to a week. A covered container helps them stay chewy and delicious.
Freezer: Freeze your cereal bars for longer storage, lasting up to 2 months. Wrap each bar individually in plastic wrap and then place them in a freezer-safe bag for convenience.
Reheating: Thaw frozen bars by leaving them at room temperature for a bit or microwaving them for a few seconds. Enjoy the same delightful chewiness as when they were first made!
Homemade Easy Cereal Bars Recipe FAQs
What type of cereal is best for making cereal bars?
Absolutely! For the best results, use small flake or shaped cereals like Cheerios or Rice Krispies. These provide the perfect structure for your bars. If you’re looking for vegan options, make sure to check the labels on the cereals you choose for any animal-derived ingredients.
How should I store my cereal bars after making them?
Very simple! Store your cereal bars in an airtight container at room temperature for up to 3 days. However, if you’d like them to last longer, keep them in the refrigerator for up to a week. Always ensure they’re in a cool, dry spot to maintain their delightful chewiness.
Can I freeze cereal bars for longer storage?
Yes, you can! To freeze your cereal bars, individually wrap each one in plastic wrap and place them in a freezer-safe bag. They’ll last in the freezer for up to 2 months. When you’re ready to enjoy one, simply thaw it at room temperature or microwave it for a few seconds for that freshly made flavor!
What can I do if my cereal bars are too crumbly?
If your bars are crumbling, it’s likely they weren’t pressed down firmly enough in the pan. For future batches, ensure you firmly compress the mixture into the pan using a spatula or even your hands. Additionally, you might want to add a touch more nut butter to help bind everything together—this will keep your bars nice and cohesive!
Are there any allergy considerations I should be aware of?
Definitely! If you have nut allergies, you can substitute nut butter with sunflower seed butter or seed-based spreads. If you’re using this for kids or others who may have allergies, be sure to check each ingredient label carefully for potential allergens, especially if making variations with chocolate or other flavorings. Stay safe and enjoy your cereal bars worry-free!
Can I make these cereal bars vegan-friendly?
Absolutely! To make your cereal bars vegan, simply replace honey with agave syrup or brown rice syrup, which maintain the sweet flavor without animal products. Enjoy all the deliciousness of homemade cereal bars while keeping in line with vegan dietary needs!
Delicious Homemade Cereal Bars: Easy, Healthy, & Fun!
Ingredients
Equipment
Method
- Prepare the Pan by lining an 8-inch square pan with wax or parchment paper.
- Warm the Nut Butter in a microwave-safe bowl for about 20-30 seconds until it's soft.
- Mix Ingredients in a large mixing bowl, combining cereal, warmed nut butter, and sweetener.
- Press into the Pan using a spatula or parchment paper to spread it evenly and compactly.
- Chill to Set by placing the pan in the freezer for about 30 minutes.
- Slice and Store by removing the bars from the pan and cutting them into your desired size.
Leave a Reply