
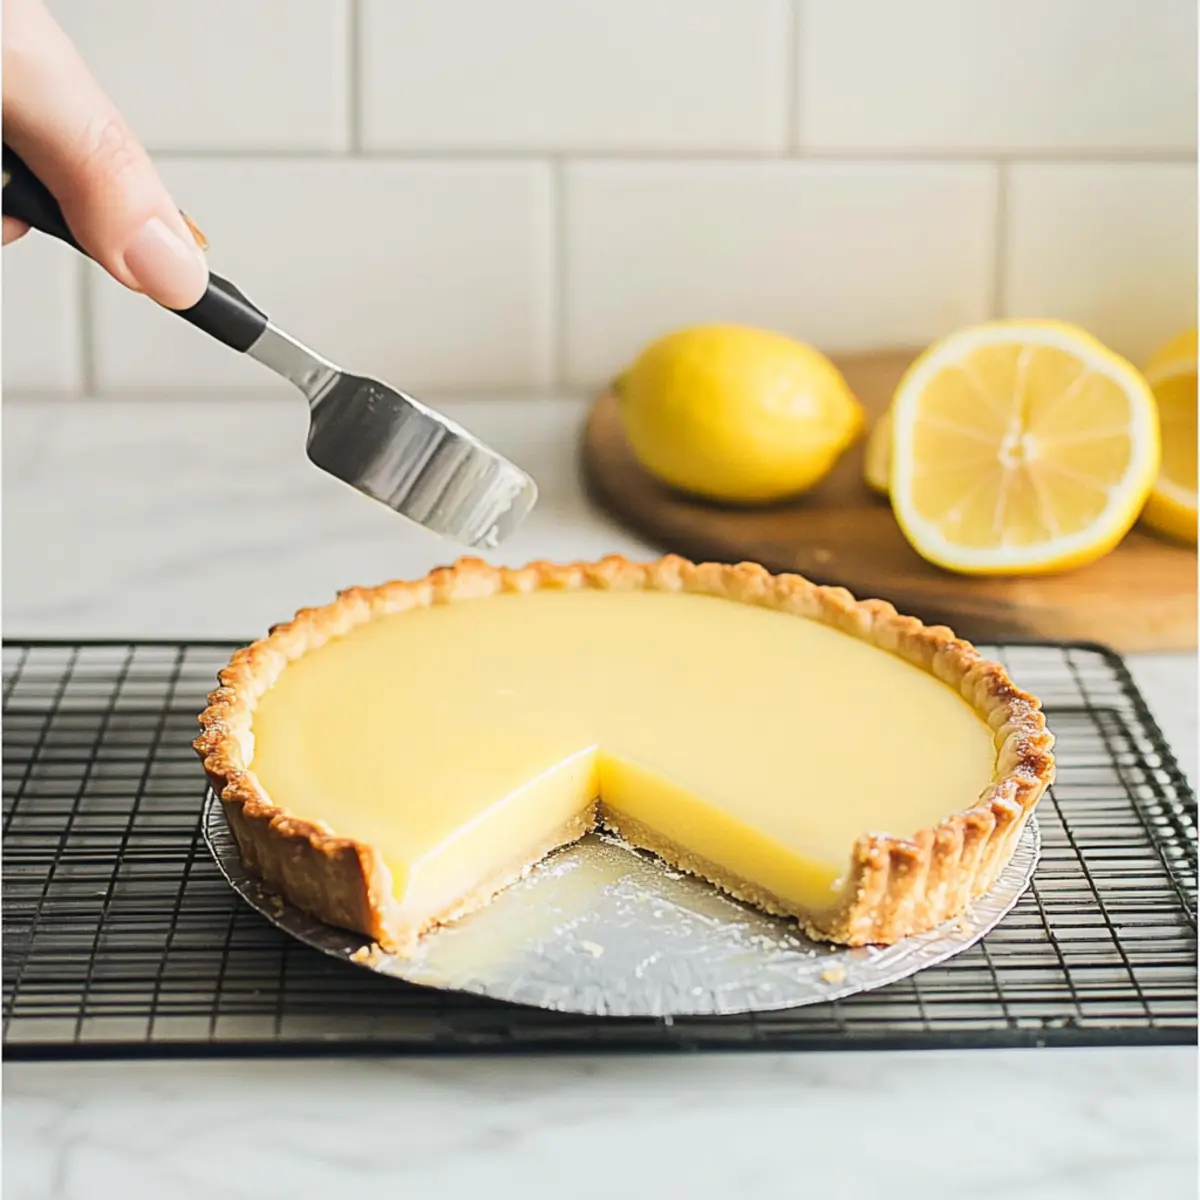
A vibrant burst of citrus hits me as I cut into this classic lemon tart, instantly whisking me away to sunlit streets of Paris. This French-style delight is not just a recipe; it’s a tapestry of memories tied to little cafés where the sweet and tart flavors dance on your tongue. The buttery, crumbly crust cradles the luxurious, creamy lemon curd, making it an irresistible treat that feels both elegant and comforting. Best of all, this classic lemon tart is deceptively simple to prepare, perfect for bakers of all levels. Whether it’s a dinner party or just a sweet moment for yourself, this dessert promises to elevate any occasion. Curious about how to achieve that creamy, zesty perfection in your kitchen? Let’s dive in!
Why is this lemon tart so irresistible?
Creamy, Luxurious Curd: The velvety texture of the lemon curd embraces your palate, making each bite a delightful experience.
Festive Vibrance: With its bright lemon flavor, this tart adds a cheerful touch to any dessert table, making it perfect for celebrations.
Flexible Variations: Enjoy it as a classic or add a twist with fresh basil or a graham cracker crust—there’s a version for everyone!
Effortless Elegance: It looks stunning yet is achievable for bakers at all skill levels, leaving your friends and family in awe.
Make-Ahead Friendly: Prepare it a day in advance for convenience without sacrificing flavor, making entertaining a breeze. Serve chilled with a dollop of whipped cream or alongside my Mini Lemon Cheesecakes for an entirely citrus-inspired feast!
Classic Lemon Tart Ingredients
• Here’s what you need to whip up this creamy delight!
For the Tart Crust
- Fully Baked Tart Crust – A sweet pastry base is essential for balancing the tartness of the lemon curd.
For the Lemon Curd
- Large Eggs (2) + Egg Yolks (2) – These provide richness and stability; you can use 3 whole eggs as an alternative.
- Granulated Sugar (¾ cup / 150 g) – Sweetens the filling to offset the tangy lemon; consider reducing for a less sweet flavor profile.
- Lemon Zest (1 tablespoon) – Imparts a fresh, aromatic quality; use zest from organic lemons for the best taste.
- Freshly Squeezed Lemon Juice (½ cup / 120 ml) – This key ingredient delivers the tartness; about 2-3 lemons will do the trick.
- Heavy Cream (2 tablespoons, optional) – Adds an extra layer of richness; feel free to omit if not on hand.
- Unsalted Butter (½ cup / 115 g, cut into small pieces) – Ensures a smooth and flavorful curd; make sure it’s softened before use.
Embrace the flavors of this Classic Lemon Tart as you gather your ingredients and savor the process of creating this homemade masterpiece!
Step‑by‑Step Instructions for Classic Lemon Tart
Step 1: Prepare Curd
In a medium heatproof bowl, combine 2 large eggs, 2 egg yolks, ¾ cup of granulated sugar, 1 tablespoon of lemon zest, and ½ cup of freshly squeezed lemon juice. If you desire extra richness, add 2 tablespoons of heavy cream here. Mix well until the sugar dissolves completely, creating a bright yellow mixture filled with zesty aroma.
Step 2: Cook on Bain-Marie
Set the bowl over a pot of simmering water, ensuring the bottom doesn’t touch the water. Continuously whisk the mixture for about 10-20 minutes until it thickens and reaches 170°F (75°C). The curd should coat the back of a spoon and appear velvety. If you prefer a smoother texture, strain the curd through a fine sieve to remove any lumps right after cooking.
Step 3: Incorporate Butter
Remove the bowl from heat and gradually whisk in ½ cup (cut into small pieces) of softened unsalted butter, one piece at a time. Allow each piece to be fully incorporated before adding the next, creating a luxurious and smooth curd. The mixture will transform into a creamy delight, ready to fill your tart crust.
Step 4: Cool
Once the butter is fully mixed in, set the bowl aside and let the lemon curd cool to room temperature. This cooling process allows the flavors to meld beautifully, enhancing the overall taste of your Classic Lemon Tart. Stir occasionally to prevent a skin from forming on top.
Step 5: Chill
After reaching room temperature, transfer the curd to your fully baked tart crust. Smooth out the surface with a spatula for an even layer. Cover with plastic wrap and refrigerate for at least 3 hours, or until the tart is thoroughly chilled and has firmed up. This chilling step is crucial for the perfect texture and flavor.
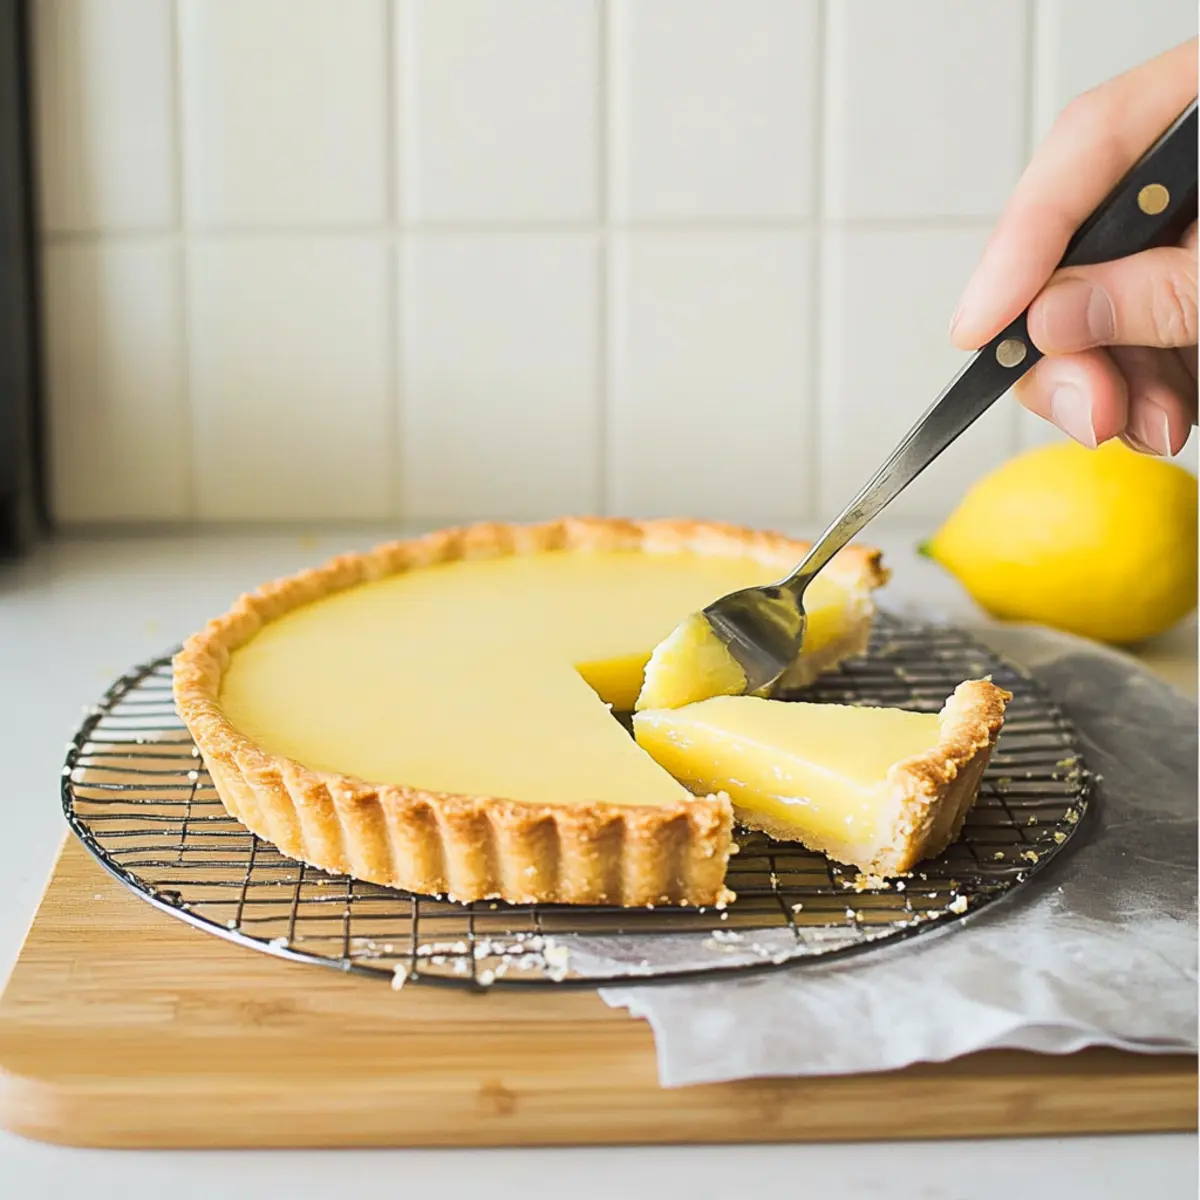
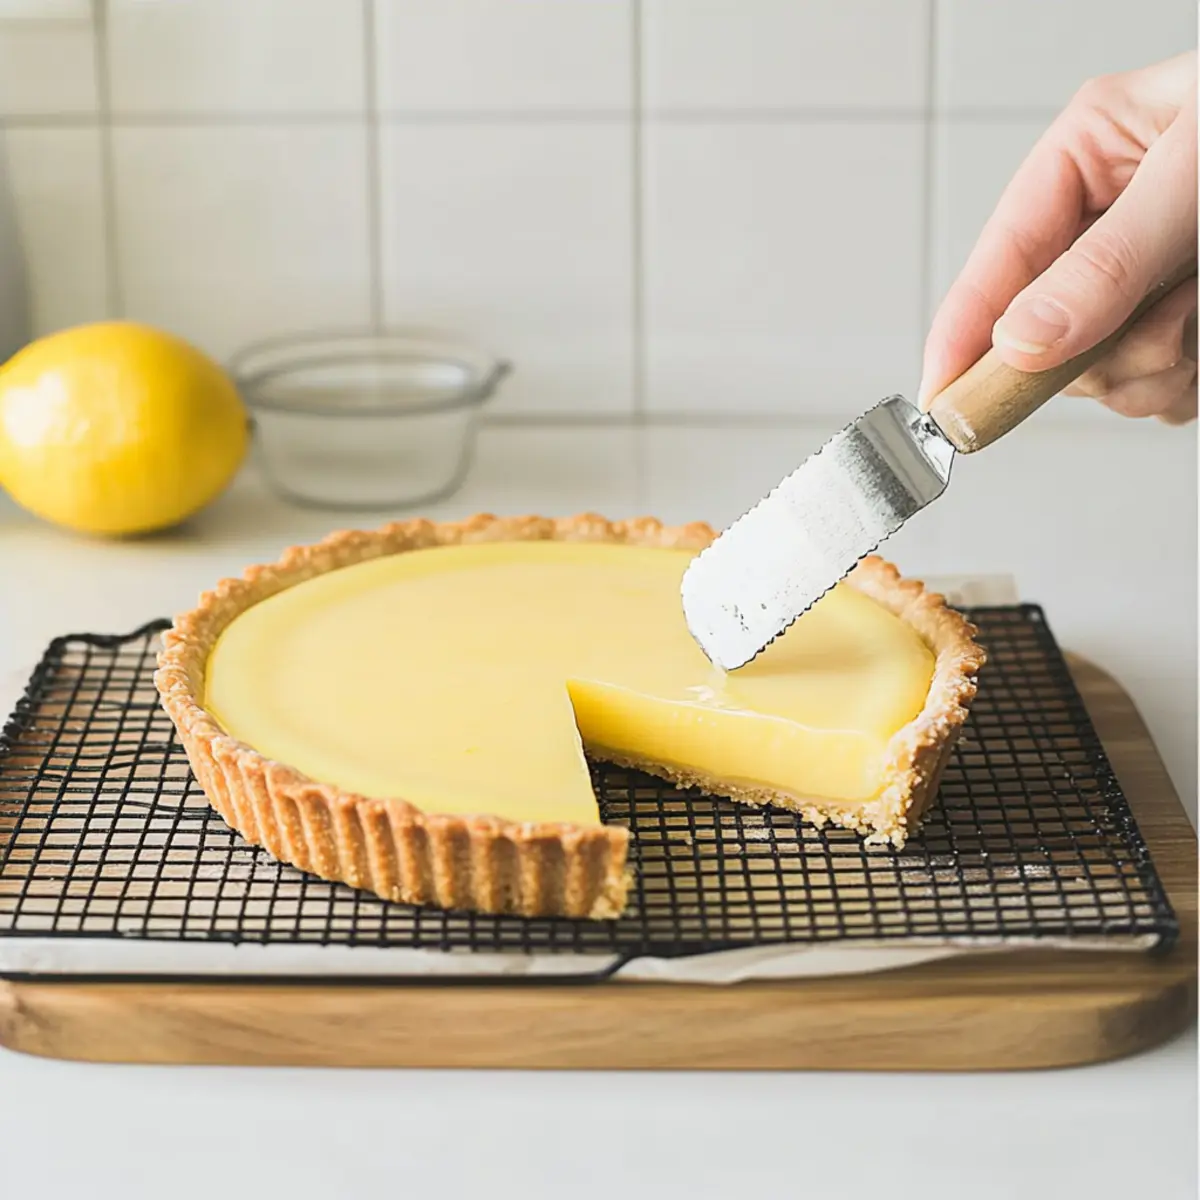
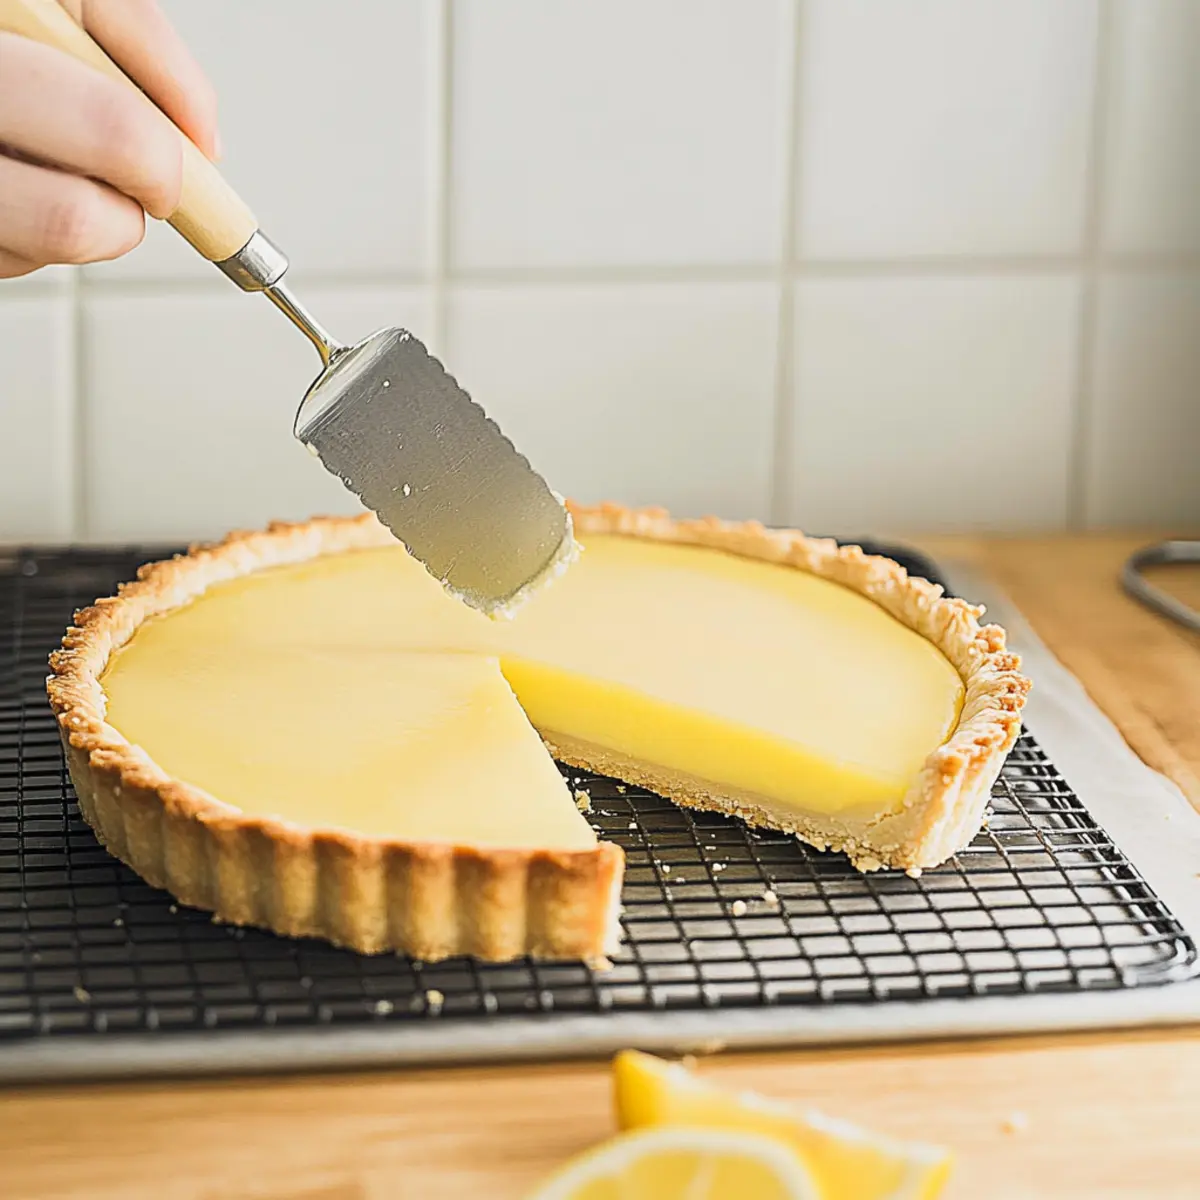
Step 6: Serve
Once chilled, slice your Classic Lemon Tart into wedges and serve as is, or garnish with fresh berries or a dollop of whipped cream for added flair. The tart’s creamy filling, coupled with its crumbly crust, will surely become a favorite among family and friends.
Classic Lemon Tart: Customization Ideas
Feel free to make this recipe your own with these delightful twists that will elevate your lemon tart experience!
- Dairy-Free: Swap heavy cream with coconut cream for a rich, tropical twist that’s entirely plant-based.
- Herb Infusion: Add ½ cup of fresh basil leaves while preparing the curd, then strain them out for a refreshing herbal note. This surprising addition will have your guests guessing!
- Key Lime Alternative: Substitute fresh lemon juice with key lime juice for a vibrant key lime tart bursting with zesty flavor.
- Unique Toppings: Try a toasted meringue topping for an elegant finish; it adds sweetness and a delightful contrast to the tartness below.
- Graham Cracker Crust: Use a graham cracker crust for a sweet, crunchy texture that deviates from the traditional pastry base, making it a little more casual.
- Adjust Sweetness: If you prefer a less sweet tart, reduce the granulated sugar or swap it with a natural sweetener.
- Fruity Add-Ins: Fold in finely chopped strawberries or raspberries into the lemon curd before pouring it into the crust for a colorful twist.
- Layered Flavors: Add a layer of my delicious Baked Lemon Butter sauce between the crust and curd for a fabulous flavor boost.
Let your creativity shine as you explore these variations and enjoy a piece of classic French flair in your kitchen!
What to Serve with Classic Lemon Tart
A classic lemon tart is a delightful way to finish a meal, and pairing it with the right dishes can elevate your dining experience.
- Fresh Berries: Juicy strawberries or blueberries add a burst of color and enhance the vibrant lemon flavors of the tart.
- Whipped Cream: A dollop of lightly sweetened whipped cream provides a creamy counterpoint, making each bite even more indulgent.
- Mint Salade: A refreshing salad with fresh mint and citrus complements the tartness, balancing flavors beautifully and adding a fresh touch.
- Sparkling Wine: A glass of Prosecco or sparkling wine elevates the dessert with a delightful effervescence, enhancing the experience.
- Vanilla Ice Cream: A scoop of creamy vanilla ice cream adds a luscious contrast that melts beautifully alongside the tangy lemon filling.
- Limoncello: This Italian lemon liqueur serves as a perfect after-dinner drink, echoing the flavors of your classic lemon tart.
- Almond Biscotti: Crunchy, lightly sweet biscotti offers a delightful texture contrast, perfect for dipping alongside the tart.
- Chocolate-Covered Strawberries: The richness of dark chocolate paired with fresh strawberries creates a harmonious blend of flavors and textures.
- Coconut Macaroons: Chewy and sweet, these macaroons provide an unexpected twist that pairs well with lemon’s tart profile.
Expert Tips for Classic Lemon Tart
- Bain-Marie Care: Ensure the water doesn’t touch the bowl’s bottom to prevent curdling the eggs. This keeps your lemon curd silky smooth.
- Temperature Check: If your curd isn’t thickening, confirm it reaches 170°F (75°C). It’ll thicken more as it cools, so be patient!
- Straining Matters: Don’t skip straining the curd to remove lumps—it guarantees a beautifully smooth filling for your classic lemon tart.
- Add Stabilizer: For a firmer filling, mix in 1-2 teaspoons of cornstarch while cooking. This extra step can enhance stability, especially on warmer days.
- Chill Fully: Be sure to refrigerate the tart for at least 3 hours for perfect texture and flavors to develop—don’t rush this step!
Make Ahead Options
Preparing this Classic Lemon Tart ahead of time is a fantastic way to save time and ensure a delightful dessert experience! You can make the lemon curd up to 3 days in advance; simply store it in an airtight container in the refrigerator, allowing the flavors to develop beautifully. The fully baked tart crust can also be prepared up to 24 hours ahead—just cover it tightly to prevent any moisture from seeping in, which helps maintain its crispiness. When you’re ready to serve, fill the tart shell with the chilled lemon curd and refrigerate for at least an hour before slicing. This way, you can enjoy a luxurious, homemade tart with minimal last-minute effort!
How to Store and Freeze Classic Lemon Tart
- Fridge: Store your Classic Lemon Tart in the refrigerator for up to 3 days in an airtight container to prevent the crust from becoming soggy.
- Freezer: If you want to keep it longer, freeze the tart for up to 1 month. Wrap it tightly with plastic wrap and then with aluminum foil to protect it from freezer burn.
- Reheating: To thaw, place the tart in the fridge overnight before serving. Avoid reheating in the oven; enjoy it chilled for the best texture.
- Lemon Curd Storage: If you have leftover lemon curd, store it in an airtight container in the fridge for up to a week, ensuring you cover the surface with plastic wrap to prevent a skin from forming.
Classic Lemon Tart Recipe FAQs
What type of lemons should I use for the best flavor?
Absolutely! For the most vibrant flavor in your Classic Lemon Tart, opt for organic or unwaxed lemons. These will provide a fresh zest and juice without any chemical residues. Look for lemons that are firm with a bright yellow color; avoiding those with dark spots or wrinkles will ensure you get the juiciest fruit.
How should I store my lemon tart after baking?
Very! Store your Classic Lemon Tart in the refrigerator for up to 3 days. Use an airtight container, placing a layer of plastic wrap over the surface of the tart to prevent it from absorbing any odors or moisture. This will help keep the crust from becoming soggy while maintaining that creamy delight you’ve worked hard to achieve!
Can I freeze this lemon tart?
Of course! To freeze your Classic Lemon Tart, wrap it tightly in plastic wrap and then in aluminum foil to keep out air. It can last in the freezer for up to 1 month. When you’re ready to enjoy it, simply move it to the fridge to thaw overnight. Enjoy it chilled; do not reheat!
What should I do if the lemon curd doesn’t thicken properly?
If your curd isn’t reaching that beautiful thick consistency, ensure that you’re cooking it over a gentle simmer and whisking continuously until you hit the magic 170°F (75°C). If it still seems too runny, remove it from heat and slowly whisk in 1-2 teaspoons of cornstarch mixed with a tablespoon of cold water. Place it back over the heat briefly while stirring until thickened!
Is this recipe suitable for those with egg allergies?
I recommend caution! This Classic Lemon Tart relies heavily on eggs for its curd’s structure and richness. If you’re looking for an egg-free option, consider experimenting with aquafaba (the liquid from canned chickpeas) and a suitable thickener like cornstarch or arrowroot powder; however, results may vary. Be sure to adjust sweetness as needed, and always check with an allergist if there are concerns regarding allergies.
Can I make this tart in advance?
Absolutely! In fact, making the Classic Lemon Tart a day ahead is a fantastic idea. It stores beautifully in the fridge, allowing the flavors to deepen and meld together. Just be sure to cover it well to keep the crust from getting soggy, and enjoy it chilled the next day for the best texture and flavor!
Classic Lemon Tart: A Creamy Delight You'll Crave
Ingredients
Equipment
Method
- In a medium heatproof bowl, combine 2 large eggs, 2 egg yolks, ¾ cup of granulated sugar, 1 tablespoon of lemon zest, and ½ cup of freshly squeezed lemon juice. Mix well until the sugar dissolves completely.
- Set the bowl over a pot of simmering water, whisk continuously for about 10-20 minutes until it thickens and reaches 170°F (75°C).
- Remove the bowl from heat and gradually whisk in ½ cup of softened unsalted butter, one piece at a time, until fully incorporated.
- Let the lemon curd cool to room temperature while stirring occasionally.
- Transfer the curd to your fully baked tart crust and smooth the surface. Cover and refrigerate for at least 3 hours.
- Once chilled, slice into wedges and serve as is or with fresh berries or whipped cream.
Leave a Reply