
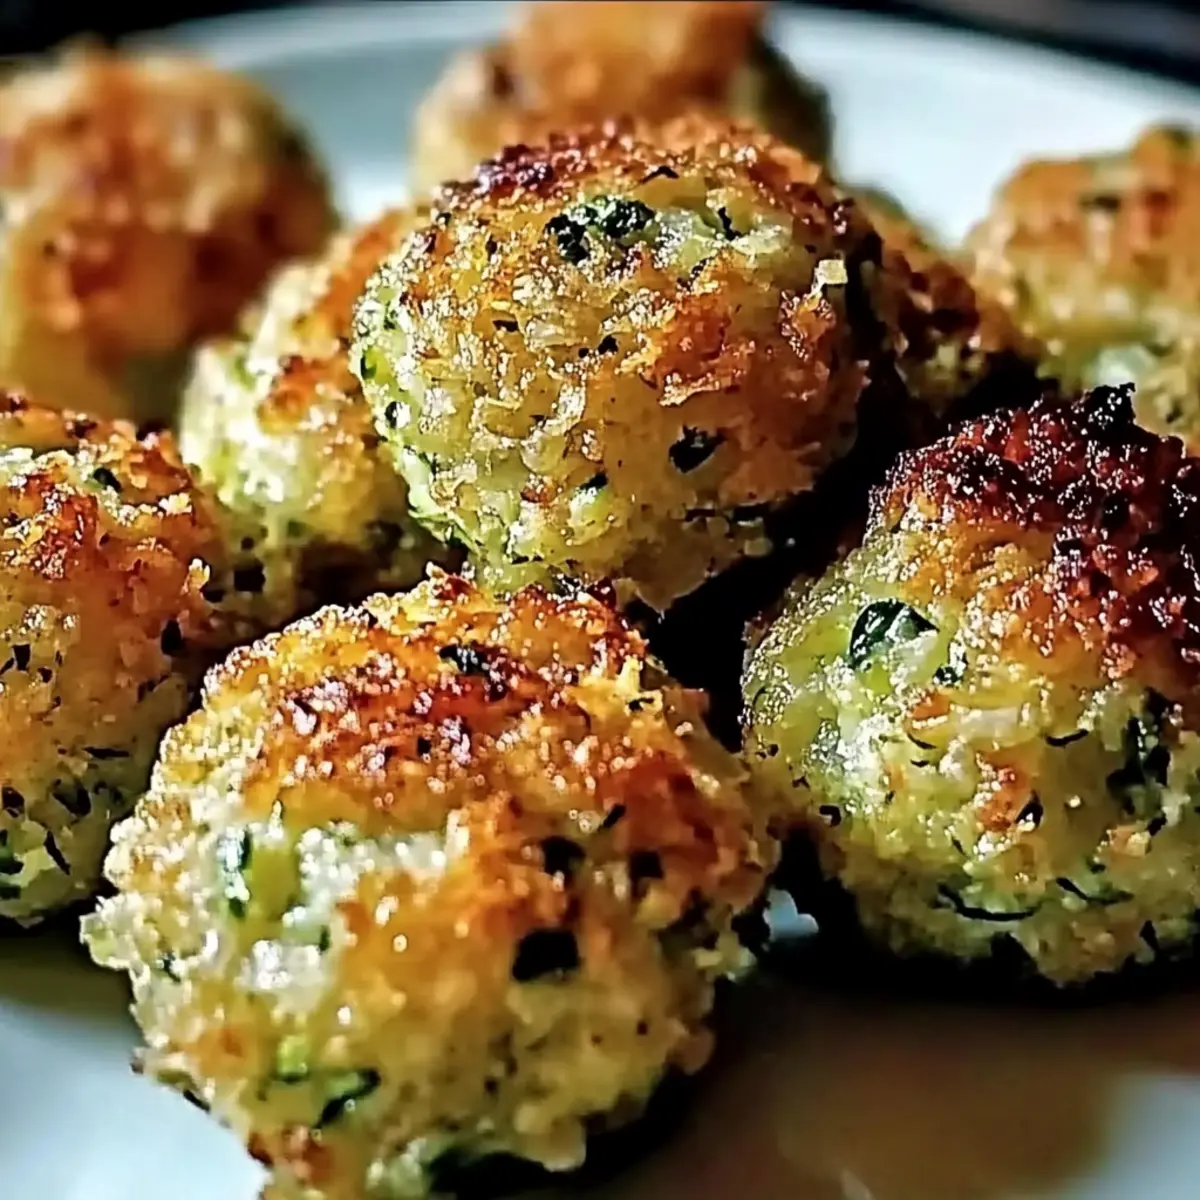
Walking through the vibrant produce aisle, I spotted a pile of fresh zucchinis, their glossy skin gleaming under the store lights. It struck me how this humble veggie could transform into something truly delightful—like my Crispy Garlic Zucchini Balls. This recipe is the perfect answer for anyone looking to ditch fast food without sacrificing flavor. With an easy-to-make process, you can whip up these crispy bites in no time, making them an ideal snack for busy days or a colorful appetizer for gatherings. Plus, they’re gluten-free, accommodating various dietary needs without compromising on taste. Ready to learn how to savor zucchini in a brand-new way? Let’s dive into this delicious journey together!
Why are Crispy Garlic Zucchini Balls a must-try?
Crispy Crunch: Your taste buds will thank you for the satisfying crunch of these zucchini balls, perfect for snacking or a light meal.
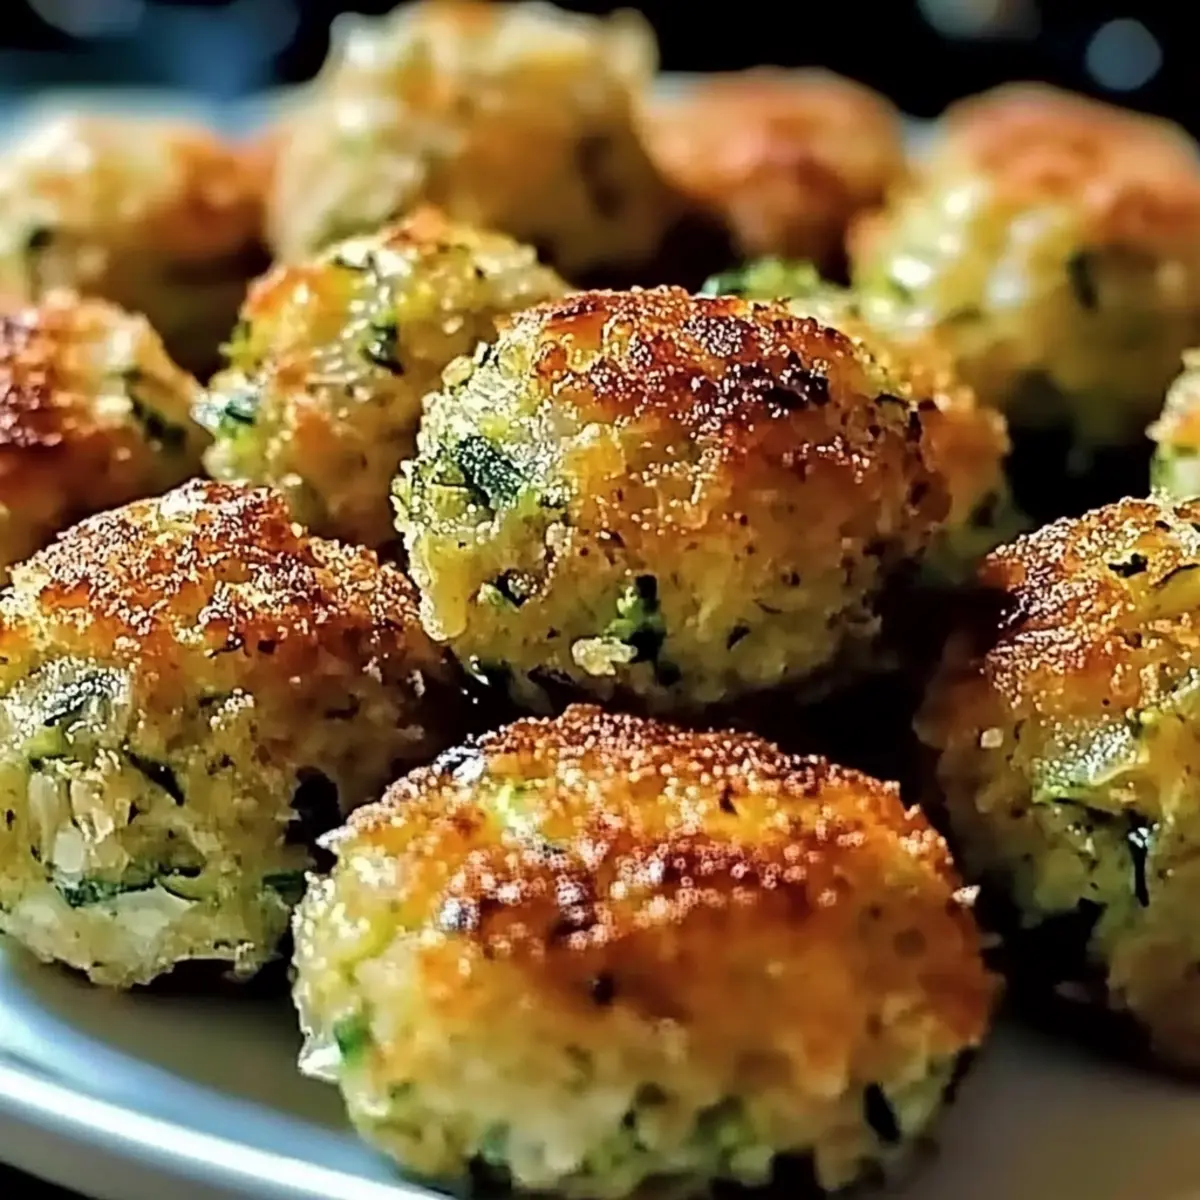
Flavor Explosion: A delightful mix of garlic, Parmesan, and herbs creates a bold flavor profile that’s anything but boring.
Quick & Easy: With just a handful of ingredients and simple steps, you’ll have these on your table in under 30 minutes!
Versatile Snack: Serve them alone or pair with your favorite dipping sauce, such as marinara or tzatziki, to elevate your snacking experience.
Healthy Twist: Enjoy all the fun of snacking with guilt-free, gluten-free ingredients that fit into various dietary preferences.
Whether you’re a home cook looking for a new recipe or simply want to enjoy a healthier snack, these Crispy Garlic Zucchini Balls are a delicious choice that won’t disappoint!
Crispy Garlic Zucchini Balls Ingredients
• Dive into a world of flavor and crunch with these delightful bites!
For the Mixture
- Zucchini – Provides moisture and bulk; remember to squeeze out excess water for ultimate crispiness.
- Breadcrumbs – Binds the mixture together while adding texture; gluten-free breadcrumbs can easily be used for a gluten-free version.
- Grated Parmesan Cheese – Brings flavor and richness to the balls; nutritional yeast can be substituted for a dairy-free option.
- Garlic (minced) – Delivers a fragrant aroma; opt for fresh garlic for the best taste.
- Egg (beaten) – Helps hold everything together; a flax egg can serve as a vegan substitute if needed.
- Dried Oregano – Adds an herby flavor; fresh oregano is a fantastic switch if you have it on hand.
- Dried Basil – Contributes a sweet, aromatic touch; using fresh basil can enhance the overall taste.
- Salt – Elevates all the flavors; tailor the amount to your dietary needs.
- Black Pepper – Provides a gentle heat; feel free to adjust or skip if you’re looking for a milder flavor.
- Red Pepper Flakes (optional) – Adds a spicy kick; omit for a lighter experience.
For Cooking
- Cooking Spray – Prevents sticking during cooking; use olive oil or another healthier oil spray for a tasty finish.
Step‑by‑Step Instructions for Crispy Garlic Zucchini Balls
Step 1: Preheat the Oven or Air Fryer
Begin by preheating your oven to 425°F (220°C) or your air fryer to 400°F (200°C). This crucial step ensures that your Crispy Garlic Zucchini Balls will cook evenly and achieve that perfect golden-brown crispiness. While the appliance heats up, gather your equipment, including a mixing bowl and a baking sheet lined with parchment paper for easy cleanup.
Step 2: Prepare the Zucchini
Grate your zucchini using a box grater or food processor. Once grated, take a clean kitchen towel or cheesecloth and firmly squeeze out excess moisture from the zucchini. This step is vital for maintaining the crispy texture in the Crispy Garlic Zucchini Balls, as excess water can make them soggy once cooked.
Step 3: Mix the Ingredients
In a large mixing bowl, combine the squeezed zucchini with breadcrumbs, grated Parmesan cheese, minced garlic, and the beaten egg. Then, add dried oregano, dried basil, salt, black pepper, and red pepper flakes if you want a little heat. Mix everything together thoroughly until you have a well-combined mixture that holds together when formed into balls.
Step 4: Shape the Mixture
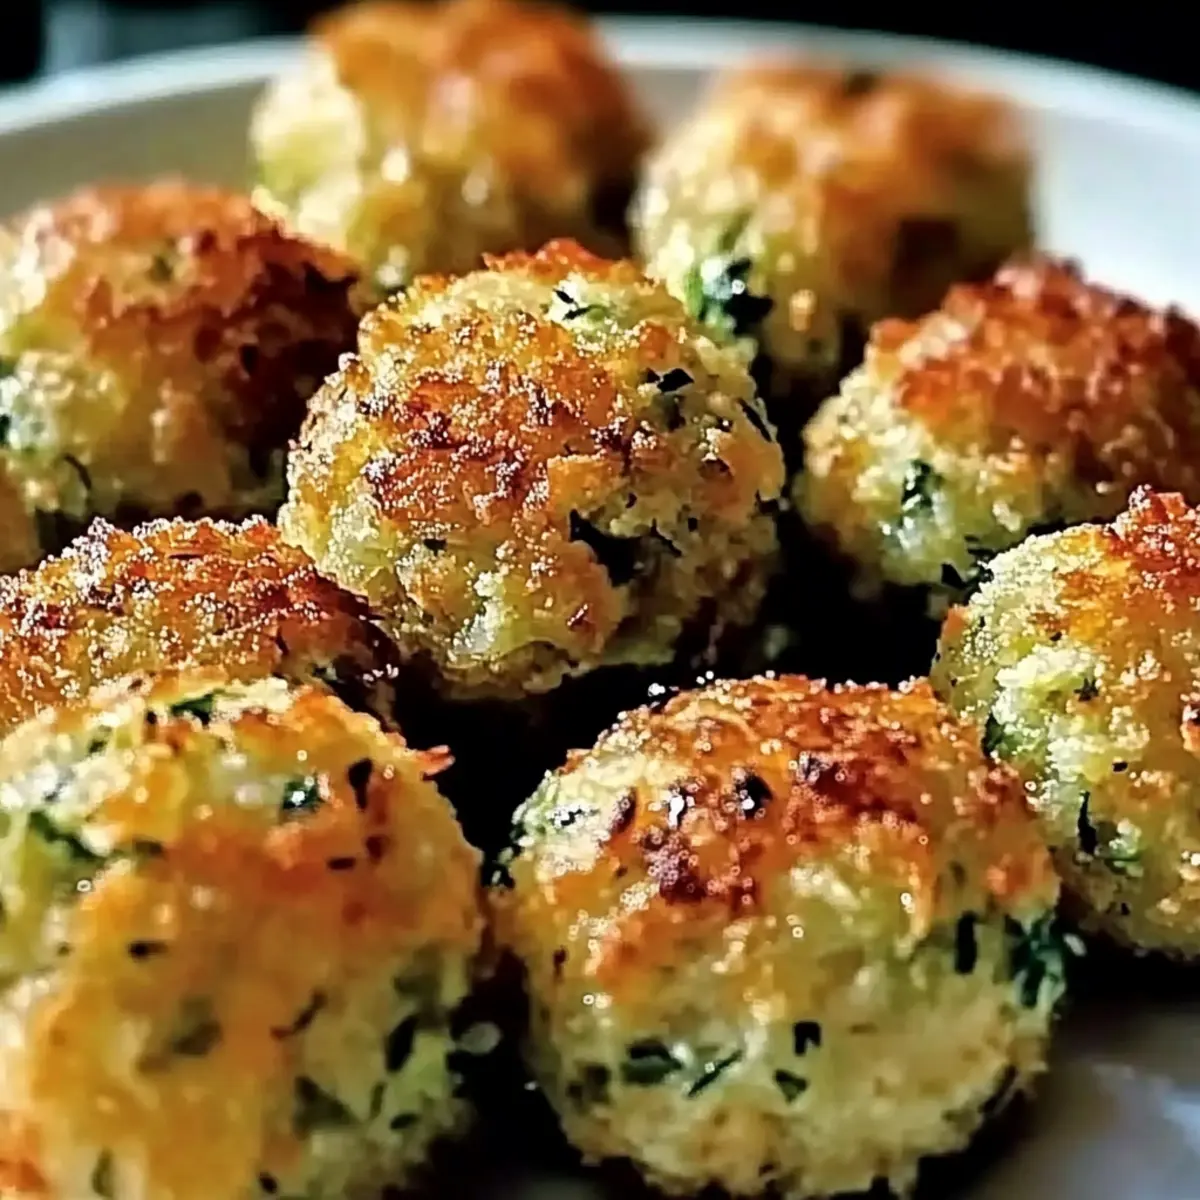
Using your hands, scoop about one tablespoon of the zucchini mixture and roll it into a ball or shape it into a patty. Place each ball onto the prepared baking sheet. Make sure to leave some space between each ball for even cooking and airflow, ensuring they brown nicely and become crispy.
Step 5: Prepare for Cooking
If you are baking the Crispy Garlic Zucchini Balls, lightly spray the tops with cooking spray to help them achieve that golden-brown color. If you’re using an air fryer, arrange the zucchini balls in a single layer in the air fryer basket. Avoid overcrowding to allow for proper air circulation, which is key for crispiness.
Step 6: Cook the Zucchini Balls
Bake in the preheated oven for 20-25 minutes or air fry for 10-12 minutes. Make sure to turn the zucchini balls halfway through cooking for even browning. You’ll know they’re done when they are beautifully golden and crispy on the outside, creating that enticing crunch you desire.
Step 7: Cool and Serve
Once cooked, remove the Crispy Garlic Zucchini Balls from the oven or air fryer. Let them cool for a few minutes on the baking sheet, allowing them to firm up a bit more. Serve warm, optionally garnishing with fresh herbs or an extra sprinkle of Parmesan cheese, and pair them with your favorite dipping sauce for a flavorful snack!
Variations & Substitutions for Crispy Garlic Zucchini Balls
Customize your Crispy Garlic Zucchini Balls for an even more delightful experience that excites your taste buds!
-
Gluten-Free Breadcrumbs: Use gluten-free breadcrumbs instead of traditional ones for a safe snack option that’s just as tasty.
-
Nutritional Yeast: Swap grated Parmesan with nutritional yeast for a cheesy, dairy-free flavor that’s packed with umami goodness.
-
Flax Egg: Replace the beaten egg with a flax egg (1 tablespoon ground flaxseed + 2.5 tablespoons water) for a vegan-friendly version.
-
Extra Veggies: Mix in grated carrots or finely chopped spinach to boost nutrition and add vibrant color to your zucchini balls.
-
Herb Variety: Incorporate fresh herbs like parsley or chives for a fresh burst of flavor that will brighten up each bite.
-
Cheesy Goodness: For a gooey texture, add shredded mozzarella cheese to the mixture; it melts beautifully and adds a delightful stretch.
-
Spicy Kick: Elevate the heat level by adding diced jalapeños or swapping the red pepper flakes for cayenne pepper to attract spice lovers.
-
Savory Twist: Consider adding sautéed onions or roasted garlic for an extra layer of depth and flavor, creating a comforting experience with every bite.
Experimenting with these variations will not only satisfy your cravings but may also inspire new culinary creations. Whether you lean towards a classic recipe or add a unique twist, these Crispy Garlic Zucchini Balls remain a delightful choice. For more flavor-packed options, check out the Bang Bang Salmon or the irresistible Baileys Cheesecake Balls for a sweet finish!
Make Ahead Options
These Crispy Garlic Zucchini Balls are perfect for meal prep, allowing you to enjoy guilt-free snacking on busy days! You can prepare the zucchini mixture up to 24 hours in advance; simply mix the grated zucchini, breadcrumbs, Parmesan cheese, garlic, egg, and spices, then refrigerate it in an airtight container. To maintain quality and prevent sogginess, remember to squeeze out as much moisture as possible from the zucchini before mixing. When you’re ready to enjoy your crispy delights, form the mixture into balls and bake or air fry them as directed. You’ll have a quick, delicious appetizer or snack with minimal effort!
Expert Tips for Crispy Garlic Zucchini Balls
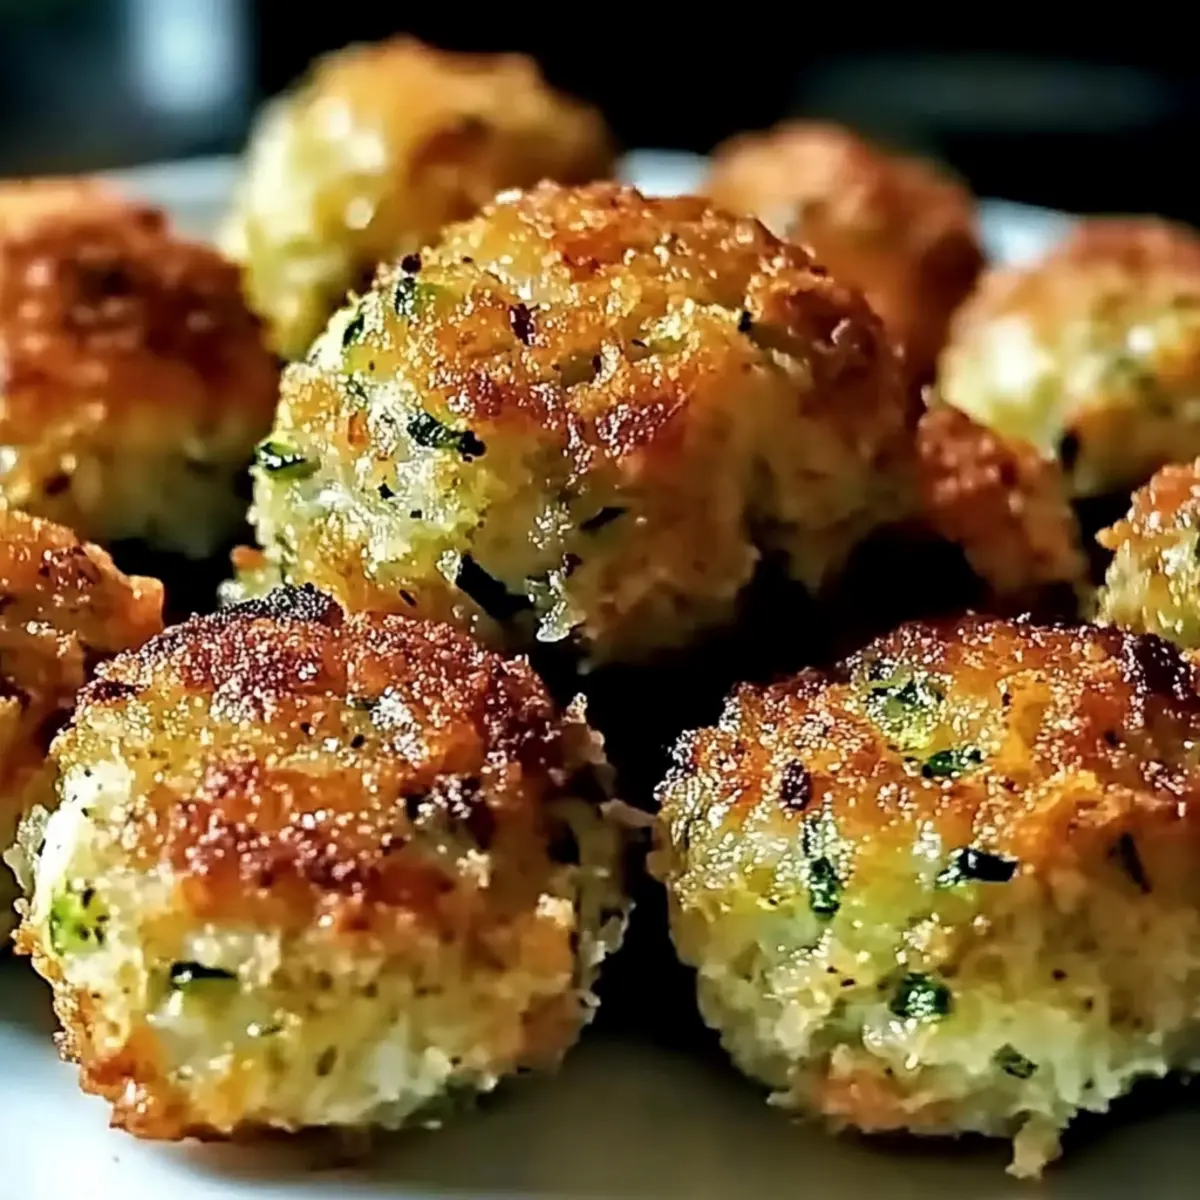
- Zucchini Prep: Ensure you squeeze out all excess moisture from the grated zucchini. This crucial step prevents soggy balls, ensuring that your crispy garlic zucchini balls stay delightfully crunchy.
- Uniform Size: When shaping the balls, aim for uniformity in size. This ensures even cooking and consistent crunchiness in every bite!
- Baking vs. Air Frying: Keep in mind that cooking times vary between ovens and air fryers; always check for golden brown color to determine doneness.
- Flavor Boost: Feel free to experiment with fresh herbs! Using fresh oregano and basil can elevate the flavor profile of your crispy garlic zucchini balls.
- Reheating: To maintain crispiness when reheating leftovers, simply pop them back in the oven instead of the microwave for a delightful snack once again.
What to Serve with Crispy Garlic Zucchini Balls
Indulge in a lovely meal experience that harmonizes textures and flavors alongside your crispy zucchini delights.
- Marinara Sauce: This classic tomato sauce offers a rich and tangy complement, perfect for dipping and elevating each bite.
- Tzatziki Dip: The cool, creamy yogurt and cucumber blend pairs beautifully with the crunchy zucchini, adding a refreshing twist.
- Light Green Salad: A crisp salad with mixed greens, cherry tomatoes, and a lemon vinaigrette provides a refreshing contrast to the warm zucchini balls.
- Roasted Sweet Potatoes: Their natural sweetness pairs well with the savory garlic flavors, creating a delightful balance on your plate.
- Grilled Lemon Chicken: The zesty, citrusy notes of grilled chicken add brightness, making it a perfect partner to the zucchini’s crispy goodness.
- Herbed Quinoa: A fluffy quinoa side infused with herbs adds a nutty flavor and a boost of protein, supporting the vegetarian nature of the zucchini balls.
- Chilled White Wine: A crisp Sauvignon Blanc complements the dish nicely, blending well with the flavors and enhancing your dining experience.
- Lemon Sorbet: This light dessert cleanses the palate after the savory snack, providing a sweet and refreshing finish to your meal.
Storage Tips for Crispy Garlic Zucchini Balls
- Room Temperature: Let your Crispy Garlic Zucchini Balls cool completely before storing. Enjoy them fresh, but if kept, consume within 2 hours for optimal taste.
- Fridge: Store leftover zucchini balls in an airtight container in the refrigerator for up to 3 days. This helps maintain their texture while keeping them delicious.
- Freezer: For longer storage, freeze the zucchini balls in a single layer on a baking sheet, then transfer to a freezer-safe bag for up to 3 months.
- Reheating: Reheat leftovers in the oven at 350°F (175°C) for about 10-15 minutes to restore crispiness, making them just as delightful as when they were first made.
Crispy Garlic Zucchini Balls Recipe FAQs
How do I choose the best zucchini for this recipe?
Absolutely! When selecting zucchini, look for firm, glossy-skinned ones without any dark spots or blemishes, as these indicate freshness. Smaller zucchinis are often sweeter and more tender, making them perfect for the Crispy Garlic Zucchini Balls.
What is the best way to store leftover Crispy Garlic Zucchini Balls?
Very good question! Once cooled, store your leftover zucchini balls in an airtight container in the refrigerator for up to 3 days. This helps keep them flavorful and slightly crispy. When you’re ready to enjoy them again, simply reheat in the oven at 350°F (175°C) for about 10-15 minutes for that fresh crunch.
Can I freeze Crispy Garlic Zucchini Balls?
Yes, you can! To freeze, place the formed balls on a baking sheet lined with parchment and freeze them until solid (about 1-2 hours). Then, transfer the frozen balls into a freezer-safe bag or container. They can be stored for up to 3 months! When you’re ready to eat, cook them straight from frozen; just add a few extra minutes to your baking or air frying time.
What should I do if my mixture is too wet?
Excellent inquiry! If you find your mixture too wet, try adding an extra tablespoon of breadcrumbs to help absorb the moisture. Alternatively, you can let the grated zucchini sit in a colander for about 10-15 minutes, allowing more excess water to drain off before mixing with the other ingredients. This will help achieve that perfect crispy texture.
Are there any dietary considerations I should keep in mind?
Definitely! For vegan options, substitute the egg with a flax egg made by mixing 1 tablespoon of ground flaxseed with 3 tablespoons of water, allowing it to sit for 5 minutes to thicken. Also, for those with gluten sensitivities, use gluten-free breadcrumbs, ensuring this recipe can be enjoyed without worry!
Can I customize the flavors in these zucchini balls?
Very much so! Feel free to incorporate additional herbs or spices according to your taste. Fresh parsley, chives, or even a sprinkle of Italian seasoning can create exciting flavor variations. You can also mix in different vegetables like grated carrots or sweet potatoes for added health benefits and flavor diversity.
Crispy Garlic Zucchini Balls Perfect for Guilt-Free Snacking
Ingredients
Equipment
Method
- Preheat your oven to 425°F (220°C) or your air fryer to 400°F (200°C).
- Grate the zucchini and squeeze out excess moisture.
- In a large mixing bowl, combine the zucchini, breadcrumbs, grated Parmesan, minced garlic, and beaten egg. Add oregano, basil, salt, pepper, and red pepper flakes. Mix well.
- Scoop about one tablespoon of the mixture and roll it into a ball. Place on the prepared baking sheet.
- If baking, spray the tops lightly with cooking spray. Arrange in an air fryer basket if using one.
- Bake for 20-25 minutes or air fry for 10-12 minutes, turning halfway through.
- Let cool for a few minutes and serve warm with dipping sauce.
Leave a Reply