
As I stood in my kitchen, the scent of melted butter filled the air, evoking childhood memories of holiday seasons spent with family. These Classic Danish Butter Cookies are more than just a recipe; they are a tradition that brings warmth and joy to our gatherings. With only seven simple ingredients, this melt-in-your-mouth cookie is a breeze to whip up, making them perfect for gifting or indulging your sweet tooth. Their crumbly texture combined with just the right amount of sweetness transforms any day into a celebration. Plus, they’re endlessly versatile—experiment with festive spices or shapes to make them uniquely yours! Ready to dive into the magic of baking? Let’s make some cookies!
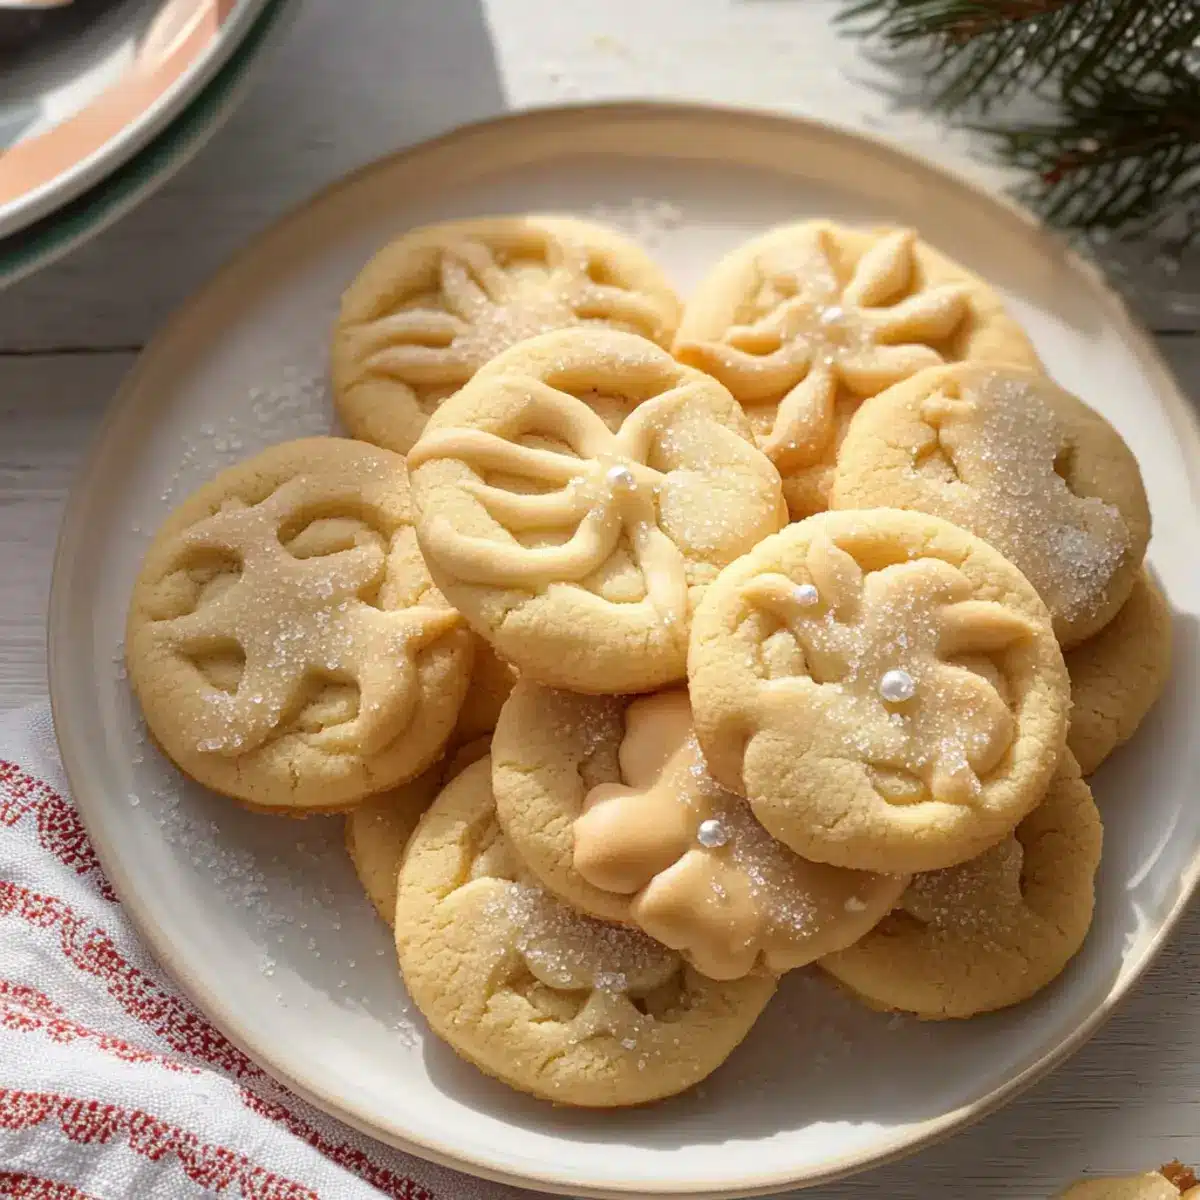
Why Are Danish Butter Cookies Perfect for Gifting?
Melt-in-your-mouth texture: These cookies boast a delicate, crumbly consistency that melts on your tongue, making each bite blissful.
Effortlessly Simple: With just seven ingredients, they come together in no time, allowing you to focus on creating memories instead of complicated steps.
Versatile Charm: Feel free to customize with festive spices like cinnamon or even a hint of chocolate chips for a delightful twist.
Ideal for Sharing: Pack them in decorative tins, and they become heartfelt gifts that friends and family will cherish during the holidays.
Timeless Tradition: Much more than just cookies, they embody the warmth of baked goods shared with loved ones, creating moments that linger in the mind.
If you love these buttery delights, you might also enjoy experimenting with other treats such as Gooey Butter Cookies or the rich flavor of Chocolate Butter Cookies.
Danish Butter Cookies Ingredients
For the Cookie Dough
• European Salted Butter – Provides rich flavor and a tender texture; substitute with unsalted butter + ¼ teaspoon of salt if needed.
• Granulated Sugar – Adds sweetness and helps create the perfect cookie structure.
• Salt – Essential for enhancing overall flavor, especially when using unsalted butter.
• Egg Yolks – Contributes to the richness and binds the ingredients for a soft texture.
• Vanilla Extract – Introduces fragrant sweetness; almond extract can be an aromatic alternative.
• Whole Milk – Softens the dough for easier piping; feel free to add more for desired consistency.
• All-purpose Flour – Forms the backbone of the cookie; replacing some with cake flour yields a lighter texture.
• Cake Flour – Adds tenderness; can be completely swapped with more all-purpose flour if preferred.
For the Decoration
• Coarse Sugar – Sprinkle on top for a decorative crunch and just the right hint of sweetness.
These delightful Danish butter cookies are sure to be a hit, perfect for savoring or gifting!
Step‑by‑Step Instructions for Danish Butter Cookies
Step 1: Prepare Equipment
Begin by lining two baking sheets with parchment paper or silicone mats, ensuring they are ready for the Danish butter cookies. Clear some space in your refrigerator to chill the cookies later on, preparing for a smooth workflow as you dive into this delightful recipe.
Step 2: Cream Base
In a stand mixer fitted with a paddle attachment, beat 1 cup of room temperature European salted butter until it becomes smooth and creamy, about 2-3 minutes. Gradually add in ½ cup of granulated sugar and a pinch of salt, mixing until the mixture is light and fluffy—this will create a rich foundation for your cookies.
Step 3: Incorporate Liquids
Next, add 2 egg yolks, 1 teaspoon of vanilla extract, and 2 tablespoons of whole milk to the creamed butter mixture. Mix on medium speed until everything is well combined, scraping down the sides of the bowl with a spatula to ensure even blending, which contributes to the silky texture of your Danish butter cookies.
Step 4: Mix Dry Ingredients
In a separate bowl, whisk together 1 cup of all-purpose flour and ½ cup of cake flour. Gradually add this flour mixture to the butter mixture, mixing on low speed until just combined. If the dough feels too thick, add a splash more milk, achieving a pipeable consistency that’s perfect for your cookies.
Step 5: Pipe Cookies
Transfer the dough into a piping bag fitted with a star tip, ready for shaping. Pipe the cookie dough onto the prepared baking sheets into your desired shapes, making sure to leave a little space between each cookie to allow for spreading during baking—this will help create that lovely melt-in-your-mouth texture.
Step 6: Chill
Once piped, refrigerate the baking sheets with the cookies for 20 to 30 minutes. This chilling step is crucial as it prevents the Danish butter cookies from overspreading in the oven, ensuring they maintain their beautiful shape and crumbly texture.
Step 7: Preheat Oven
While your cookies chill, preheat the oven to 350°F (175°C). Make sure the oven rack is positioned in the center to promote even baking as you prepare to treat your senses with the delicious aroma of freshly baked cookies.
Step 8: Bake
Bake the chilled cookies in your preheated oven for 10 to 15 minutes, watching closely for the edges to turn lightly golden. Once baked, let the cookies cool on the sheet for about 5 minutes before carefully transferring them to wire racks—this allows them to set perfectly, ready for indulging or gifting!
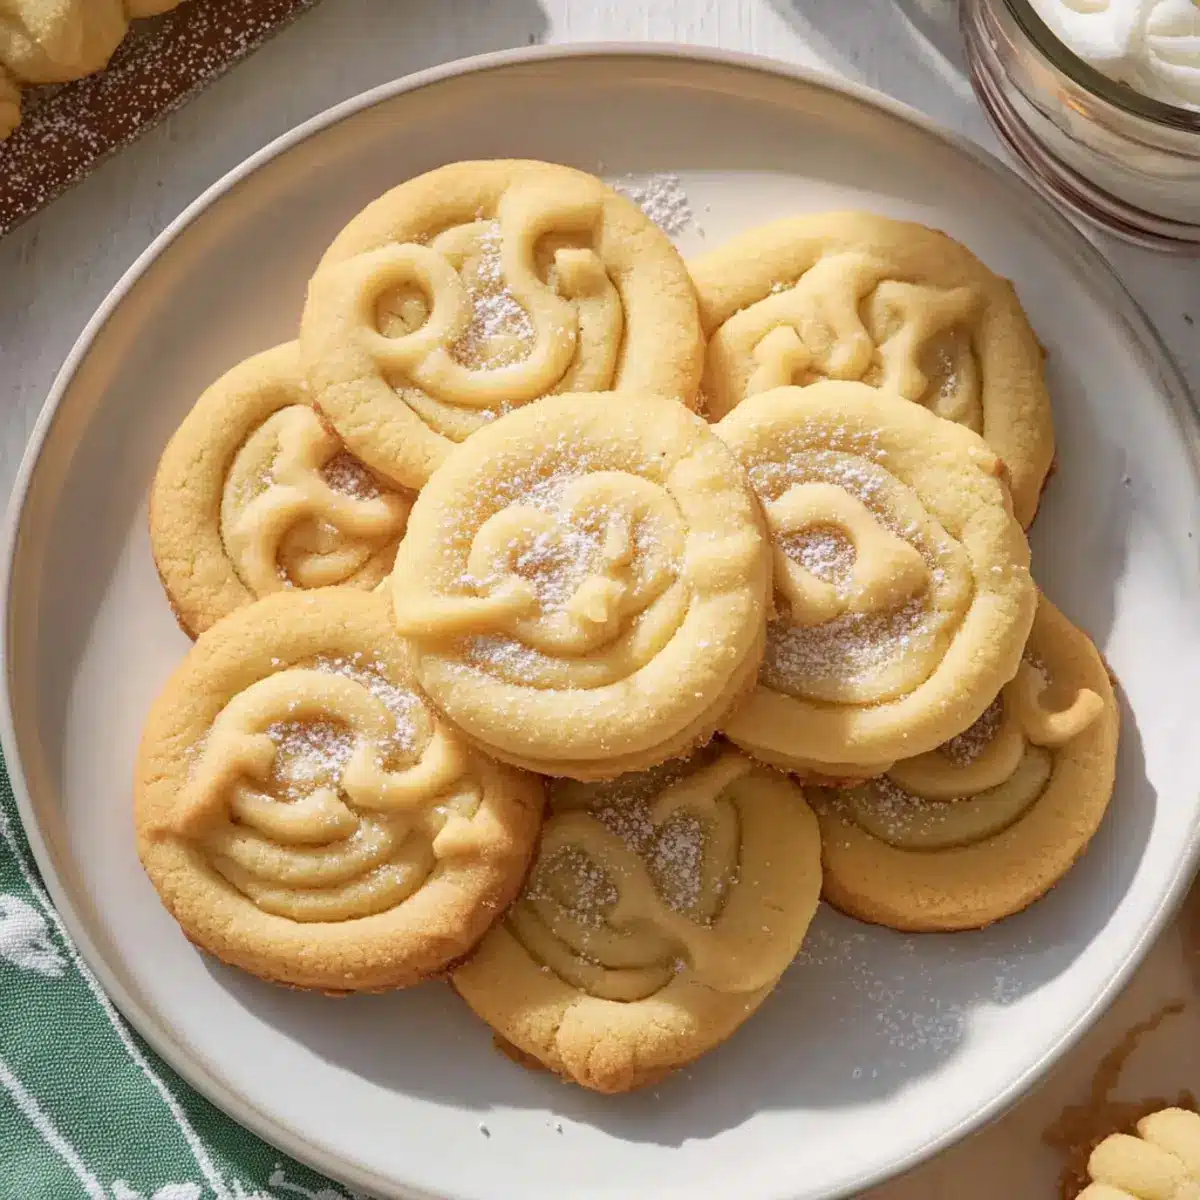
What to Serve with Classic Danish Butter Cookies?
Imagine gathering with loved ones, indulging in sweet treats while laughter fills the air. These buttery delights will surely elevate your holiday gatherings!
-
Fresh Brewed Coffee: The warm, rich flavor of coffee beautifully complements the delicate sweetness of the cookies, balancing indulgence with comfort.
-
Creamy Hot Chocolate: A cozy, chocolatey drink that pairs well with the buttery texture of the cookies, creating a blissful sweet escape.
-
Fruit Salad: A light and refreshing fruit salad adds a burst of color and natural sweetness, making it a perfect contrast to the richness of the cookies.
-
Tea Selection: Whether it’s a classic black or fragrant herbal blend, tea’s warmth enhances the cookies’ buttery flavor, inviting relaxation and conversation.
-
Spiced Cider: This season’s favorite drink infuses warmth and nostalgia, bringing out the comforting essence of the Danish butter cookies.
-
Decorative Tins: Presenting these cookies in beautiful tins not only elevates the gifting experience but also makes a charming centerpiece for holiday tables.
Each of these pairings enhances the charm and experience of enjoying your delightful Danish butter cookies, creating beautiful moments to cherish.
Expert Tips for Danish Butter Cookies
-
Room Temperature Essentials: Always use room temperature butter and eggs. This ensures optimal mixing and a cohesive dough.
-
Mixing Matters: Avoid overmixing the dough. Blend only until the dry ingredients are incorporated to keep your cookies tender, not tough.
-
Cookie Sizes: Keep an eye on your cookies as they bake; different shapes and sizes may require varying baking times.
-
Measuring Flour: Use a kitchen scale to measure your flour for accuracy. If using cups, be sure to scoop and level correctly to prevent dense cookies.
-
Chilling Importance: Never skip the chilling step! Chilling the piped dough helps maintain its shape and texture while baking, resulting in perfectly formed Danish butter cookies.
Danish Butter Cookies Variations & Substitutions
Feel free to explore the delightful possibilities with these variations, adding your personal touch to this beloved classic!
- Gluten-Free: Substitute all-purpose flour with a 1:1 gluten-free flour blend for a gluten-free treat that everyone can enjoy.
- Nutty Delight: Fold in ½ cup of finely chopped nuts like almonds or walnuts to add a crunchy texture and richer flavor.
- Chocolate Boost: Mix in ½ cup of mini chocolate chips for a sweet surprise in every bite, marrying buttery richness with chocolate goodness.
- Spiced Up: Sprinkle in a teaspoon of cinnamon or nutmeg for a warm, aromatic twist that’s perfect for cozy gatherings.
- Zesty Orange: Add the zest of one orange or lemon to the dough for a cheerful, citrusy flavor that brightens the cookies.
- Almond-Infused: Swap vanilla extract with almond extract to create a fragrant, nutty variation that transports you to a pastry shop in Denmark.
- Decorative Touch: Use colored sprinkles or edible glitter to give your cookies a festive look, perfect for holiday gifting or celebrations.
- Shape It Up: Instead of piping, roll the dough into balls and flatten them slightly for a different texture and appeal.
As you create your variations, consider pairing these cookies with a cup of tea or coffee, just like delightful moments shared over Cranberry Shortbread Cookies or a slice of Gooey Butter Pecan. Enjoy the magic of baking!
How to Store and Freeze Danish Butter Cookies
Airtight Container: Store the cookies in an airtight container at room temperature for up to 5 days. This helps maintain their delightful melt-in-your-mouth texture while keeping them fresh.
Freezing Cookies: For longer storage, freeze the Danish butter cookies in a single layer, then transfer them to a freezer-safe bag or container. They can be kept in the freezer for up to 3 months.
Pre-Baked Dough: If you want to save time, shape and freeze the dough before baking. Wrap it tightly in plastic wrap, and store it in an airtight container; it can last for up to 3 months.
Reheating Tips: When you’re ready to enjoy the frozen cookies, allow them to thaw at room temperature for about 15-20 minutes before baking. If you prefer to enjoy them warm, bake from frozen at 350°F (175°C) for an additional minute or two.
Make Ahead Options
These melt-in-your-mouth Danish Butter Cookies are perfect for meal prep! You can prepare the cookie dough up to 24 hours in advance by following all the mixing steps and then refrigerating it. Simply pipe the cookies onto lined baking sheets and chill them for at least 20-30 minutes before baking. If you want to extend their freshness, shape the cookies and freeze them, allowing you to bake them within 3 months without losing quality. When you’re ready to enjoy your cookies, just bake them directly from the freezer, adding an extra minute or two to the baking time. This way, you’ll have delicious, homemade Danish Butter Cookies with minimal last-minute effort!
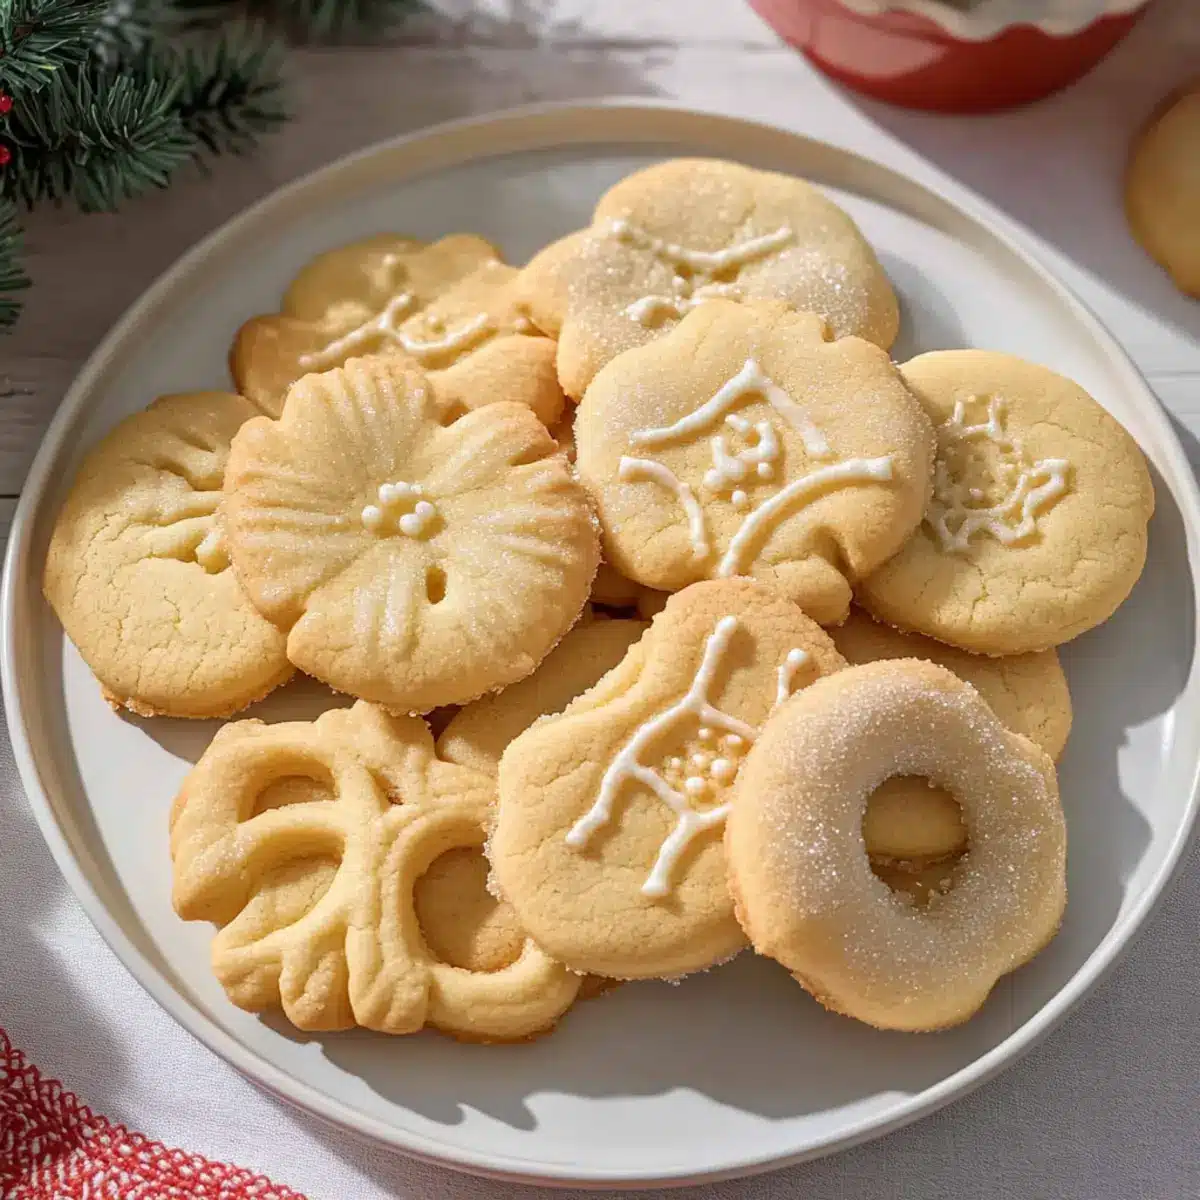
Danish Butter Cookies Recipe FAQs
How do I select the best ingredients for Danish butter cookies?
Absolutely! When picking your European salted butter, look for ones that are fresh and creamy with a rich flavor, as this will greatly impact your cookies’ taste. For maximum freshness, choose butter with a sell-by date at least a few weeks out. If you can’t find European butter, go for high-quality unsalted butter and add a pinch of salt. The egg yolks should be fresh and rich in color, contributing to the cookies’ buttery richness.
What is the best way to store Danish butter cookies?
Store your Danish butter cookies in an airtight container at room temperature for up to 5 days. This helps them maintain that delightful melt-in-your-mouth texture. Make sure to place some parchment paper between layers if you’re stacking them to prevent sticking. If you notice any cookies starting to lose their crumbliness, you can add a slice of bread to the container; it helps maintain moisture and keeps them fresh longer!
Can I freeze Danish butter cookies for later enjoyment?
Yes, you can! For freezing, lay the cookies in a single layer on a baking sheet and freeze them until solid. Then transfer them to a freezer-safe bag or container, where they will keep for up to 3 months. If you want to freeze pre-baked dough, shape it and wrap it tightly in plastic wrap before placing it in an airtight container. This also lasts for up to 3 months—just remember to thaw it in the refrigerator before using.
What are some common issues when baking Danish butter cookies?
Very! One common issue is cookies that spread too much. To avoid this, ensure that your piped dough is chilled for 20-30 minutes before baking. Alternatively, if you notice your cookies are too thick to pipe, you can gradually add more milk to achieve a smoother consistency. Lastly, keep an eye on your baking time; ovens may vary, so check for lightly golden edges.
Are Danish butter cookies safe for people with allergies?
Definitely! However, since this recipe includes gluten from flour, butter, and eggs, it’s not suitable for those with gluten or dairy allergies. For gluten-free options, substitute both flours with a gluten-free all-purpose blend. Ensure your butter is dairy-free if you’re doing a dairy-free version. It’s always good to double-check labels to stay safe!
How can I make variations of Danish butter cookies?
The more the merrier! You can easily personalize your Danish butter cookies. Experiment by adding up to 1 teaspoon of festive spices like cinnamon or nutmeg to the dough for a seasonal flair. You can also mix in finely chopped nuts, chocolate chips, or even a few drops of almond extract instead of vanilla to give them a unique twist. With so many options, feel free to get creative!
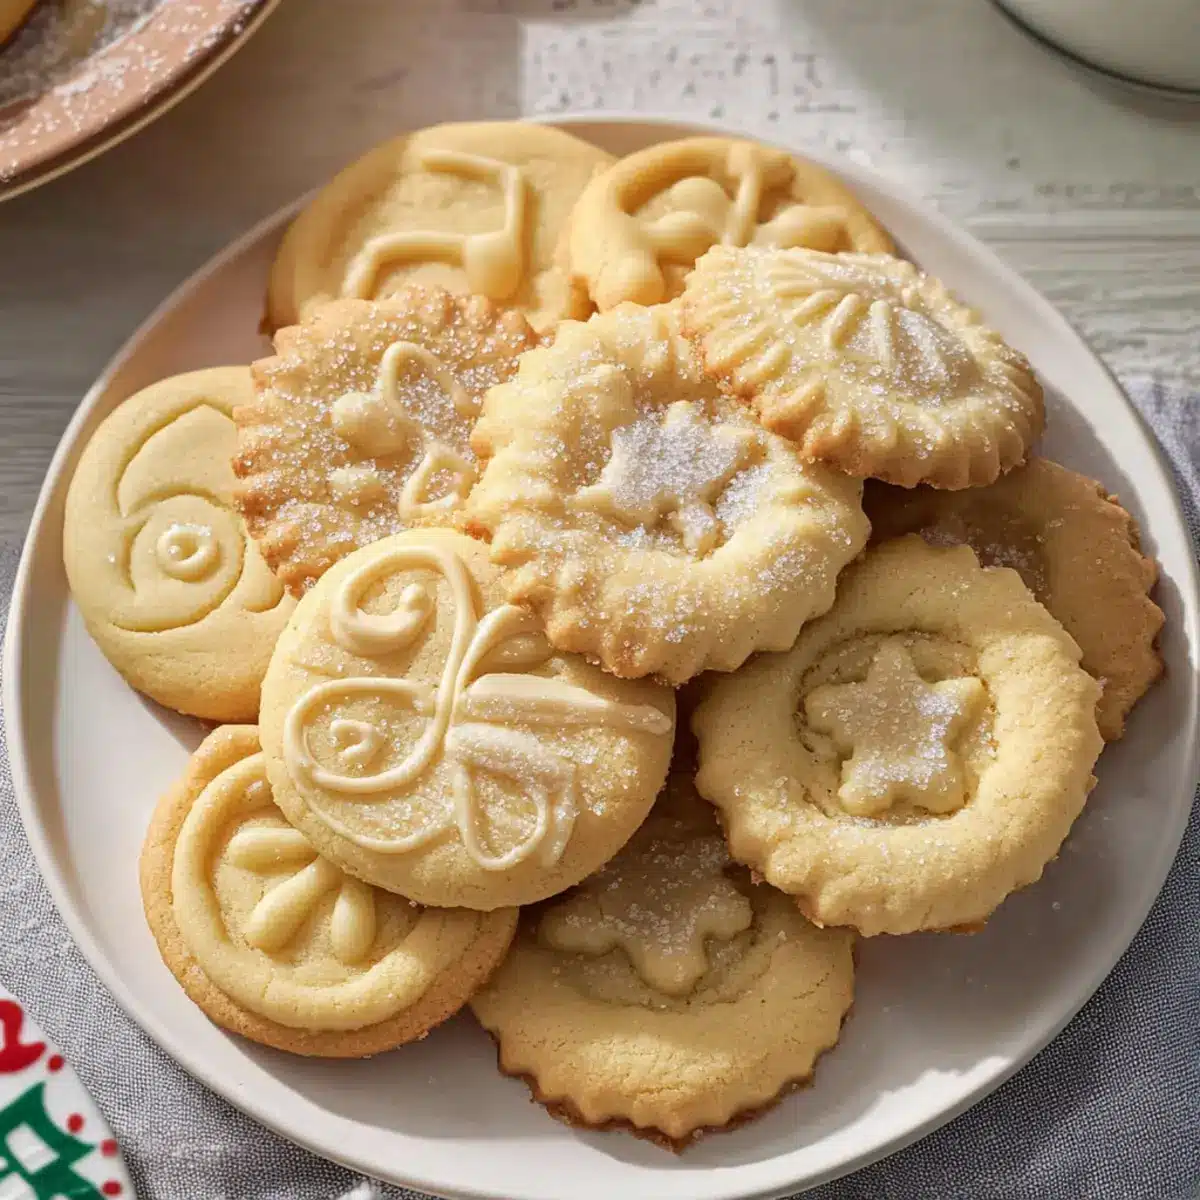
Melt-In-Your-Mouth Danish Butter Cookies for Gifting Delight
Ingredients
Equipment
Method
- Prepare Equipment: Line two baking sheets with parchment paper or silicone mats and clear space in your refrigerator.
- Cream Base: Beat 1 cup of European salted butter until smooth, then gradually add ½ cup of granulated sugar and a pinch of salt until light and fluffy.
- Incorporate Liquids: Add 2 egg yolks, 1 teaspoon of vanilla extract, and 2 tablespoons of whole milk to the creamed butter and mix until well combined.
- Mix Dry Ingredients: Whisk together 1 cup of all-purpose flour and ½ cup of cake flour, then mix into the butter mixture until just combined.
- Pipe Cookies: Transfer dough to a piping bag and pipe onto prepared sheets into desired shapes.
- Chill: Refrigerate cookies for 20 to 30 minutes to prevent spreading.
- Preheat Oven: Preheat to 350°F (175°C).
- Bake: Bake for 10 to 15 minutes until edges are lightly golden, let cool for 5 minutes before transferring to wire racks.
Leave a Reply