
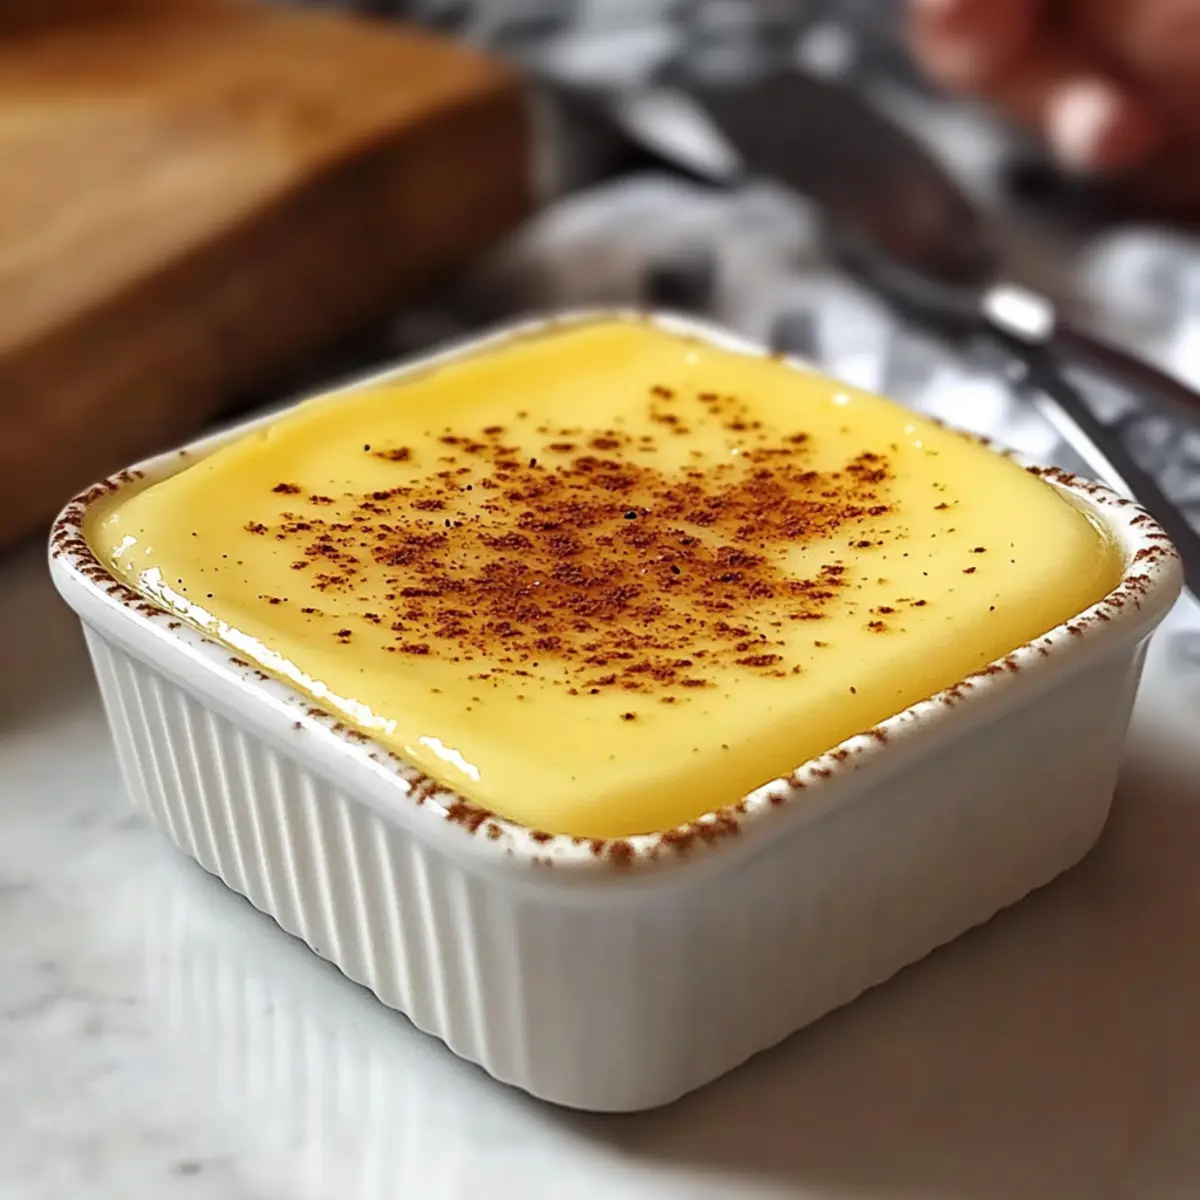
As I whisked the eggs for my latest culinary adventure, the rich aroma of sweet dairy warmed the kitchen, transporting me to moments of childhood bliss. Today, I’m sharing my fail-proof egg custard recipe—an easy and dreamy dessert that’s as comforting as a hug from a loved one. This creamy delight is perfect for any occasion, whether you’re hosting friends or treating yourself after a long day. With minimal effort required, you can whip up a luscious custard that feels gourmet yet simple. Plus, it can easily be made dairy-free with a few easy swaps, making it a versatile favorite for everyone. Are you ready to indulge in a silky, smooth experience perfectly complemented by a sprinkle of nutmeg? Let’s dive into this enchanting recipe together!
Why Is This Custard So Special?
Comforting, this easy fail-proof egg custard is like a warm embrace in dessert form. Versatile options allow you to easily switch to almond or coconut milk for a delightful dairy-free treat. Effortless preparation means even novice cooks can impress their guests with silky goodness! Rich flavors come from simple ingredients like sugar and vanilla, ensuring every bite is pure bliss. Perfect for any occasion, this custard can also be served alone or with a dollop of whipped cream for that extra touch. If you love homemade desserts, you might also enjoy Pecan Cream Pie or try a savory version like Cottage Cheese Flatbread.
Fail-Proof Egg Custard Ingredients
• Perfectly simple yet indulgent!
For the Custard
- Eggs – Fresh large eggs are vital for richness; you may substitute with a commercial egg replacer if vegan.
- Milk – Whole milk adds creaminess; try almond or coconut milk for a delicious dairy-free version.
- Sugar – Granulated sugar provides sweetness; consider using brown sugar for a deeper flavor.
- Vanilla Extract – Pure vanilla extract enhances the classic taste; vanilla essence can replace it but will offer less richness.
- Salt – A pinch of salt amplifies flavor without being noticeable.
Optional Toppings
- Nutmeg – A sprinkle of nutmeg on top adds a warm, aromatic finish to your custard.
- Whipped Cream – Serve with a dollop of whipped cream for an extra silky treat; it pairs wonderfully with the custard’s sweetness.
This easy and creamy fail-proof egg custard recipe lets you create a dessert that’s sure to impress!
Step‑by‑Step Instructions for Fail-Proof Egg Custard Recipe
Step 1: Preheat the Oven
Begin by preheating your oven to 325°F (165°C). This will ensure that your custard cooks evenly and sets to that perfect silky-smooth texture. While the oven heats, gather your ingredients and mixing bowl for easy access during the process.
Step 2: Whisk the Eggs
In a medium mixing bowl, gently whisk the fresh large eggs until they are just combined and slightly frothy, about 30 seconds. This step is crucial for achieving a light and airy custard. Set the bowl aside as you prepare the next component of your fail-proof egg custard.
Step 3: Warm the Milk
Over medium heat, pour the whole milk into a saucepan, warming it until small bubbles begin to form along the edges—be careful not to let it come to a boil. This gentle heating will help the milk blend smoothly with the eggs without cooking them prematurely. Turn off the heat and let the warmth infuse the milk with a cozy aroma.
Step 4: Combine Milk and Eggs
Carefully and gradually pour the warm milk into the whisked eggs while continuously whisking. This tempering technique prevents the eggs from scrambling and ensures a creamy custard base. Continue whisking until the mixture is smoothly blended together, creating a uniform consistency that feels luxurious in your hands.
Step 5: Add Sugar and Flavor
Stir in the granulated sugar, pure vanilla extract, and a pinch of salt until the sugar dissolves completely. You’ll know it’s ready when the mixture is smooth and slightly thickened, with sweet, fragrant notes of vanilla dancing in the air. This is where the magic of flavor begins to enrich your fail-proof egg custard.
Step 6: Strain the Mixture
To ensure a velvety smooth texture, strain the custard mixture through a fine sieve into a clean bowl. This step removes any lumps and guarantees that your egg custard will be as silky as can be, free from any unwanted bits. The alluring fragrance wafting up will excite your senses as you prepare for the next stage.
Step 7: Pour into Ramekins
Evenly divide the custard mixture among your ramekins, filling each one about ¾ full. Take a moment to appreciate the rich, golden color and creamy consistency as you pour, knowing that these little vessels will soon transform into delightful treats. Set them aside as you create a water bath.
Step 8: Create a Water Bath
In a deep baking dish, carefully place the filled ramekins and add hot water until it reaches halfway up the sides. This water bath is essential for even cooking, preventing the custard from cracking. It helps maintain a gentle cooking environment—and gives your fail-proof egg custard that perfectly creamy texture.
Step 9: Bake the Custard
Place the baking dish in your preheated oven and bake for 35-40 minutes. Keep an eye on the custards, watching for them to set but remain slightly jiggly in the center. This visual cue ensures they’ll firm up perfectly as they cool, creating a custard that’s wonderfully rich without being overly firm.
Step 10: Cool and Chill
Once baked, remove the ramekins from the oven and allow them to cool to room temperature. After cooling, transfer them to the refrigerator and chill for at least 2 hours. This chilling step enhances the flavors and sets the texture beautifully, allowing you to relish every creamy bite of your fail-proof egg custard.
Step 11: Serve with Garnish
Before serving, consider adding a sprinkle of nutmeg or a dollop of whipped cream on top for an extra touch. This final flourish elevates your dessert, making it not only beautiful but also incredibly delicious. Enjoy the delightful results of your hard work with this comforting treat!
Fail-Proof Egg Custard Recipe Variations
Looking to add your own twist to this classic custard? Here are some delightful variations to spark your creativity!
- Dairy-Free: Use almond, coconut, or soy milk instead of whole milk for a creamy, dairy-free delight. You’ll enjoy the same silky texture with a nuanced flavor twist!
- Brown Sugar: Swap out granulated sugar for brown sugar to create a richer, deeper sweetness. This change enhances the flavor profile, making every bite a bit more indulgent.
- Flavored Custard: Infuse your milk with almond extract, citrus zests, or a splash of caramel before mixing with eggs for a stunning personalized touch. The aromatic notes will elevate your dessert to new heights!
- Chocolate Twist: Melt dark or milk chocolate into the warm milk before combining with the eggs to create an irresistible chocolate custard. Perfect for chocolate lovers!
- Nutty Flavor: Stir in a tablespoon of toasted almond or hazelnut meal to give your custard a delightful crunch and nutty flavor. This adds interest and texture to each spoonful.
- Citrus Zing: Add zest from oranges or lemons to the milk for a refreshing citrus twist that brings brightness to the dish! This will awaken your palate with every creamy bite.
- Hearty Addition: If you want to turn this dessert into a breakfast treat, consider adding a dollop of Greek yogurt on top. The tartness contrasts beautifully with the sweetness of the custard.
- Spiced Delight: Sprinkle a touch of cinnamon or cardamom into the mixture before baking for a warm spice that enhances the dessert’s comfort factor. Each spoonful will feel like a cozy hug!
Feel free to explore these variations and make this fail-proof egg custard your new favorite dessert. It pairs beautifully with a garnish of whipped cream, just like Pecan Cream Pie and offers a unique touch, much like Stracotto Savory New. Enjoy your culinary adventure!
Storage Tips for Fail-Proof Egg Custard
- Fridge: Store leftover egg custard in an airtight container for up to 3 days. Make sure it’s well covered to prevent it from absorbing other fridge odors.
- Freezer: While it’s best enjoyed freshly made, you can freeze egg custard for up to 2 months. Thaw in the fridge overnight and gently whisk before serving.
- Reheating: For a warm treat, reheat custard in the microwave on low power. Heat in short intervals, stirring frequently, until warmed through. Enjoy the silky texture once again!
- Serving Tips: Enjoy cold straight from the fridge, or let it sit at room temperature for a few minutes before serving for a softer texture. This fail-proof egg custard recipe is delightful either way!
What to Serve with Easy and Creamy Fail-Proof Egg Custard
This luscious dessert not only satisfies your sweet cravings but also pairs beautifully with complimentary flavors and textures for a complete meal experience.
-
Fresh Berries: The tartness of strawberries or raspberries contrasts wonderfully with the creamy custard, adding a burst of freshness to each bite.
-
Crisp Cookies: Bite-sized biscotti or buttery shortbread cookies make delightful companions, providing a satisfying crunch that enhances the smooth texture of the custard.
-
Chocolate Sauce: Drizzle rich chocolate sauce over the custard for an indulgent upgrade. The combination of creamy and chocolatey is a match made in dessert heaven.
-
Coconut Whipped Cream: Light and airy, this dairy-free alternative complements the custard’s richness beautifully while adding a delicate coconut flavor that’s simply irresistible.
-
Caramel Drizzle: A warm caramel sauce brings a luscious sweetness and an inviting aroma, turning a simple dish into an elegant dessert worthy of any occasion.
-
Herbal Tea: A soothing cup of chamomile or peppermint tea serves as a perfect palate cleanser, its warmth balancing out the dessert’s sweetness while enhancing the overall experience.
-
Pecan Pie: Serve slices of pecan pie alongside the egg custard for a comforting, homestyle dessert spread that brings joy to your dining table.
-
Spiced Chai Latte: Sip on a warm spiced chai latte, its fragrant spices harmonizing with the custard’s smooth, creamy goodness for a cozy finish to your meal.
With these delightful pairings, your fail-proof egg custard will shine even brighter on your dessert table!
Expert Tips for Fail-Proof Egg Custard
Temperature Matters: Maintain a gentle heat while warming the milk; boiling can lead to scrambled eggs instead of a creamy fail-proof egg custard.
Whisk Wisely: Always whisk continuously when combining warm milk with eggs to achieve a smooth, creamy consistency without lumps.
Perfect Jiggly Center: Take care to remove the custard from the oven when it’s still slightly jiggly in the center; it will continue to firm up as it cools.
Strain for Smoothness: Don’t skip the straining step; it guarantees a velvety texture, ensuring your egg custard is silky-smooth and devoid of unwanted bits.
Customize Flavors: Infuse the milk with different extracts or zests to create unique varieties—vanilla, almond, or lemon can elevate your fail-proof egg custard recipe to new heights!
Make Ahead Options
These fail-proof egg custards are perfect for meal prep enthusiasts! You can easily prepare the custard mixture up to 24 hours in advance by following all the steps up to pouring it into ramekins. Simply cover the mixture tightly with plastic wrap and refrigerate it; this will keep it fresh and prevent any browning. Alternatively, you can bake the custards and store them in the refrigerator for up to 3 days. To maintain texture, allow them to cool completely before covering with plastic wrap and chilling. When you’re ready to serve, just sprinkle with nutmeg or top with whipped cream, and enjoy your creamy, delicious homemade dessert!
Fail-Proof Egg Custard Recipe FAQs
What type of eggs are best for this custard?
Absolutely, fresh large eggs are vital for ensuring a rich flavor and creamy texture in your fail-proof egg custard. If you’re vegan or allergic, you can use a commercial egg replacer, but keep in mind that the texture may differ slightly, leading to a less creamy consistency.
How should I store leftover egg custard?
Once your delicious egg custard is prepared, store any leftovers in an airtight container in the refrigerator for up to 3 days. It’s essential to keep it well covered to prevent it from absorbing any odors from the fridge. You can enjoy it cold right from the fridge or let it sit at room temperature for a little while before serving to soften the texture slightly.
Can I freeze egg custard?
Yes, you can freeze your fail-proof egg custard, although it’s best enjoyed freshly made. To do so, place the custard in an airtight container or freezer-safe bag, and store it in the freezer for up to 2 months. When you’re ready to enjoy it, thaw the custard overnight in the refrigerator, and gently whisk it before serving to restore a bit of its creamy consistency. Remember to consume it after thawing for the best flavor!
What should I do if my custard is grainy?
Oh no! If your custard turns grainy, it may be due to overcooking or not whisking adequately when combining the warm milk and eggs. If this happens, don’t worry! Try blending the mixture with an immersion blender for a smoother texture. If it’s already set, it can be served with a dollop of whipped cream to mask any texture issues. Always keep an eye on the baking time and aim for that slightly jiggly center; it will firm up as it cools.
Is this custard suitable for those with dietary restrictions?
Very much so! This fail-proof egg custard recipe can easily be made dairy-free. Simply substitute the whole milk with almond, coconut, or soy milk for a delightful alternative. Be sure to choose your milk carefully, as each will impart a slightly different flavor. Plus, it’s a great way to accommodate guests who may have dietary preferences or restrictions!
Fail-Proof Egg Custard Recipe for Silky-Smooth Bliss
Ingredients
Equipment
Method
- Preheat the oven to 325°F (165°C). Gather your ingredients and mixing bowl.
- In a medium mixing bowl, whisk the fresh large eggs until just combined and slightly frothy, about 30 seconds.
- Warm the milk in a saucepan over medium heat until small bubbles form along the edges, but do not boil.
- Gradually pour the warm milk into the whisked eggs while continuously whisking to prevent scrambling.
- Stir in the granulated sugar, vanilla extract, and salt until the sugar dissolves.
- Strain the custard mixture through a fine sieve into a clean bowl to ensure a smooth texture.
- Pour the custard mixture evenly into ramekins about ¾ full.
- Place ramekins in a deep baking dish and add hot water until it reaches halfway up the sides.
- Bake for 35-40 minutes until set but still slightly jiggly in the center.
- Allow to cool to room temperature, then refrigerate for at least 2 hours before serving.
- Before serving, sprinkle with nutmeg or add a dollop of whipped cream.
Leave a Reply