
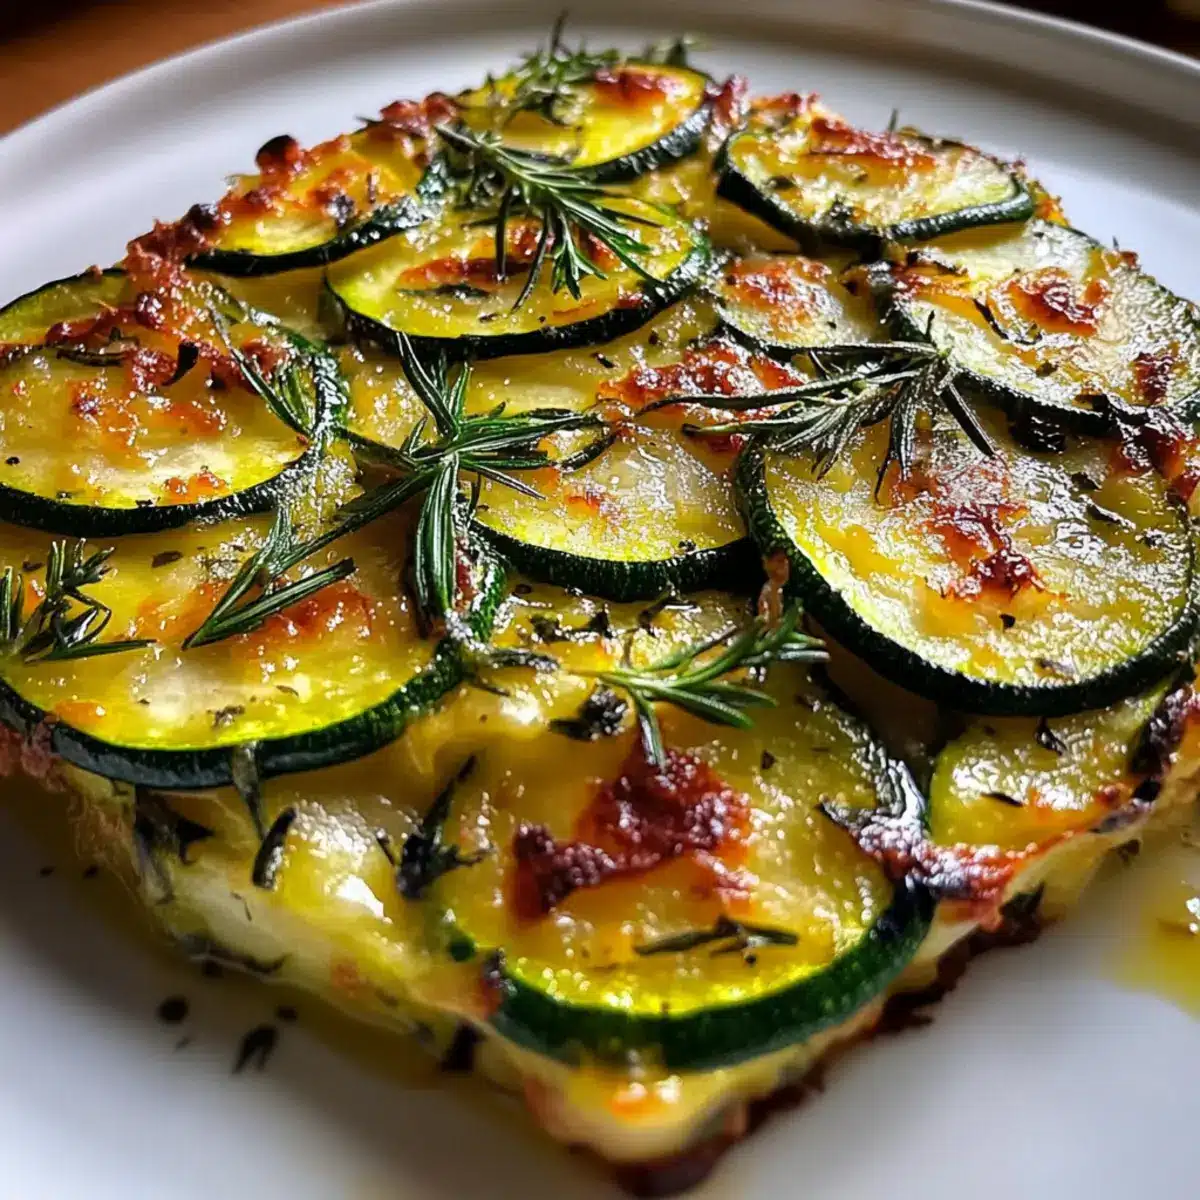
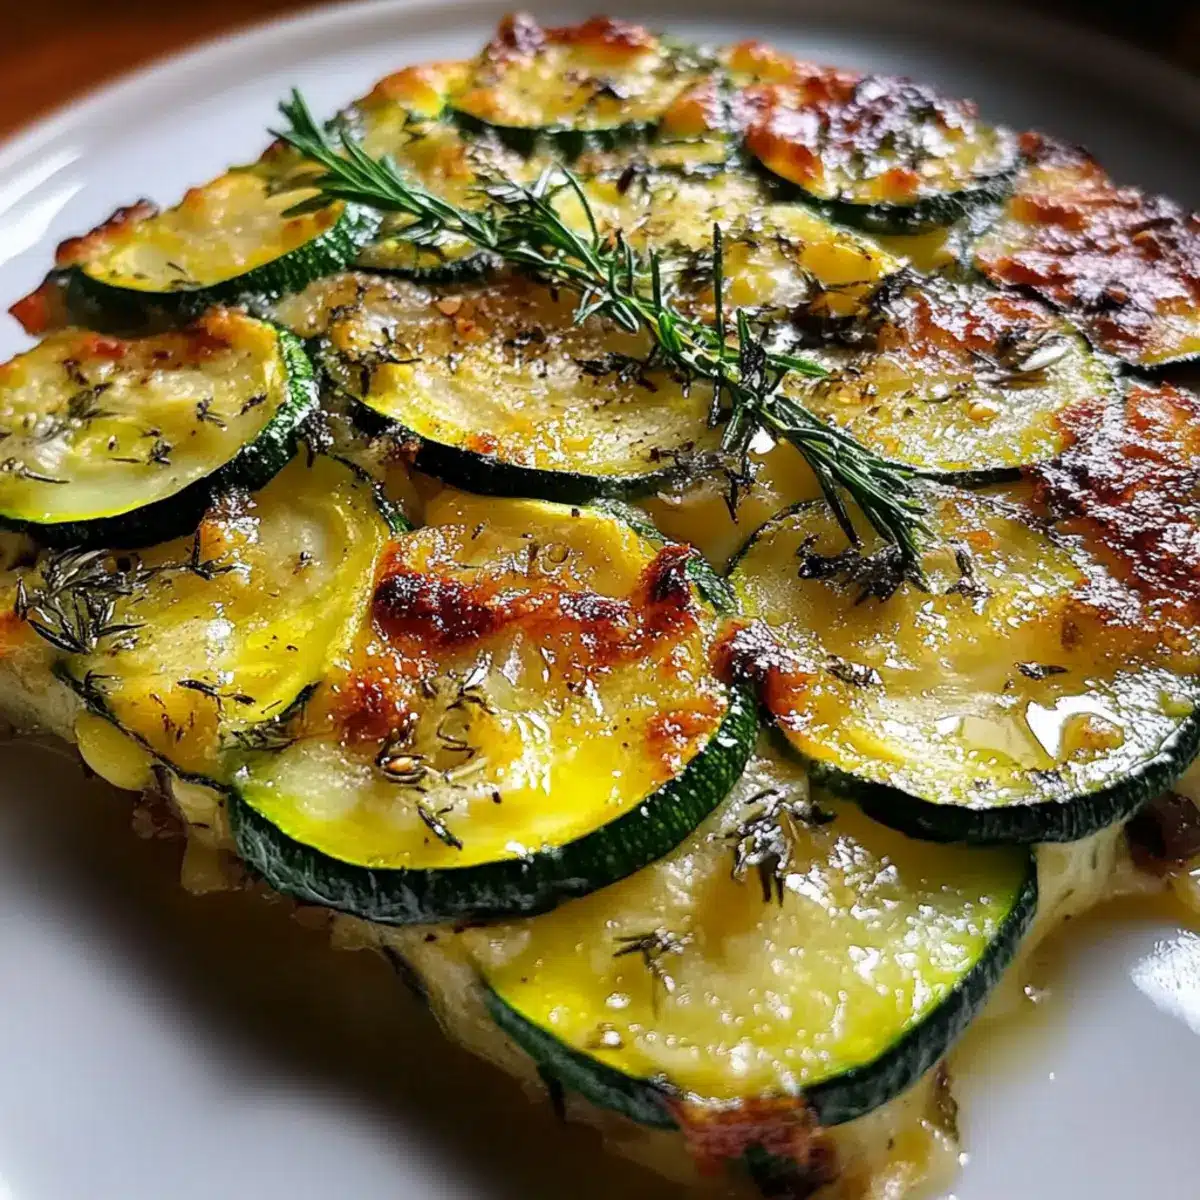
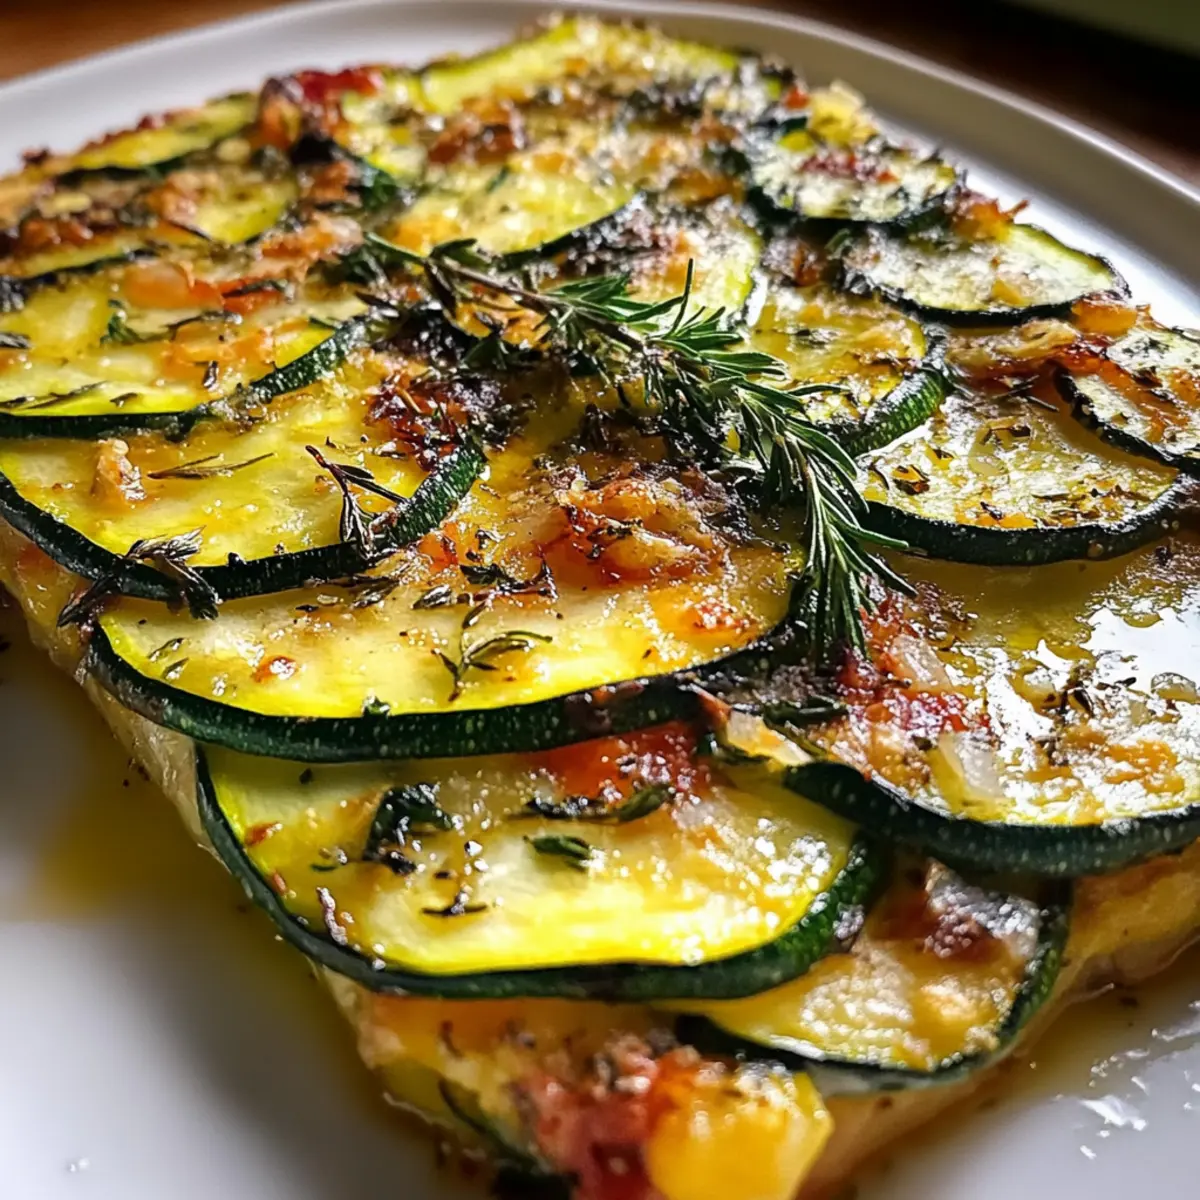
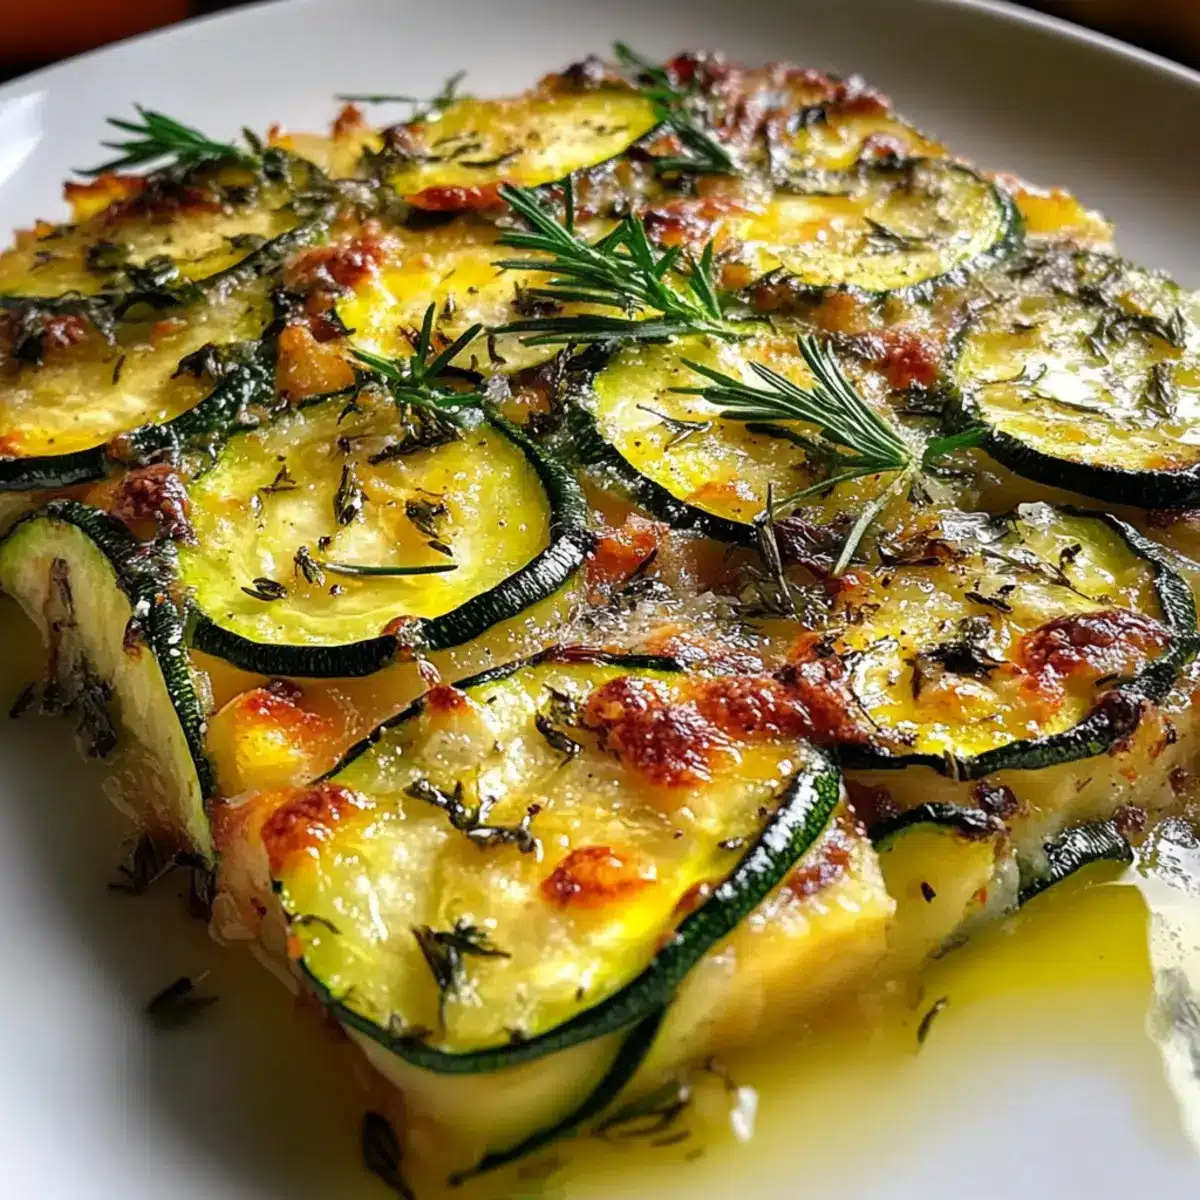
The aroma of warm, golden-brown goodness fills the kitchen as the Italian Zucchini Scarpaccia bakes to perfection. This delightful dish, with its crispy crust enveloping tender zucchini ribbons, is an invitation to savor the rustic charm of Tuscan cooking. Not only is it an easy appetizer that impresses guests, but it’s also a wonderfully versatile vegetarian option that can steal the show at any meal. The earthy sweetness of fresh zucchini pairs beautifully with nutty Parmesan and fragrant thyme, making every bite a comfort that reminds you of family gatherings and shared laughter. Are you ready to transform your zucchini into a dish that dazzles? Let’s dive into this scrumptious recipe!
Why is Italian Zucchini Scarpaccia special?
Simplicity, This easy appetizer requires just a handful of ingredients and minimal prep, perfect for chefs of all skill levels!
Versatility, Feel free to swap zucchini for bell peppers or mushrooms, ensuring that no two bakes are ever the same.
Rich, comforting flavor, With nutty Parmesan and aromatic thyme, this dish offers a savory experience that delights the senses.
Gather around, Serving this warm creates a cozy atmosphere, making it an instant hit during gatherings or family dinners.
Meal prep friendly, Make ahead and store for quick, satisfying lunches or dinners throughout the week—your taste buds will thank you!
Add a delightful side salad or a creamy yogurt dip for a complete meal and enjoy every last crumb!
Italian Zucchini Scarpaccia Ingredients
Experience the magic of home-cooked goodness with this simple yet scrumptious recipe!
For the Batter
- Zucchini – Adds moisture and tender texture; yellow squash is a wonderful alternative.
- All-purpose flour – Provides structure; consider gluten-free flour mix for a similar consistency.
- Cornmeal – Brings texture and a hint of corn flavor; substitute with polenta for a unique twist.
- Baking powder – Ensures the batter rises nicely; always check for freshness to achieve the best results.
- Salt – Boosts all flavors beautifully; it’s essential to avoid a flat taste.
- Black pepper – Adds warmth and depth; feel free to adjust to your spice preference.
For the Binding and Flavor
- Eggs – Bind all ingredients together and enrich the batter; use flax eggs for a vegan option.
- Whole milk – Hydrates and adds richness; almond milk works well for a dairy-free version.
- Olive oil – Contributes moisture and flavor; coconut oil can be swapped for a different profile.
- Parmesan cheese – Offers umami kick and a crispy finish; Pecorino Romano is a great substitute for a sharper taste.
- Fresh thyme – Brings a delightful woodsy aroma; dried thyme can be used at a ratio of one-third of the fresh amount.
Optional Elements
- Pine nuts (optional) – Provide a buttery crunch; feel free to replace with walnuts or omit entirely.
- Garlic – Enhances savory depth; adjust the amount to suit your taste.
- Olive oil for drizzling – Helps achieve a golden, brown crust while boosting flavor.
Now you’re ready to gather your ingredients and create an unforgettable dish of Italian Zucchini Scarpaccia! Enjoy the savory bake that will enchant everyone at your table.
Step‑by‑Step Instructions for Italian Zucchini Scarpaccia
Step 1: Preheat and Prepare
Begin by preheating your oven to 375°F (190°C). While the oven warms, generously grease a 9×13-inch baking pan with olive oil or line it with parchment paper for easy removal later. This crucial step ensures your Italian Zucchini Scarpaccia has a beautiful, golden crust and won’t stick during baking.
Step 2: Mix Dry Ingredients
In a large mixing bowl, sift together the all-purpose flour, cornmeal, baking powder, salt, and black pepper. Whisk these dry ingredients until evenly combined, creating a fluffy mixture that will provide the batter structure. This blend is essential for achieving that tender, savory texture in your scarpaccia.
Step 3: Combine Wet Ingredients
In a separate bowl, crack the eggs and beat them until they’re light and frothy. Gradually add the whole milk and olive oil, whisking until everything blends into a smooth mixture. This step ensures the Italian Zucchini Scarpaccia has the richness and moisture needed to complement the dry ingredients perfectly.
Step 4: Combine Wet and Dry Mixtures
Carefully pour the wet mixture into the bowl containing the dry ingredients. Gently stir the two mixtures together until just combined—be cautious not to overmix, as this will affect the texture. Aim for a slightly lumpy batter, which is key to a tender scarpaccia.
Step 5: Fold in Vegetables and Flavor
Gently fold in the sliced zucchini, minced garlic, grated Parmesan cheese, and fresh thyme into the batter until evenly distributed. If you’re using pine nuts, now’s the time to add them as well. This step adds not only flavor but also the delightful texture you’ll enjoy in your finished dish.
Step 6: Pour and Spread the Batter
Pour the prepared batter into your greased baking pan, using a spatula to spread it out evenly. Drizzle a little extra olive oil over the top to encourage browning while baking. This ensures the crust becomes delectably crispy, enhancing the overall flavor profile of your Italian Zucchini Scarpaccia.
Step 7: Bake to Perfection
Place the pan in the preheated oven and bake for 35-40 minutes. You’ll know it’s ready when the edges turn golden brown and a slight firmness forms on top. Your kitchen will fill with an irresistible aroma that promises a delicious savory treat just moments away.
Step 8: Cool and Slice
Once baked, remove the scarpaccia from the oven and let it cool in the pan for about 10 minutes. This cooling period makes it easier to slice into squares without falling apart. Afterward, cut into portions and serve warm, relishing the delightful flavor combination of the Italian Zucchini Scarpaccia.
What to Serve With Italian Zucchini Scarpaccia?
Create the perfect dining experience by balancing flavors and textures alongside your tempting scarpaccia.
-
Fresh Garden Salad: A vibrant mix of greens with cherry tomatoes and a light vinaigrette provides crisp freshness that complements the savory bake.
-
Garlic Bread: The buttery, crispy crunch of garlic bread pairs beautifully with the tender zucchini, adding a delightful texture to each bite.
-
Herbed Yogurt Dip: A cool and creamy yogurt dip infused with fresh herbs offers a refreshing contrast to the warm, earthy flavors of the scarpaccia.
-
Roasted Vegetables: A medley of oven-roasted seasonal vegetables will enhance the meal, bringing out natural sweetness that marries well with the dish.
-
Chilled White Wine: A crisp Pinot Grigio or Sauvignon Blanc not only cleanses the palate but also elevates the overall dining experience with its bright acidity.
-
Sautéed Greens: Incorporating garlicky sautéed spinach or kale introduces a rich depth while ensuring a healthy complement to the zesty flavors.
-
Mini Caprese Skewers: These bite-sized delights of mozzarella, basil, and tomato bring an Italian flair sure to impress alongside your scarpaccia.
-
Lemon Sorbet: For a light and refreshing dessert, consider lemon sorbet to cleanse the palate while echoing the dish’s vibrant flavors.
Each pairing can transform your meal into a celebratory feast that will have your loved ones raving about Italian Zucchini Scarpaccia for days to come!
Make Ahead Options
Italian Zucchini Scarpaccia is perfect for meal prep enthusiasts! You can prepare the batter up to 24 hours in advance, storing it in the refrigerator. Simply mix your dry ingredients (flour, cornmeal, baking powder, salt, and black pepper) and wet ingredients (eggs, milk, and olive oil) separately, then combine just before baking to maintain that tender texture. If you prefer, slice the zucchini and mix it in with the other ingredients, refrigerating everything overnight for maximum convenience. When you’re ready to enjoy, pour the batter into the prepared pan, drizzle with olive oil, and bake it for 35-40 minutes until the edges are golden. This way, you’ll have a warm, comforting Italian Zucchini Scarpaccia ready to serve with minimal effort!
Italian Zucchini Scarpaccia Variations
Feel free to unleash your creativity and make this dish your own with delightful twists and substitutions!
-
Vegetable Swap: Replace zucchini with diced bell peppers or mushrooms for a different flavor profile. These alternatives create a colorful and hearty version.
-
Cheese Alternatives: Try feta or mozzarella instead of Parmesan for a creamier, tangy flavor. Each cheese brings a unique taste that can transform the bake.
-
Herb Infusion: Enhance the scarpaccia by adding fresh rosemary or oregano. These aromatic herbs will elevate the dish with their fragrant notes.
-
Gluten-Free: Substitute all-purpose flour with a gluten-free flour blend to make this dish accessible for those with dietary restrictions. Just remember to check the blend’s leavening properties.
-
Nuts for Crunch: Integrate walnuts or omit pine nuts entirely if you prefer a nut-free version. Either choice will maintain texture while keeping it nut-friendly.
-
Spicy Kick: For heat lovers, add a pinch of red pepper flakes to the batter. This little touch can elevate your dish and surprise your palate with a delightful kick.
-
Extra Veggies: Toss in grated carrots or spinach for added nutrition and color. The sweetness of the carrots and the greens’ heartiness are great complements to the zucchini.
-
Herbed Yogurt Dip: Serve with a refreshing herbed yogurt dip made with dill and cucumber. This cool contrast offsets the warmth of the scarpaccia, making every bite delightful.
Explore these variations and let your Italian Zucchini Scarpaccia shine with new flavors! Whether enjoying an intimate family dinner or hosting friends, you’ll discover the joy of customizable comfort food.
Storage Tips for Italian Zucchini Scarpaccia
- Fridge: Store leftovers in an airtight container for up to 3-4 days. Ensure the container is sealed to maintain flavor and freshness.
- Freezer: For longer storage, freeze portions wrapped tightly in plastic wrap or aluminum foil for up to 2-3 months. Thaw in the fridge overnight before reheating.
- Reheating: To reheat, place in a preheated oven at 350°F (175°C) for about 15-20 minutes until warm and crispy. This will revive the delightful crunch of the Italian Zucchini Scarpaccia.
- Room Temperature: If serving at a gathering, Italian Zucchini Scarpaccia can sit out for up to 2 hours, but it’s best enjoyed warm for optimal flavor.
Expert Tips for Italian Zucchini Scarpaccia
-
Don’t Overmix: Gently fold the batter to maintain tenderness; overmixing can result in a chewy texture, detracting from the delight of your Italian Zucchini Scarpaccia.
-
Use Fresh Ingredients: Fresh zucchini and herbs bring out the best flavors; wilted or stale ingredients can lead to disappointing results.
-
Remove Excess Moisture: If using larger zucchinis, salt the slices to draw out moisture before adding to the batter, which helps avoid a soggy scarpaccia.
-
Adjust Baking Time: Keep an eye on your bake; ovens vary, and you want the edges golden and firm, ensuring a perfect balance of crispy and soft inside.
-
Experiment with Cheese: Don’t hesitate to swap Parmesan with Pecorino Romano or mozzarella for a personalized touch that enhances the savory experience of this dish.
Italian Zucchini Scarpaccia Recipe FAQs
What type of zucchini is best for Italian Zucchini Scarpaccia?
Absolutely! For the best results, choose firm, shiny zucchini that feels heavy for its size. Look for ones without dark spots or blemishes. Young zucchini has a sweeter flavor and tender texture, which is ideal for this recipe. If you want to change things up, yellow squash is a delightful substitute!
How long can I store leftovers of Italian Zucchini Scarpaccia?
Very good question! Store any leftovers in an airtight container in the fridge for up to 3-4 days. This will help maintain the dish’s flavors and moisture. If you need to keep it longer, freezing is a great option too.
Can I freeze Italian Zucchini Scarpaccia? If so, how?
Absolutely! Freezing is a fantastic way to extend the life of your scarpaccia. First, let it cool completely after baking. Then, wrap individual pieces tightly in plastic wrap or aluminum foil, followed by placing them in a freezer-safe bag for protection against freezer burn. It can be frozen for up to 2-3 months. When you’re ready to enjoy it, simply thaw it in the fridge overnight before reheating.
What if my scarpaccia turns out too soggy?
If you find your scarpaccia is soggy, it may be due to excess moisture from the zucchini. To avoid this next time, slice the zucchini and sprinkle it with salt. Let it sit for about 15 minutes, then pat it dry with a towel to remove the extra water before adding it to the batter. This tip can really help achieve that perfect balance!
Are there any dietary restrictions to consider with this recipe?
Yes! If you or your guests have dietary concerns, there are several easy modifications you can make. For a gluten-free version, substitute the all-purpose flour with a gluten-free flour mix. Additionally, if you’re cooking for vegans, replace the eggs with flax eggs (1 tablespoon of ground flaxseed mixed with 2.5 tablespoons of water per egg, left to thicken for about 5 minutes). Just remember, these substitutions might change the texture slightly, but they’ll still make a delicious scarpaccia!
Can pets enjoy Italian Zucchini Scarpaccia?
While zucchini is safe for pets to eat in moderation, be cautious with ingredients such as garlic and cheese, which can be harmful. It’s best to keep leftovers away from pets unless you’re sure they will only be consuming pet-friendly ingredients. Always check with your veterinarian if in doubt!
Savor Italian Zucchini Scarpaccia: A Cozy Veggie Bake
Ingredients
Equipment
Method
- Preheat your oven to 375°F (190°C) and grease a 9x13-inch baking pan with olive oil.
- In a large bowl, sift together the flour, cornmeal, baking powder, salt, and black pepper.
- In another bowl, beat the eggs until light and frothy, then mix in the milk and olive oil until smooth.
- Combine the wet mixture with the dry ingredients and stir until just combined, avoiding overmixing.
- Fold in the sliced zucchini, minced garlic, Parmesan cheese, thyme, and pine nuts if using.
- Pour the batter into the greased pan, spreading it out evenly and drizzling with olive oil.
- Bake for 35-40 minutes until the edges are golden brown and the top is firm.
- Let it cool for about 10 minutes, then slice and serve warm.
Leave a Reply