
As I stood in my kitchen, the inviting aroma of simmering chicken filled the air, instantly transporting me to a cozy Japanese eatery. Oyakodon, or the Japanese Chicken & Egg Rice Bowl, is everything you need in a meal: quick, comforting and unbelievably simple. With just one pan and 15 minutes, you can whip up a deliciously satisfying dish that makes hectic weeknight dinners a breeze. Imagine tender chicken enveloped in a sweet-savory broth, all topped with a fluffy egg crown resting on a bed of warm rice; it’s a wholesome meal that pleases both the palate and the soul. Plus, you can easily customize your Oyakodon by adding vibrant vegetables or umami-rich mushrooms for an extra nutritious twist. Ready to make a cozy Japanese classic that’s sure to impress? Let’s dive into this delightful recipe!
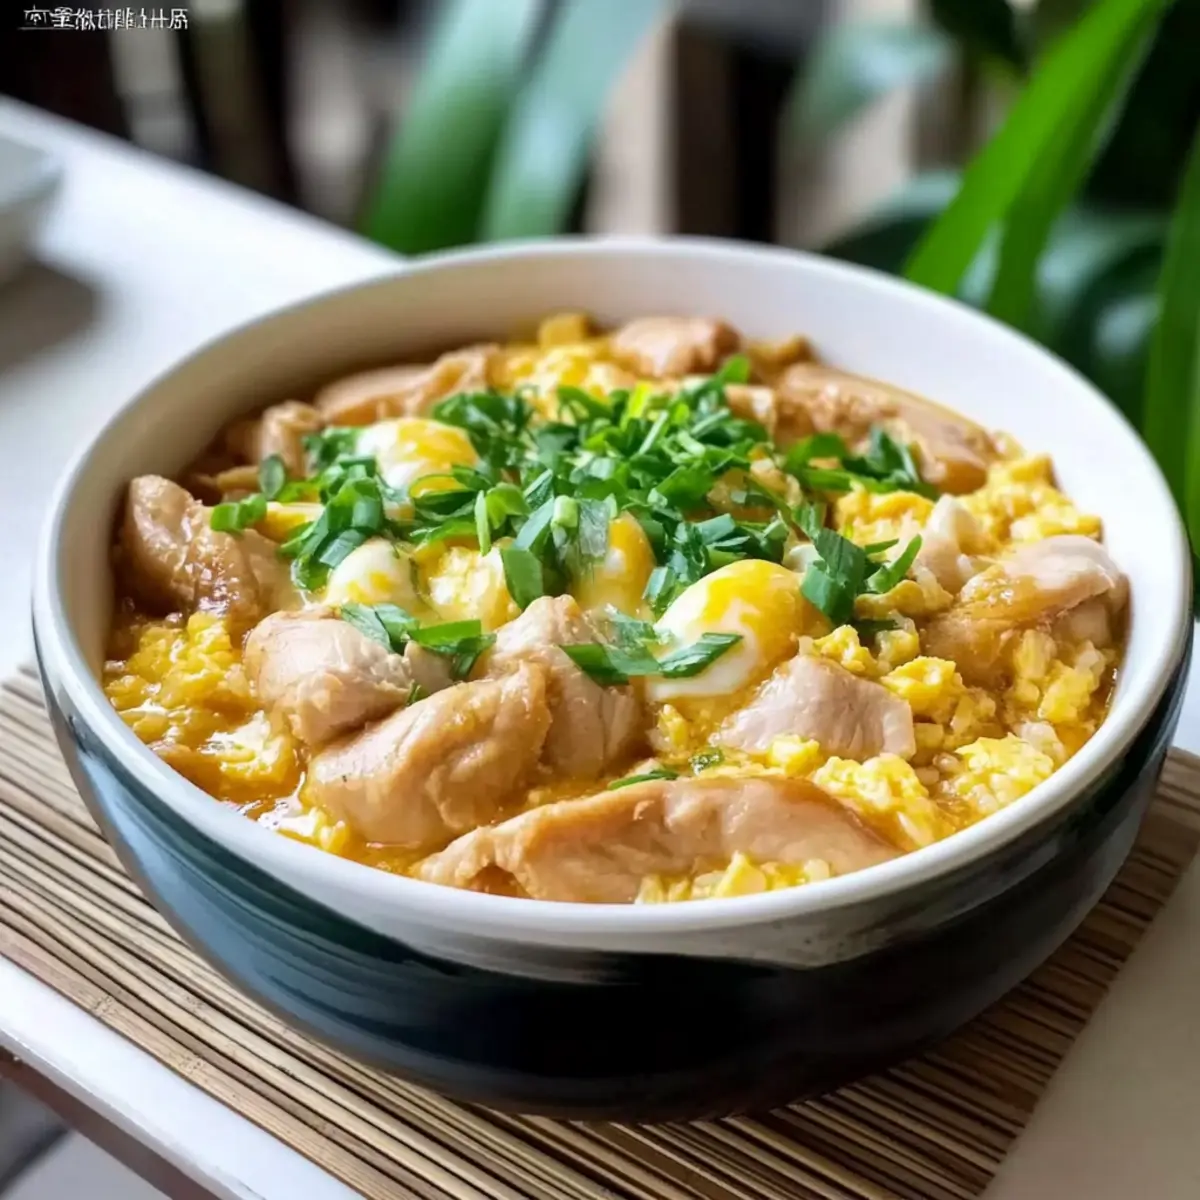
Why is Oyakodon so special?
Quick and Easy: This formula for Japanese Chicken & Egg Rice Bowl is a lifesaver for busy nights. You’ll have dinner ready in just 15 minutes!
One-Pan Wonder: Cooking in one pan means less time cleaning and more time savoring each comforting bite.
Flavor Explosion: The blend of tender chicken, savory broth, and fluffy eggs brings an incredible depth of flavor.
Versatile Delight: You can easily personalize it by adding your favorite greens or mushrooms, making it a dish everyone can enjoy.
Crowd-Pleaser: Whether you’re feeding a family or hosting friends, this meal will impress and satisfy even the pickiest of eaters. Check out my recipes for Gnocchi Chicken Pot or Chicken Pot Pie for more comforting options!
Japanese Chicken & Egg Rice Bowl Ingredients
Get ready to savor every bite of this delectable dish!
For the Chicken and Broth
- Chicken Thighs – Provides lean protein and rich flavor; feel free to substitute with chicken breast for a lighter option.
- Onion – Adds sweetness and depth; yellow or white onions work best for this recipe.
- Chicken Stock/Dashi – Forms the base of the savory broth; you can use vegetable broth for a vegetarian version.
- Soy Sauce – Delivers umami and saltiness; tamari is a great gluten-free alternative.
- Mirin – Contributes a subtle sweetness; replace it with a dash of sugar and extra water if you don’t have any on hand.
- Sugar – Balances the savory flavors; honey or maple syrup can serve as natural alternatives.
For the Eggs and Rice
- Large Eggs – Essential for binding and adding creaminess; ensure they’re lightly beaten for the perfect texture.
- Cooked Rice – Serves as a hearty base; jasmine or sushi rice are highly recommended for an authentic taste.
Optional Garnishes
- Green Onion – Adds a pop of color and freshness; slice it thinly for the best texture.
- Sesame Oil – Provides a nutty aroma; a drizzle just before serving enhances the richness.
- Nori – Seaweed garnish that adds a delightful umami flavor; cut into strips for easy use.
- Togarashi – A Japanese spice blend; a sprinkle will give your dish an exciting kick!
With these ingredients on hand, you’re just moments away from creating your mouthwatering Japanese Chicken & Egg Rice Bowl!
Step‑by‑Step Instructions for Japanese Chicken & Egg Rice Bowl
Step 1: Prep Chicken
Begin by marinating the sliced chicken thighs in a bowl with soy sauce, mirin, and sugar. Ensure each piece is well-coated before letting it sit for 5–10 minutes to absorb those delicious flavors. This step is crucial for setting the foundation of your Japanese Chicken & Egg Rice Bowl’s rich taste.
Step 2: Prepare Egg Mixture
While the chicken marinates, crack the large eggs into a separate bowl and beat them gently until combined. Set this aside as your egg mixture will become the fluffy topping that crowns the dish. Aim for a light, airy texture—this will create a lovely softness when cooked.
Step 3: Cook Onions
In a medium-sized non-stick pan, heat the chicken stock or dashi over medium heat until it begins to simmer. Add the sliced onions to the pan and cook for about 1 minute or until they soften and become aromatic. This will add a layer of sweetness to your Japanese Chicken & Egg Rice Bowl, enhancing the overall flavor.
Step 4: Cook Chicken
Next, add the marinated chicken to the pan with the simmering broth and onions. Cook for 1–2 minutes on each side, or until the chicken is nearly cooked through and appears tender. Keep an eye on it, as the goal is to ensure the chicken is juicy and infused with the broth’s flavors, perfect for your bowl.
Step 5: Add Eggs
Pour the prepared egg mixture evenly over the chicken and onions in the pan. Reduce the heat to low and cover, allowing the eggs to cook gently. In about 2 minutes, you’ll notice the edges will begin to set while the center remains slightly runny—this texture is perfect for the comforting richness of your Japanese Chicken & Egg Rice Bowl.
Step 6: Serve
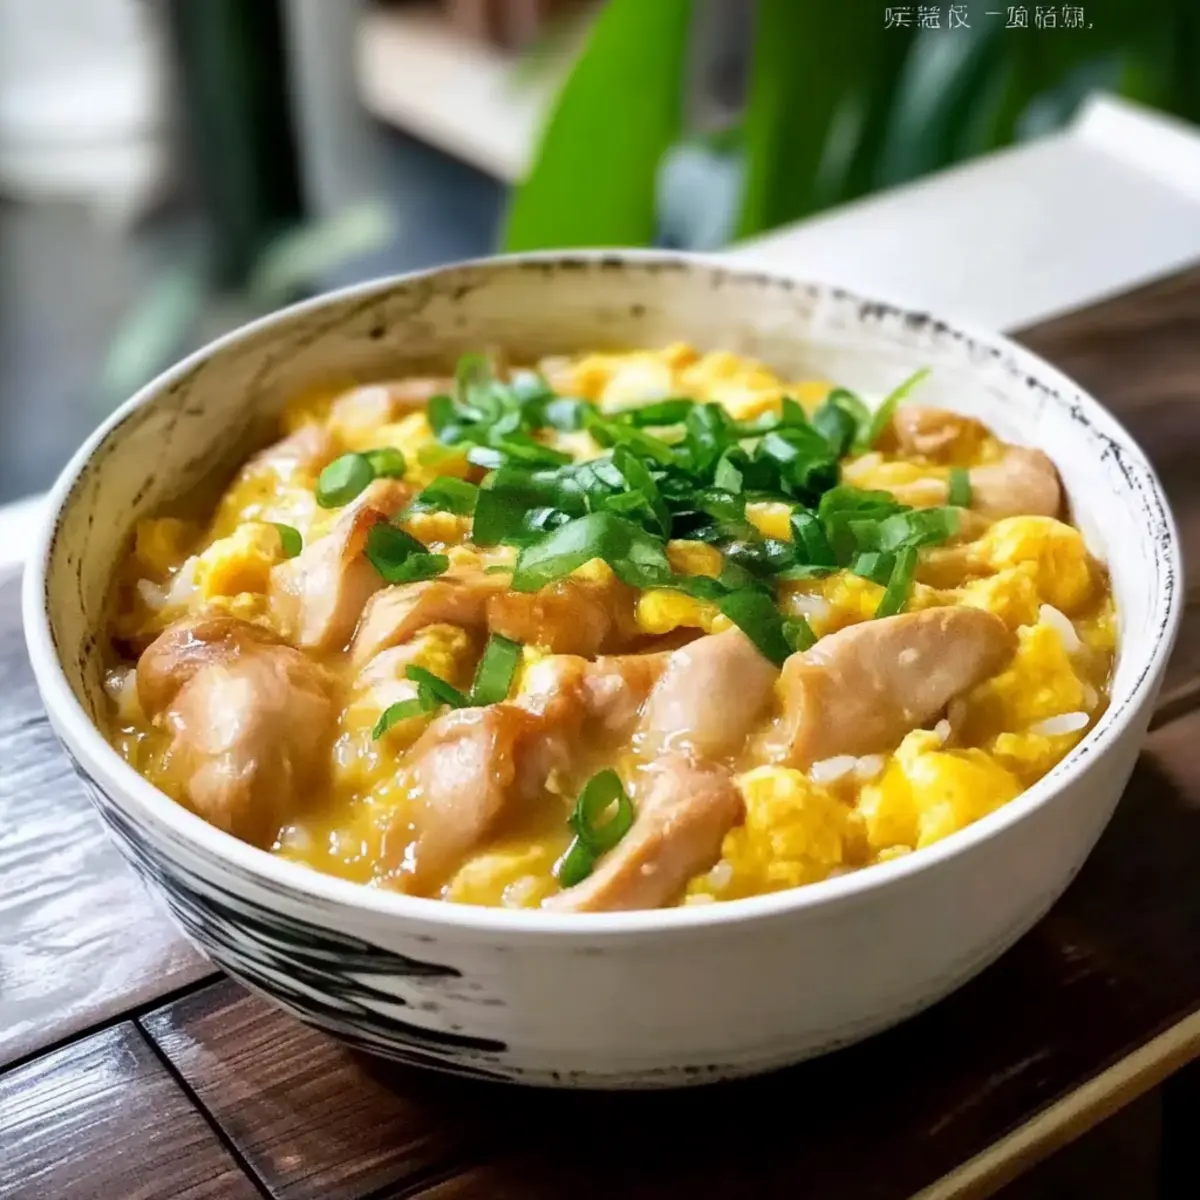
Once the egg mixture is cooked to your liking, carefully spoon the chicken and egg mixture over a bowl of warm cooked rice. Be generous with the toppings! Optionally, you can garnish with sliced green onions, a drizzle of sesame oil, or a sprinkle of togarashi for added flavor. Enjoy your homemade Japanese Chicken & Egg Rice Bowl while it’s still warm!
Make Ahead Options
These Japanese Chicken & Egg Rice Bowls are perfect for meal prep enthusiasts! You can marinate the chicken thighs in soy sauce, mirin, and sugar up to 24 hours in advance, allowing the flavors to deeply infuse. Additionally, you can slice the onions and store them in the refrigerator for up to 3 days. When you’re ready to enjoy your Oyakodon, simply simmer the chicken and onions as instructed, then add the beaten eggs for that signature fluffy texture. To keep the dish just as delicious, ensure your cooked rice is cooled completely before refrigerating, which helps maintain its texture. Quick and convenient, this prep will have you savoring a comforting meal in no time!
How to Store and Freeze Japanese Chicken & Egg Rice Bowl
- Room Temperature: Enjoy your Japanese Chicken & Egg Rice Bowl fresh; do not leave it out for more than 2 hours to avoid spoilage.
- Fridge: Store any leftovers in an airtight container in the refrigerator for up to 2 days. Reheat gently on the stove with a splash of water to retain moisture and flavor.
- Freezer: For longer storage, freeze individual portions in airtight containers for up to 1 month. Thaw in the fridge overnight before reheating.
- Reheating: To enjoy it again, warm the frozen or refrigerated rice bowl in a skillet over low heat, adding a bit of water if needed to keep the eggs creamy.
Japanese Chicken & Egg Rice Bowl Variations
Feel free to let your creativity shine as you customize this comforting dish to suit your taste!
-
Vegetable Boost: Add sautéed bell peppers or bok choy for a burst of color and nutrition.
Incorporating vegetables not only enriches the flavor but also adds a delightful crunch that complements the soft eggs beautifully. -
Mushroom Medley: Toss in shiitake or enoki mushrooms to deepen the umami experience.
Mushrooms soak up the savory broth, enhancing the overall depth of flavor and making each bite a delicious surprise. -
Dairy-Free Delight: Replace eggs with silken tofu for a plant-based option.
This swap keeps the dish creamy while adding a nutritious twist, perfect for those seeking a dairy-free meal. -
Spicy Kick: Introduce red pepper flakes or sriracha for a fiery touch.
A little heat can elevate the dish, making it an exciting option for those who love a flavorful punch in their meals. -
Quinoa Alternative: Swap rice for quinoa for a protein-packed twist.
Quinoa not only boosts the nutritional value but brings a nutty flavor that pairs well with the tender chicken. -
Herb Infusion: Toss in fresh cilantro or basil for a fragrant finish.
Herbs brighten each bite and offer a refreshing contrast to the hearty elements of the dish. -
Savory Sauce: Drizzle with hoisin or oyster sauce for an extra layer of sweetness.
These sauces can create a delightful glaze that transforms your bowl into a gourmet experience. -
Citrus Zing: Add a squeeze of lime or lemon juice just before serving for brightness.
This simple addition can enhance the flavors remarkably, leaving you craving more with each mouthful.
These variations not only add pizzazz but also create wonderful opportunities to tailor this dish to your family’s preferences. For more comforting inspiration, don’t forget to explore my recipes for Parmesan Crusted Chicken and Chicken Pillows Parmesan. Enjoy your cooking journey!
What to Serve with Oyakodon
Imagine a nourishing dinner that brings warmth and joy to your family table, perfectly designed to elevate your Oyakodon experience.
-
Crispy Tempura Vegetables: The light and crunchy texture of tempura enhances your meal with a delightful contrast to the soft egg and chicken.
-
Japanese Cucumber Salad: This refreshing side brings a zesty crunch that balances the richness of the chicken and egg bowl. Toss thinly sliced cucumbers in rice vinegar and sesame oil for an aromatic delight.
-
Miso Soup: A bowl of warming miso soup adds a savory depth, perfectly complementing the savory notes of your Japanese Chicken & Egg Rice Bowl. Its umami flavor enhances the overall meal experience.
-
Pickled Daikon: These tangy pickles bring a vibrant crunch and cleanse the palate between each comforting bite of your Oyakodon. Their brightness lifts the dish to another level.
-
Steamed Broccoli with Sesame: Tender, steamed broccoli drizzled with sesame oil adds color and nutrients. The nutty flavor pairs beautifully and adds a healthy punch.
-
Sake or Green Tea: Pair your meal with a glass of chilled sake or a cup of green tea to complete the authentic Japanese dining experience. Both beverages emphasize the dish’s umami and make every bite even more enjoyable.
Expert Tips for Japanese Chicken & Egg Rice Bowl
-
Use Thighs or Breasts: Opt for chicken thighs for richer taste; if you’re looking to lighten the dish, chicken breasts work well too.
-
Avoid Overcooked Eggs: Keep a close eye while cooking the eggs; they should remain soft and creamy for the perfect texture in your Japanese Chicken & Egg Rice Bowl.
-
Perfect Rice Texture: Use slightly less water when cooking rice to absorb the broth better, resulting in a delightful pairing with the dish.
-
Customize It: Feel free to add your favorite vegetables or mushrooms for an extra nutritious twist; just ensure they are cooked until tender beforehand.
-
Quick Serving: Serve immediately for the best experience; if you must store leftovers, reheat on the stove with a splash of water to revive flavors.
-
Taste Adjustments: Don’t hesitate to tweak the soy sauce or sugar levels to match your family’s palate; this dish is all about comfort and personalization!
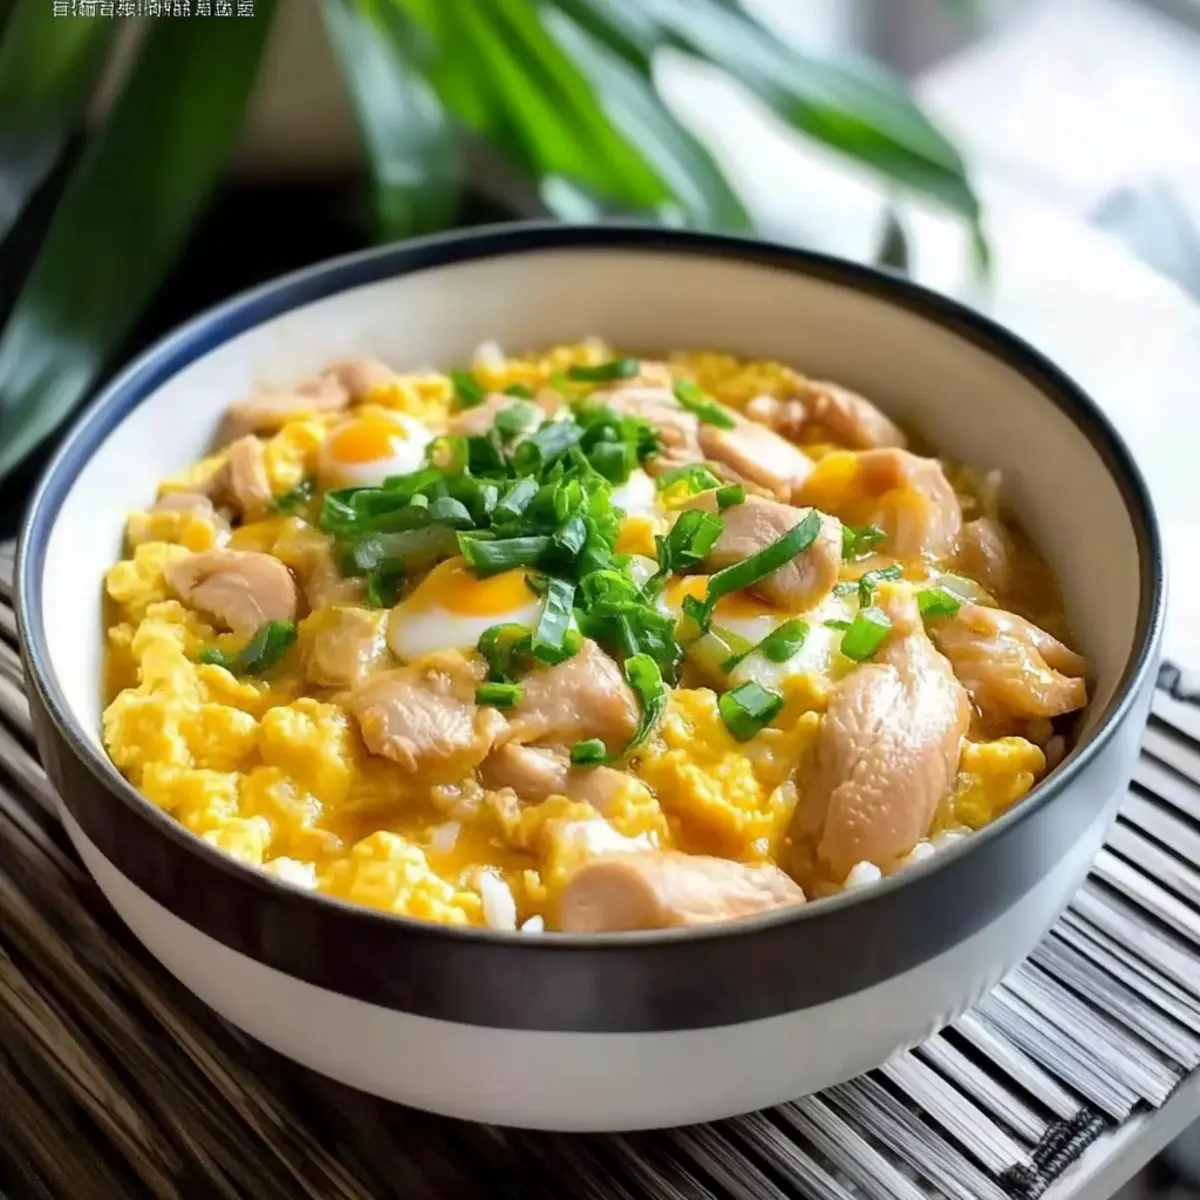
Oyakodon (Japanese Chicken & Egg Rice Bowl) Recipe FAQs
What type of chicken is best for Oyakodon?
Absolutely! Chicken thighs are ideal for this dish as they provide richer flavor and stay juicier. However, if you prefer a lighter option, chicken breasts will also work well.
How should I store leftovers of my Oyakodon?
You can store your Japanese Chicken & Egg Rice Bowl in an airtight container in the refrigerator for up to 2 days. Simply reheat on the stove with a splash of water to rejuvenate the flavors and moisture.
Can I freeze my Oyakodon?
Very much so! To freeze, let the dish cool completely, then portion it into airtight containers for up to 1 month. Thaw in the fridge overnight and reheat gently on the stove, adding a little water to maintain the creaminess of the eggs.
What if I can’t find mirin?
No worries! If mirin isn’t available, you can easily substitute it with a mixture of 1 tablespoon of sugar and 2 tablespoons of water. This combination will give you a similar sweet note needed for the dish.
Are there any dietary considerations I should keep in mind?
Absolutely, depending on your guests. If you have gluten sensitivities, make sure to use tamari instead of regular soy sauce. Additionally, if anyone has egg allergies, you could consider a tofu scramble for a vegan-friendly version.
How can I make my Oyakodon spicier?
If you’re looking for a kick, adding a pinch of chili flakes or some freshly grated ginger to the broth during cooking will certainly do the trick! Adjust according to your spice preference for a delightful culinary adventure.
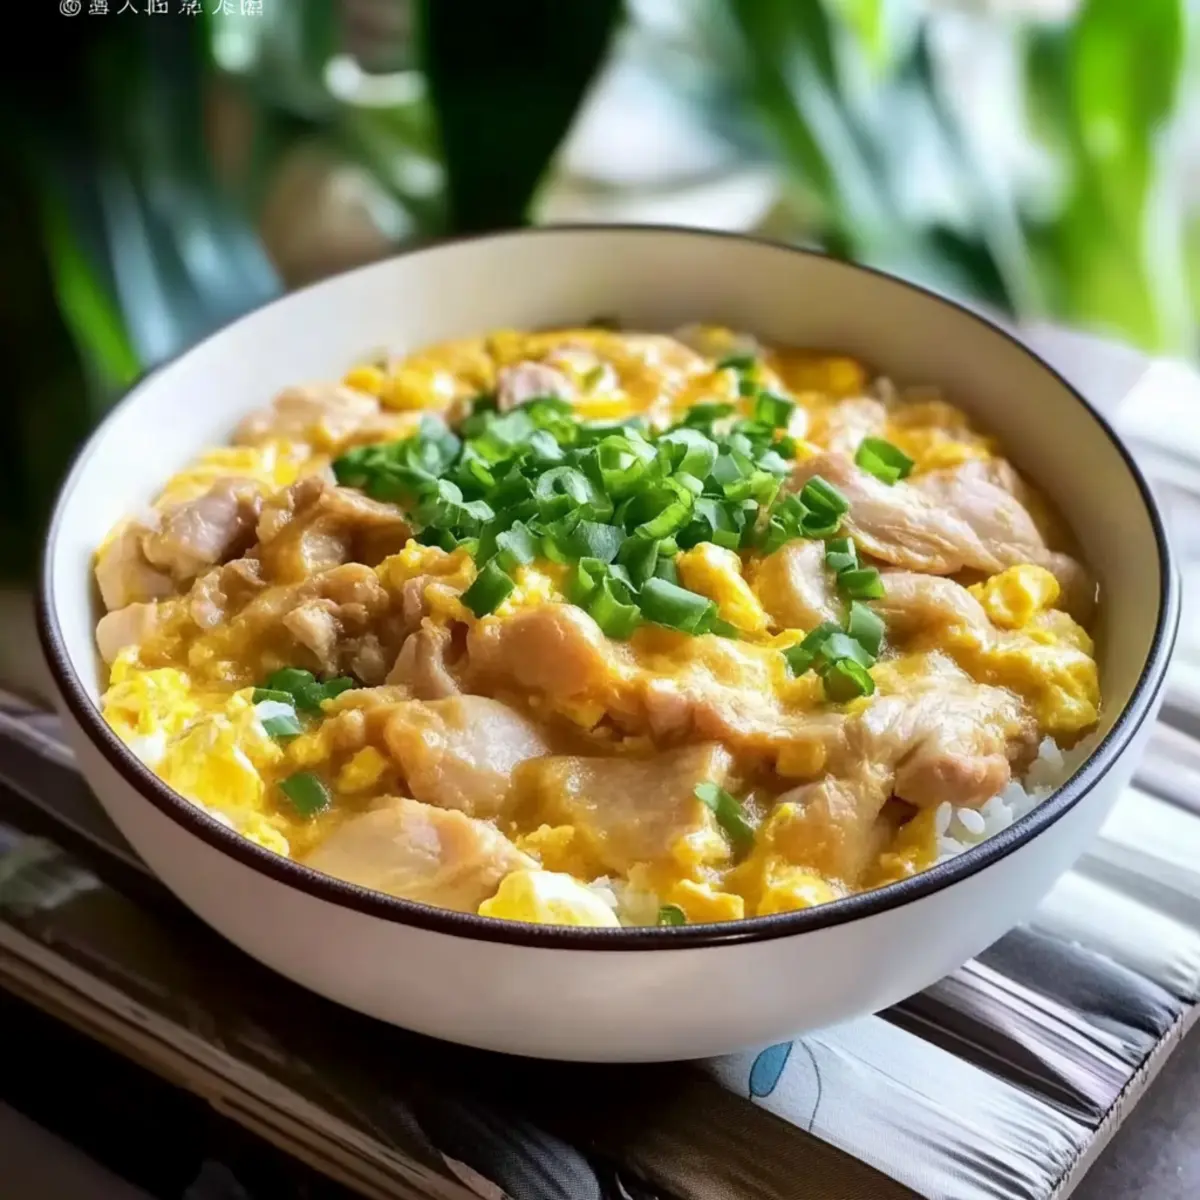
Irresistible Japanese Chicken & Egg Rice Bowl in 15 Minutes
Ingredients
Equipment
Method
- Marinate the sliced chicken thighs in a bowl with soy sauce, mirin, and sugar for 5–10 minutes.
- Beat the large eggs in a separate bowl until combined and set aside.
- Heat chicken stock or dashi in a medium-sized pan over medium heat and cook sliced onions for about 1 minute.
- Add the marinated chicken to the pan and cook for 1–2 minutes on each side until nearly cooked through.
- Pour the egg mixture over the chicken and onions, cover, and let it cook gently on low heat for about 2 minutes.
- Spoon the chicken and egg mixture over warm cooked rice and garnish as desired before serving.
Leave a Reply