
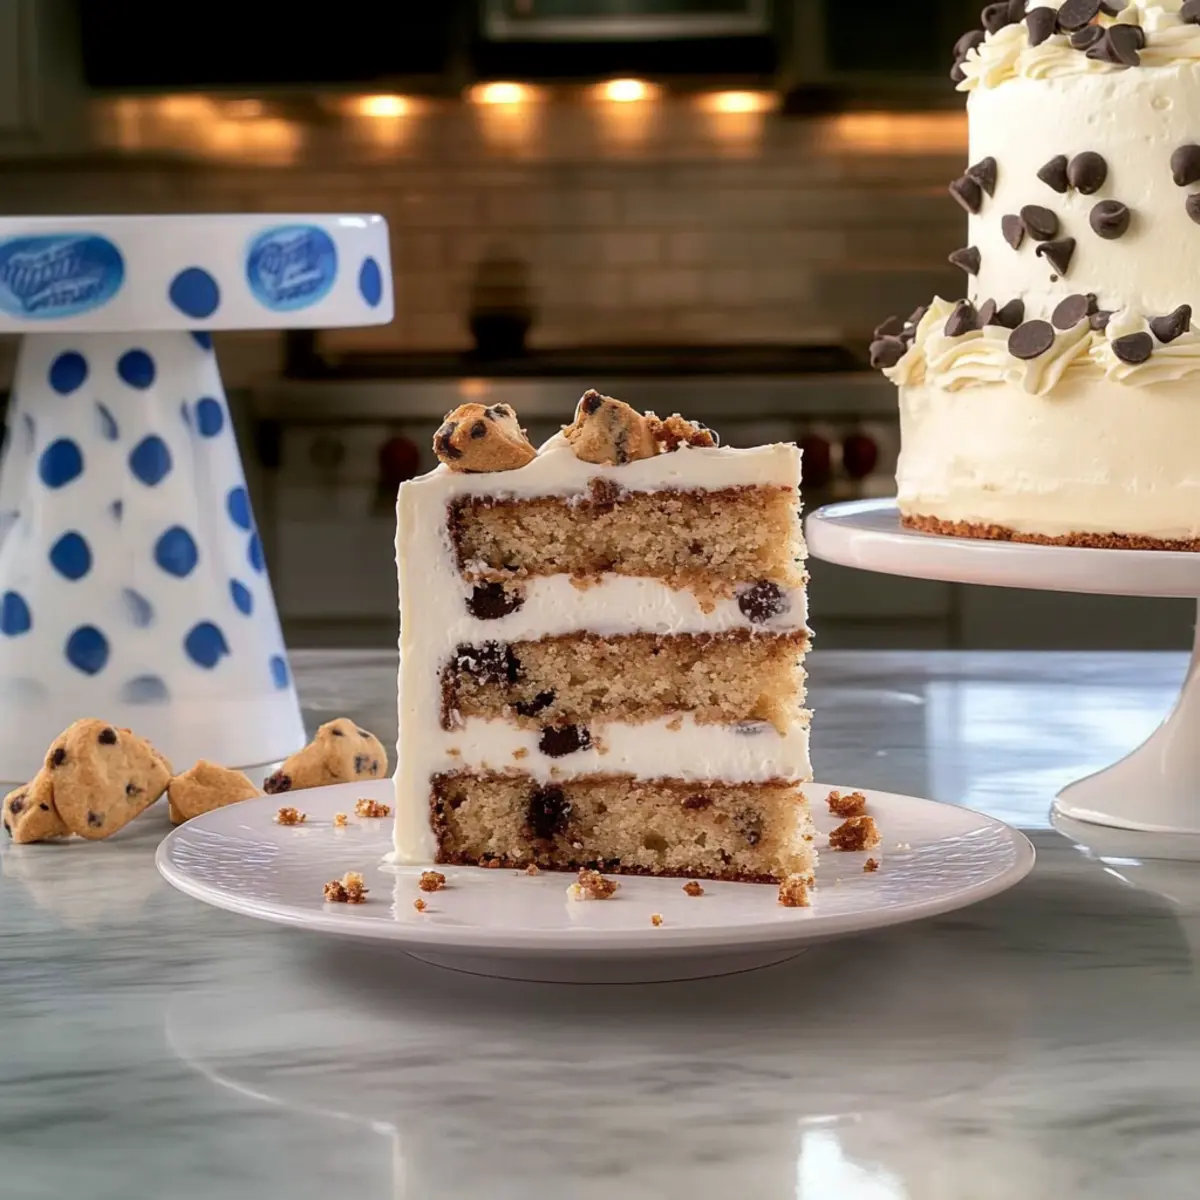
The aroma of freshly baked cookies wafted through the house, igniting memories of childhood afternoons spent engulfed in sweet treats. If you share my love for both cookies and cake, then this Milk & Cookies Cake will quickly become your new favorite dessert. Combining the classic charm of chocolate chip cookies with the fluffy indulgence of cake, this recipe is not just a feast for the eyes but also a delight for the taste buds. Perfect for celebrations or a cozy evening with family, this cake offers easy preparation and a truly crowd-pleasing flavor profile. You won’t be able to resist pairing each slice with a chilly glass of milk. Ready to dive into a dessert that balances nostalgia and sweetness in every bite?
Why is Milk & Cookies Cake a Must-Try?
Irresistible Delight: This Milk & Cookies Cake merges the childhood favorite of chocolate chip cookies with tender cake layers, creating an extraordinary treat that’s perfect for celebrations.
Quick & Easy: With straightforward steps, you can whip up this delightful dessert even on a busy day, making it ideal for spontaneous family gatherings or surprise parties.
Crowd Pleaser: Its delicious combination of flavors and textures ensures there’s something for everyone to enjoy, whether served at a birthday bash or a cozy family dinner.
Versatile Variations: Feel free to get creative! Try incorporating butterscotch chips for a new twist or layer with caramel sauce for an even sweeter experience.
Pair this cake with a scoop of vanilla ice cream or a side of warm milk for an unforgettable dessert moment! If you love more cookie-inspired desserts, check out my recipes for Cranberry Orange Cookies or Caramel Cheesecake Cookies.
Milk & Cookies Cake Ingredients
For the Cake
- Butter – 1 ½ cups (3 sticks), softened; essential for moisture and richness.
- Granulated Sugar – 2 ¼ cups; provides sweetness and structure.
- Eggs – 4 large; binds ingredients and adds moisture; fresh eggs yield the best results.
- Vanilla Extract – 1 Tbsp; enhances flavor; use pure for the best taste.
- All-Purpose Flour – 3 cups; provides the cake’s structure; gluten-free flour can be used as a substitute.
- Cornstarch – ¼ cup; creates a softer texture; can omit if not available.
- Baking Powder – 2 tsp; aids in the cake’s rise.
- Kosher Salt – 1 tsp; enhances flavors; table salt can be used in a pinch.
- Milk – 1 ¼ cups; adds moisture; any kind can be used (dairy or non-dairy).
- Mini Chocolate Chips – 1 cup; adds pockets of chocolate goodness; can substitute with chopped chocolate.
- Chips Ahoy Cookies – 9, crushed; adds texture and fun; can substitute with other cookies.
For the Frosting
- Butter – 2 cups (4 sticks), softened; provides a rich, creamy base.
- Kosher Salt – ½ tsp; balances sweetness in the frosting.
- Sweetened Condensed Milk – 1 (14-oz.) can; makes frosting extra creamy and sweet.
- Powdered Sugar – 2 cups; for sweetness and structure in frosting.
Embrace the nostalgia with this Milk & Cookies Cake—a delightful dessert that unites the best of cookies and cake into one heavenly bite!
Step‑by‑Step Instructions for Milk & Cookies Cake
Step 1: Preheat the Oven
Begin by preheating your oven to 350°F (175°C). While the oven warms, prepare two 9-inch round cake pans by greasing them with butter or non-stick spray. This will help the Milk & Cookies Cake to release easily after baking, ensuring a beautiful presentation once cooled.
Step 2: Cream the Butter and Sugar
In a large mixing bowl, combine 1 ½ cups of softened butter and 2 ¼ cups of granulated sugar. Using an electric mixer, beat these ingredients on medium speed until the mixture is fluffy and pale, about 3-5 minutes. This step is crucial as it incorporates air into the batter, contributing to the light texture of the cake.
Step 3: Add the Eggs and Vanilla
Next, crack in 4 large eggs, adding them one at a time, while continuing to mix on medium speed. After incorporating all the eggs, stir in 1 tablespoon of vanilla extract. Mix until smooth and well combined, allowing the flavors of the Milk & Cookies Cake to start melding together beautifully.
Step 4: Combine Dry Ingredients
In a separate bowl, whisk together 3 cups of all-purpose flour, ¼ cup of cornstarch, 2 teaspoons of baking powder, and 1 teaspoon of kosher salt. This mixture of dry ingredients will provide the necessary structure and rise. Make sure all dry components are evenly distributed for uniform baking.
Step 5: Mix Dry and Wet Ingredients
Gradually add the dry ingredient mixture to your butter-sugar-egg blend, alternating with 1 ¼ cups of milk. Start and finish with the dry ingredients, mixing on low speed. Stop mixing as soon as the batter is just combined to prevent a tough Milk & Cookies Cake.
Step 6: Fold in Chocolate Chips and Cookies
Gently fold in 1 cup of mini chocolate chips and the crushed 9 Chips Ahoy cookies. This is where the cake takes on that delightful cookie-inspired texture and flavor. Make sure these delectable additions are evenly spread throughout the batter for every bite to be a treat.
Step 7: Pour Batter into Pans
Divide the batter evenly between the two prepared cake pans. Use a spatula to smooth the tops, ensuring an even surface. This will help your Milk & Cookies Cake to bake evenly without any domes forming on top, resulting in perfect layers.
Step 8: Bake the Cake
Place the pans in the preheated oven and bake for 25-30 minutes. To check for doneness, insert a toothpick into the center of the cakes; it should come out clean with just a few moist crumbs. Keep an eye on them towards the end to prevent overbaking.
Step 9: Cool the Cakes
Once baked, remove the cakes from the oven, allowing them to cool in the pans for 10 minutes. Then, carefully transfer them to wire racks to cool completely. This step ensures your Milk & Cookies Cake layers are stable and set before the frosting is applied.
Step 10: Prepare the Frosting
While the cakes cool, make the frosting by beating together 2 cups of softened butter, ½ teaspoon of kosher salt, 1 can of sweetened condensed milk, and 2 cups of powdered sugar in a large bowl. Blend until smooth and creamy, achieving a luscious consistency that will perfectly complement your cake.
Step 11: Frost the Cakes
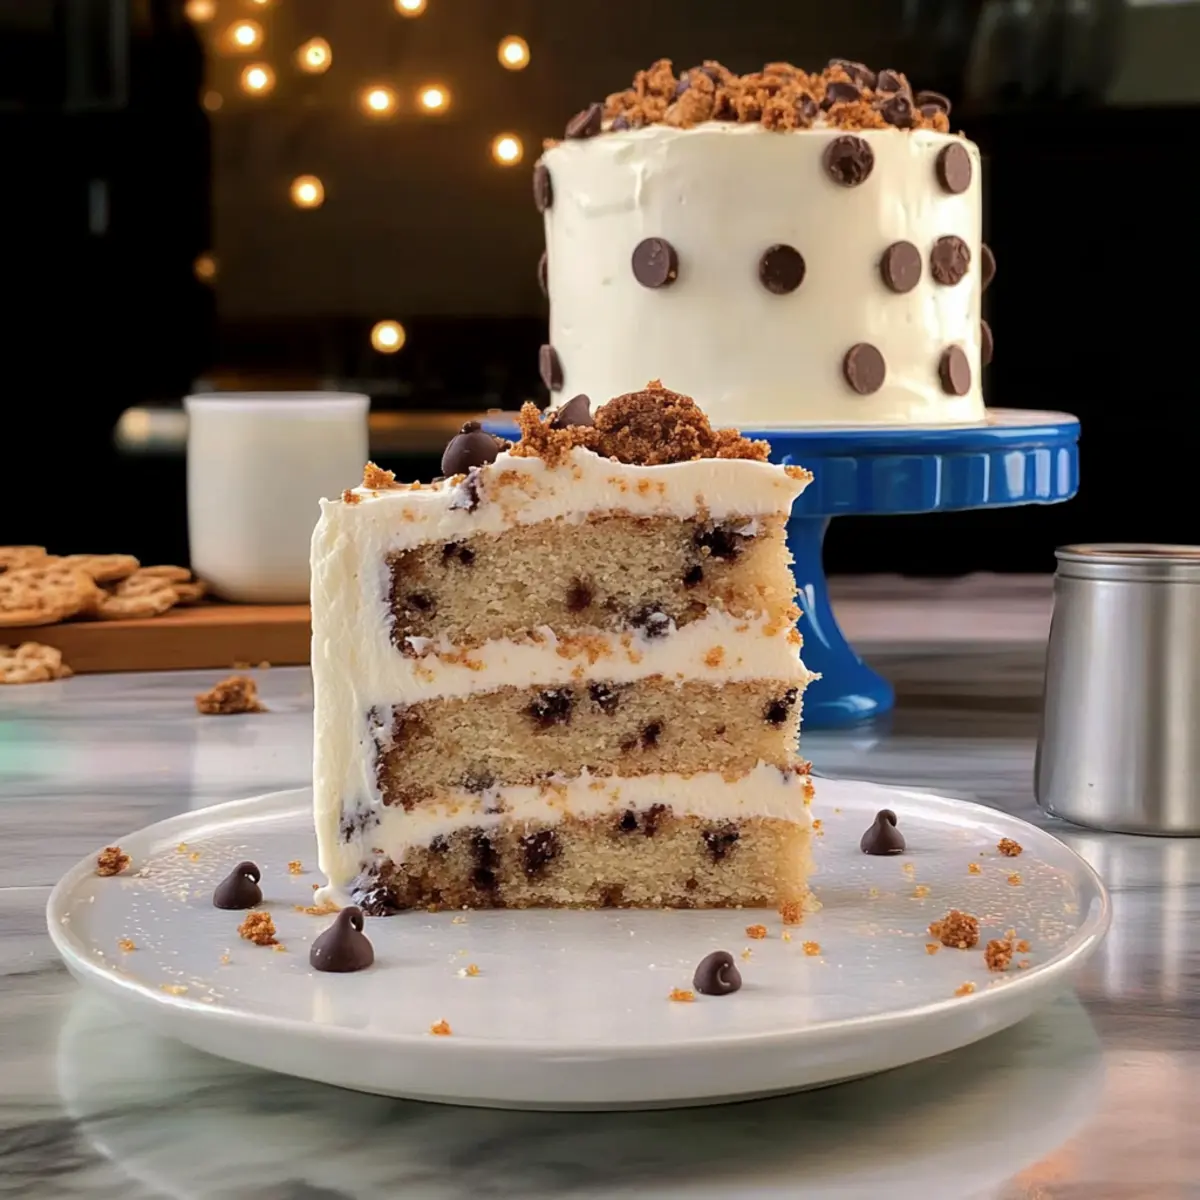
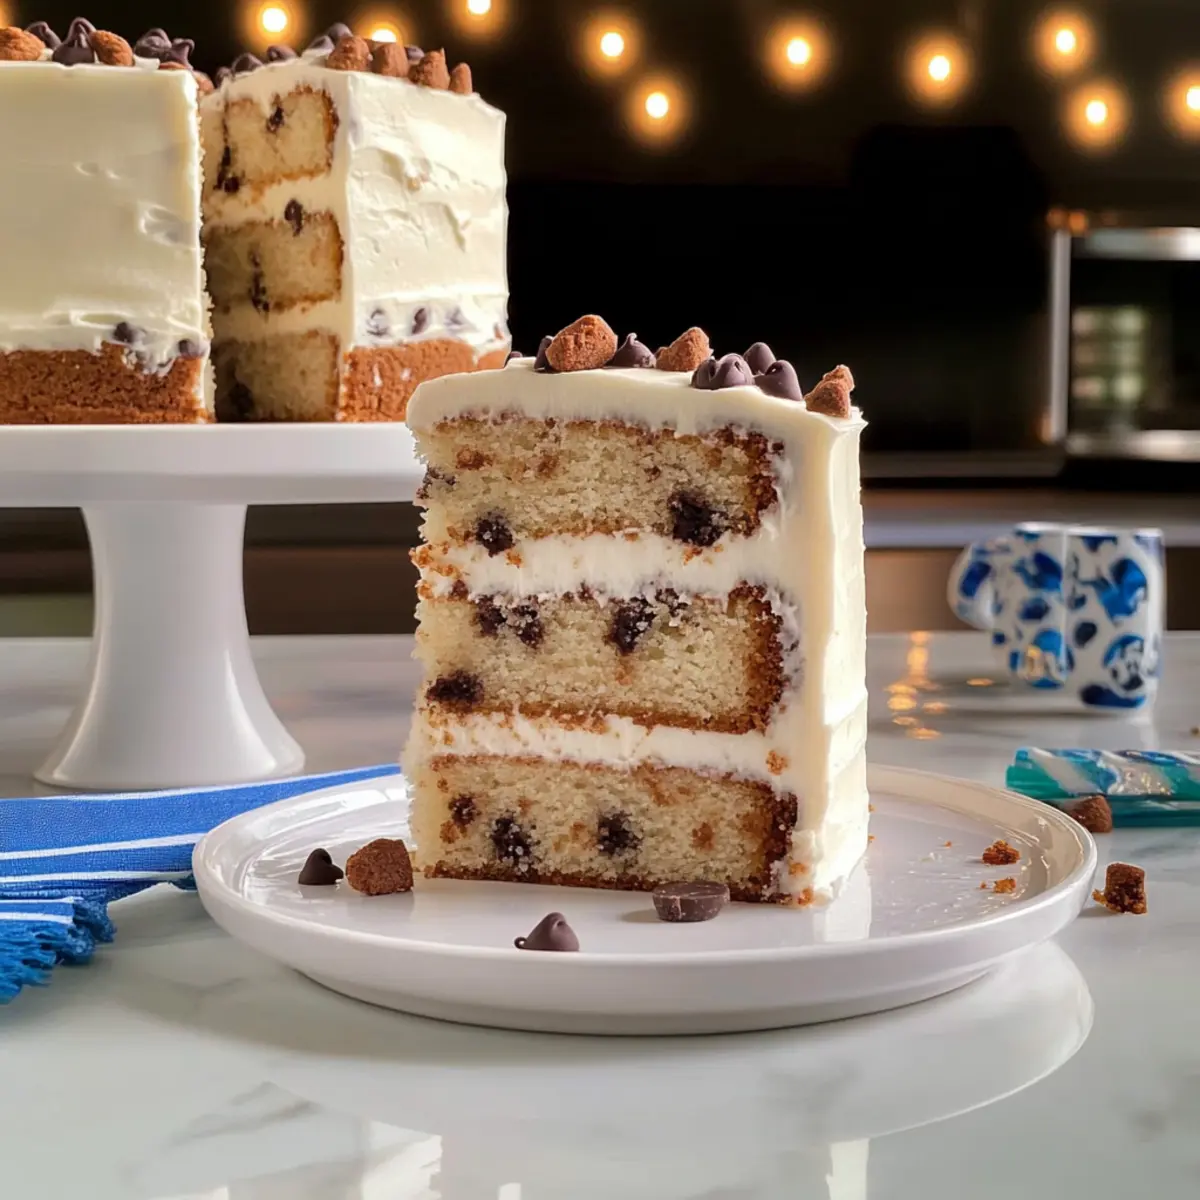
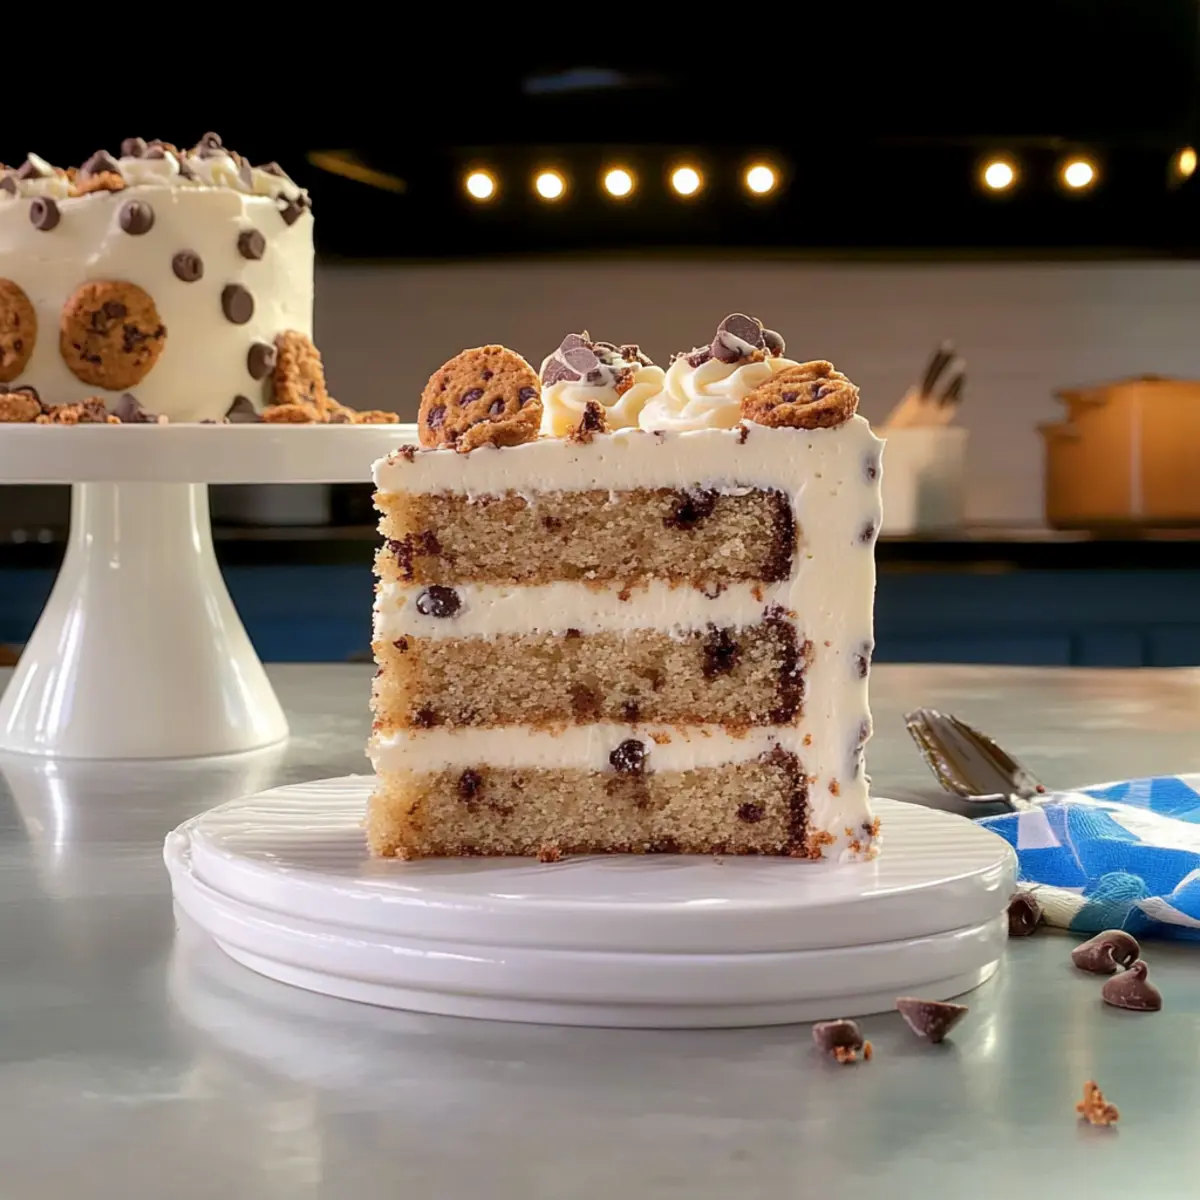
Once cooled, generously frost the top of one cake layer with your creamy frosting, placing the second layer on top and frosting the sides and top. For a fun touch, use any remaining crushed cookie as a decorative garnish on the frosting, enhancing the delightful appearance of your Milk & Cookies Cake.
Expert Tips for Milk & Cookies Cake
- Room Temperature Butter: Ensure your butter is softened and at room temperature for optimal creaming. Cold butter can lead to a denser cake.
- Avoid Overmixing: Be careful not to overmix the batter after adding flour; this will help prevent a tough Milk & Cookies Cake.
- Check for Doneness: Use a toothpick to check for doneness. Underbake slightly for a moist and fluffy texture; a few crumbs should cling to the toothpick.
- Frost When Cool: Make sure your cake layers are completely cool before frosting to avoid a melty mess. This ensures a beautiful, tidy finish.
- Decorate Creatively: Consider adding sprinkles or extra mini chocolate chips on top of the frosting for a fun and festive touch.
These tips will help you create a perfectly delicious Milk & Cookies Cake that’s sure to impress!
Make Ahead Options
Make your busy weeknights a breeze by preparing your Milk & Cookies Cake ahead of time! You can bake the cake layers up to 3 days in advance; simply cool completely and wrap each layer tightly in plastic wrap, then refrigerate to maintain freshness. The frosting can also be made ahead and stored in the fridge for up to 5 days—just give it a quick stir to bring it back to a creamy consistency before frosting your cake. When you’re ready to serve, frost the layers and garnish with crushed cookies for that delightful final touch. With these make-ahead tips, you can enjoy delicious homemade dessert without the last-minute rush!
What to Serve with Milk & Cookies Cake?
Indulging in a slice of rich cake is always a pleasure, but pairing it with the right sides can elevate the experience even more.
-
Cold Milk: A classic pairing, cold milk not only complements the flavors of the cake but also enhances its comforting appeal. Each bite becomes a nostalgic dip into childhood, reminiscent of having cookies after school.
-
Vanilla Ice Cream: The creaminess of a scoop of vanilla ice cream balances the sweetness of the cake beautifully. The melting ice cream creates a lovely contrast to the soft cake, turning each forkful into a dreamy dessert adventure.
-
Fresh Berries: A handful of raspberries or strawberries adds a burst of freshness and a tart contrast to the sugary sweetness. They also provide a beautiful pop of color and a touch of elegance to your dessert presentation.
-
Chocolate Ganache Drizzle: For chocolate lovers, a drizzle of warm chocolate ganache can take your cake to another level. The rich and glossy ganache acts as an indulgent topping that enhances the chocolate chips in the cake.
-
Whipped Cream Topping: Light and fluffy whipped cream can be dolloped on top of each slice for an airy texture that pairs perfectly with the dense cake. Feel free to add a sprinkle of cocoa powder or crushed cookies for extra flair.
-
Caramel Sauce: Drizzling caramel sauce over each slice provides a decadently sweet contrast that amplifies the dessert experience. The rich flavor complements both the cake and the frosting, making it a delightful addition.
-
Coffee or Latte: For adults, serving with a steaming cup of coffee or a milky latte offers a sophisticated touch. The warm beverage helps to balance out the sweetness and adds a cozy vibe, perfect for gathering with friends.
-
Fruit Salad: A light and refreshing fruit salad, using seasonal fruits, can cleanse the palate after indulging in the richness of the cake. This helps create a bright and cheerful end to your meal.
These pairings not only highlight the deliciousness of the Milk & Cookies Cake but also create an unforgettable dessert experience that both friends and family will love.
How to Store and Freeze Milk & Cookies Cake
-
Room Temperature: Keep the cake covered at room temperature for up to 3 days. This helps maintain its soft texture and flavor.
-
Fridge: If you need it to last longer, refrigerate the cake for up to a week. Make sure it’s in an airtight container to prevent it from drying out.
-
Freezer: To freeze, wrap individual slices tightly in plastic wrap and then place in a freezer-safe bag. It can be frozen for up to 3 months. Thaw in the fridge before enjoying!
-
Reheating: If desired, reheat slices in the microwave for about 10-15 seconds. This restores the cake’s lovely warmth and softens the frosting for the ultimate dessert experience.
Milk & Cookies Cake Variations
Customize your Milk & Cookies Cake to elevate the experience and delight your taste buds even more!
-
Dairy-Free: Use almond or coconut milk in the cake and substitute the butter with a dairy-free spread for a creamy, rich flavor.
Blend this with your favorite dairy-free chocolate chips, creating a delightful twist without sacrificing taste. -
Gluten-Free: Swap out all-purpose flour with a gluten-free flour blend to accommodate dietary restrictions without losing texture.
This alternative will hold up beautifully, ensuring everyone can enjoy a slice of this dreamy cake. -
Chocolate Lovers: Replace half of the mini chocolate chips with dark or bittersweet chocolate chunks.
This will intensify the chocolate flavor, resulting in an even richer experience that’s perfect for chocolate enthusiasts. -
Nutty Twist: Add 1 cup of chopped walnuts or pecans to the batter for a lovely crunch.
The added texture merges with the cake beautifully, offering a different dimension to each bite that nut lovers will adore. -
Extra Sweetness: Layer the cake with caramel sauce between the layers and drizzle it over the frosting for an indulgent treat.
This sweetness perfectly complements the chocolate chips and crushed cookies, enhancing the nostalgia you already love. -
Flavorful Frosting: Mix in 1 teaspoon of espresso powder with the frosting for a delectable coffee flavor.
This subtle hint elevates the cake from ordinary to extraordinary, captivating those who enjoy a richer, deeper taste. -
Heat It Up: Stir in a pinch of cayenne pepper or chili powder to the batter for a surprising kick.
This unexpected spice will excite your palate, offering a dynamic take on the classic flavor profile that is sure to intrigue adventurous eaters.
Pair this delightful cake with a glass of milk or maybe a scoop of vanilla ice cream for a truly indulgent experience! If you’re looking for more cookie-inspired desserts, try my delicious recipes for Chocolate Chip Cookies or Chocolate Peppermint Cookies.
Milk & Cookies Cake Recipe FAQs
How do I choose the right butter for my Milk & Cookies Cake?
Absolutely! When making your Milk & Cookies Cake, it’s best to use unsalted butter that’s softened to room temperature. This will ensure you can cream it properly with the sugar, resulting in a light and airy batter. If you’re in a pinch, regular salted butter can be used; just skip the additional salt in the recipe.
What’s the best way to store leftovers?
You can keep your Milk & Cookies Cake covered at room temperature for up to 3 days for optimal softness. If you prefer to store it longer, refrigerating it in an airtight container will keep it fresh for up to a week. Just be sure to let it reach room temperature for the best flavor experience when you’re ready to enjoy it again!
Can I freeze the Milk & Cookies Cake?
Yes! To freeze your Milk & Cookies Cake, I recommend slicing it first for ease of serving later. Wrap each slice tightly in plastic wrap, then place them in a freezer-safe bag. It can be frozen for up to 3 months. When you’re ready to indulge, simply thaw in the fridge overnight or enjoy directly warmed in the microwave for about 10-15 seconds.
What if my cake turns out too dry?
If your Milk & Cookies Cake ends up dry, it could be due to overbaking. Always keep an eye on your baking times, and do the toothpick test: insert it into the center—if it comes out with moist crumbs, it’s perfect! If you find the cake is already dry, consider serving it with a scoop of ice cream or drizzling chocolate or caramel sauce over it for added moisture and flavor.
Are there any allergen considerations for this recipe?
Definitely! The Milk & Cookies Cake contains dairy and gluten. If you or your guests have allergies, feel free to use gluten-free flour as a substitute for all-purpose flour and choose non-dairy milk options. It’s essential to check cookie packages for allergens if you decide on different cookies for variety. Always consider any specific dietary needs when serving this cake.
Irresistible Milk & Cookies Cake That Will Delight Every Bite
Ingredients
Equipment
Method
- Preheat your oven to 350°F (175°C) and prepare two 9-inch round cake pans by greasing them.
- In a large mixing bowl, cream together 1.5 cups of softened butter and 2.25 cups of granulated sugar until fluffy.
- Add 4 large eggs one at a time and 1 Tbsp of vanilla extract, mixing until smooth.
- In a separate bowl, whisk together 3 cups of all-purpose flour, 0.25 cups of cornstarch, 2 tsp of baking powder, and 1 tsp of kosher salt.
- Gradually add dry ingredients to the wet mixture, alternating with 1.25 cups of milk, mixing on low speed.
- Fold in 1 cup of mini chocolate chips and 9 crushed Chips Ahoy cookies.
- Divide the batter between the prepared cake pans and smooth the tops.
- Bake for 25-30 minutes, checking for doneness with a toothpick.
- Allow the cakes to cool in the pans for 10 minutes before transferring to wire racks.
- Beat together ingredients for frosting until smooth and creamy.
- Frost one layer, add the second layer on top, and frost the sides and top of the cake.
Leave a Reply