
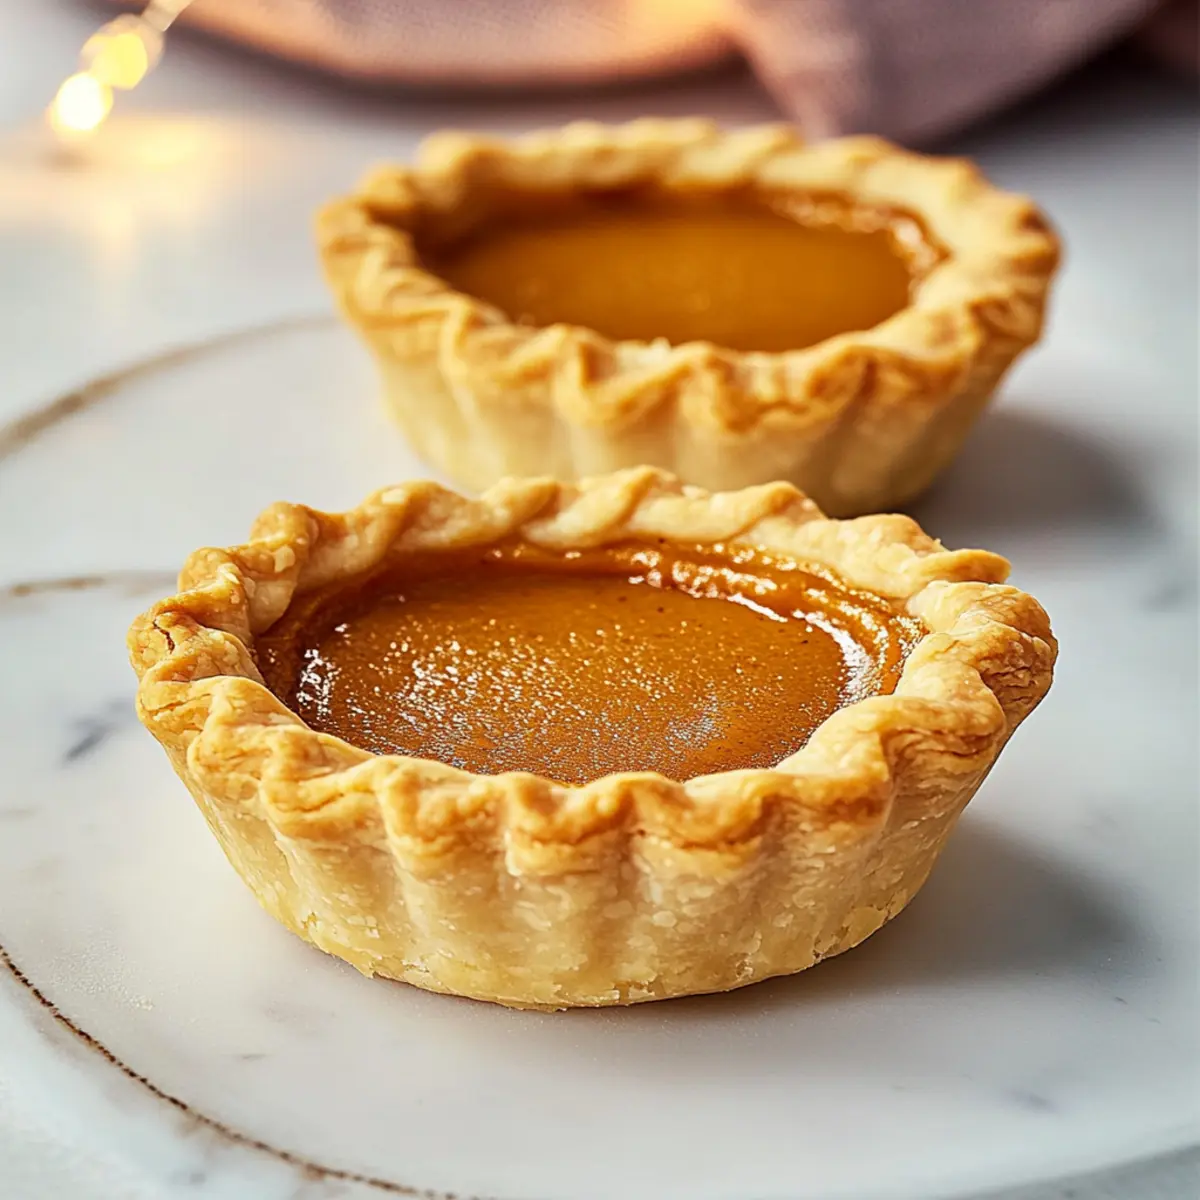
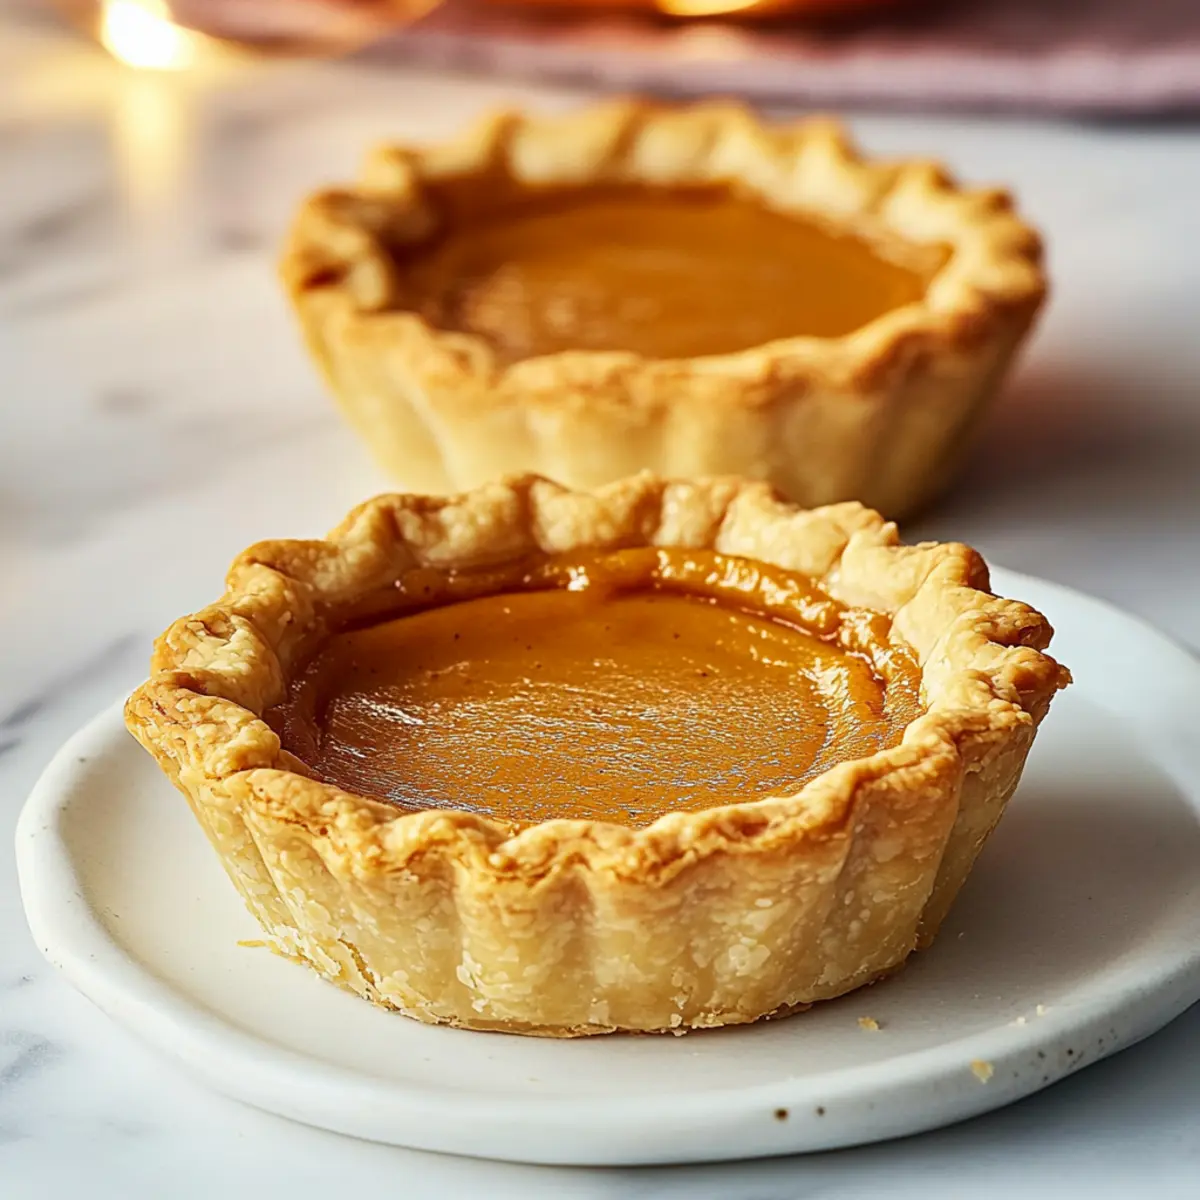
As the leaves turn and a crispness fills the air, I often find myself dreaming of the cozy flavors of fall. Enter Mini Pumpkin Pies—these delightful bites capture the essence of traditional pumpkin pie while offering the convenience of snackable portions. Perfect for gatherings or a quiet evening at home, they are so easy to make-ahead and share with friends and family. With a creamy, spiced pumpkin filling nestled in a flaky crust, these little treats are sure to evoke warmth and happiness without the fuss of slicing an entire pie. Ready to fall in love with this autumn classic? Let’s dive into this simple recipe together and fill your kitchen with the inviting scent of freshly baked pie!

Why Are Mini Pumpkin Pies So Irresistible?
Snackable Comfort: Mini Pumpkin Pies are the perfect bite-sized treat that packs all the comforting flavors of traditional pumpkin pie into a portable form. Easy Make-Ahead: With simple prep and quick baking, you can whip these up in no time, making them perfect for busy fall days. Crowd-Pleasing Flavor: Their creamy, spiced filling is sure to delight friends and family at any gathering, ensuring seconds are a must! Versatile Treat: Dress them up with a dusting of sugar or enjoy them plain—these pies are adaptable to suit every palate. Cozy up your kitchen with the inviting aroma while you share delightful memories with each delicious bite!
Mini Pumpkin Pies Ingredients
For the Filling
• Pumpkin Puree – 15 oz can, provides the base filling; use canned for convenience or homemade if you prefer.
• Sweetened Condensed Milk – 14 oz can, adds a luscious sweetness; consider almond or coconut milk for a dairy-free filling.
• Medium Eggs – 2 + 1 yolk, crucial for binding and setting the filling; bring them to room temperature for smoother mixing.
• Salt – A small pinch, amplifies the flavors in your Mini Pumpkin Pies.
• Ground Cinnamon – 1 teaspoon, brings warmth and depth to the filling.
• Ground Ginger – ½ teaspoon, enhances the pumpkin’s flavor with spicy notes.
• Ground Nutmeg – ½ teaspoon, offers a rich, aromatic spice for that classic fall taste.
For the Crust
• Pie Crust – 1 box, forms the delectable base; feel free to use frozen or pre-made crusts for ease, but homemade offers the best flavor.
Optional Topping
• Whipped Cream – For serving; adds a light and fluffy contrast to the rich filling.
• Powdered Sugar – A dusting on top elevates the presentation and sweetness.
• Chocolate Drizzle – A modern twist that adds a fun, unexpected flavor pairing.
Step-by-Step Instructions for Mini Pumpkin Pies
Step 1: Preheat the Oven
Begin by preheating your oven to 400°F (200°C). This initial temperature is crucial for creating a perfectly flaky crust. As the oven warms up, check that all your ingredients are on hand and at room temperature, especially the eggs, which will help in forming a smooth and well-combined filling.
Step 2: Prepare the Muffin Tin
Next, lightly grease a standard muffin tin using non-stick spray or a small amount of butter to prevent the pies from sticking. Visually ensure each cup is fully coated. This step is key, as it ensures easy removal of your delicious Mini Pumpkin Pies once they’re baked to golden perfection.
Step 3: Cut the Crust
Roll out your chilled pie crust on a lightly floured surface until it’s about 1/8 inch thick. Use a round cutter or a cup to cut circles slightly larger than the muffin cups. Carefully place each circle into the greased tin, pressing it gently into the bottom and up the sides to form a little bowl for your pumpkin filling.
Step 4: Mix the Filling
In a medium bowl, whisk together the pumpkin puree, sweetened condensed milk, eggs, spices, and salt until the mixture is smooth but not frothy. This combination is the heart of your Mini Pumpkin Pies, so take your time to ensure everything is well blended, infusing your kitchen with that delightful autumn aroma.
Step 5: Fill the Crusts
Spoon the creamy pumpkin filling into each prepared crust, filling them about three-quarters full. Take care to avoid overfilling, as the filling will puff slightly during baking. This is where your Mini Pumpkin Pies begin to take shape, and you should see that lovely spiced color peeking out of the crust.
Step 6: Initial Bake
Place the muffin tin in the preheated oven and bake the pies at 400°F for 10 minutes. This initial high heat helps to set the crust. Keep an eye on them, looking for a slight bubbling of the filling as they begin to rise and get that beautiful golden hue.
Step 7: Lower the Temperature
After the first 10 minutes, reduce the oven temperature to 325°F (160°C). Bake the Mini Pumpkin Pies for an additional 10 minutes, or until the filling is set and slightly firm. You’ll know they’re ready when a toothpick inserted into the center comes out clean, with a slight wobble remaining.
Step 8: Cool the Pies
Once the baking time is complete, remove the muffin tin from the oven and allow the Mini Pumpkin Pies to cool on a wire rack for at least 10 minutes. This cooling step helps the filling firm up further and makes it easier to remove them from the tin without breaking. Enjoy the anticipation of that first bite!
Make Ahead Options
These Mini Pumpkin Pies are a fantastic choice for meal prep, allowing you to savor the flavors of fall without the last-minute rush! You can prepare the crusts up to 3 days in advance; simply cut them and store them in an airtight container in the refrigerator. The filling can also be made and kept in the fridge for up to 24 hours. To assemble when ready to serve, spoon the chilled filling into the pre-prepared crusts, then bake as directed. This method ensures your pies are just as delicious and fresh, saving you precious time on busy days while maintaining that warm, cozy flavor everyone loves!
How to Store and Freeze Mini Pumpkin Pies
Room Temperature: Keep Mini Pumpkin Pies in an airtight container at room temperature for up to 2 days, perfect for last-minute gatherings or late-night snacks.
Fridge: If you want to extend their freshness, refrigerate the pies in an airtight container for up to 5 days. Their flavors will continue to develop beautifully.
Freezer: For longer storage, wrap each pie individually in plastic wrap and freeze them for up to 2 months. When you’re ready to enjoy, thaw in the fridge overnight.
Reheating: To reheat, place the pies in a 350°F (175°C) oven for about 10–15 minutes until warmed through. Enjoy that cozy autumn flavor once again!
What to Serve with Mini Pumpkin Pies
As you set the stage for a delightful autumn feast, consider these scrumptious pairings that enhance the cozy flavors of your mini treats.
- Whipped Cream: A dollop of fluffy whipped cream adds creaminess and elevates your Mini Pumpkin Pies into a classic fall dessert.
- Vanilla Ice Cream: The rich, smooth texture of vanilla ice cream contrasts perfectly with the spiced pumpkin filling, creating a wonderful harmony of flavors.
- Pecan Pie Bites: These sweet, nutty bites mirror the spirit of fall and bring a delightful crunch to your dessert spread.
- Caramel Sauce: Drizzle warm caramel over your mini pies for a sweet, gooey twist that adds another layer of indulgence.
- Spiced Apple Cider: Serve hot spiced apple cider alongside; its sweet and tangy notes perfectly complement the warm spices in the pies.
- Cheddar Cheese Platter: A cheese board with sharp cheddar and crisp apples creates a savory element that balances sweetness beautifully.
- Salted Caramel Brownies: Rich and fudgy, these brownies provide a delightful contrast while echoing the same autumn flavors.
- Pumpkin Spice Latte: Embrace the season even further by pairing your treats with a cozy pumpkin spice latte for a delightful fall experience.
- Chai Tea: Offering warming spices in every sip, chai pairs wonderfully with the sweet notes of your mini pies, making it an ideal cozy drink option.
Expert Tips for Mini Pumpkin Pies
• Smooth Filling: Mix gently to avoid excess air in the pumpkin filling, which can cause it to puff up during baking.
• Prevent Shrinking Crusts: Chill the pie crust before pressing it into the muffin cups and prick the bottoms with a fork. This helps prevent shrinkage while baking.
• Watch the Edges: Keep an eye on the pies as they bake; if the edges begin to brown too quickly, cover them with foil to prevent burning.
• Room Temperature Eggs: Ensure your eggs are at room temperature before mixing, as this helps the filling set properly for your Mini Pumpkin Pies.
• Perfect Baking Time: If the filling is too runny after the first bake, consider adding a few extra minutes. Look for a slight wobble but no liquid in the center.
Mini Pumpkin Pies Variations & Substitutions
Get ready to put your spin on these delightful Mini Pumpkin Pies with fun and easy variations that will bring new life to this classic treat!
- Dairy-Free: Substitute almond or coconut milk for sweetened condensed milk to create a creamy, dairy-free filling that retains all the fall flavors.
- Sweet Potato Twists: Swap pumpkin puree for an equal amount of sweet potato puree to give your pies a slightly different taste and creamy texture. It’s a delicious way to switch things up!
- Add Spice: Boost the flavor by adding a pinch of allspice or cloves along with your current spices. This will deepen the warm, cozy notes and make each bite even more aromatic.
- Chocolate Drizzle: Elevate your Mini Pumpkin Pies with a luscious drizzle of chocolate over the top before serving—perfect for chocolate lovers and a great presentation touch!
- Nutty Crust: Incorporate finely chopped nuts into your crust for an added crunch that complements the creamy filling beautifully. Try pecans or walnuts for a yummy change in texture.
- Maple Sweetener: Replace sweetened condensed milk with maple syrup for a natural sweetness and a hint of maple flavor that pairs wonderfully with pumpkin.
- Caramel Topping: Brush a layer of caramel sauce over the baked pies before serving for a decadent twist that will wow your guests. Everyone loves that little extra something!
- Lemon Zest Brightener: Add a teaspoon of fresh lemon zest to your filling for a bright note that cuts through the richness and balances the flavors perfectly.
Remember, you can make these Mini Pumpkin Pies your own while still enjoying the comforting taste of fall. If you’re curious about other autumnal treats, check out my Spiced Apple Muffins or try adding a layer of flavor with Homemade Whipped Cream for a fully indulgent experience!
Mini Pumpkin Pies Recipe FAQs
Can I use fresh pumpkin instead of canned pumpkin puree?
Absolutely! If you prefer using fresh pumpkin, make sure to roast and puree it first. Cut a pumpkin in half, remove the seeds, and roast it at 350°F (175°C) for about 45 minutes or until tender. Once cooled, scoop out the flesh and blend until smooth, measuring out 15 oz for your filling. This adds a lovely freshness to your Mini Pumpkin Pies!
What’s the best way to store Mini Pumpkin Pies?
For short-term storage, keep your Mini Pumpkin Pies in an airtight container at room temperature for up to 2 days, perfect for enjoying them fresh. If you want to keep them longer, refrigerate them for up to 5 days in an airtight container; the flavors will deepen over time. Just remember, always let them cool completely before storing!
Can I freeze Mini Pumpkin Pies?
Certainly! To freeze your pies, wrap each one individually in plastic wrap followed by aluminum foil to prevent freezer burn, and you can freeze them for up to 2 months. When you’re ready to indulge, simply move them to the refrigerator the night before to thaw. Reheat in a 350°F (175°C) oven for about 10–15 minutes to bring back that fresh-baked warmth.
What should I do if the filling is runny?
If you find the filling is too runny before baking, check if your eggs were at room temperature, as this helps the mixture bind better. You can also bake the pies a few minutes longer—keep an eye on them until a toothpick comes out clean with just a slight wobble in the center. Additionally, consider adding a touch more pumpkin puree or reducing the sweetened condensed milk slightly to adjust the consistency.
Are there any allergy considerations with this recipe?
Yes, it’s important to be aware of common allergens in this recipe. The primary ingredients include eggs and dairy (from the sweetened condensed milk). If you or your guests have allergies, consider using egg substitutes like flaxseed meal or applesauce for binding, and try plant-based milk alternatives, which can be found in most grocery stores. Always double-check labels for cross-contamination, especially with store-bought crusts!
How can I elevate the flavor of my Mini Pumpkin Pies?
There are so many fun ways to enhance the flavor! Consider adding a pinch of ground cloves along with your spices for an extra layer of warmth. You can also swirl in some caramel sauce before the filling sets, or top with a dollop of whipped cream mixed with a splash of vanilla extract. The more, the merrier—experiment and find your perfect fall flavor!

Mini Pumpkin Pies: Cozy Bites for Fall Gatherings
Ingredients
Equipment
Method
- Preheat the oven to 400°F (200°C) and ensure all ingredients are at room temperature.
- Lightly grease a standard muffin tin to prevent sticking.
- Roll out your chilled pie crust and cut circles slightly larger than muffin cups.
- Whisk pumpkin puree, sweetened condensed milk, eggs, spices, and salt until smooth.
- Spoon the filling into each crust, filling about three-quarters full.
- Bake for 10 minutes at 400°F to set the crust.
- Reduce oven temperature to 325°F and bake for an additional 10 minutes until set.
- Cool on a wire rack for at least 10 minutes before serving.
Leave a Reply