
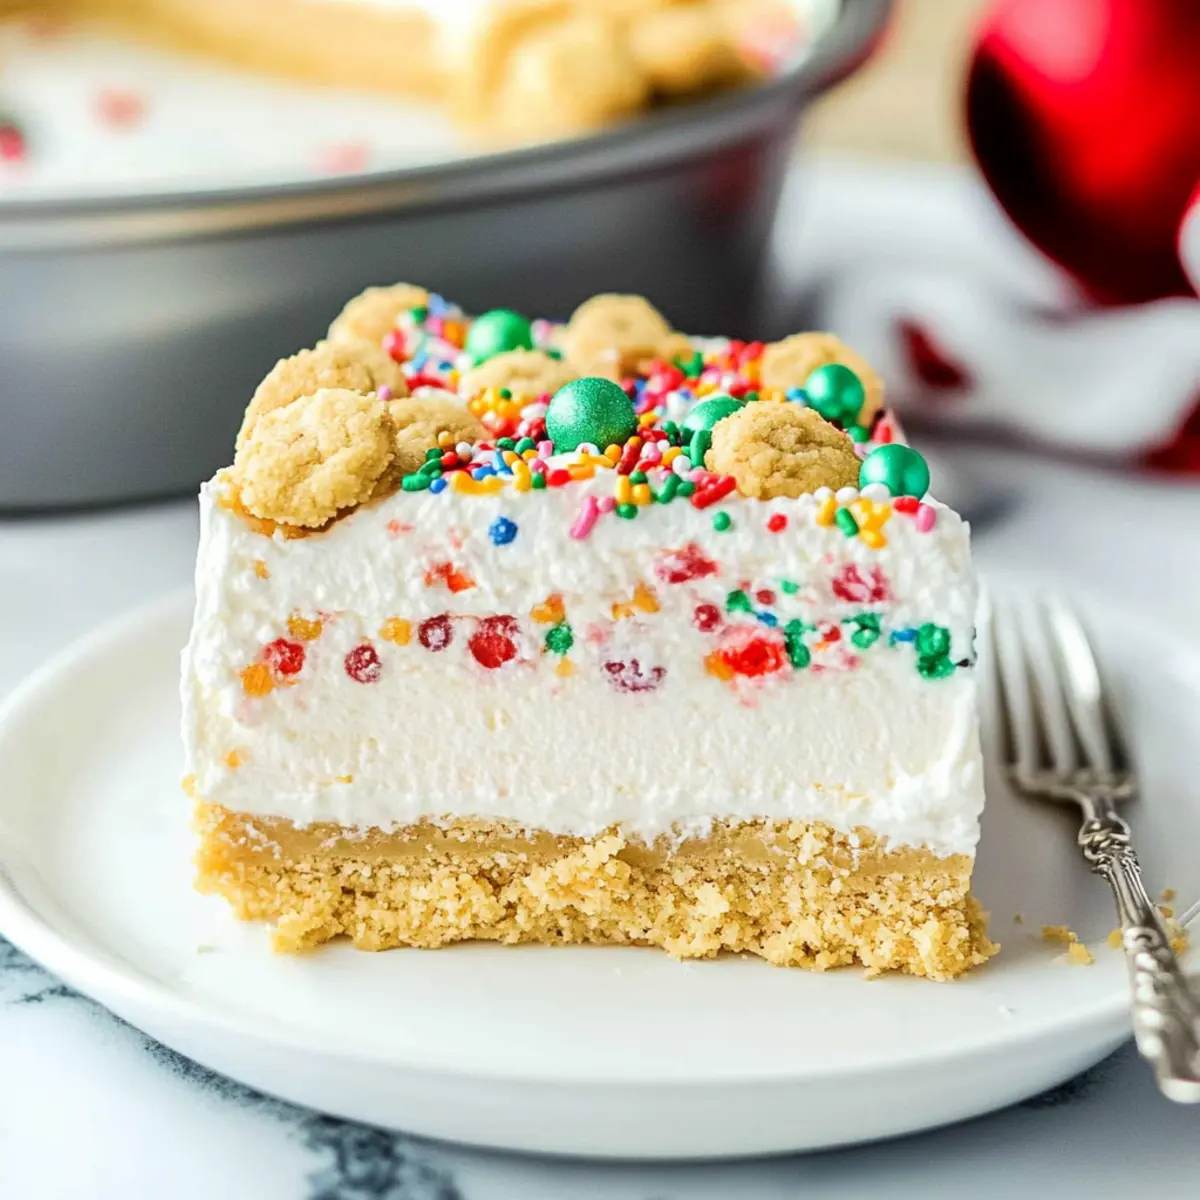
“Did you hear that? The unmistakable sound of festive baking has begun, filling the air with sweet, buttery aromas. As the holiday season approaches, I find myself reaching for delightful treats that bring family and friends together, and nothing hits the spot like a No Bake Christmas Cookie Lush. This creamy, layered dessert is an absolute game-changer—easy to prepare and a guaranteed crowd-pleaser at gatherings. Picture a luscious combination of vanilla cookie crust, velvety cream cheese, and dreamy pudding, all capped with cheerful holiday sprinkles. Not only does it strike the perfect balance of creamy and crunchy textures, but it’s also a stress-free option that satisfies any sweet tooth without the fuss of baking. Interested in creating a festive masterpiece that will wow your loved ones? Let’s dive in!”
Why is this No Bake Christmas Cookie Lush special?
Easy to Make: This dessert requires no baking, making it perfect for those who want to avoid the oven during the busy holiday season. Rich Layers: The blend of smooth cream cheese and creamy pudding offers a luxurious taste that will impress your guests. Festive Appeal: Topped with vibrant holiday sprinkles, it’s not just delicious but looks stunning on any dessert table. Versatile Option: Feel free to customize with your favorite cookies, or add layers of fresh fruit for a twist. With all these reasons, it’s no wonder this recipe will become your new holiday favorite alongside other delightful treats like Magenbrot Cookie Bliss and Sugar Cookie Cheesecake.
No Bake Christmas Cookie Lush Ingredients
• Get ready to layer up this delightful festive treat!
For the Crust
- Vanilla Oreo Cookies – Use high-quality cookies for the best flavor and texture.
- Butter – Melted butter brings richness and binds the crust together.
For the Cream Cheese Layer
- Cream Cheese – Full-fat cream cheese offers a smoother, creamier consistency.
- Powdered Sugar – Sweetens the cream cheese without grittiness, creating a velvety feel.
- Whipped Topping – Lightens the cream cheese mixture and makes it airy; opt for tub variety for ease.
- Peppermint Extract – A hint of peppermint adds a festive twist to this creamy layer (optional).
For the Pudding Layer
- Cheesecake Instant Pudding Mix – Gives the pudding layer a creamy cheesecake flavor that complements the layers.
- Cold Milk – Whole milk is recommended for richness when preparing the pudding.
For the Topping
- Holiday Sprinkles – Add vibrant color on top and between layers to create a festive look; choose your favorite mix!
- Remaining Vanilla Oreo Crumbs – Sprinkle for an extra crunch on top of the luscious layers.
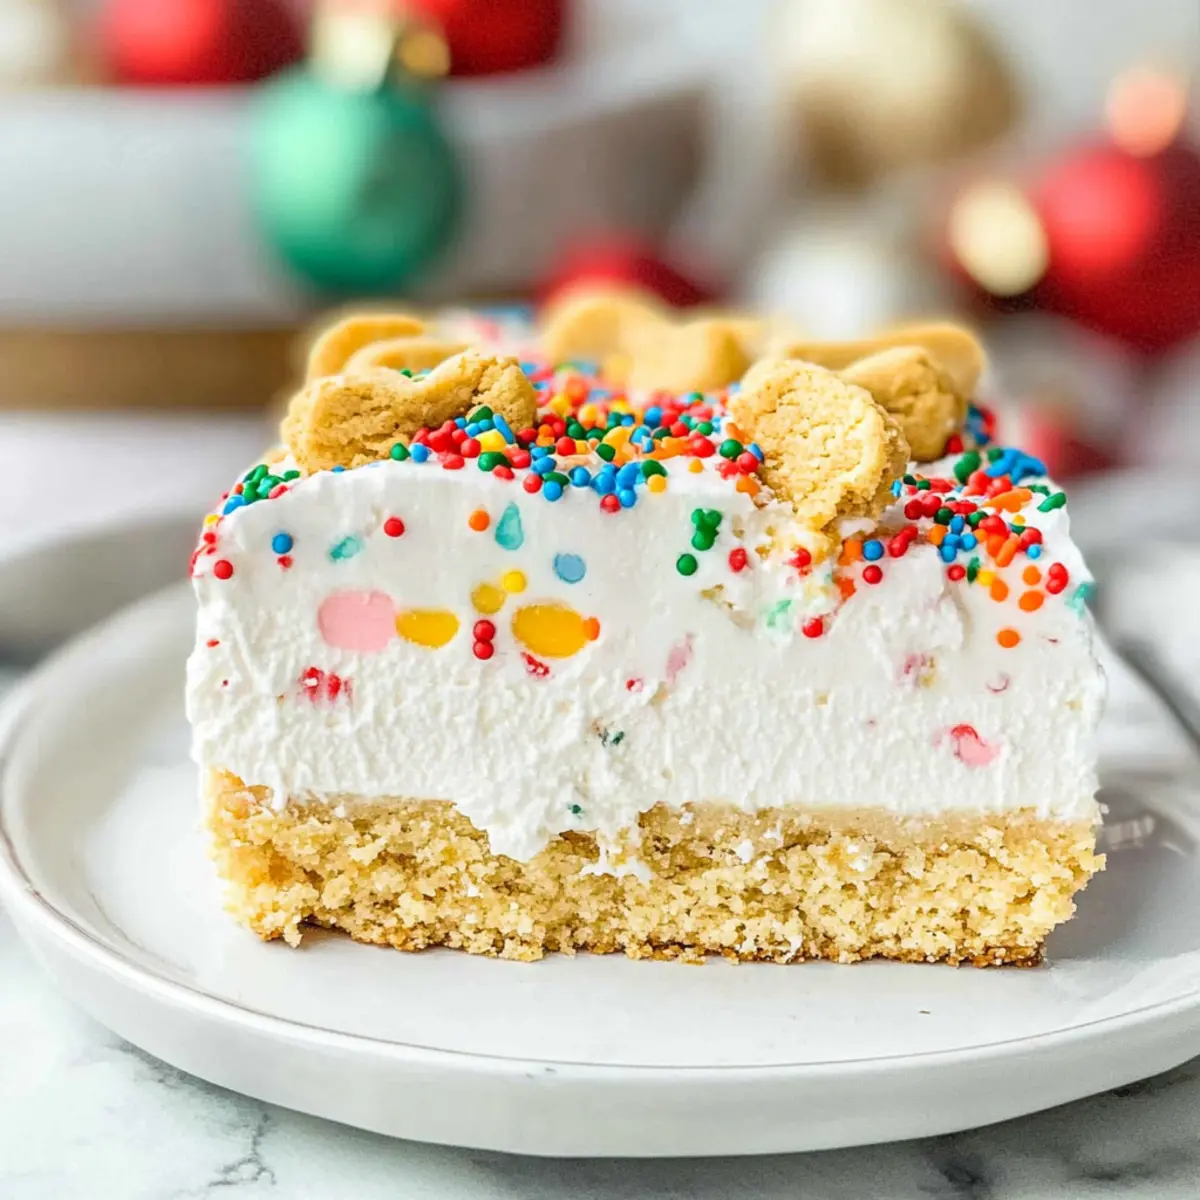
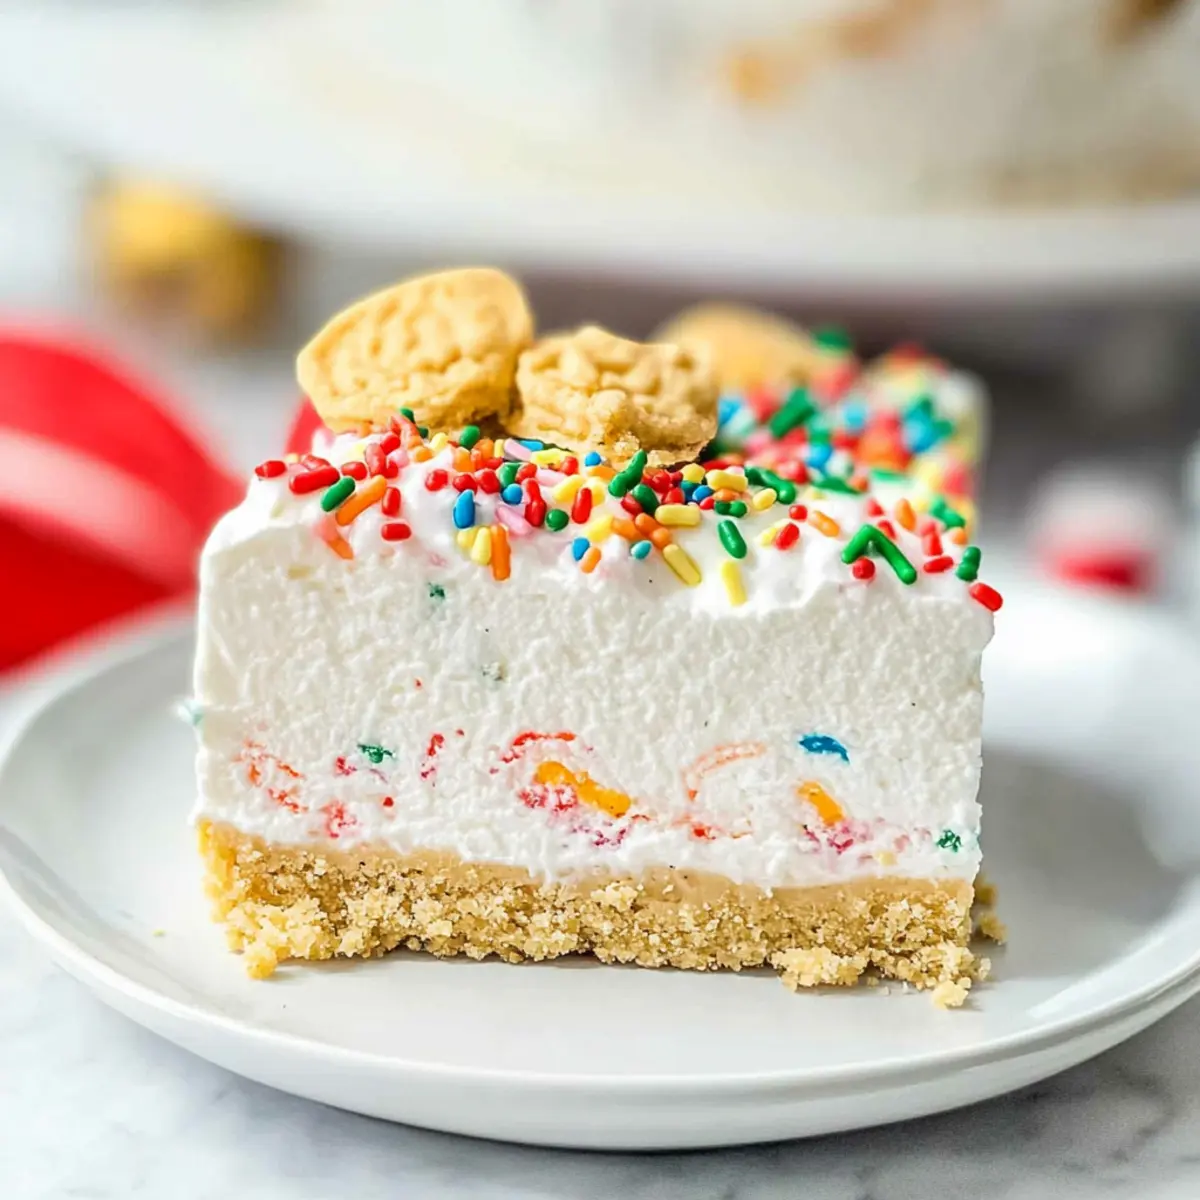
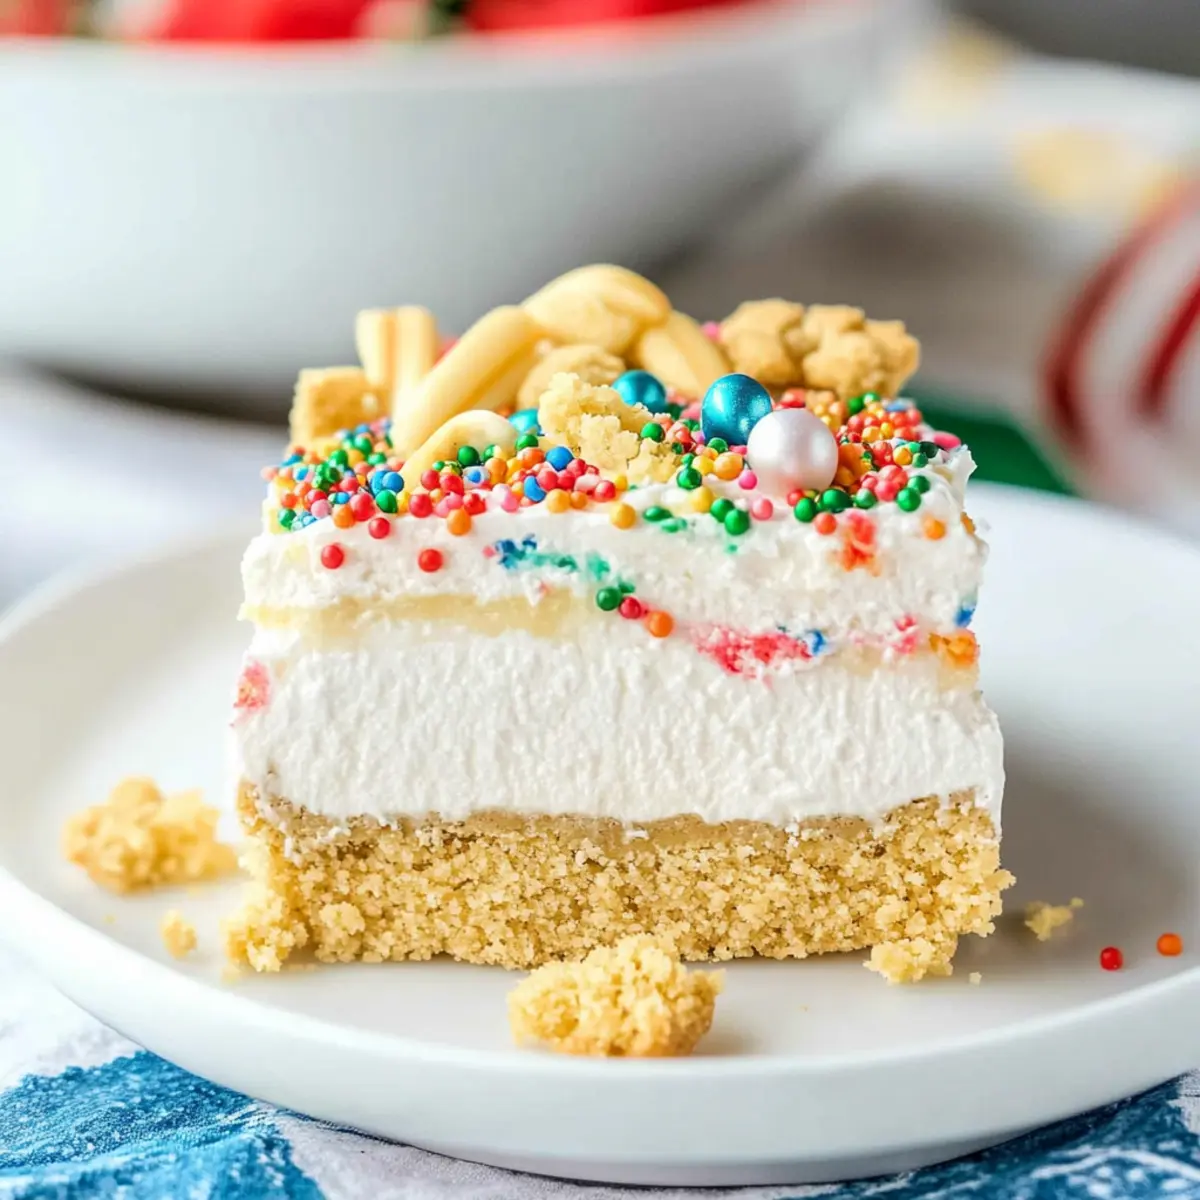
This No Bake Christmas Cookie Lush is so inviting and easy to prepare; it’s bound to become a hit at your holiday gatherings!
Step‑by‑Step Instructions for No Bake Christmas Cookie Lush
Step 1: Prepare the Pan
Optionally line a 9×13 inch dish with parchment paper, ensuring it hangs over the edges for easy lifting later. This little trick makes slicing your No Bake Christmas Cookie Lush a breeze. Set the dish aside and gather your ingredients to streamline your process.
Step 2: Crush Cookies
Using a food processor or zip-top bag, crush 36 vanilla Oreo cookies into fine crumbs. You want them to resemble sand in texture. If using a bag, roll a rolling pin over the cookies to achieve that perfect crumb consistency. This step sets the foundation for your delicious crust.
Step 3: Mix Crust
In a large bowl, combine the crushed cookies with melted butter and half a tablespoon of holiday sprinkles. Stir well until the mixture is evenly moistened. Then, press this delicious mixture firmly into the bottom of your prepared dish, ensuring it’s flat and compact for a sturdy crust.
Step 4: Cream Cheese Layer
In a mixing bowl, beat softened cream cheese with a hand mixer until smooth. Add in the powdered sugar and peppermint extract, if using, mixing until fully blended. Gently fold in one tub of whipped topping along with another half tablespoon of sprinkles, creating a fluffy concoction. Spread it evenly over the cookie crust.
Step 5: Pudding Layer
In a separate bowl, whisk together the cheesecake instant pudding mix and cold whole milk. Stir vigorously for 2-3 minutes until the mixture thickens to a pudding consistency, indicating it’s ready. Fold in a few more sprinkles for extra festivity, then carefully spread this delightful layer over the cream cheese layer.
Step 6: Top Layer
Spread the remaining tub of whipped topping gently over the pudding, smoothing it out with a spatula. Crush the leftover Oreo cookies and sprinkle them on top, along with any extra holiday sprinkles that will add a pop of color. This not only elevates the look but adds an extra layer of crunch.
Step 7: Chill
Cover the dish with plastic wrap and refrigerate for at least 4 hours, allowing the layers to set properly. If you prefer a firmer texture, you can freeze it for a bit before serving, which makes slicing even easier while still maintaining delicious flavors.
Step 8: Serve
Once set, remove the No Bake Christmas Cookie Lush from the refrigerator. Use the parchment overhang to lift it out, and slice into squares. Serve on a festive platter and watch as your loved ones delight in every creamy, crunchy bite.
What to Serve with No Bake Christmas Cookie Lush
Imagine cozying up with delightful dishes that perfectly balance the creamy, festive flavors of your luscious dessert.
-
Hot Cocoa: The warm richness of hot cocoa complements the cool creaminess of the lush, making each bite feel even more indulgent.
-
Fresh Berries: A side of vibrant raspberries or strawberries brings a refreshing tartness that cuts through the richness, enhancing the festive flair.
-
Peppermint Coffee: Infusing your coffee with a hint of peppermint harmonizes beautifully with the dessert’s seasonal flavors, making for a delightful pairing.
-
Gingerbread Cookies: Classic gingerbread offers a spicy crunch that contrasts nicely with the smooth layers of the cookie lush, creating a delightful textural experience.
-
Vanilla Ice Cream: A scoop of vanilla ice cream on the side adds a creamy melt-in-your-mouth element that echoes the lush’s decadence while adding a refreshing touch.
-
Try a Fruit Platter: A colorful assortment of seasonal fruits not only brighten up your spread but also brings fresh notes to counterbalance the richness of the dessert.
The holidays are about creating joyful, memorable moments, and these pairing options will surely elevate your No Bake Christmas Cookie Lush experience!
Make Ahead Options
These No Bake Christmas Cookie Lush desserts are perfect for busy home cooks looking to save time during the hectic holiday season! You can prepare the dessert up to 24 hours in advance by layering all the components—crust, cream cheese layer, pudding layer, and topping—just as the recipe directs. Simply cover it tightly with plastic wrap to maintain freshness and refrigerate it until you’re ready to serve. To ensure the best flavor and texture, avoid freezing unless you plan to serve within a few days, as freezing can affect the whipped topping’s consistency. When ready to impress your guests, just slice into squares and enjoy the delicious layers that are just as delightful after a day in the fridge!
Expert Tips for No Bake Christmas Cookie Lush
-
Soften Cheese: Ensure cream cheese is brought to room temperature before mixing; this prevents lumps and creates a smooth creaminess in your dessert.
-
Crust Consistency: Don’t skip pressing the cookie mixture firmly into the dish; this helps the crust hold up and offers a satisfying crunch with your creamy layers.
-
Layering Technique: When layering, spread gently to avoid mixing the layers together. This keeps the contrast of creamy and crunchy textures intact in your No Bake Christmas Cookie Lush.
-
Chill Time: Allow at least 4 hours for chilling; this ensures the layers set properly and makes for cleaner slices when serving.
-
Storage Know-How: Keep leftovers in an airtight container in the refrigerator for up to 4 days, or freeze for a longer-lasting festive treat.
How to Store and Freeze No Bake Christmas Cookie Lush
Fridge: Store the No Bake Christmas Cookie Lush in an airtight container for up to 4 days. This will keep it fresh while still allowing the flavors to meld beautifully.
Freezer: If you want to keep it longer, freeze the dessert for up to 2 months. Simply cover it tightly with plastic wrap and aluminum foil to prevent freezer burn.
Thawing: To enjoy a frozen slice, transfer it to the fridge for several hours or overnight to thaw slowly. For a quicker option, let it sit at room temperature for about 30 minutes.
Serving After Freezing: Once thawed, serve chilled and enjoy the creamy layers that are perfect for holiday gatherings!
No Bake Christmas Cookie Lush Variations
Feel free to embrace your creativity and customize this dessert to suit your taste and holiday spirit!
-
Different Cookies: Swap out vanilla Oreos for graham crackers or chocolate sandwich cookies for a unique flavor twist.
-
Berry Delight: Incorporate fresh berries like raspberries or strawberries between the layers for added freshness and color.
Adding fruit not only enhances the taste, but it also brings a burst of vibrancy to your dessert that guests will love. -
Nutty Crunch: Mix crushed nuts, such as walnuts or pecans, into the crust for an extra bit of crunch and nuttiness.
A buttery mix of nuts will complement the creamy layers beautifully, elevating your cookie lush even further. -
Minty Freshness: Substitute peppermint extract for vanilla or add crushed peppermint candies between layers for an invigorating flavor boost.
The minty flavor adds a festive touch, making your Christmas dessert stand out even more. -
Homemade Whipped Cream: Use freshly whipped cream instead of store-bought topping for a richer, more decadent finish.
The difference is notable! Whipped cream provides a light and fluffy texture that perfectly balances the richness of the other layers. -
Flavor Infusion: Experiment with flavored pudding mixes, like chocolate or butterscotch, to alter the creamy pudding layer.
Each mix brings its unique character to the dessert, taking it from creamy cheesecake to a delightful indulgence. -
Spice it Up: Add a pinch of cinnamon or nutmeg to the cream cheese layer or pudding for a warm, spiced flavor.
A touch of holiday spices can transform your dessert into a seasonal delight, making it extra comforting during the colder months. -
Layer it Well: For an elegant touch, try adding a layer of fruit preserves or chocolate ganache for an exciting flavor contrast.
This creates an indulgent experience that will have everyone coming back for seconds. Just imagine the luscious layers!
Feel free to pair your No Bake Christmas Cookie Lush with a steaming cup of hot cocoa or coffee, or take inspiration from other festive favorites like Dumpling Bake Red or Blue Christmas Truffles for your holiday spread!
No Bake Christmas Cookie Lush Recipe FAQs
What kind of cookies should I use for the crust?
Absolutely! I recommend using high-quality vanilla Oreo cookies for the best flavor and texture. If you’re feeling adventurous, you can also try substituting them with another vanilla-flavored cookie or graham crackers to create a different taste profile for your No Bake Christmas Cookie Lush.
How do I store leftovers of No Bake Christmas Cookie Lush?
You can store the No Bake Christmas Cookie Lush in an airtight container in the refrigerator for up to 4 days. This allows the flavors to meld beautifully while keeping the dessert fresh. Remember to cover it well so it doesn’t absorb other odors from the fridge!
Can I freeze No Bake Christmas Cookie Lush?
Yes, you can freeze this dessert for up to 2 months! To do this, cover it tightly with plastic wrap and aluminum foil to protect it from freezer burn. When you’re ready to enjoy it, simply transfer it to the refrigerator for several hours or overnight to thaw slowly, or leave it at room temperature for about 30 minutes for a quicker option.
What if my cream cheese layer is lumpy?
No worries! If your cream cheese layer turns out lumpy, it means the cream cheese wasn’t softened enough. Make sure to let it sit at room temperature for about 30 minutes before mixing, or microwave it for about 10 seconds to soften slightly. This will help you achieve that luscious, smooth texture.
Are there any dietary considerations to keep in mind?
Definitely! While this No Bake Christmas Cookie Lush is a delightful treat, be mindful of allergies. The recipe contains dairy (cream cheese, butter, and whipped topping) and gluten (cookies). If you’re accommodating dairy-free or gluten-free diets, there are plenty of alternatives like using dairy-free cream cheese or gluten-free cookies; just keep an eye on ingredient labels for safe options.
How long should I chill the dessert before serving?
You should refrigerate the No Bake Christmas Cookie Lush for at least 4 hours to allow the layers to set properly. If desired, freezing it for a while before serving can make slicing easier, but I recommend thawing it for about an hour at room temperature if you do to ensure it’s still creamy and delicious!
Festive No Bake Christmas Cookie Lush Your New Holiday Favorite
Ingredients
Equipment
Method
- Optionally line a 9x13 inch dish with parchment paper, ensuring it hangs over the edges for easy lifting later.
- Using a food processor or zip-top bag, crush 36 vanilla Oreo cookies into fine crumbs.
- In a large bowl, combine the crushed cookies with melted butter and half a tablespoon of holiday sprinkles. Stir well until evenly moistened and press firmly into the bottom of your prepared dish.
- In a bowl, beat softened cream cheese with a hand mixer until smooth, then add powdered sugar and peppermint extract, mixing until fully blended. Fold in whipped topping and sprinkles, then spread evenly over the cookie crust.
- Whisk together the cheesecake instant pudding mix and cold milk for 2-3 minutes until it thickens. Fold in a few more sprinkles and spread over the cream cheese layer.
- Spread the remaining whipped topping over the pudding and sprinkle with crushed Oreo cookies and extra holiday sprinkles.
- Cover and refrigerate for at least 4 hours. For a firmer texture, freeze before serving.
- Once set, lift from the dish using parchment overhang, slice into squares, and serve.
Leave a Reply