
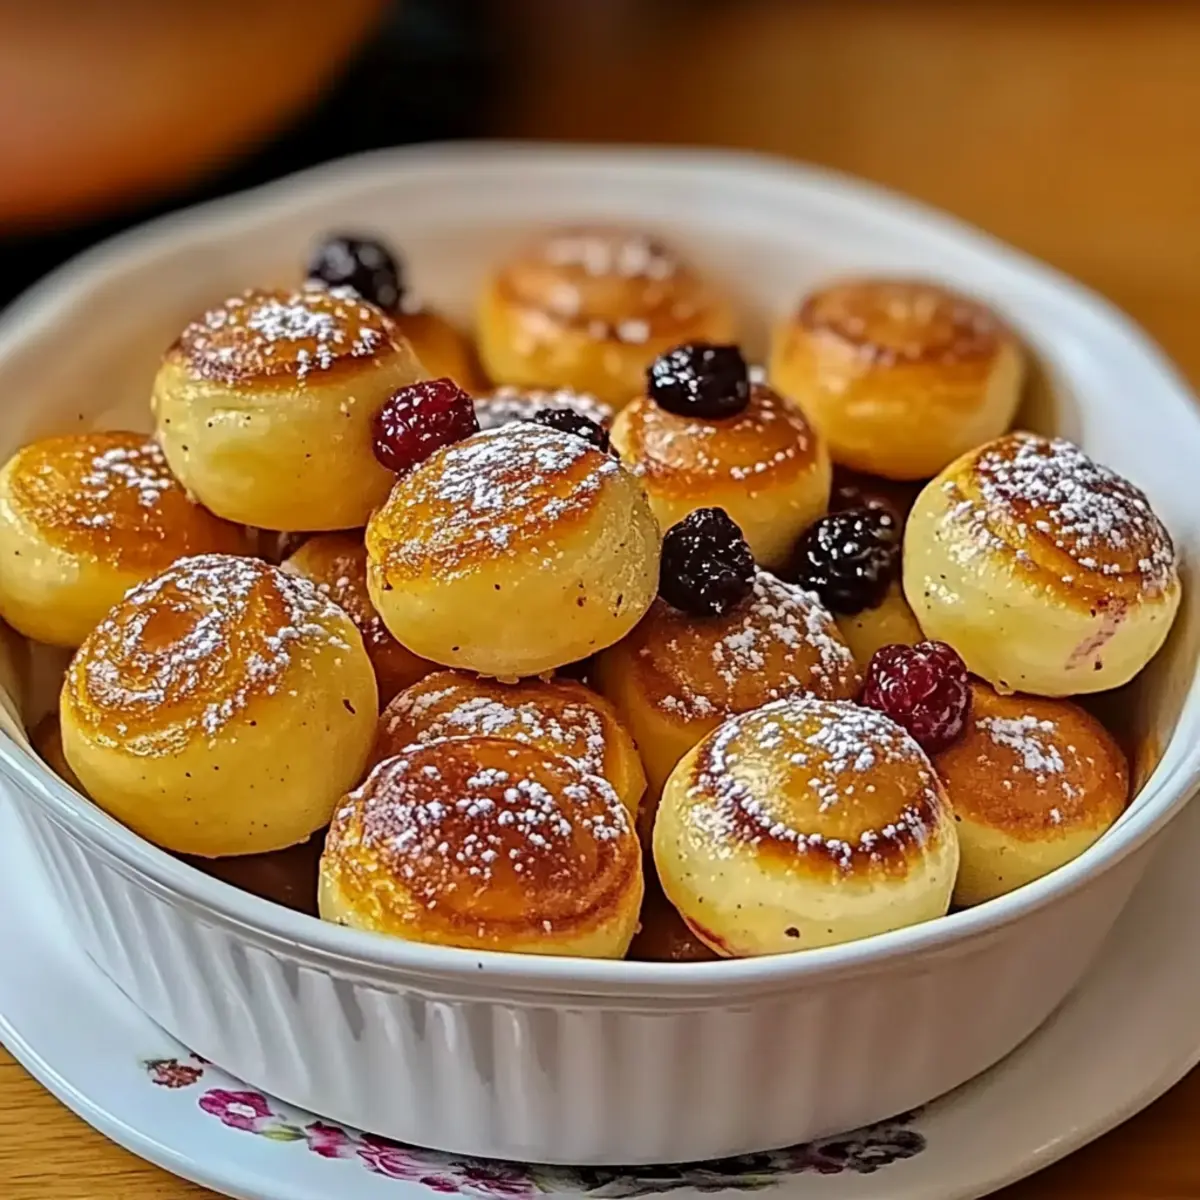
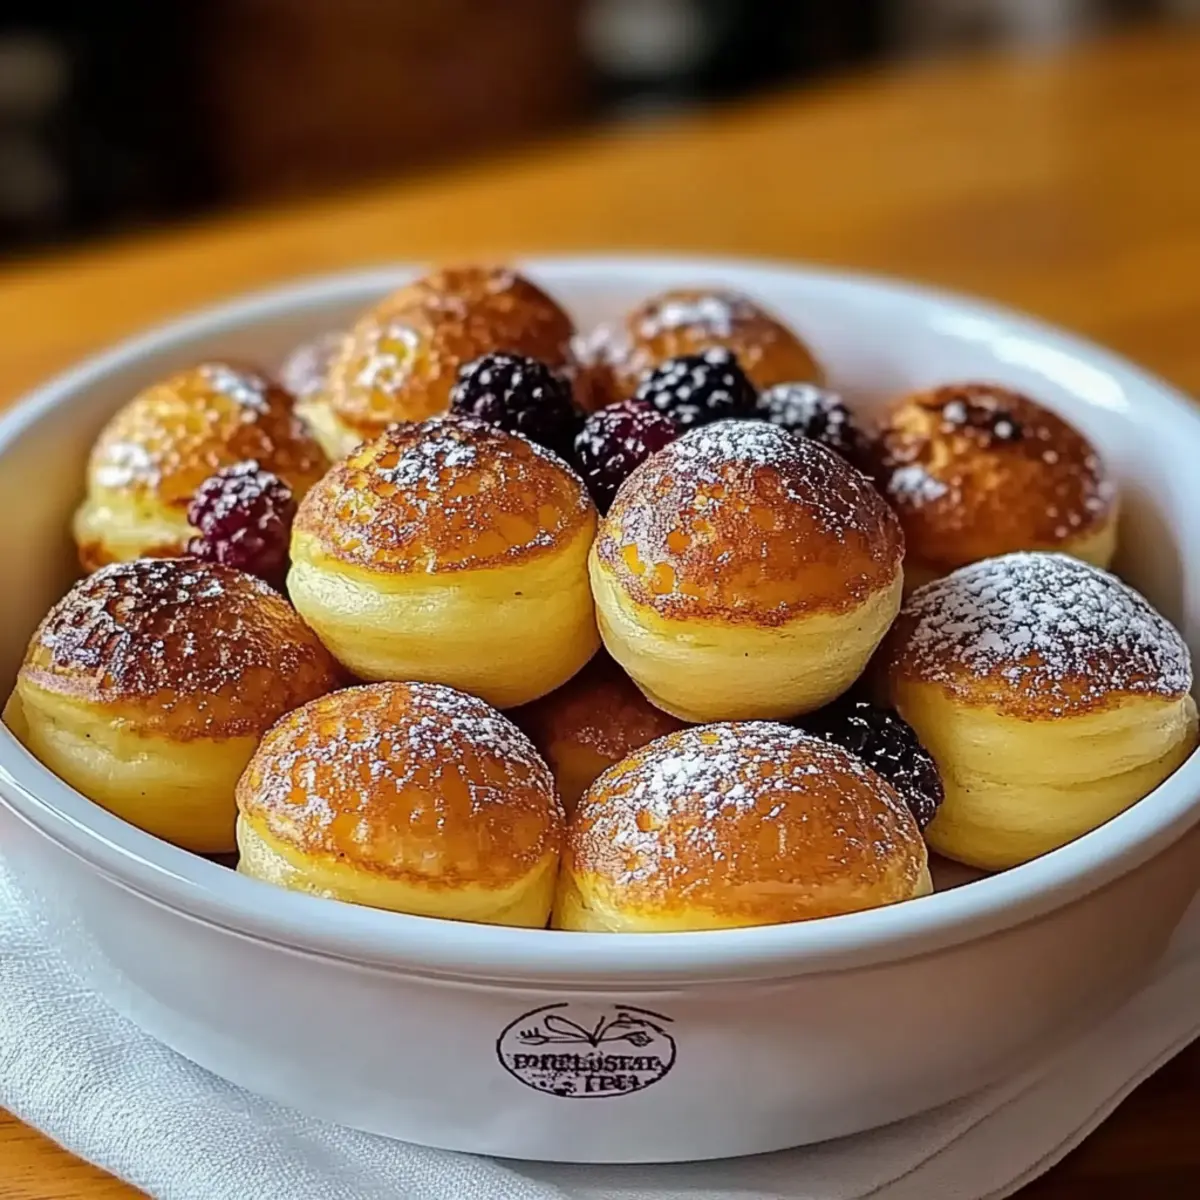
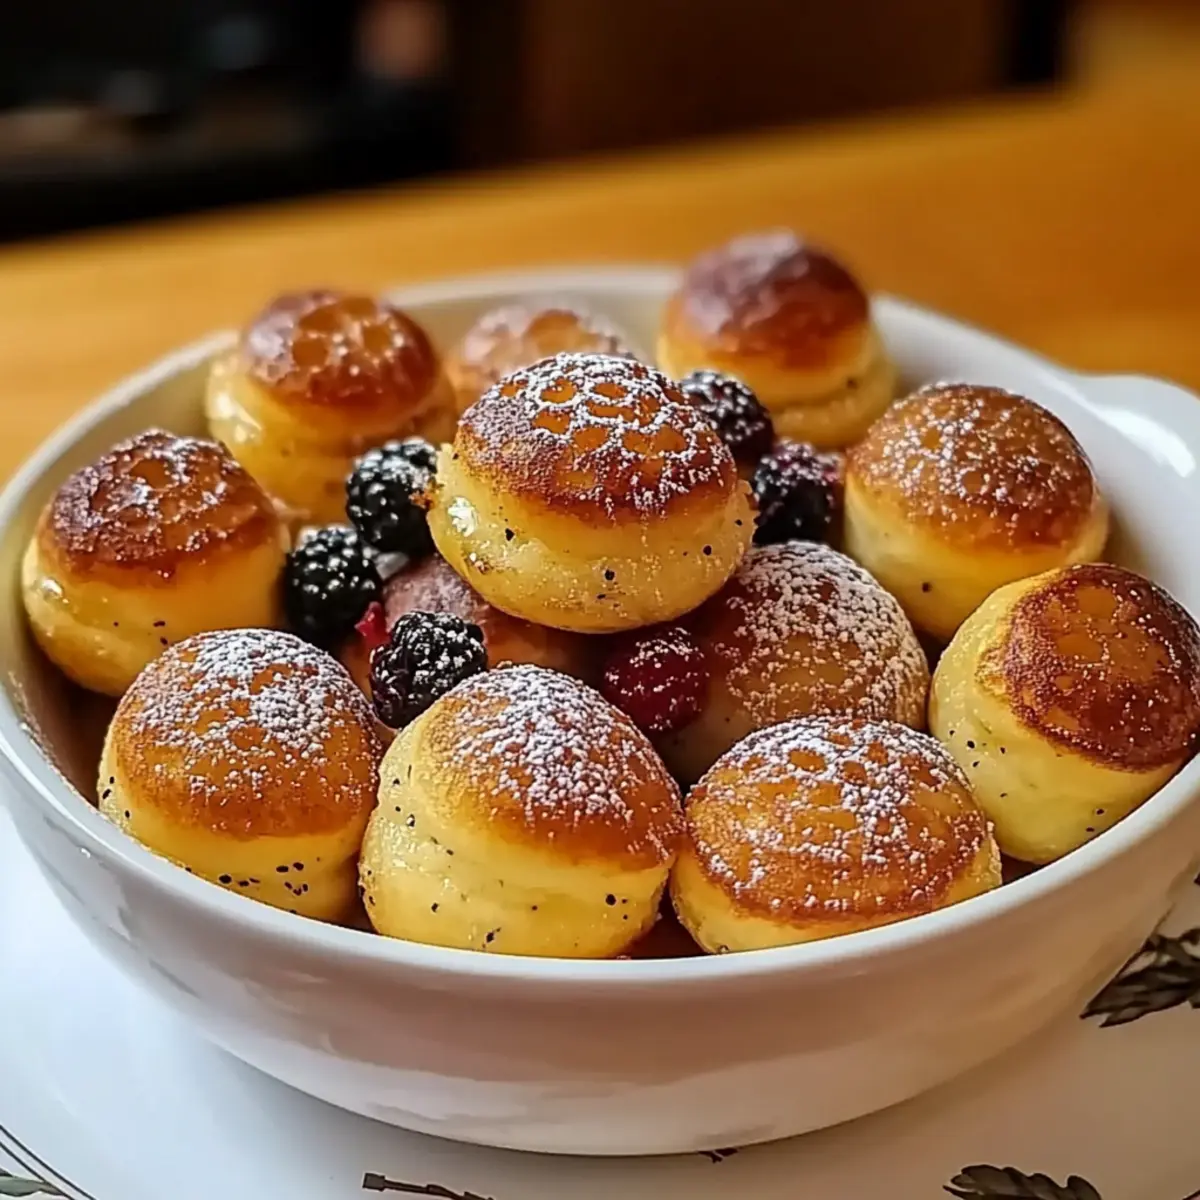
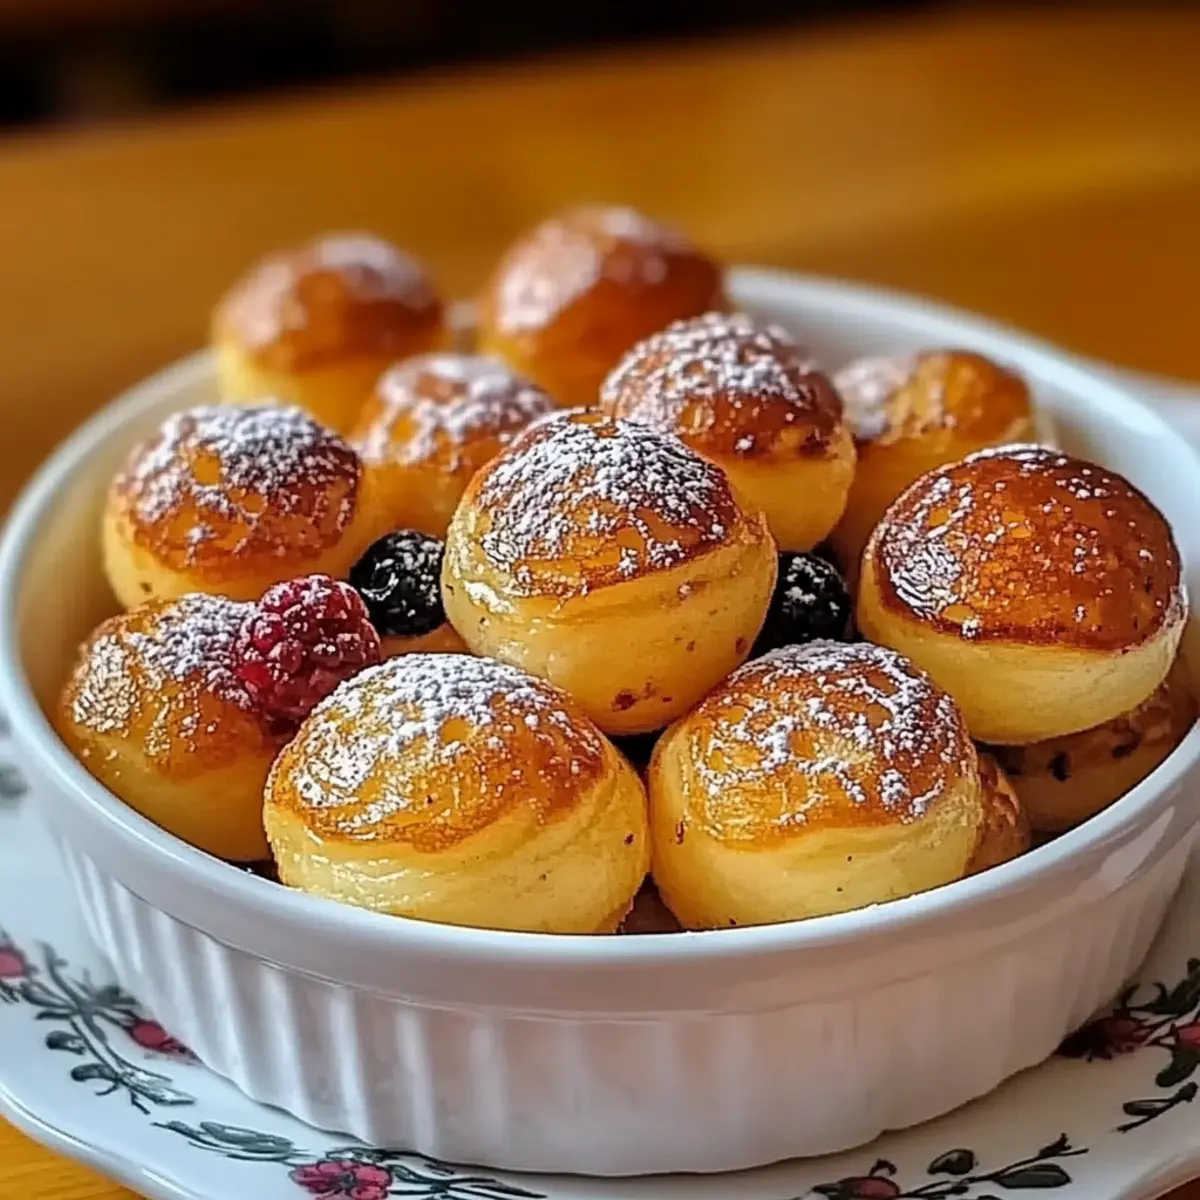
As I stood in my kitchen, a delightful aroma wafted from the oven, reminding me of the mornings spent flipping pancakes with my family. That’s when I decided to shake things up and try making these Fluffy Baked Pancake Poppers instead. Perfectly light and slightly crispy on the outside, they deliver all the nostalgic joy of pancakes in a fun, bite-sized format. Not only are these pancake poppers customizable with your favorite fillings—think chocolate chips or fresh berries—but they also come with a bonus: they’re baked, making them a healthier, hassle-free option for busy mornings or brunch gatherings. Whether you’re serving them for breakfast, snacks, or dessert, get ready to fall in love with these delectable little bites. What will you fill yours with?
Why Are Pancake Poppers So Irresistible?
Fluffy Texture: These pancake poppers are delightfully airy, offering a lightness that traditional pancakes sometimes lack.
Kid-Friendly Fun: Perfectly sized for little hands, they make a great breakfast or snack that kids will eagerly devour.
Customizable Delights: You can easily tweak the fillings or toppings, whether you want a sweet treat with chocolate chips or something savory with cheese and herbs.
Quick and Easy: Baked, not fried, these poppers simplify your morning routine while still delivering fantastic flavor.
Crowd-Pleasing Appeal: Serve them at brunch or as a party snack, and watch them disappear in no time! For more delightful breakfast ideas, check out these Gluten-Free Pancakes or Mini Muffin Recipes that your guests will love!
Pancake Poppers Ingredients
For the Batter
• All-Purpose Flour – Base for structure and soft texture; substitute with gluten-free blend for a gluten-free option.
• Sugar – Adds sweetness; can be substituted with honey or maple syrup to reduce refined sugar.
• Baking Powder – Leavening agent for that irresistible fluffiness.
• Baking Soda – Works alongside buttermilk to create a light, airy batter.
• Salt – Enhances flavor and balances sweetness.
• Buttermilk – Adds moisture and contributes to fluffiness; if unavailable, use regular milk mixed with a little vinegar or lemon juice.
• Egg – Binds ingredients together and adds richness; no substitute recommended for this recipe.
• Vanilla Extract – A delicious flavor enhancer that brings warmth to the batter.
• Melted Butter – Provides moisture and a crisp outside; replace with coconut oil for a dairy-free option.
For the Fillings (Optional)
• Chocolate Chips – Perfect for a sweet surprise in every bite.
• Fresh Berries – Add a burst of flavor and natural sweetness; blueberries work wonders!
• Cheese – For a savory twist, mix in some shredded cheese or herbs.
For Serving
• Powdered Sugar – A light dusting makes for a beautiful and tasty finish.
• Maple Syrup – The classic choice that pairs perfectly with pancake poppers.
• Yogurt – A creamy and tangy topping that’s also a healthier option.
Step-by-Step Instructions for Pancake Poppers
Step 1: Preheat and Prepare the Pan
Begin by preheating your oven to 375°F (190°C). While it warms up, take a mini muffin tin and generously grease it with melted butter to ensure your pancake poppers release easily after baking. This step will help achieve a crispy exterior while keeping the insides fluffy.
Step 2: Mix the Dry Ingredients
In a large mixing bowl, combine the all-purpose flour, sugar, baking powder, baking soda, and salt. Whisk these dry ingredients together until well blended. This ensures that the leavening agents are evenly distributed throughout the batter, contributing to the perfect rise of your pancake poppers.
Step 3: Whisk the Wet Ingredients
In another bowl, whisk together the buttermilk, egg, vanilla extract, and melted butter until smooth. The wet mixture should be homogeneous and creamy. This combination is key to not only binding but also adding moisture that will make your pancake poppers light and fluffy.
Step 4: Combine Wet and Dry Ingredients
Gradually pour the wet mixture into the bowl of dry ingredients, stirring gently until just combined. It’s okay if the batter is a little lumpy; overmixing could lead to dense pancake poppers instead of the airy bites we’re aiming for.
Step 5: Fill the Muffin Tin
Using a tablespoon or a small cookie scoop, fill each greased muffin cup about three-quarters full with the batter. If you desire, add in your choice of mix-ins, like chocolate chips or fresh berries, to create delightful surprises inside each pancake popper.
Step 6: Bake Until Golden
Place the filled muffin tin in the preheated oven and bake for 12-15 minutes. Keep an eye on them as they bake; your pancake poppers should be golden brown on top and a toothpick inserted into the center should come out clean, signaling they’re ready to enjoy.
Step 7: Cool Slightly Before Serving
Once baked, remove the muffin tin from the oven and let it cool for a few minutes. This cooling period allows the pancake poppers to set further and makes them easier to remove without falling apart.
Step 8: Serve with Toppings
Carefully remove the pancake poppers from the tin and arrange them on a serving platter. Serve warm, adding a delicious dusting of powdered sugar or a drizzle of maple syrup on top. They make for a delightful breakfast treat or snack that everyone will love!
Pancake Poppers: Delightful Variations Await!
Feel free to get creative with these pancake poppers, crafting your personalized flavors and textures to suit every palate!
- Gluten-Free: Use a gluten-free flour blend to ensure everyone can enjoy these little bites without the gluten!
- Savory Spin: Mix in shredded cheese and fresh herbs for a delightful morning treat. Consider pairing with eggs for a complete breakfast.
- Sweet Surprise: Add chocolate chips, banana slices, or fresh berries to the batter for unexpected bursts of flavor in every bite. You can incorporate different fillings in each popper for added excitement!
- Cinnamon Kick: Spice things up with a dash of cinnamon or a sprinkle of nutmeg for warmth and depth in flavor.
- Dairy-Free: Substitute buttermilk with almond milk mixed with apple cider vinegar to keep the poppers light and fluffy; perfect if you’re avoiding dairy!
- Change the Sugars: Feel free to swap white sugar for coconut sugar or maple syrup for a unique sweet touch that can be irresistible!
- Zesty Twist: Add lemon zest or almond extract to elevate the flavor profile and give these poppers a refreshing twist.
- Nutty Delight: Toss in crushed nuts like walnuts or pecans for extra crunch and nuttiness; they pair perfectly with sweet or savory fillings!
Exploring these variations is a fun way to engage with your pancake poppers and delight your family! If you’re intrigued by more healthy breakfast options, check out these Gluten-Free Pancakes or perhaps some delightful Mini Muffin Recipes that can introduce new flavors to your breakfast repertoire!
What to Serve with Pancake Poppers
Imagine the laughter and chatter of family and friends as they enjoy delightful bites that remind you of cherished breakfasts.
-
Fresh Fruit Salad: A medley of vibrant seasonal fruits adds a refreshing touch and balance to the sweetness of pancake poppers. The natural juices complement each bite.
-
Whipped Cream: Light and airy, whipped cream enhances the fun, allowing everyone to dunk or dollop generously over their poppers. It’s a classic topping that screams indulgence!
-
Maple Syrup: The sweet, rich flavor of pure maple syrup is a match made in heaven. Drizzle it over your warm pancake poppers for that nostalgic breakfast experience.
-
Yogurt Parfait: Creamy yogurt layered with granola and berries provides a tangy contrast to the sweet poppers. This combination makes for a filling and nutritious option that feels indulgent.
-
Savory Sausages: Pairing pancake poppers with crispy, savory sausage links brings a delightful contrast between sweet and savory. Each bite evokes cozy breakfast moments.
-
Hot Chocolate or Coffee: A warm, comforting drink like hot chocolate or a perfectly brewed cup of coffee rounds out the meal beautifully, making it ideal for the perfect breakfast or brunch gathering!
Make Ahead Options
These Pancake Poppers are a dream for busy home cooks looking to save time! You can prepare the batter up to 24 hours in advance; simply mix your dry and wet ingredients as directed, then cover and refrigerate the combined batter. Additionally, you can pre-fill the muffin tin with the batter and cover it tightly to bake later. To maintain the poppers’ fluffiness, avoid overmixing the batter when you’re ready to serve; just fill your muffin tin and bake them fresh. When it’s time to enjoy your delicious pancake poppers, simply preheat the oven and bake for 12-15 minutes until golden. With these make-ahead tips, you’ll have delightful bites ready with minimal effort, making your mornings feel effortless!
Storage Tips for Pancake Poppers
Room Temperature: Pancake poppers can be kept at room temperature for up to 2 hours if served for a gathering, as long as they are in a covered container.
Fridge: Store leftover pancake poppers in an airtight container in the refrigerator for up to 4 days. Reheat them in the microwave or toaster oven to restore their warmth and crispiness.
Freezer: For longer storage, freeze pancake poppers in a single layer on a baking sheet, then transfer to a zip-top bag once frozen. They can last for up to 3 months. Reheat directly from frozen in the oven or microwave.
Reheating: To ensure they remain fluffy, reheat pancake poppers in a toaster oven or microwave, covering them with a damp paper towel to maintain moisture.
Expert Tips for Pancake Poppers
Avoid Overmixing: This is crucial to keep your pancake poppers fluffy. Mix until just combined; lumps are perfectly fine!
Grease Thoroughly: Ensure you generously grease the muffin tin with melted butter. This prevents sticking and gives a crispy exterior to your poppers.
Rest the Batter: Allowing the batter to rest for about 5 minutes before baking improves the texture and helps achieve that perfect rise.
Watch the Baking Time: Every oven is different. Keep an eye on your pancake poppers, and remove them once golden brown for the best results.
Customize Wisely: Feel free to add your favorite fillings but avoid overfilling each cup. About ¾ full is the sweet spot for perfect-sized bites.
Pancake Poppers Recipe FAQs
How do I choose ripe ingredients for my Pancake Poppers?
Absolutely! When selecting your ingredients, especially for additions like fresh berries or bananas, look for fruits that are vibrant in color without dark spots and feel firm yet slightly soft to the touch. This ensures a perfect flavor in your pancake poppers.
How should I store leftover Pancake Poppers?
Very good question! Once your pancake poppers have cooled, store them in an airtight container in the refrigerator for up to 4 days. For best results, reheat in the microwave for about 15-20 seconds or in a toaster oven until warm to keep them fluffy.
Can I freeze Pancake Poppers, and if so, how?
Absolutely! To freeze your pancake poppers, arrange them in a single layer on a baking sheet and put them in the freezer until they’re solid—about 2 hours. Then, transfer them to a zip-top freezer bag, squeezing out as much air as possible. They’ll stay fresh for up to 3 months! When you’re ready to enjoy, no need to thaw—simply reheat directly from frozen.
What if my pancake poppers come out dense?
No worries! If your pancake poppers turn out dense, it might be due to overmixing the batter. To ensure fluffiness, mix until the ingredients are just combined—lumps are completely okay! Also, ensure that your baking powder and baking soda are fresh, as expired leavening agents can affect the rise.
Are Pancake Poppers suitable for those with allergies?
Indeed! To accommodate allergies, you can easily modify the recipe. Use gluten-free flour for a gluten-free option, substitute milk with almond or oat milk for dairy-free needs, and always check the specific brands of ingredients for hidden allergens. If you’re unsure about eggs, a flaxseed egg can be a potential alternative, though it may change the texture slightly.
What mix-ins are best for Pancake Poppers?
The more the merrier! You can get creative with mix-ins for your pancake poppers. Chocolate chips, fresh berries, or shredded coconut are fantastic, while cheese and herbs are delicious for a savory twist. Just remember not to overfill, keeping it to about ¾ full for the best results!
Pancake Poppers – Fluffy Bites for Fun Mornings!
Ingredients
Equipment
Method
- Preheat your oven to 375°F (190°C) and grease a mini muffin tin with melted butter.
- Combine the all-purpose flour, sugar, baking powder, baking soda, and salt in a large mixing bowl.
- In another bowl, whisk together the buttermilk, egg, vanilla extract, and melted butter until smooth.
- Gradually pour the wet mixture into the bowl of dry ingredients, stirring gently until just combined.
- Fill each greased muffin cup about three-quarters full with the batter and add optional fillings.
- Bake for 12-15 minutes until golden brown and a toothpick comes out clean.
- Let cool for a few minutes before removing from the tin.
- Serve warm with powdered sugar or maple syrup on top.
Leave a Reply