
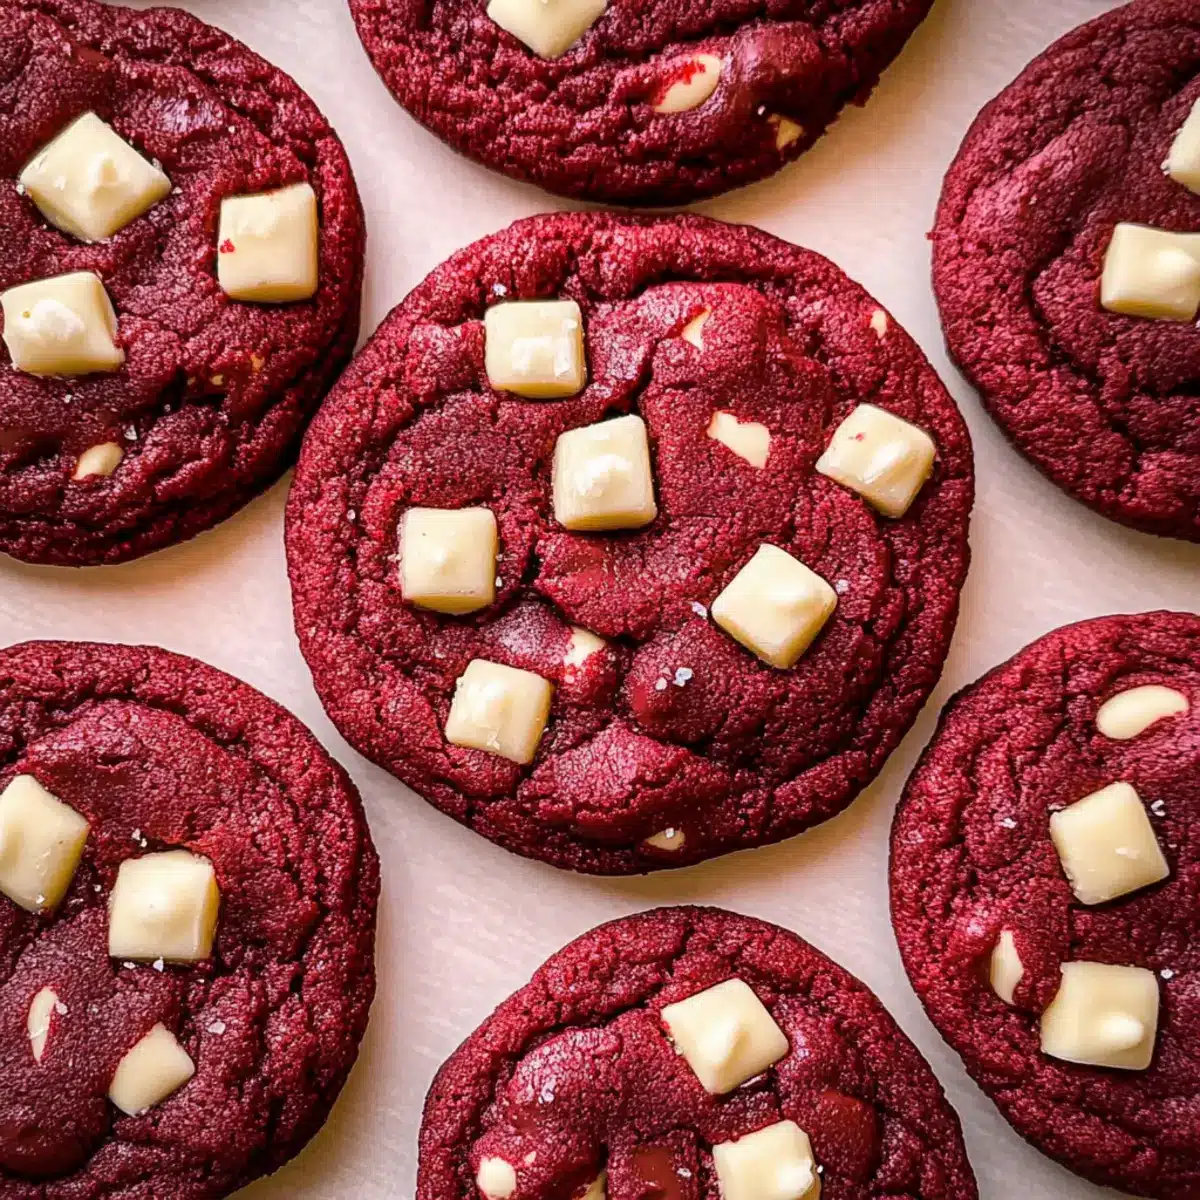
As I unwrapped the little gem of a cookie from its parchment paper, the deep crimson hue instantly lifted my spirits. These Chewy Red Velvet Cookies with White Chocolate Chunks are not just a feast for the eyes; they’re a delightful indulgence that melds rich cocoa flavors with the creamy sweetness of white chocolate. The beauty of this recipe lies in its simplicity—no chilling required, so you can create a batch in under 30 minutes! They’re perfect for any celebration, especially Valentine’s Day, as they carry a warmth that transforms ordinary moments into something special. Whether you’re a seasoned home chef or just starting out, these cookies cater to every level of expertise. With their soft, chewy centers and crisp edges, who could resist? Are you ready to let your oven work its magic and treat yourself (and maybe someone special) to these heavenly cookies?
Why Are Red Velvet Cookies So Irresistible?
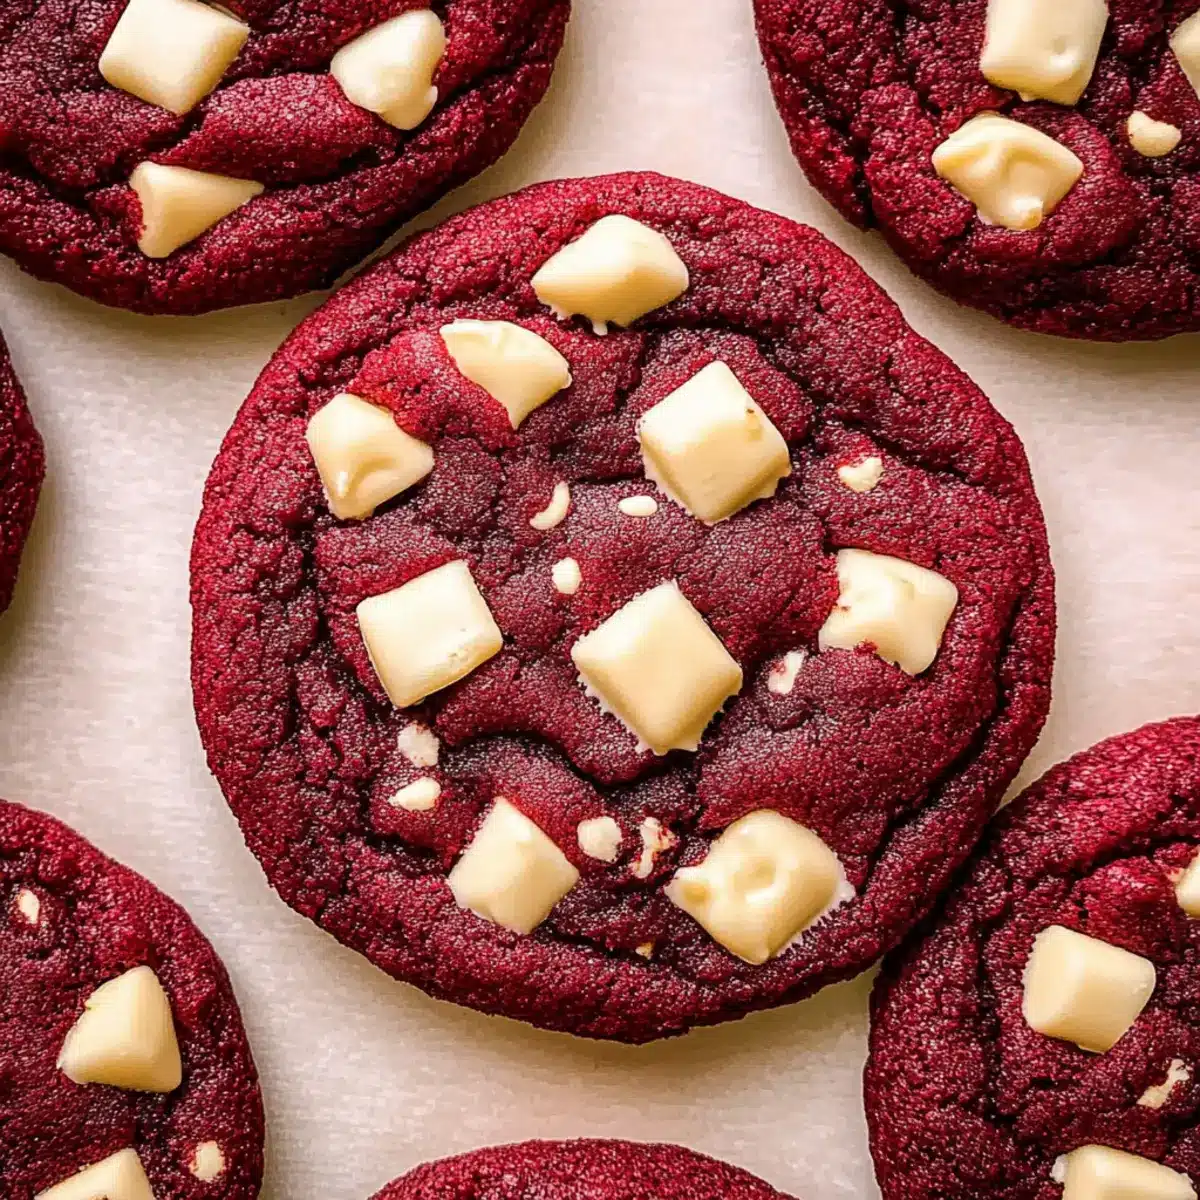
Visual Appeal: The stunning deep crimson color of these cookies makes them a showstopper at any gathering.
Quick and Easy: This recipe is perfect for busy days; you can whip up a batch in under 30 minutes.
Rich, Decadent Flavor: The blend of cocoa and creamy white chocolate creates a deliciously satisfying bite that keeps you coming back for more.
Versatile Treats: Not just for Valentine’s Day—these cookies are ideal for any occasion, from holiday parties to casual gatherings.
Crowd-Pleasing Delight: Everyone loves a cookie; these chewy red velvet numbers are sure to impress your family and friends.
For those who enjoy experimenting, consider swapping in different types of chocolate or even trying out festive versions like Cranberry Orange Cookies for new variations of fun flavors!
Red Velvet Cookie Ingredients
For the Cookie Dough
• All-Purpose Flour – Provides the structure that makes these red velvet cookies chewy and robust.
• Dutch Process Cocoa Powder – Adds a mild chocolate flavor; you can swap in regular cocoa for a more traditional taste.
• Baking Soda – A vital leavening agent that helps the cookies rise beautifully.
• Baking Powder – Works in tandem with baking soda to ensure a light and fluffy texture.
• Salt – Balances the sweetness and enhances the rich flavor of the cookie.
• Salted Butter – Infuses richness and flavor; soften before creaming for the best results.
• Light Brown Sugar – Provides sweetness and moisture; can be replaced with granulated sugar if needed.
• Granulated Sugar – Essential for those crispy edges; make sure to include it for the perfect texture.
• Egg Yolks – Contributes richness and acts as a binding agent; room temperature yolks yield the best results.
• Vanilla Extract – Boosts the overall flavor; feel free to try other extracts for a fun twist.
• Red Gel Food Coloring – Gives these cookies their iconic vibrant hue; adjust to your color preference, using 1 to 1 ½ teaspoons.
• Chopped White Chocolate or White Chocolate Chips – Adds a delightful sweetness and creamy texture; dark chocolate can be used for a twist.
Embrace the joy of baking with these red velvet cookies, perfect for any occasion!
Step‑by‑Step Instructions for Irresistibly Chewy Red Velvet Cookies
Step 1: Preheat and Prepare
Begin by preheating your oven to 350°F (175°C). As the oven warms up, line two baking sheets with parchment paper to prevent sticking and ensure even baking. This step sets the stage for your Red Velvet Cookies, creating the perfect environment for those chewy centers and crisp edges to develop beautifully.
Step 2: Mix Dry Ingredients
In a small bowl, whisk together 1 and ½ cups of all-purpose flour, 2 tablespoons of Dutch process cocoa powder, ½ teaspoon of baking soda, ½ teaspoon of baking powder, and a pinch of salt. Mixing these dry ingredients evenly ensures that your cookies will rise and bake uniformly, giving them a delightful texture. Once incorporated, set this bowl aside for the next steps.
Step 3: Cream the Sugars and Butter
In a large bowl, using an electric mixer, cream together ½ cup of softened salted butter, ½ cup of light brown sugar, and ¼ cup of granulated sugar for about 2 minutes. Beat until the mixture is light and fluffy, becoming a pale yellow color. This creaming process aerates the butter and sugars, which is essential for achieving the chewy consistency in your Red Velvet Cookies.
Step 4: Incorporate Wet Ingredients
Add 2 egg yolks, 1 teaspoon of vanilla extract, and 1 to 1½ teaspoons of red gel food coloring to the creamed mixture. Blend on medium speed for approximately 2 minutes until the mixture is fluffy and fully combined. The red food coloring is crucial for giving your cookies their signature hue, so ensure it’s evenly distributed throughout the batter.
Step 5: Combine All Ingredients
Gradually mix in the dry ingredients prepared earlier until just combined, ensuring not to overmix. The dough will begin to come together, and you should see the rich red color emerge. Stop mixing as soon as you can no longer see dry flour, as overmixing can affect the texture of your Red Velvet Cookies.
Step 6: Fold in White Chocolate
Gently fold in 1 cup of chopped white chocolate or white chocolate chips using a spatula. This step allows the chocolate to be evenly distributed throughout the dough without deflating it. The creamy sweetness of the white chocolate will melt beautifully when baked, creating delightful pools of flavor in your cookies.
Step 7: Shape the Cookie Dough
Using a cookie scoop or tablespoon, portion out the dough into 18 equal balls and place them on the prepared baking sheets, ensuring they are spaced about 2 inches apart. This spacing allows the cookies to spread without merging together during baking. They should look round and fresh, ready to rise in the oven.
Step 8: Bake to Perfection
Place the baking sheets in the oven and bake for 10-12 minutes, rotating the sheets halfway through for even baking. The cookies are ready when the edges are set but the centers remain soft, appearing slightly underbaked for chewy textures. Keep a close eye on them—this ensures your Red Velvet Cookies achieve that delightful chew.
Step 9: Cool and Serve
Once baked, remove the cookies from the oven and let them cool on the baking sheets for about 5 minutes. This brief resting period allows them to firm up while maintaining their signature chewiness. Afterward, transfer them to a wire rack to cool completely, enjoying their rich color and inviting aroma as they settle.
Make Ahead Options
These Red Velvet Cookies are perfect for meal prep enthusiasts! You can prepare the cookie dough up to 3 days in advance by mixing all the ingredients together and storing it in an airtight container in the refrigerator. To maintain their delightful texture, allow the dough to sit at room temperature for about 15-20 minutes before baking to ensure even cooking. If you prefer, you can also scoop the dough into balls and freeze them for up to 2 weeks—just remember to thaw them before baking. When you’re ready to enjoy these treats, bake them straight from the fridge or freezer, adding a minute or two to the baking time, and you’ll have freshly baked Red Velvet Cookies with minimal effort!
How to Store and Freeze Red Velvet Cookies
Room Temperature: Store leftover cookies in an airtight container at room temperature for up to 3 days. This keeps them soft and chewy, ready for snacking!
Fridge: If you prefer a longer shelf life, place the cookies in an airtight container in the fridge for up to a week. They’ll still taste great, though may lose some chewiness.
Freezer: For longer storage, freeze the cookies in a single layer on a baking sheet, then transfer to a freezer-safe container. They can be stored for up to 2 weeks.
Reheating: To enjoy frozen Red Velvet Cookies, simply thaw them at room temperature or microwave for a few seconds until warm. The centers will regain some of their delightful chewiness!
Red Velvet Cookies: Delicious Variations
Feel free to explore these delightful variations for a fun twist on your Red Velvet Cookies!
-
Dark Chocolate: Substitute white chocolate with dark or semi-sweet chocolate for a rich, deeper flavor.
-
Nuts: Add chopped pecans or walnuts for an enticing crunch that complements the cookie’s chewiness perfectly. The nutty aroma will entice everyone around.
-
Floral Twist: Infuse your dough with a splash of almond or rose extract for a floral note that makes each bite feel special. It’s a unique way to elevate your cookie experience!
-
Vegan Option: Replace the butter with coconut oil and use flax eggs for a dairy-free and egg-free treat. These cookies will still turn out chewy and delicious!
-
Spicy Kick: Incorporate a pinch of cayenne pepper or cinnamon to the dough for a subtle warmth that plays beautifully with the sweetness.
-
Mini Cookies: Use a smaller scoop for bite-sized cookies, perfect for gatherings or cookie platters. These mini versions will be a hit with kids and guests alike!
-
Rainbow Fun: Experiment with different food coloring to create an array of colorful cookies, perfect for festive occasions or birthday celebrations.
For those looking for more inspiration, consider mixing in aspects from our Chocolate Chip Cookies or adding a zing with Cranberry Orange Cookies! The possibilities are endless when baking at home.
What to Serve with Chewy Red Velvet Cookies with White Chocolate Chunks
Imagine your kitchen filled with the irresistible aroma of freshly baked cookies, perfectly warm and begging to be paired with something delightful.
-
Creamy Vanilla Ice Cream: The richness of creamy vanilla ice cream perfectly balances the cocoa notes of the cookies, creating a heavenly dessert experience. Imagine the melting ice cream mingling with the warm, chewy cookie—a treat your taste buds will never forget.
-
Milk Chocolate Milkshake: A thick and indulgent milkshake enhances the sweetness of the cookies and makes for a nostalgic childhood treat. The combination is a fantastic way to enjoy a playful twist on flavors.
-
Decadent Chocolate Ganache: Drizzling a rich chocolate ganache over your cookies adds an extra layer of sweetness and a touch of sophistication, making them even more irresistible.
-
Fresh Berries: The tartness of fresh raspberries or strawberries cuts through the sweetness, bringing a refreshing contrast that brightens every bite. Pairing cookies with berries creates a delightful balance and adds a pop of color to your serving platter.
-
Hot Chocolate: On a chilly day, the warmth of a cozy mug of hot chocolate alongside these cookies is pure bliss. The comforting flavors of chocolate complement one another beautifully, making each moment feel special.
-
Flavored Coffee: A cup of hazelnut or vanilla coffee can enhance the cookie’s sweetness and deepen the flavors, turning your treat into an elevated dessert experience. The aromatic coffee creates a lovely harmony, making your cookie time feel even more cozy.
-
Chocolate-Covered Strawberries: For a festive touch, serve your cookies with chocolate-covered strawberries. Their bright colors and flavors elevate your dessert spread, perfect for any special occasion.
-
Red Velvet Cake Pops: For a fun twist, red velvet cake pops echo the flavors of your cookies while adding a playful element to your dessert table. Their bite-sized nature makes them perfect for sharing and indulging.
Expert Tips for Red Velvet Cookies
-
Measure Flour Properly: Use the spoon-and-level method to ensure accurate flour measurement. Avoid packing flour, which can lead to dense cookies.
-
Beat for Texture: Cream the butter and sugars until light and fluffy. This step is vital for achieving the cookie’s signature chew and tenderness.
-
Watch the Bake Time: For chewy centers, remove cookies when the edges are set but the middle looks slightly underbaked. They will continue to firm up while cooling.
-
Use Room Temperature Eggs: This helps the ingredients blend more easily, creating a more cohesive dough for your Red Velvet Cookies.
-
Space Them Out: Ensure you leave about 2 inches between cookie dough balls on the baking sheet. This allows for even spreading and prevents them from puffing up too much.
Red Velvet Cookies Recipe FAQs
How do I choose the right ripeness of ingredients?
Absolutely! For the best results, use room temperature ingredients like butter and egg yolks. The butter should be softened but still slightly cool to the touch. This allows for better creaming and a fluffier texture. If using brown sugar, make sure it’s fresh and free of lumps, as hardened sugar can affect the cookie’s overall texture.
How should I store my Red Velvet Cookies?
You can store these cookies in an airtight container at room temperature for up to 3 days. If you want to keep them longer, placing them in the refrigerator extends their freshness to about 1 week. Just keep in mind that they may lose some of their chewy texture when chilled.
Can I freeze my Red Velvet Cookies?
Yes! Simply freeze the cookies in a single layer on a baking sheet for about 2 hours, then transfer them to a freezer-safe container or a resealable bag. They can be stored for up to 2 weeks. To enjoy, thaw at room temperature or microwave for a few seconds to warm up—this will help restore their delightful chewiness!
What should I do if my cookie dough seems too dry?
If your dough appears crumbly or too dry, don’t worry! Simply add a teaspoon of milk or water to the mixture and mix gently until it becomes cohesive. Avoid overmixing, as it can lead to tougher cookies. On the other hand, if it’s too wet, gradually incorporate a bit more flour until the texture is just right.
Are there any allergens to consider in this recipe?
Very! These Red Velvet Cookies contain common allergens such as wheat (due to flour), dairy (from butter and white chocolate), and eggs. If you or someone you’re serving has allergies, consider substituting with alternatives—like using gluten-free flour, dairy-free butter, and an egg replacer—as it’s important to cater to dietary needs while enjoying delicious home-baked treats.
Irresistibly Chewy Red Velvet Cookies You’ll Love
Ingredients
Equipment
Method
- Preheat your oven to 350°F (175°C) and line two baking sheets with parchment paper.
- In a small bowl, whisk together 1.5 cups of all-purpose flour, 2 tablespoons of Dutch process cocoa powder, 0.5 teaspoon of baking soda, 0.5 teaspoon of baking powder, and a pinch of salt.
- In a large bowl, cream together 0.5 cups of salted butter, 0.5 cups of light brown sugar, and 0.25 cups of granulated sugar for about 2 minutes until light and fluffy.
- Add 2 egg yolks, 1 teaspoon of vanilla extract, and 1 to 1.5 teaspoons of red gel food coloring to the creamed mixture; blend until fluffy.
- Gradually mix in the dry ingredients until just combined, being careful not to overmix.
- Fold in 1 cup of chopped white chocolate or white chocolate chips with a spatula.
- Using a cookie scoop, portion out the dough into 18 balls and place them on the prepared baking sheets, spaced about 2 inches apart.
- Bake for 10-12 minutes, rotating the sheets halfway through until the edges are set but the centers remain soft.
- Let the cookies cool on the baking sheets for about 5 minutes before transferring them to a wire rack to cool completely.
Leave a Reply