
As I gathered fresh strawberries at the farmers’ market, I couldn’t help but think of the endless possibilities these vibrant gems could inspire in my kitchen. Enter Strawberry Crunch Cheesecake Cones—a delightful, no-bake summer treat that beautifully combines creamy, rich cheesecake with the bright flavors of ripe strawberries, all nestled in a crunchy waffle cone. This recipe not only makes preparation a breeze, but it is also a guaranteed crowd-pleaser for any gathering. With just a handful of ingredients and straightforward steps, you’ll have a stunning dessert that everyone will love. Ready to transform those strawberries into an irresistible treat? Let’s dive in!
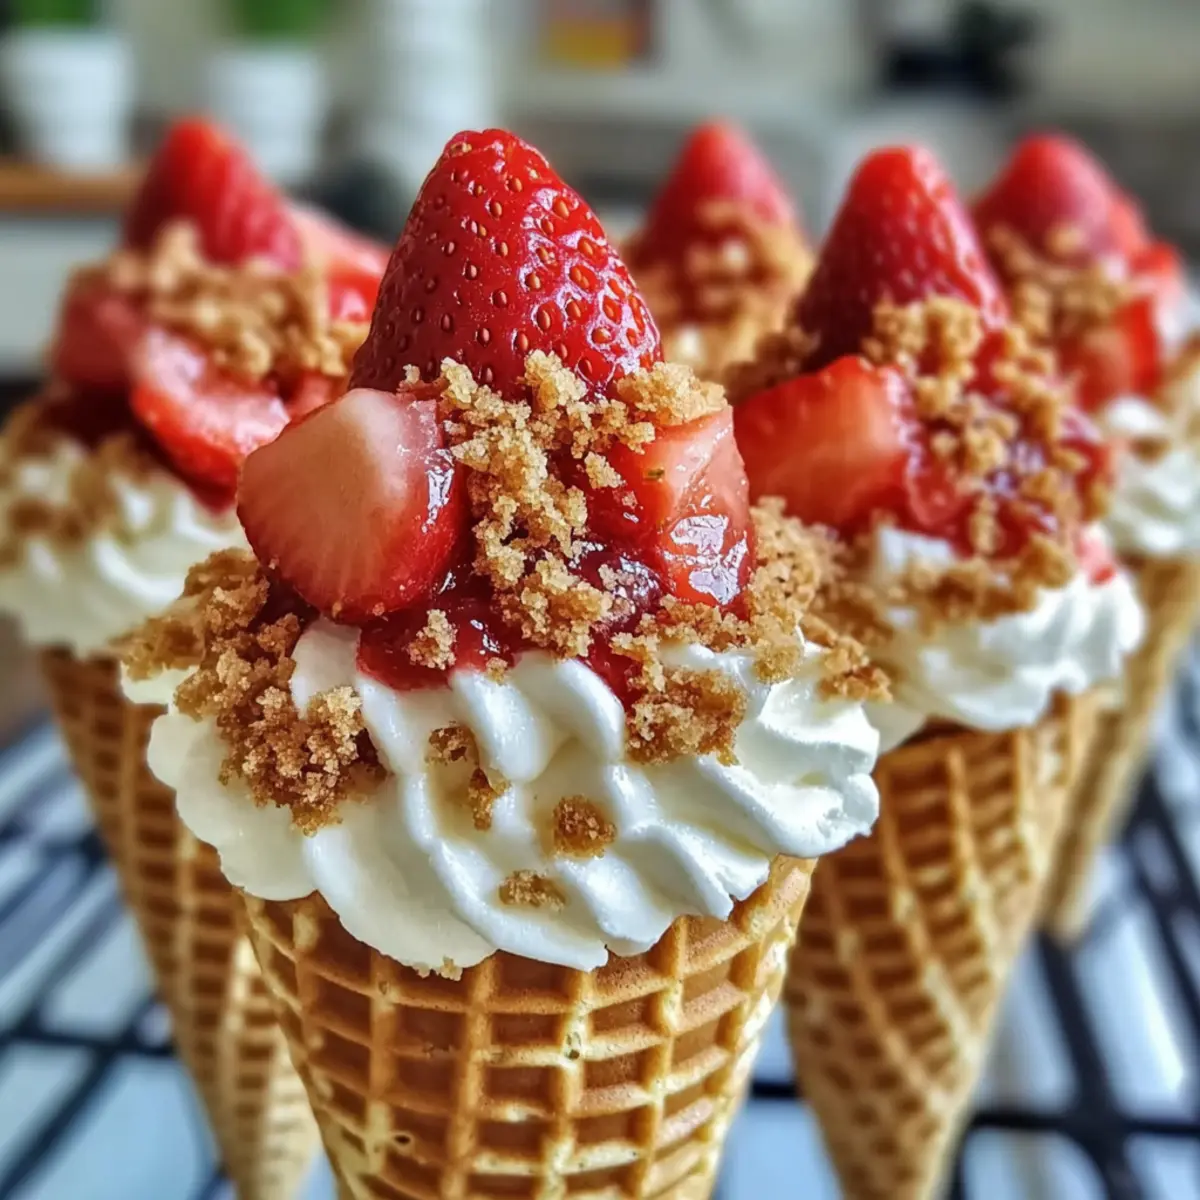
Why are these cones so irresistible?
Effortless Preparation: You only need a few simple ingredients and no baking required, making these Strawberry Crunch Cheesecake Cones a breeze to whip up for any occasion.
Crowd-Pleasing Flavor: The combination of creamy cheesecake and fresh strawberries creates a delightful taste that everyone will rave about.
Fun Presentation: These cones are not only delicious but also visually stunning, making them perfect for summer parties, barbecues, and picnics.
Versatile Options: Feel free to swap in your favorite berries or cookies to customize this dessert to your liking—try adding blueberries or crushed Oreos for a delicious twist!
Quick Chill Time: Just let the assembled cones chill for an hour, and they’re ready to impress your guests as a refreshing treat.
Pair these delightful cones with some Strawberry Cheesecake Cookies for an even sweeter spread!
Strawberry Crunch Cheesecake Cones Ingredients
• To create the perfect Strawberry Crunch Cheesecake Cones, gather these essential ingredients:
For the Cones
- Waffle Cones – Choose store-bought for convenience, or elevate the flavor by making your own at home.
For the Cheesecake Filling
- Cream Cheese – Ensure it’s softened to room temperature for a smooth, creamy texture in your cheesecake.
- Heavy Cream – Whip until stiff peaks form; be careful not to over-whip for a light and airy filling.
- Sugar – This granulated sugar adds the right level of sweetness; adjust according to your taste preferences.
For the Strawberry Layer
- Fresh Strawberries – Use ripe, juicy strawberries for the best flavor; feel free to experiment with other berries if desired.
- Freeze-Dried Strawberries – These enhance flavor and provide added crunch; swap with crushed nuts for a different texture.
For the Topping
- Vanilla Wafer Cookies – Crushed for a delightful crunch on top; to change things up, graham cracker crumbs work well too.
With these ingredients, you’re all set to whip up your Strawberry Crunch Cheesecake Cones—a delightful no-bake dessert that’s sure to impress!
Step-By-Step Instructions for Strawberry Crunch Cheesecake Cones
Step 1: Prepare Strawberry Sauce
Begin by placing fresh strawberries and sugar in a small saucepan over medium heat. Cook for about 5-7 minutes until the strawberries have softened and released their juices, stirring occasionally. Once cooked, transfer the mixture to a blender and puree until smooth. Let the strawberry sauce cool completely before using it in the cones, as this will help maintain the texture of the cheesecake filling.
Step 2: Make Cheesecake Filling
In a mixing bowl, beat softened cream cheese and granulated sugar together until smooth and creamy, about 2-3 minutes using an electric mixer. In a separate bowl, whip heavy cream until stiff peaks form, being careful not to over-whip. Gently fold the whipped cream into the cream cheese mixture until well combined, creating a light and airy filling that will perfectly complement the Strawberry Crunch Cheesecake Cones.
Step 3: Assemble Cones
Take your waffle cones and start layering with the prepared cheesecake filling. Use a spoon to fill each cone about halfway, then drizzle a generous amount of the cooled strawberry sauce over the filling. Continue layering with more cheesecake filling until the cone is filled to the top, allowing some space for toppings. This creates a beautiful, inviting presentation for your Strawberry Crunch Cheesecake Cones.
Step 4: Add Toppings
Once filled, sprinkle crushed vanilla wafer cookies generously over the top of each assembled cone, pressing gently to ensure they stick. For added crunch and flavor, you can also sprinkle some freeze-dried strawberries or your choice of nuts. This final touch will bring not only additional flavor but also an appealing visual contrast to the creamy cheesecake filling.
Step 5: Chill
Carefully place the assembled Strawberry Crunch Cheesecake Cones upright in the refrigerator. Allow them to chill for at least 1 hour. This chilling time is crucial as it allows the flavors to meld beautifully and helps the filling set properly, resulting in a delightful dessert that is refreshing and ready to serve when you’re ready to impress your guests.
Step 6: Serve
After chilling, your Strawberry Crunch Cheesecake Cones are ready to be served! Carefully remove them from the refrigerator and place them on a serving platter. These cones are best enjoyed cold, making them a perfect treat on a warm day. Share them with family and friends, or keep them as a sweet, personal delight to brighten your day.
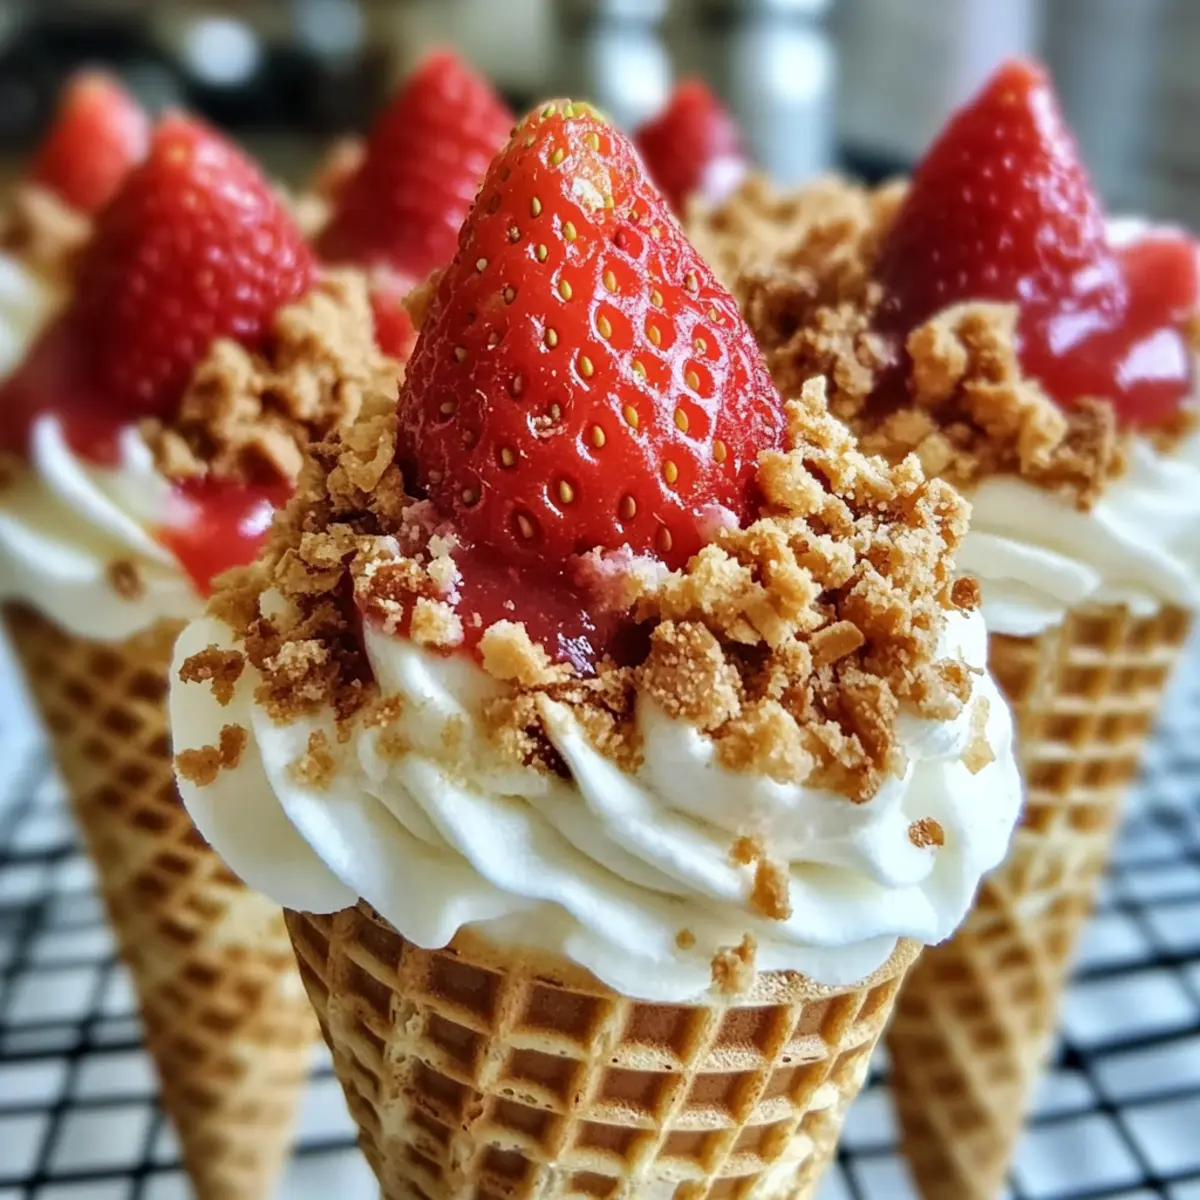
Storage Tips for Strawberry Crunch Cheesecake Cones
-
Fridge: Refrigerate the assembled Strawberry Crunch Cheesecake Cones for up to 1 day. For best texture, prepare the cones shortly before serving.
-
Freezer: If you’d like to freeze any leftovers, wrap them tightly in plastic wrap and store in an airtight container for up to 2 weeks. Thaw in the fridge overnight before enjoying.
-
Reheating: These cones are best served cold and do not require reheating. Simply enjoy them right out of the fridge for a refreshing treat.
-
Assembling Tip: To maintain crunch, avoid filling all the cones at once; assemble them fresh when ready to serve for maximum delight!
Make Ahead Options
These Strawberry Crunch Cheesecake Cones are ideal for meal prep, making them a perfect choice for busy weeknights or summer gatherings. You can prepare the cheesecake filling and strawberry sauce up to 24 hours in advance; simply store them in airtight containers in the refrigerator to maintain their quality. The waffle cones can be kept at room temperature until you’re ready to assemble. When it’s time to serve, fill the cones with the cheesecake mixture, drizzle them with the cooled strawberry sauce, and sprinkle with crushed vanilla wafers for that delightful crunch. This way, you’ll enjoy a fresh, restaurant-quality dessert with minimal last-minute effort!
What to Serve with Strawberry Crunch Cheesecake Cones
Elevate your dessert experience with delightful companions that balance the creamy, fruity bliss of these cones.
-
Fresh Fruit Salad: A medley of seasonal fruits adds a refreshing, juicy contrast, enhancing the fruity essence of the dessert. This light pairing will cleanse the palate and give a burst of nature’s sweetness.
-
Mint-Infused Lemonade: A cool, citrusy drink is perfect for warm days. Its zesty brightness harmonizes beautifully with the cheesecake sweetness!
-
Chocolate Dipped Strawberries: Rich chocolate complements the fresh strawberry flavor, creating a decadent duo. A delightful combination for those who crave that classic pairing.
-
Vanilla Ice Cream: A scoop of creamy vanilla ice cream provides a delightful creaminess that mirrors the cheesecake filling while offering a contrasting temperature. A luxurious touch to each cone bite!
-
Grilled Peaches: Caramelized peaches with a hint of char provide a warm, sweet element that complements the cool dessert. Their juicy texture brings an unexpected twist to your dinner table.
-
Pineapple Sorbet: This tropical treat is light and refreshing, perfectly counteracting the richness of the cones. An icy scoop offers a delightful fruitiness that pairs beautifully.
-
Almond Biscotti: Offering a satisfying crunch, these cookies make an excellent companion, perfect for dipping in the creamy cheesecake. They introduce a delightful nuttiness to each bite.
-
Prosecco or Sparkling Wine: A glass of bubbly adds elegance to any gathering. The effervescence cuts through the richness, leaving a refreshing finish on the palate.
This delicious array of pairings ensures your Strawberry Crunch Cheesecake Cones shine even brighter at your next gathering!
Strawberry Crunch Cheesecake Cones Variations
Feel free to get creative and customize this delectable dessert to suit your taste buds!
- Berry Mix-Up: Substitute fresh strawberries with a mix of raspberries, blueberries, or blackberries for a colorful and refreshing twist. Each berry brings a unique flavor that enhances the cheesecake experience.
- Cookie Twist: Swap out vanilla wafer cookies for crushed Oreos or gingersnaps to add a flavor dimension, making each bite an exciting surprise. The rich flavors of these cookies elevate the overall experience.
- Chocolate Delight: Fold in cocoa powder into the cheesecake filling or drizzle with melted chocolate over the top for a lovely chocolatey version. Chocolate lovers will definitely want to dig into this variation!
- Enhanced Crunch: Replace freeze-dried strawberries with crushed almonds or pecans for a nutty flavor and extra crunch that complements the creamy filling. This adds texture and a delightful nutty aroma.
- Dairy-Free Option: Use coconut cream and dairy-free cream cheese to create a delightful non-dairy version of the cheesecake filling that everyone can enjoy. This offers a unique tropical flair while keeping it creamy.
- Citrus Zing: Add zest from a lemon or lime to the cheesecake filling for a zesty brightness that pairs beautifully with strawberries. This refreshing hint will awaken your taste buds!
- Layered Parfait Style: Instead of cones, layer the cheesecake filling and strawberry sauce in cups for a parfait-style treat—perfect for a more formal presentation. Plus, it’s just as delicious!
- No-Bake Bars: Press the filling into a lined baking dish for a no-bake cheesecake bar option, cutting them into squares instead of serving in cones for a fun shareable dessert. Enjoy alongside Chocolate Cheesecake Bars for a great dessert combo!
With these creative variations, there’s no limit to how you can enjoy Strawberry Crunch Cheesecake Cones! Go ahead and create your favorite combinations today.
Expert Tips for Strawberry Crunch Cheesecake Cones
• Softened Cream Cheese: Always make sure your cream cheese is fully softened to avoid lumps in the cheesecake filling. A perfectly smooth texture is key!
• Whipping Tips: Whip the heavy cream just until stiff peaks form; over-whipping can lead to a grainy texture. You want light and airy filling for the best Strawberry Crunch Cheesecake Cones.
• Cool Sauce Completely: Allow the strawberry sauce to cool completely before adding it to the filling. This prevents the filling from melting, maintaining its lovely consistency.
• Chill for Best Results: Don’t skip the chilling step! Refrigerate the assembled cones for at least 1 hour to ensure flavors meld and the filling sets beautifully.
• Layering Technique: When assembling, fill the cones halfway with cheesecake, then drizzle strawberry sauce, and finish with more filling. This creates a gorgeous layered effect!
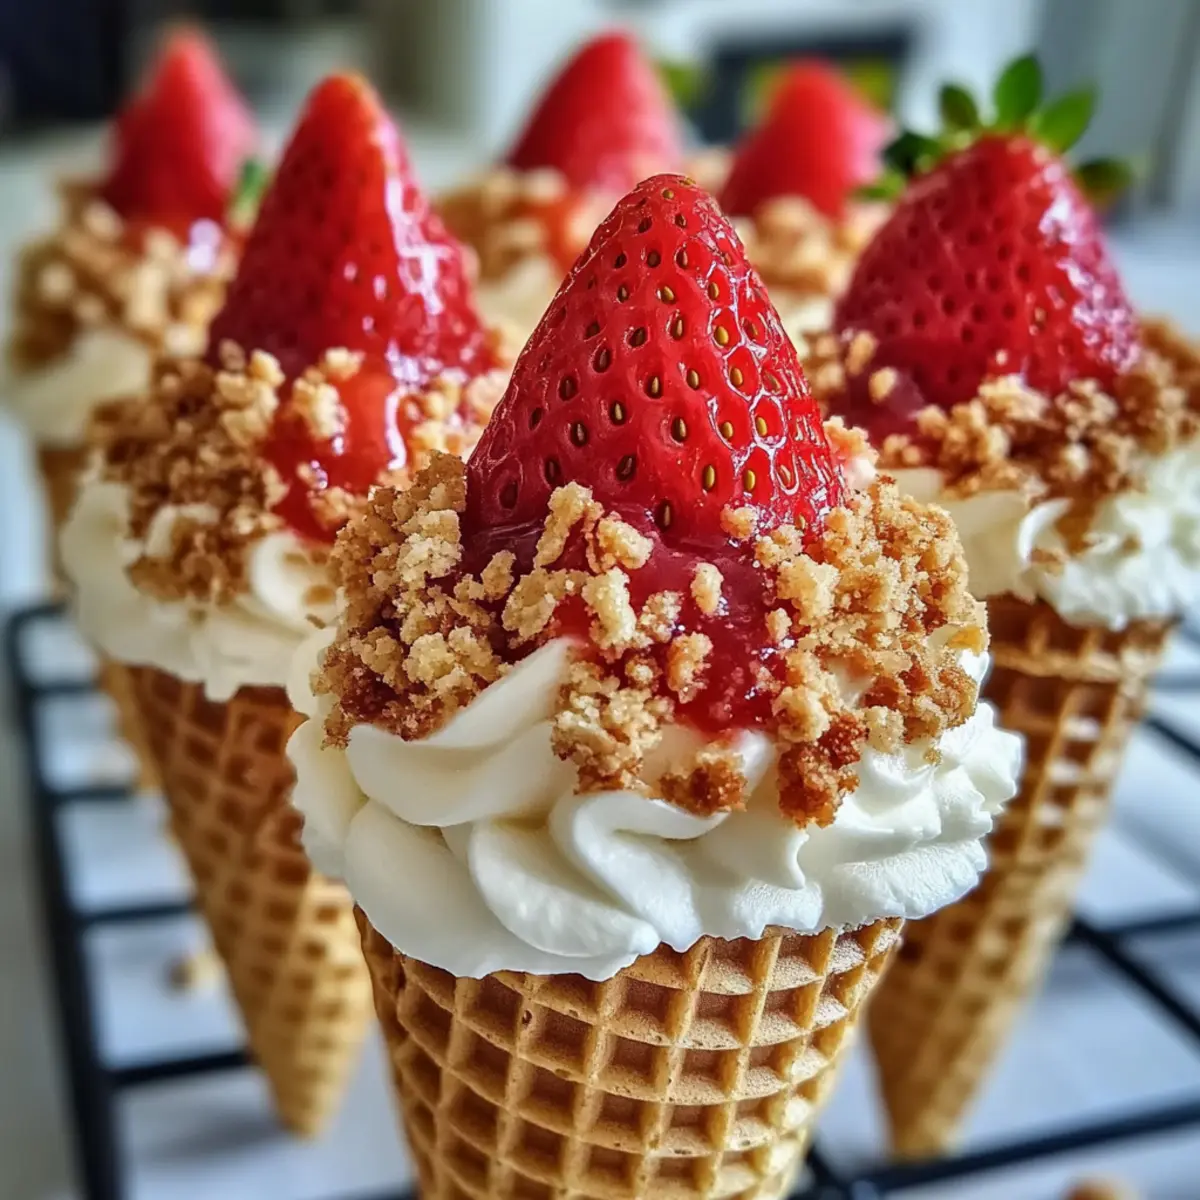
Strawberry Crunch Cheesecake Cones Recipe FAQs
What kind of strawberries should I use?
Absolutely! For the best flavor, select ripe, juicy fresh strawberries. Look for bright red, plump berries without any dark spots or mushiness. If you wanted to try a different flavor, feel free to substitute fresh strawberries with berries like raspberries or blueberries!
How should I store the assembled cones?
Refrigerate your assembled Strawberry Crunch Cheesecake Cones for up to 1 day. However, for optimum crunch and flavor, it’s best to assemble them just before serving. If they are prepared too early, the waffle cones may become soggy.
Can I freeze these cheesecake cones?
Yes! If you have leftovers, you can wrap them tightly in plastic wrap and store them in an airtight container in the freezer for up to 2 weeks. When you’re ready to enjoy, thaw them overnight in the fridge. This helps maintain the cones’ texture and flavor.
What can I do if the cheesecake filling is too runny?
If you find your cheesecake filling is too runny, it’s likely the heavy cream may have been over-whipped. To remedy this, you can try adding a bit more softened cream cheese to thicken it up. Beat the mixture gently until incorporated. Alternatively, chill the filling for a bit longer before assembling to help it set.
Are these cones suitable for different dietary needs?
While the Strawberry Crunch Cheesecake Cones aren’t specifically designed for special diets, they’re generally safe for most. However, if you have allergies, be cautious with cross-contamination from dairy and gluten in the waffle cones and cream cheese. For a gluten-free option, you can use gluten-free cones and adjust the cookies accordingly. Enjoy with care!
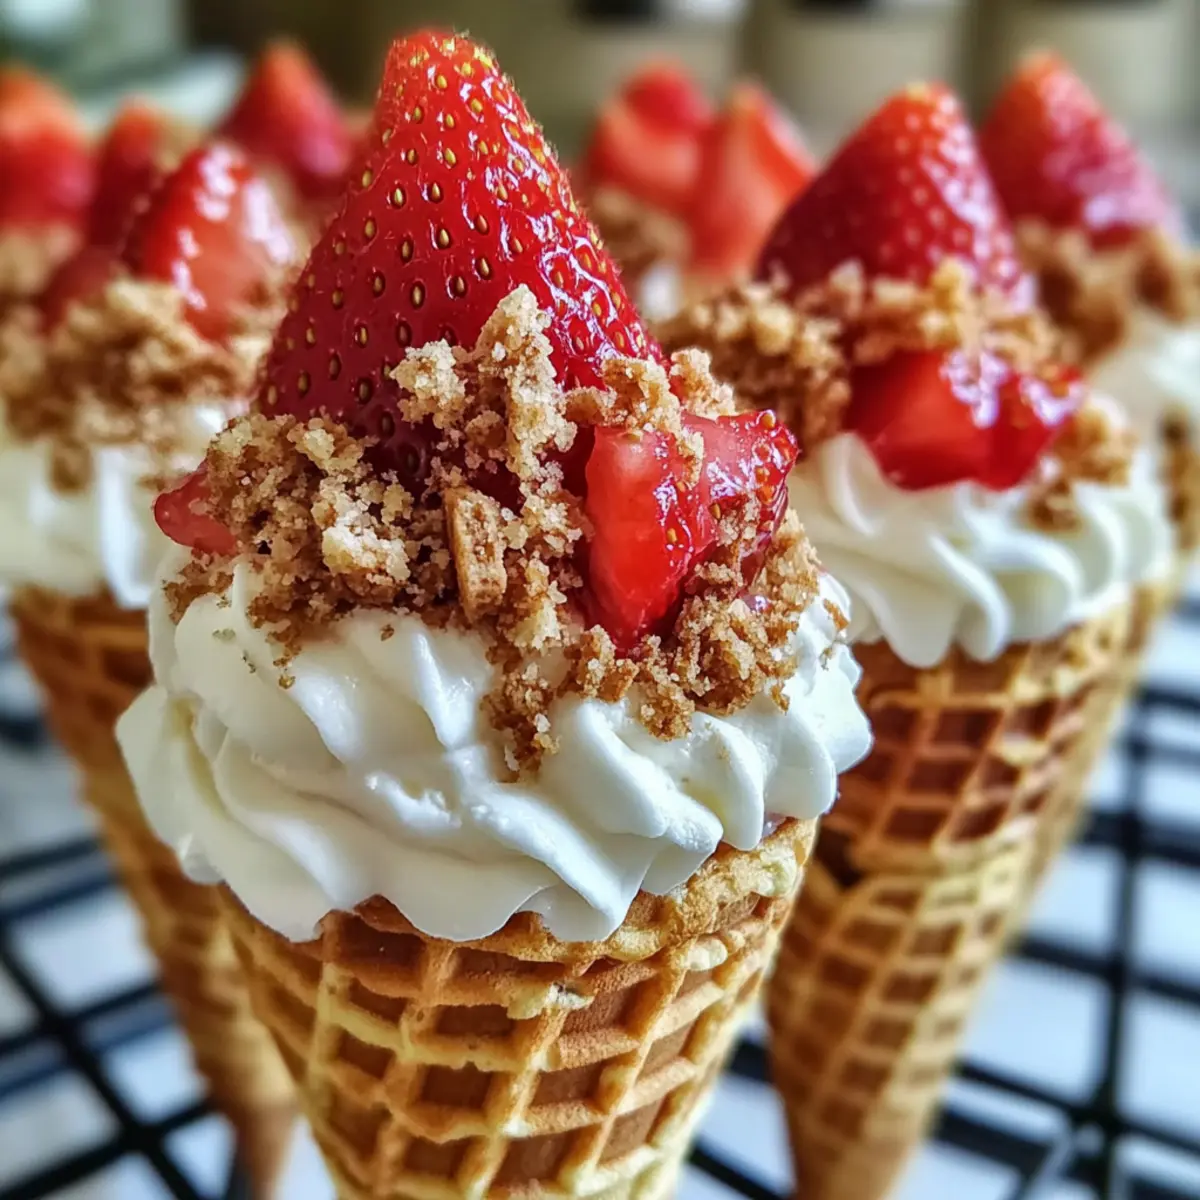
Strawberry Crunch Cheesecake Cones for Effortless Summer Joy
Ingredients
Equipment
Method
- Prepare Strawberry Sauce by cooking fresh strawberries and sugar in a saucepan until softened. Puree and cool.
- Make Cheesecake Filling by beating cream cheese and sugar, then folding in whipped heavy cream.
- Assemble Cones by layering cheesecake filling and drizzling with strawberry sauce in waffle cones.
- Add Toppings by sprinkling crushed vanilla wafers and/or freeze-dried strawberries on top.
- Chill cones upright in the refrigerator for at least 1 hour.
- Serve cold and enjoy your Strawberry Crunch Cheesecake Cones!
Leave a Reply