
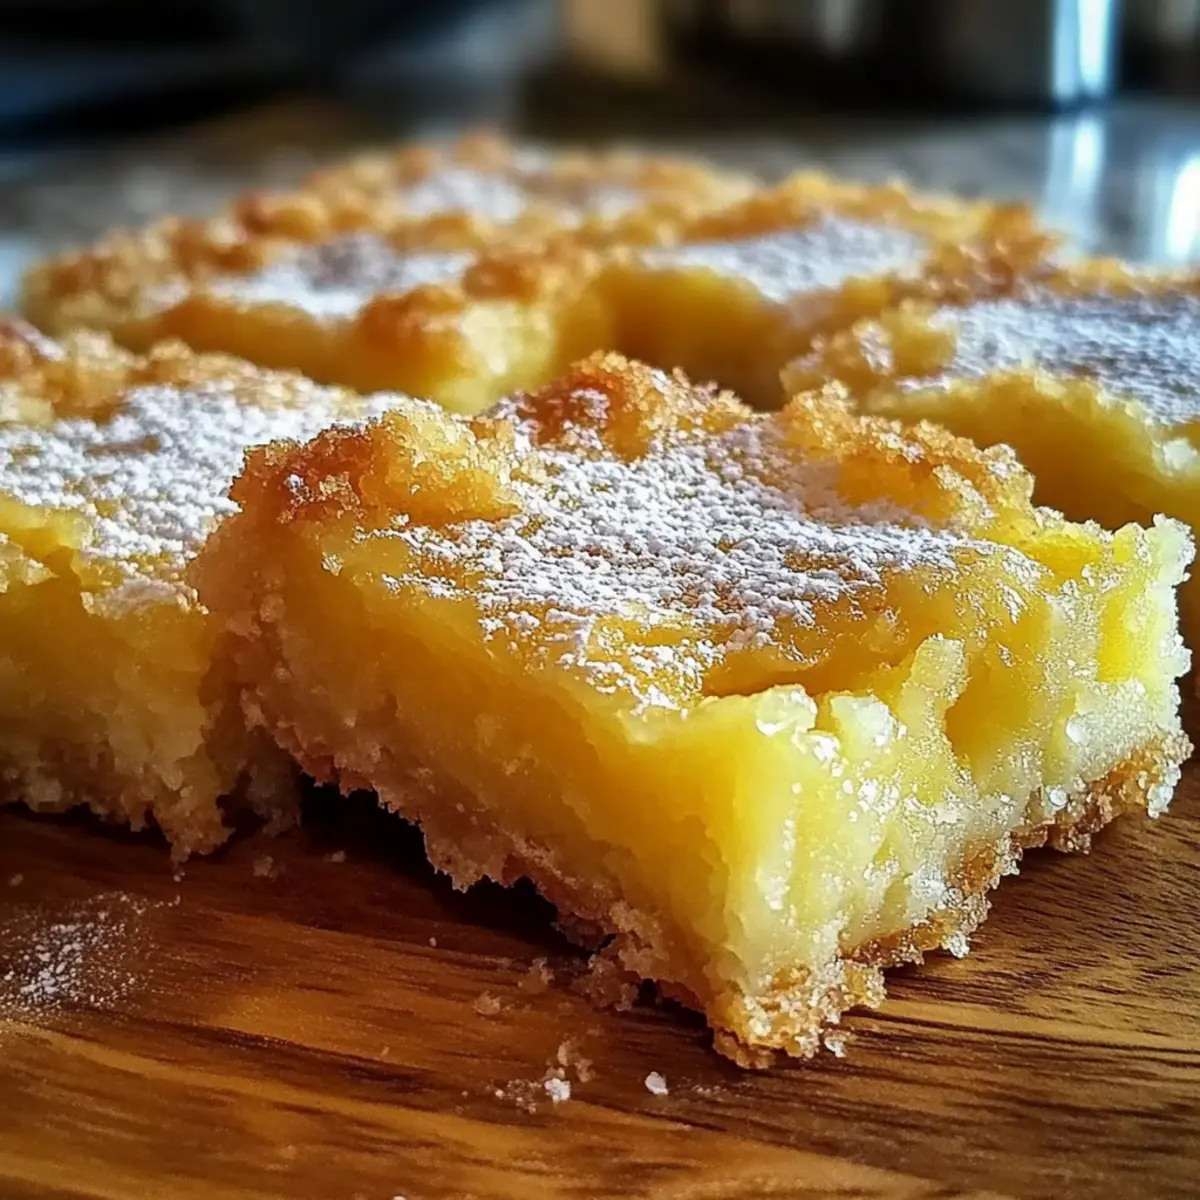
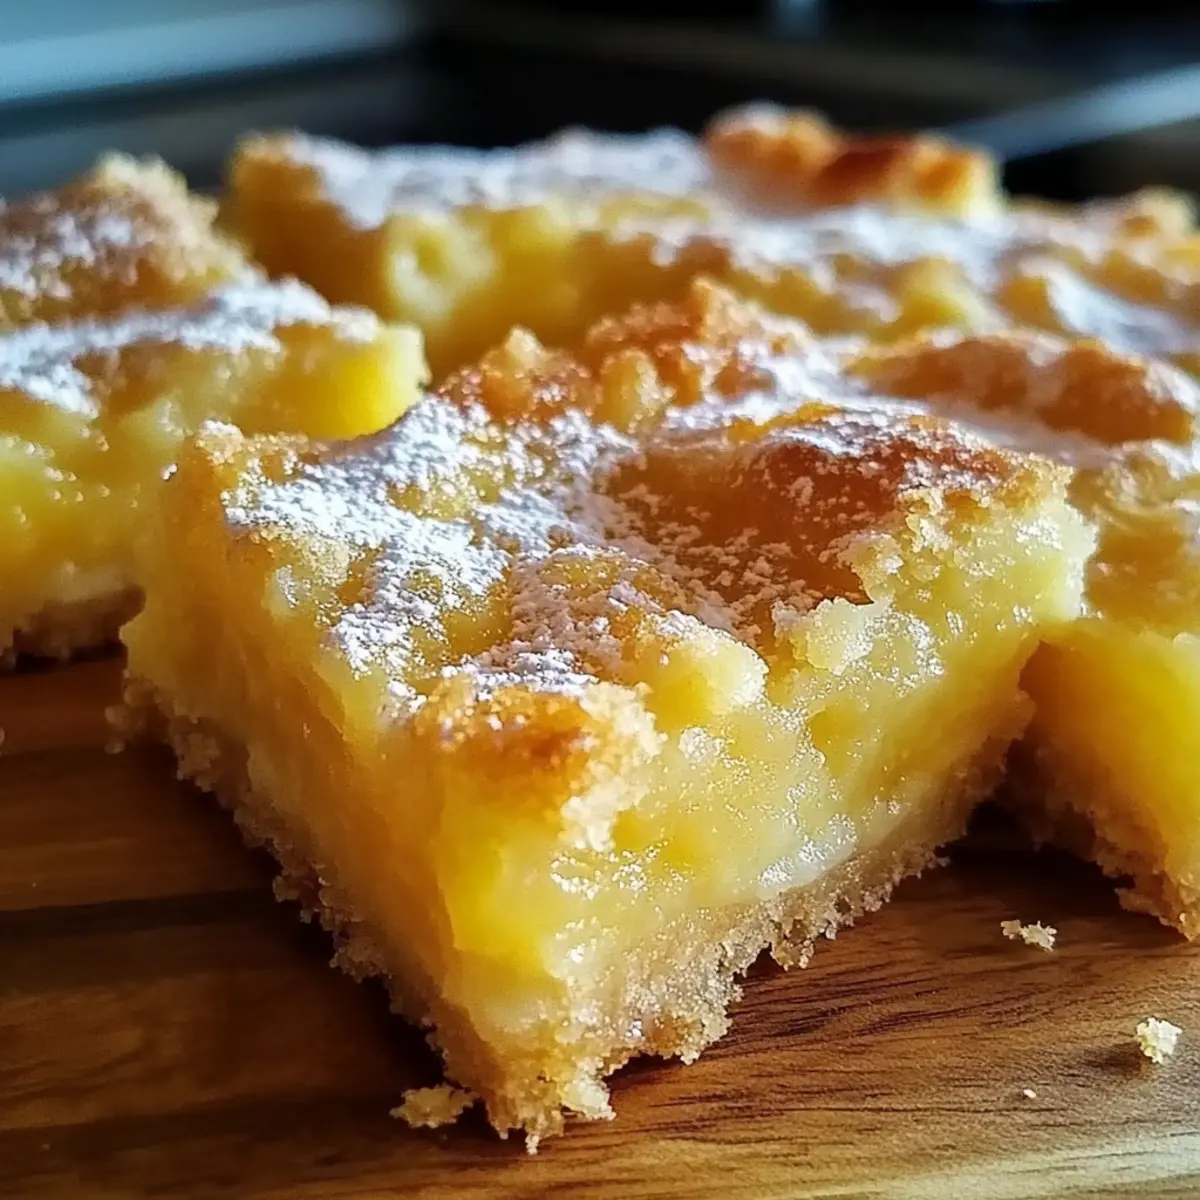
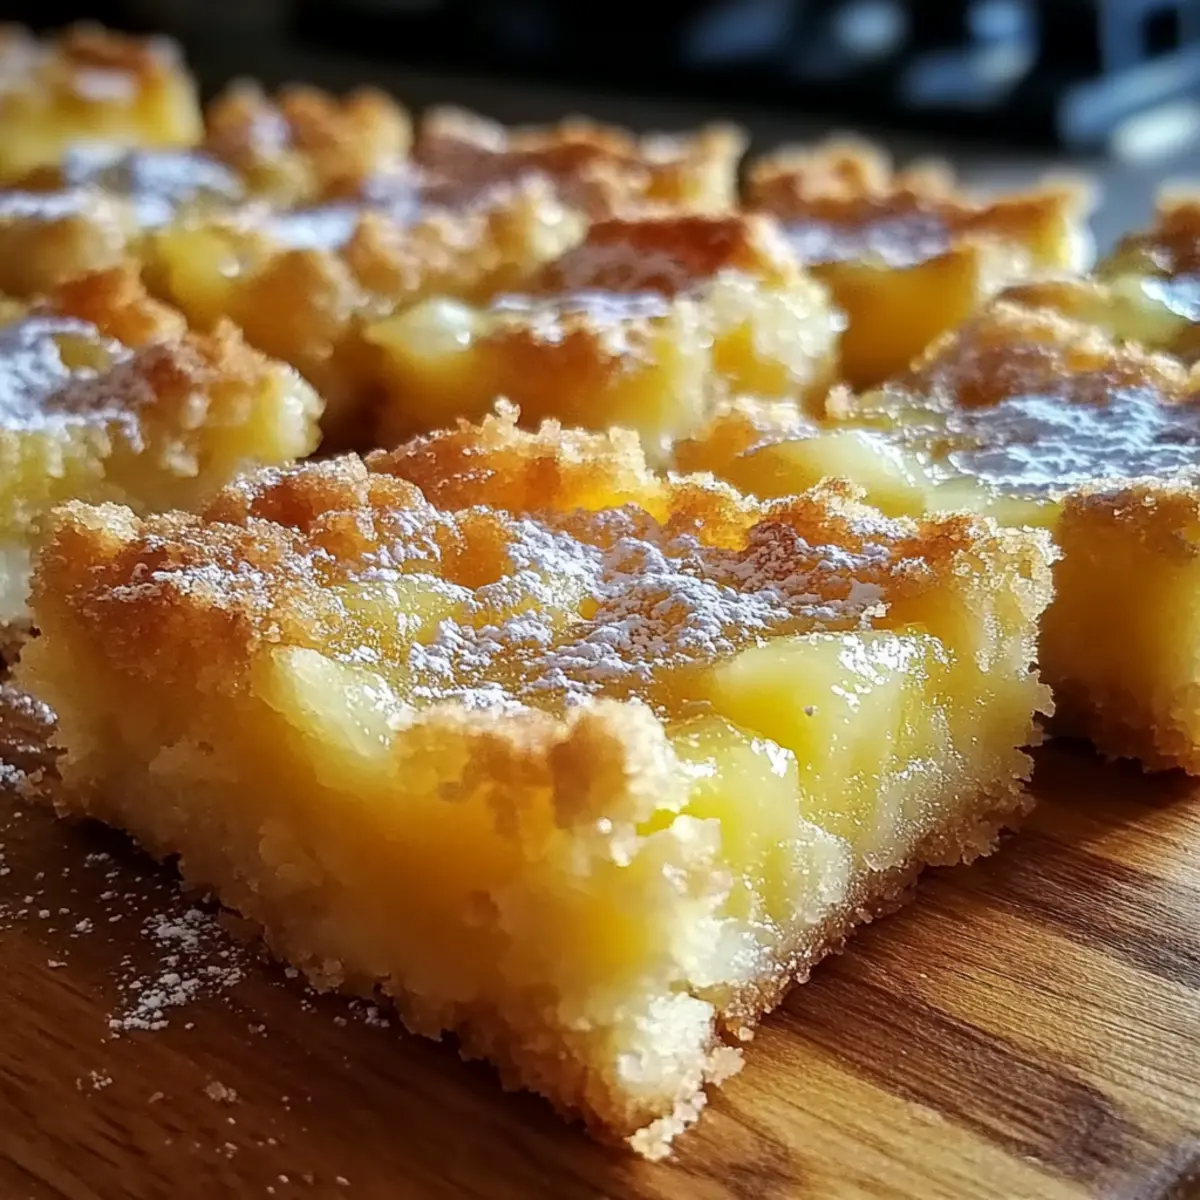
The aroma of sun-kissed pineapples brings back vivid memories of my favorite beach vacations, and now, I can recreate that bliss right in my kitchen with Pineapple Bliss Bars. This easy-to-make tropical dessert is a true crowd-pleaser, featuring a creamy, buttery base that harmonizes beautifully with the bright sweetness of ripe pineapples. Whether you’re hosting a summer gathering or simply yearning for a little sunshine on a cozy afternoon, these bars are the perfect solution to satisfy any sweet tooth. And the best part? They come together quickly, freeing up your time for more summer fun! Ready to indulge in a slice of paradise? Let’s get started!

Why are Pineapple Bliss Bars irresistible?
Tropical Escape: With every bite, you’ll be whisked away to a sun-drenched beach, thanks to the delightful blend of pineapple and coconut.
Ease of Preparation: These bars are incredibly simple to make, needing minimal baking skills to achieve a tropical dessert that impresses!
Perfect for Gatherings: Whether it’s a summer barbecue or a casual family dinner, everyone will be clamoring for seconds.
Versatile Options: Swap the pineapple for mango or add macadamia nuts for a unique twist on this classic. Don’t miss out on a slice of joy just like these Chocolate Cheesecake Bars!
Make Ahead Delight: They store well, allowing you to prepare in advance for that anticipated gathering or surprise guest!
Pineapple Bliss Bars Ingredients
Unlock the secret to these tropical treats with the essential ingredients!
For the Crust
- All-purpose flour – Provides the structural base for a perfect crust; substitute with gluten-free flour if needed.
- Unsalted butter, melted – Adds richness; opt for unsalted to better control flavor.
- Granulated sugar (for crust) – Sweetens the crust; coconut sugar is a great alternative for a healthier option.
For the Filling
- Crushed pineapple – The star ingredient that delivers natural sweetness; use fresh or well-drained canned pineapple.
- Large eggs – Binds the filling together; make sure they’re at room temperature for optimal mixing.
- Granulated sugar (for filling) – Sweetens the pineapple mixture; consider using honey or agave syrup for a more natural sweetener.
- Vanilla extract – Elevates the flavor; for a unique twist, try using almond extract instead.
- Shredded coconut (optional) – Introduces a delightful texture; feel free to omit if you prefer a smoother filling.
For Serving
- Powdered sugar – A light dusting for presentation before serving your Pineapple Bliss Bars.
Step‑by‑Step Instructions for Pineapple Bliss Bars
Step 1: Preparation
Start by preheating your oven to 350°F (175°C). While it’s warming up, take an 8×8-inch baking pan and generously grease it with butter or non-stick spray to prevent your Pineapple Bliss Bars from sticking.
Step 2: Make the crust
In a mixing bowl, combine melted unsalted butter, all-purpose flour, and granulated sugar. Stir the mixture until it forms a crumbly texture that can hold together. Evenly press this mixture into the bottom of the prepared baking pan, creating a solid crust that will be the foundation of your delicious bars.
Step 3: Bake the crust
Place the crust in the preheated oven and bake for about 10–12 minutes until it turns a light golden brown. You’ll know it’s ready when you can smell a buttery aroma wafting through your kitchen. Once baked, remove it from the oven and let it cool slightly while you prepare the filling.
Step 4: Prepare the filling
In another bowl, whisk together the large eggs, granulated sugar for the filling, crushed pineapple, and vanilla extract. Mix until smooth and well incorporated. If you’d like an added texture, now is the time to fold in shredded coconut. This sweet, creamy mixture will be poured over your baked crust.
Step 5: Bake the bars
Carefully pour the pineapple filling over the pre-baked crust, spreading it evenly for the best results. Return the pan to the oven, baking for an additional 20–25 minutes. You’ll know the filling is set when it’s slightly firm to the touch and the edges begin to turn golden brown.
Step 6: Cool and serve
Once baked, remove the pan from the oven and allow the bars to cool completely in the pan. This helps achieve clean cuts. Once cooled, cut your Pineapple Bliss Bars into squares and dust the tops lightly with powdered sugar to add a touch of sweetness and visual appeal before serving.
What to Serve with Pineapple Bliss Bars
Elevate your dessert experience by pairing these tropical treats with delightful accompaniments.
-
Creamy Vanilla Ice Cream: A scoop of vanilla ice cream melts deliciously over the bars, enhancing the tropical flavors with creamy richness.
-
Tropical Fruit Salad: Fresh, colorful fruits like kiwi, mango, and berries bring a burst of freshness that compliments the sweetness of the pineapple.
-
Coconut Cream Whipped Topping: Add a dollop of coconut cream to each slice for a luscious, tropical finish that perfectly matches the flavors.
-
Iced Herbal Tea: A refreshing herbal tea, such as hibiscus, balances the sweetness and provides a cooling note in every bite.
-
Sparkling Lemonade: The fizzy citrus notes of sparkling lemonade brighten the palate and add a festive touch to your summer gathering.
-
Chocolate Drizzle: For a decadent twist, gently drizzle melted chocolate over the bars for an indulgent contrast of flavors.
-
Lime Zest Garnish: A sprinkle of fresh lime zest on top adds a vibrant, zesty kick that enhances the overall tropical experience.
Pineapple Bliss Bars Variations & Substitutions
Feel free to embark on your culinary adventure and customize these bars to your taste! With a few simple swaps, you can create a delightful twist on this tropical favorite.
-
Mango Twist: Substitute crushed pineapple with ripe mangoes for a sweet and unique tropical flavor profile. Each bite will dance on your palate just like a hazy summer day.
-
Peach Perfection: Try using crushed peaches instead of pineapple for a juicy and fragrant dessert. This twist brings a refreshing summer vibe that echoes lazy afternoons in the orchard.
-
Nutty Delight: Add crushed macadamia nuts to the crust for a satisfying crunch with each bite. The buttery warmth of macadamia enhances the tropical essence beautifully and provides a contrasting texture.
-
Coconut Cream: Enhance the coconut experience by using coconut cream instead of vanilla extract in the filling. This swap adds an indulgent richness that transports you straight to a tropical paradise, complementing the pineapple exquisitely.
-
Honey Sweetener: Swap granulated sugar for honey or agave syrup in the filling. This natural sweetener infuses a warm, floral note, making these bars even more mouthwateringly delicious.
-
Almond Aroma: Use almond extract instead of vanilla for a nutty twist that pairs exquisitely with the fruit. The subtle yet distinct flavor adds a lovely depth to your Pineapple Bliss Bars.
-
Spicy Kick: Add a pinch of cayenne pepper to the filling for a surprising hint of heat that contrasts nicely with the sweet pineapple flavor. Your taste buds will thank you for this adventurous change!
As you enjoy your creation, don’t forget to pair your Pineapple Bliss Bars with a refreshing fruity mocktail or some chilled iced tea, much like how they complement these radiant Orange Cranberry Shortbread! Your taste buds will be on a joyful vacation in no time!
Make Ahead Options
These Pineapple Bliss Bars are a fantastic choice for meal prep, saving you valuable time during busy weeknights or gatherings! You can prepare the crust and filling separately up to 24 hours in advance. First, bake the crust and allow it to cool completely before wrapping it tightly in plastic wrap or storing it in an airtight container. The filling can be whisked together and refrigerated in a covered bowl. When you’re ready to enjoy, simply pour the chilled filling over the prepared crust and bake as directed for an additional 20–25 minutes. This way, your Pineapple Bliss Bars will taste just as delicious as if made fresh!
Storage Tips for Pineapple Bliss Bars
Room Temperature: Store Pineapple Bliss Bars in an airtight container at room temperature for up to 2 days. Place parchment paper between layers to prevent sticking.
Fridge: Keep your bars in the refrigerator for up to 5 days in an airtight container. This helps maintain their freshness and creamy texture.
Freezer: For longer storage, freeze Pineapple Bliss Bars for up to 2 months. Wrap them tightly in plastic wrap, then place in a freezer-safe container.
Reheating: Thaw frozen bars in the fridge overnight before serving. Enjoy them cold or warmed slightly in the microwave for 15-20 seconds for a freshly-baked taste!
Expert Tips for Pineapple Bliss Bars
• Drain Pineapple Well: Ensure crushed pineapple is well-drained to prevent excess moisture, which could lead to a soggy filling.
• Use Room Temperature Eggs: Let your eggs come to room temperature before mixing for smoother incorporation and a better texture in the filling.
• Measure Flour Properly: Spoon and level your flour instead of scooping directly from the bag; this will help avoid dense crust bars.
• Even Cooling: Allow the bars to cool completely in the pan for easier cutting; warm bars can crumble and lose their shape.
• Optional Coconut Magic: If adding shredded coconut, mix it into the filling just before pouring over the crust for an appealing texture boost in your Pineapple Bliss Bars.
Pineapple Bliss Bars Recipe FAQs
What should I look for when selecting pineapples?
Absolutely! Look for pineapples that are golden yellow and slightly soft to the touch when ripe. Avoid any that have dark spots all over or an overly firmer texture. For convenience, you can also use canned pineapples, just make sure to drain them well to remove excess moisture.
How should I store leftover Pineapple Bliss Bars?
To keep your Pineapple Bliss Bars fresh, store them in an airtight container in the refrigerator for up to 5 days. This way, they’ll maintain that delicious creamy texture. For longer storage, you can freeze these bars for up to 2 months. Just wrap them tightly in plastic wrap and then place them in a freezer-safe container.
Can I freeze Pineapple Bliss Bars? If so, how?
Yes, very! To freeze your Pineapple Bliss Bars, first allow them to cool completely. Cut them into squares, then wrap each piece in plastic wrap individually for extra protection. Place these wrapped bars in a freezer-safe container or bag. When you’re ready to indulge again, simply thaw them in the fridge overnight for the best results.
What if my filling is too watery?
If you find that your filling has turned out watery, it usually means the crushed pineapple wasn’t drained sufficiently. Next time, try pressing the pineapple in a fine mesh strainer after draining to remove as much liquid as possible. If you need to salvage it, you can mix in a bit more flour to thicken it slightly before pouring it over the crust.
Are Pineapple Bliss Bars safe for people with allergies?
When enjoying Pineapple Bliss Bars, be aware of potential allergens. This recipe includes eggs, gluten, and dairy due to the butter. For those avoiding gluten, feel free to substitute the all-purpose flour with a gluten-free flour blend. Always check ingredient labels, especially for processed items like shredded coconut. If serving to guests, it’s best to inform them of any potential allergen content.
Can I make these bars vegan?
Of course! To make vegan Pineapple Bliss Bars, replace the large eggs with flax eggs (mix 1 tablespoon of ground flaxseed with 2.5 tablespoons of water and let it sit for 5 minutes until it thickens). Use a dairy-free butter substitute and consider coconut sugar instead of granulated sugar for a healthier option. Enjoy the tropical goodness without the animal products!
Pineapple Bliss Bars: Your Easy Tropical Dessert Escape
Ingredients
Equipment
Method
- Preheat your oven to 350°F (175°C). Grease an 8x8-inch baking pan with butter or non-stick spray.
- In a mixing bowl, combine melted butter, flour, and granulated sugar. Stir until crumbly.
- Press the mixture into the bottom of the prepared pan to form a crust.
- Bake the crust for 10-12 minutes until light golden brown. Allow to cool slightly.
- In another bowl, whisk together eggs, granulated sugar, pineapple, and vanilla until smooth.
- Optional: Fold in shredded coconut for texture.
- Pour the filling over the baked crust and spread it evenly.
- Bake for 20-25 minutes until filling is set and edges are golden brown.
- Allow the bars to cool completely in the pan before cutting into squares.
- Dust with powdered sugar before serving.
Leave a Reply