
The aroma of freshly baked chicken tacos wafting through the kitchen reminds me of sun-drenched evenings spent with family and friends. These crispy Baked Chicken Tacos bring that same warmth to your table and are a fantastic solution for those busy weeknights when you crave something hearty yet quick. With just a few minutes of assembly, you can whip up these customizable delights, using whatever ingredients you have on hand—be it tender rotisserie chicken, savory ground beef, or a medley of vibrant peppers. Not only are they a crowd-pleaser but they also make meal prep a breeze, allowing you to enjoy delicious home-cooked food without the fuss. So, ready to roll up your sleeves and tantalize those taste buds? Let’s dive into this scrumptious recipe!
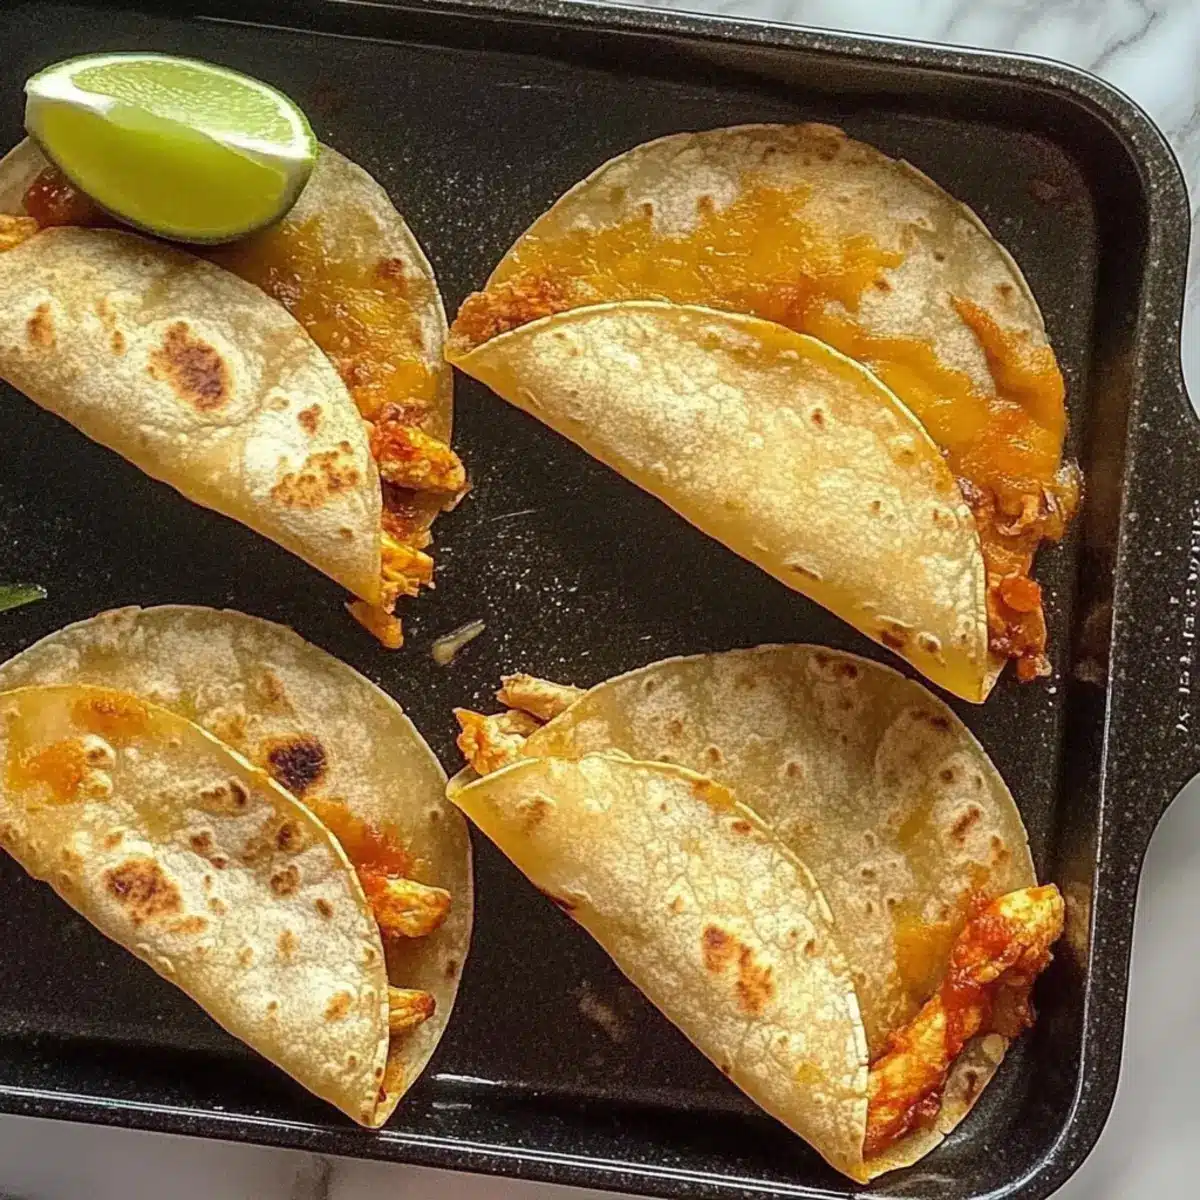
Why are Baked Chicken Tacos a Must-Try?
Crispiness: Experience the delightful crunch of our baked chicken tacos, turning a classic favorite into a healthier option without sacrificing flavor. Customization: Tailor each taco to satisfy your tastes—swap in shredded rotisserie chicken, ground beef, or peppers to mix things up! Quick Assembly: With minimal prep time, dinner is ready in a flash, perfect for busy evenings. Meal Prep Friendly: These tacos can be prepped ahead of time for easy weeknight meals or surprising guests with homemade deliciousness. Family Appeal: Their cheesy goodness and crispy texture make these tacos a hit with both kids and adults alike. Try serving them alongside Mexican rice for a complete meal!
Baked Chicken Tacos Ingredients
For the Taco Shells
• Extra Thin Corn Tortillas – These provide a crispy taco shell; the thinner, the better for that perfect crunch when baked.
For the Filling
• Cooked Chicken Breast (6 oz) – The heart of your taco filling; feel free to swap with shredded rotisserie chicken or ground beef for flavorful variety.
• Shredded Cheddar (1/2 cup, 56g) – Adds a creamy, melty touch; try substituting with Monterey Jack or Pepper Jack for a twist.
Optional Toppings
• Fresh Salsa – Fresh and zesty, this topping complements the baked chicken tacos beautifully.
• Guacamole – A rich, creamy addition that elevates the overall flavor experience.
• Sour Cream – Adds a cooling contrast to the warm, cheesy tacos.
With these ingredients in hand, you’re all set to create your delicious Baked Chicken Tacos! Enjoy the tasty possibilities!
Step‑by‑Step Instructions for Baked Chicken Tacos
Step 1: Preheat the Oven
Begin by preheating your oven to 400°F (200°C). This ensures a perfectly crispy finish for your baked chicken tacos. While the oven warms up, gather your ingredients so you can assemble the tacos efficiently. A tidy work surface will make the process smoother and more enjoyable.
Step 2: Soften the Tortillas
Wrap your extra thin corn tortillas in a damp paper towel and place them in the microwave. Heat on high for 45-60 seconds to soften them. This step is essential to prevent cracking when folding the tortillas, ensuring your baked chicken tacos hold their shape while baking.
Step 3: Add the Filling
Once the tortillas are soft and warm, lay them flat and spoon your cooked chicken breast onto one half of each tortilla. You can also add any additional fillings like peppers if you wish. Top the chicken with a generous sprinkle of shredded cheddar cheese, enhancing the flavor and creaminess of your baked chicken tacos.
Step 4: Fold the Tortillas
Carefully fold each tortilla over the filling and gently press the edges to seal them. This step is critical for keeping the delicious contents inside while they bake. Make sure each taco is securely closed so the cheese melts beautifully and the tacos retain their shape.
Step 5: Prepare for Baking
To ensure your tacos remain closed during baking, place a weighted baking sheet on top of the folded tortillas. This will help keep them pressed together and prevent any spills. Arrange them in an even layer on a baking sheet, ready to transform into crispy delights in the oven.
Step 6: Bake the Tacos
Place the baking sheet in the preheated oven and bake for 8-12 minutes. Keep an eye on them as they cook, seeking a beautiful golden-brown color on the tortillas. This is the telling sign that your baked chicken tacos are about to become crispy and irresistible.
Step 7: Final Touch for Crispiness
For an extra crispy texture, carefully remove the weight from the tacos during the last few minutes of baking. This allows more heat to circulate around the tortillas, yielding that delightful crunch. Watch closely to avoid burning, and pull them out when they reach your preferred crispiness level.
Step 8: Serve and Enjoy
Once baked to perfection, remove your crispy baked chicken tacos from the oven and let them cool slightly. Serve them warm with your choice of optional toppings like fresh salsa, guacamole, or sour cream for a delicious finish. Enjoy the wonderful flavors of your homemade tacos, perfect for any quick meal!
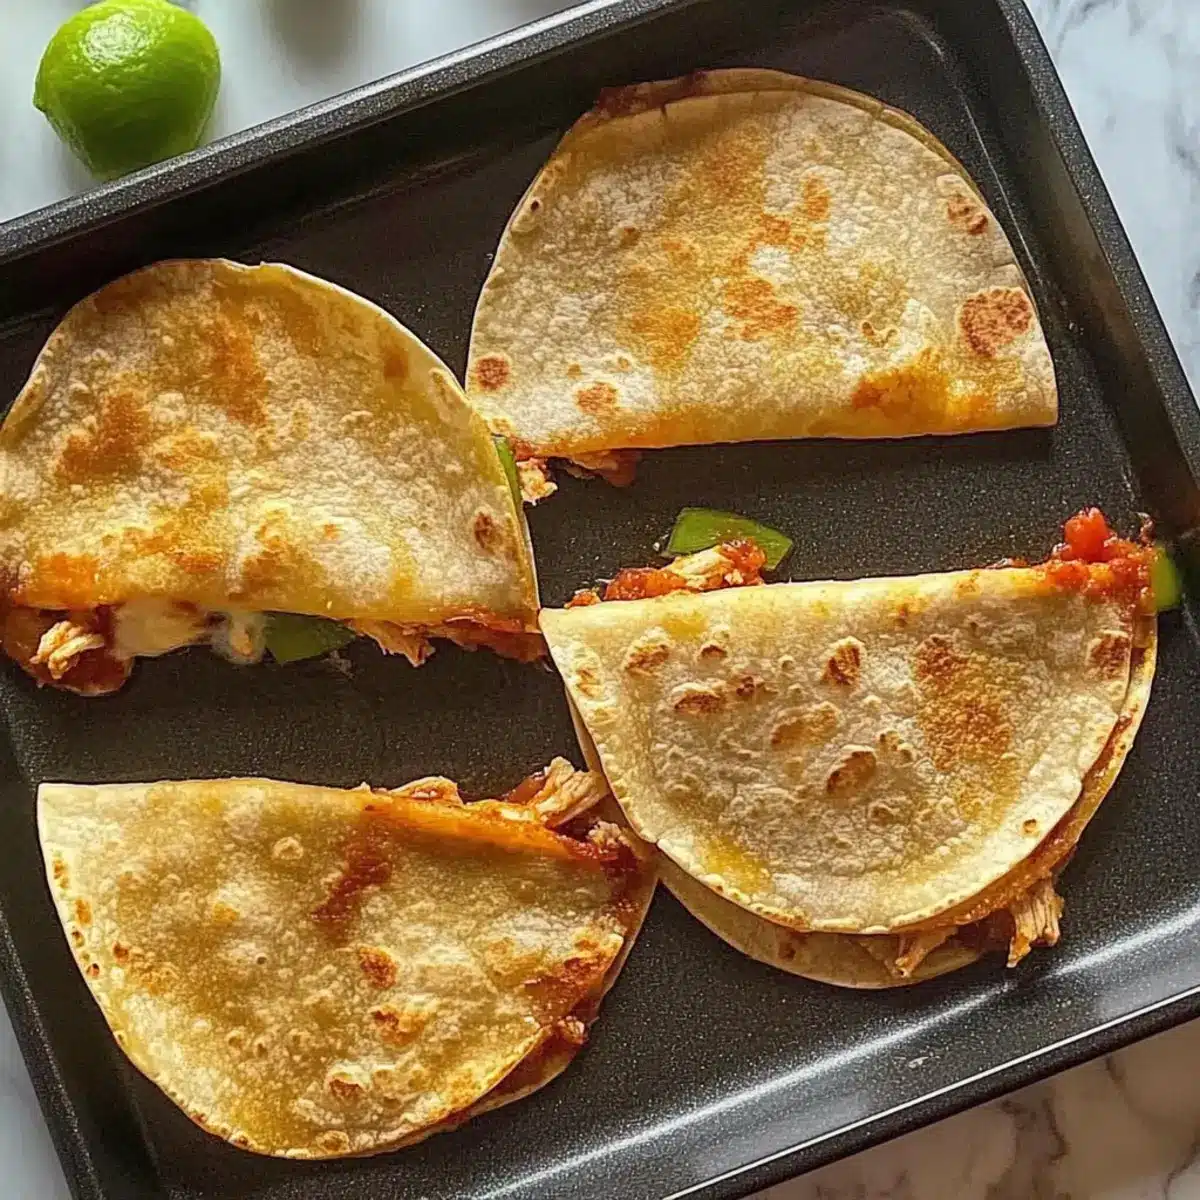
What to Serve with Crispy Baked Chicken Tacos?
Enjoying crispy baked chicken tacos means you’re in for a delightful feast, and pairing them well can elevate your meal experience!
-
Mexican Rice: A classic side, its fluffy texture and savory flavors complement the cheesy tacos beautifully, adding some heft to your dinner.
-
Fresh Garden Salad: Light and crisp, this salad provides a refreshing contrast to the warm, crunchy tacos, and can be topped with zesty lime vinaigrette.
-
Guacamole: Creamy and rich, guacamole adds a luxurious touch, accentuating the flavors of the tacos while offering a satisfying dip.
-
Pico de Gallo: This fresh salsa adds a burst of color and brightness, with its diced tomatoes, onions, and cilantro balancing the hearty nature of the tacos.
-
Sour Cream: A cooling, creamy addition that enhances flavors and offers a deliciously smooth finish to the crunchy texture of the tacos.
-
Corn on the Cob: Grilled or boiled, the sweetness of corn pairs beautifully with the savory spices in the tacos, adding both warmth and nostalgia to your meal.
-
Chips and Salsa: A crunchy appetizer that enhances the fiesta vibes, ensuring every bite of taco is matched with zesty salsa flavors.
-
Margaritas: For a refreshing drink option, this classic cocktail complements the flavors of Mexican cuisine perfectly, making your taco night even more festive.
With these delightful pairings, your taco feast will be a meal to remember!
Baked Chicken Tacos Variations & Substitutions
Feel free to let your creativity shine with these delightful twists to your baked chicken tacos!
-
Rotisserie Chicken: Use shredded rotisserie chicken for a quick and convenient filling—perfect for busy nights!
-
Ground Meat: Swap the chicken for ground beef or turkey for a flavorful variation that’s sure to please meat lovers.
-
Vegetarian Delight: For a plant-based option, fill with sautéed bell peppers, zucchini, and black beans for a hearty treat.
-
Cheese Swap: Experiment with different cheeses like Pepper Jack or a smoky Gouda to elevate the flavor profile.
-
Spice It Up: Add taco seasoning to your filling or sprinkle jalapeños inside for an extra kick.
-
Crunchy Add-Ins: Toss in some crunchy veggies like shredded cabbage or diced cucumbers for a refreshing texture contrast.
-
Cilantro Kick: Top your tacos with fresh cilantro or a drizzle of lime juice for a burst of flavor that brightens every bite.
-
Freezer-Friendly: Prepare a batch of unbaked tacos and freeze for a quick meal option later. Bake directly from frozen; they’ll still be crispy and delicious.
With these variations, your baked chicken tacos can transform into an array of tempting meals. Whether you’re craving something cheesy or spicy, there’s a perfect option to satisfy any hunger! And if you’re looking for more delicious ideas, consider trying my Baked Lemon Butter Chicken or Gnocchi Chicken Pot Pie for an extra treat!
Expert Tips for Baked Chicken Tacos
-
Tortilla Temperature: Ensure tortillas are warm before folding to prevent cracking; this is crucial for achieving perfectly sealed baked chicken tacos.
-
Filling Amount: Keep your filling light; overstuffing can cause the tacos to burst while baking. Less is more when creating that crispy taco experience.
-
Watch the Baking: Check your tacos frequently as they bake to avoid burning. Each oven is different, and removing them at the right moment is key.
-
Crispy Finish: For maximum crunch, remove the weight from the tacos during the last few minutes of baking. This allows hot air to circulate, enhancing crispiness.
-
Proper Storage: If you have leftovers, avoid the microwave; reheat in an oven or air fryer to regain that delightful crunch of your baked chicken tacos.
How to Store and Freeze Baked Chicken Tacos
Fridge: Store baked chicken tacos in an airtight container for up to 3 days. Reheat in the oven to maintain crispiness.
Freezer: To freeze, wrap individual tacos securely in plastic wrap and place them in a freezer bag. They can last up to 2 months.
Reheating: For best results, reheat frozen tacos in the oven at 375°F (190°C) for about 15-20 minutes. Enjoy the flavors of your baked chicken tacos as if they were fresh!
Make-Ahead: You can prepare unbaked tacos and keep them in the fridge for up to 2 days before baking. This makes meal prep effortless and convenient.
Make Ahead Options
These Baked Chicken Tacos are a fantastic option for meal prep enthusiasts! You can assemble the unbaked tacos and store them in the refrigerator for up to 2 days. To maintain their quality, keep them tightly covered with plastic wrap or in an airtight container to prevent drying out. When you’re ready to enjoy, simply bake them directly from the fridge without preheating the oven. This saves time on busy weeknights while still delivering those crispy, delicious results. Just follow the usual baking instructions, and you’ll have satisfying Baked Chicken Tacos that taste just as fresh as when you made them!
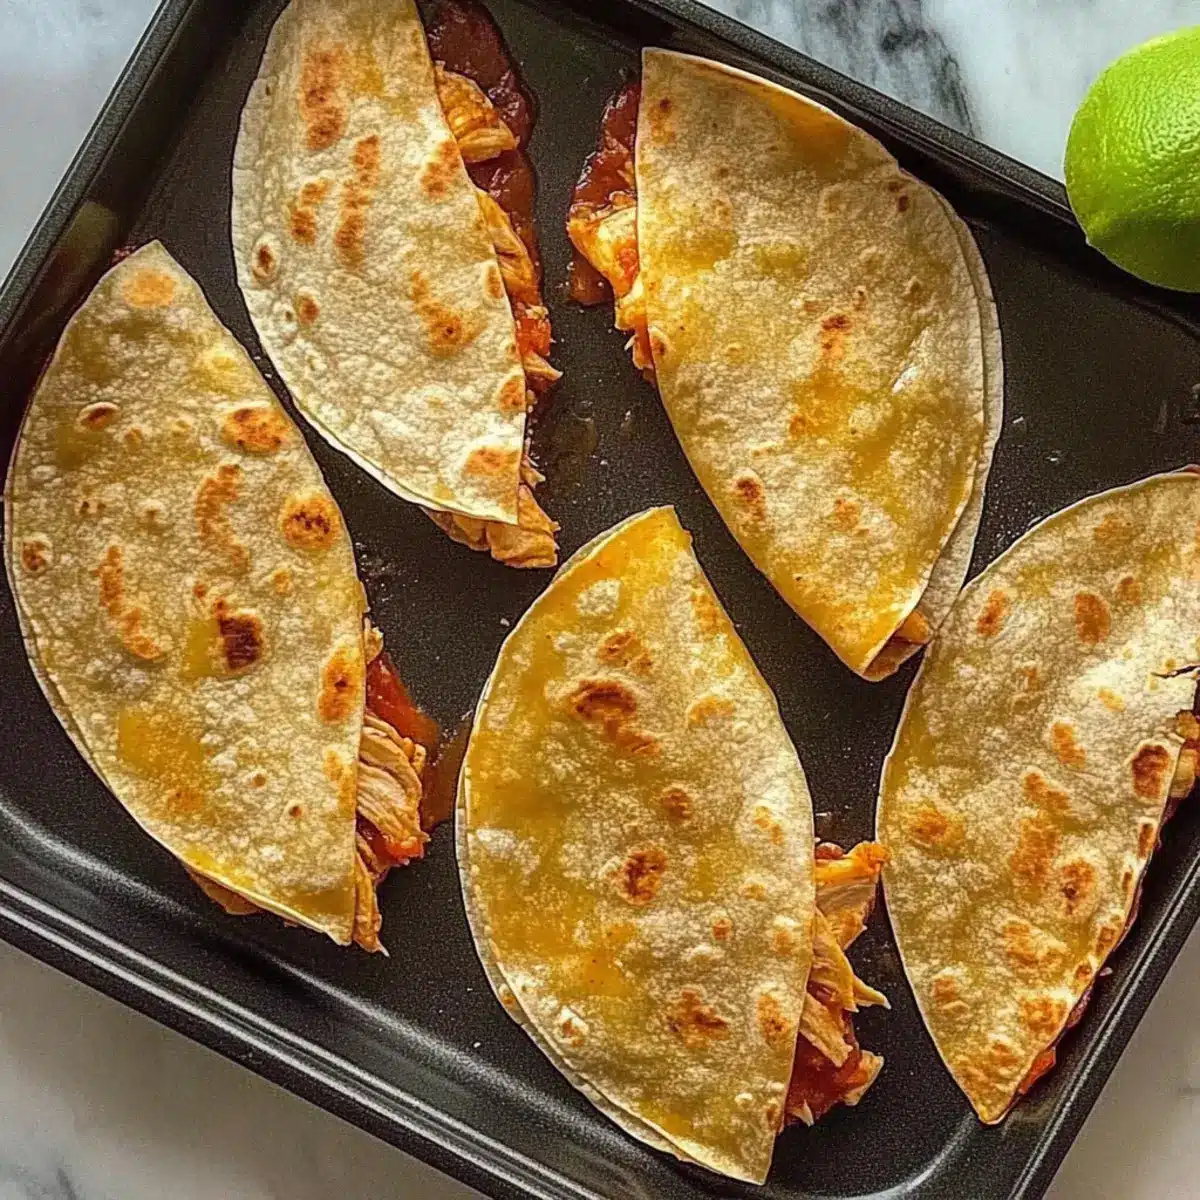
Baked Chicken Tacos Recipe FAQs
What type of tortillas should I use for baked chicken tacos?
For the crispiest result, I recommend using extra thin corn tortillas. They will hold their shape well while baking and create that satisfying crunch we all love. If you prefer flour tortillas, they can be used, but keep in mind they may not be as crispy.
How should I store baked chicken tacos?
Store any leftover baked chicken tacos in an airtight container in the fridge for up to 3 days. To keep them crispy, reheat them in the oven until they are warmed through, rather than microwaving, which can make them soggy.
Can I freeze baked chicken tacos?
Absolutely! To freeze, wrap each taco individually in plastic wrap and place them in a freezer bag. They can last for up to 2 months in the freezer. When you’re ready to enjoy them, reheat from frozen in the oven at 375°F (190°C) for about 15-20 minutes.
What should I do if the tortillas crack when folding?
If your tortillas crack, it’s likely they weren’t warmed enough. Make sure to microwave them for 45-60 seconds, wrapped in a damp paper towel, to soften them before folding. If they still crack, you can try using a different brand of tortillas that may be more pliable.
Are baked chicken tacos suitable for those with dietary restrictions?
Yes! Baked chicken tacos can be customized to suit various dietary needs. For gluten-free options, ensure your tortillas are gluten-free, and you can use any filling that aligns with specific dietary restrictions. Just be cautious with toppings—verify them for allergens if needed.
Can I prepare these tacos in advance?
You can definitely prep unbaked tacos ahead of time! Assemble them and keep them in the fridge for up to 2 days before baking. Just pop them directly into the oven from the fridge without the need to preheat; they’ll still turn out crispy and delicious.
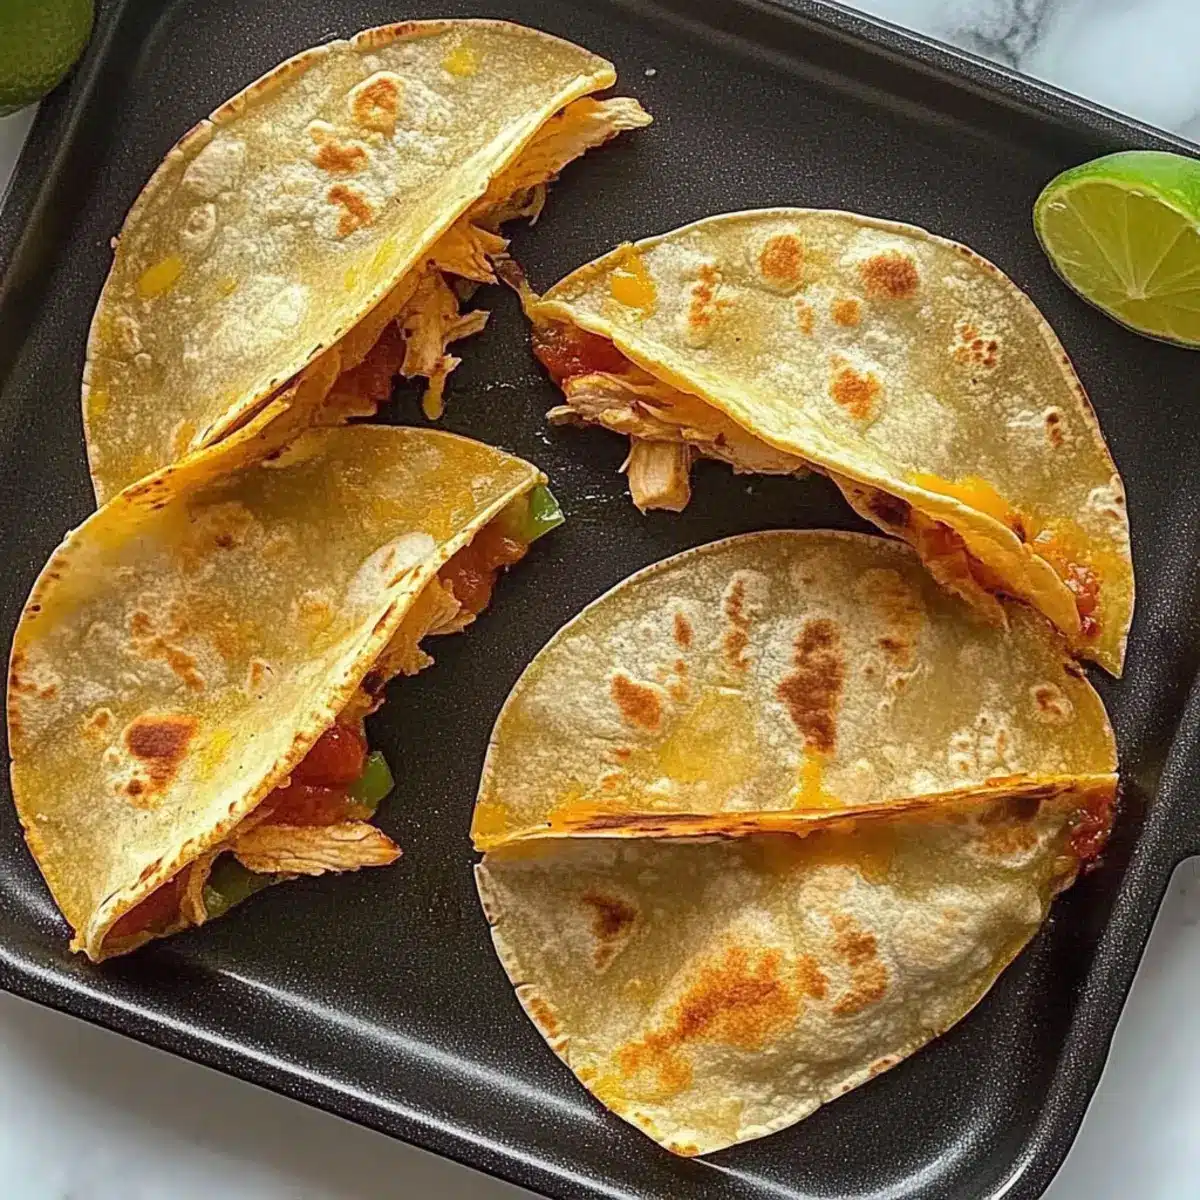
Delicious Baked Chicken Tacos for Quick Family Dinners
Ingredients
Equipment
Method
- Preheat your oven to 400°F (200°C). Gather your ingredients.
- Wrap the corn tortillas in a damp paper towel and microwave for 45-60 seconds to soften.
- Lay the soft tortillas flat and add the cooked chicken breast onto one half of each tortilla. Sprinkle shredded cheddar on top.
- Fold each tortilla over the filling and press the edges to seal.
- Place a weighted baking sheet on top of the folded tortillas and arrange them on a baking sheet.
- Bake in the preheated oven for 8-12 minutes until golden brown.
- Remove the weight in the last few minutes of baking for extra crispiness.
- Serve warm with optional toppings.
Leave a Reply