
You won’t believe how effortless it is to create a stunning dessert that captures the essence of those beloved Dairy Queen Buster Bars! My no-bake Buster Bar Ice Cream Cake transforms a nostalgic treat into an easy, 5-ingredient masterpiece that can be whipped up in just 15 minutes. With layers of creamy vanilla ice cream, warm hot fudge, crunchy red skin peanuts, and a delightful chocolate coating, this cake hits that perfect balance of salty and sweet. Not only does it satisfy your sweet tooth, but it’s also a make-ahead dream, letting you prepare it well in advance—all while being free from any baking stress. Are you ready to dive into this indulgent delight? Let’s make some cake magic happen!
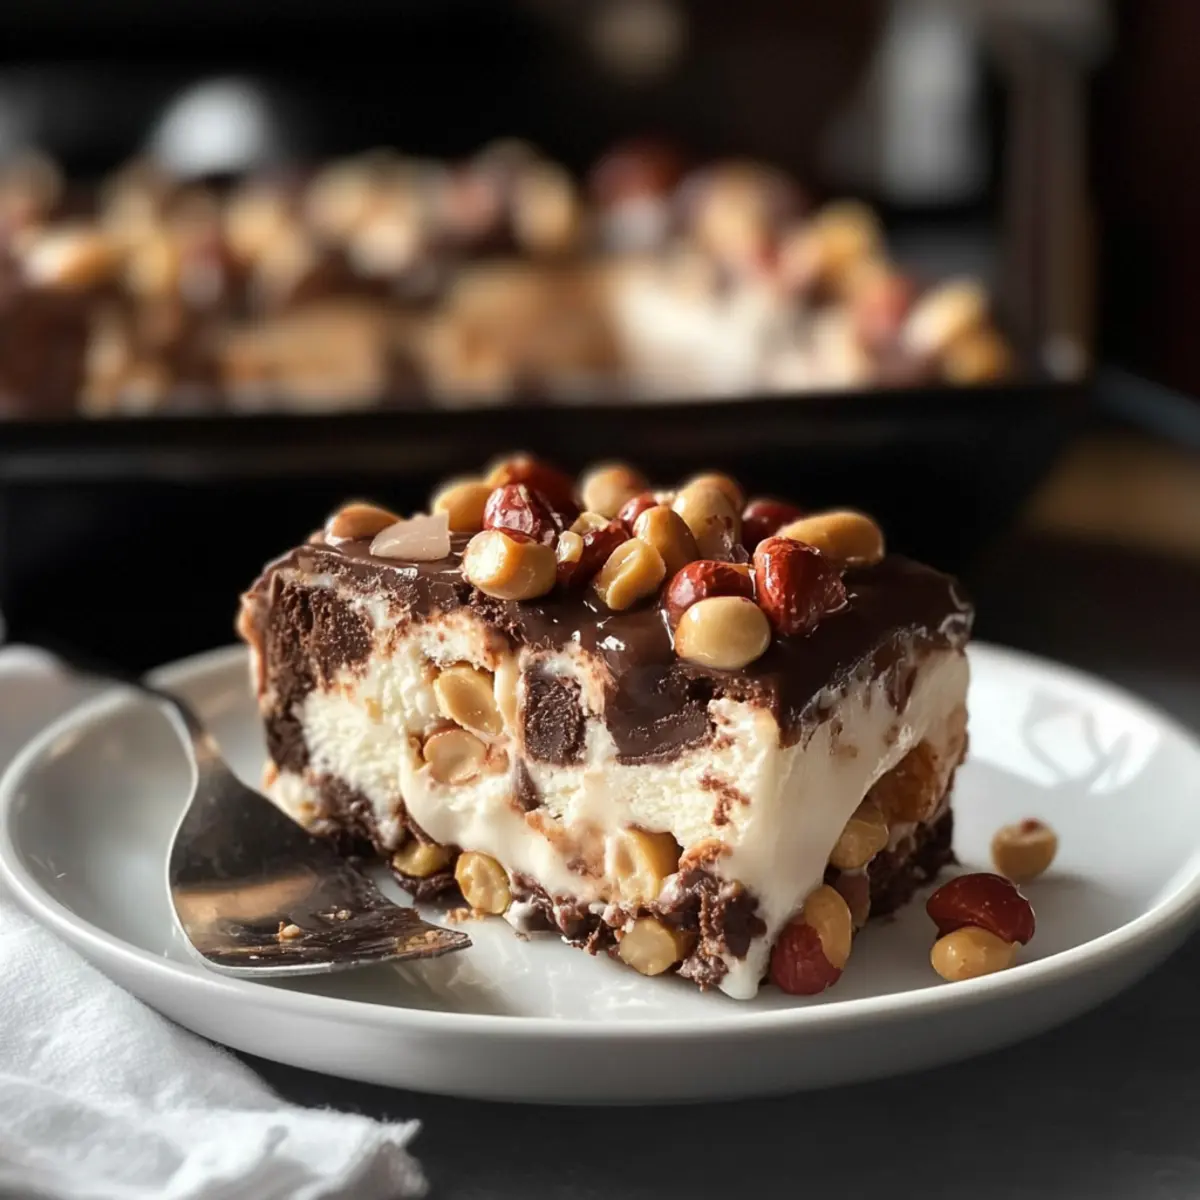
Why is this cake a game-changer?
Effortless Creation: This no-bake Buster Bar Ice Cream Cake comes together in just 15 minutes, making it the ideal dessert for busy days or last-minute gatherings.
Deliciously Rich: With layers of creamy vanilla ice cream and warm hot fudge, the flavors will bring back childhood memories with every bite.
Versatile Options: You can easily tailor this dessert to satisfy different tastes! Swap out flavors of ice cream or mix in your favorite toppings for a personal touch.
Nostalgic Appeal: Reminiscent of the classic Dairy Queen treats, this cake is sure to be a hit among all ages, pleasing both kids and adults alike.
Make-Ahead Convenience: Whip it up in advance and keep it in the freezer; you’ll be ready for any occasion without the last-minute rush.
For a touch of added charm, consider serving it alongside dollops of whipped cream, reminiscent of our delectable Pecan Cream Pie. Enjoy your culinary creation!
Buster Bar Ice Cream Cake Ingredients
For the Cake Base
• Chocolate Graham Crackers – This layer provides the perfect structure; you can substitute with chocolate wafer cookies or crushed Oreos for variety.
For the Ice Cream Filling
• Vanilla Ice Cream – The key element for creaminess; consider using chocolate or dairy-free ice cream for a different flavor profile.
For the Fudge Layer
• Hot Fudge Sauce – Adds rich chocolate flavor and moisture; ensure it’s warmed for easy spreading, or use your homemade fudge sauce!
For the Crunchy Topping
• Red Skin Peanuts – Introduces a delightful crunch and nutty flavor; feel free to swap for salted peanuts or omit for a nut-free alternative.
For the Chocolate Coating
• Magic Shell Chocolate Coating – This top layer adds a satisfying crunch; melted chocolate or dairy-free chocolate is great substitutions.
Let’s gather these ingredients and get ready to create your delicious Buster Bar Ice Cream Cake!
Step‑by‑Step Instructions for Buster Bar Ice Cream Cake
Step 1: Soften the Ice Cream
Begin by placing the vanilla ice cream on the countertop for about 10–15 minutes, allowing it to soften. This makes it easier to spread. Keep an eye on its consistency; you want it slightly softened but not completely melted for optimal layering in your Buster Bar Ice Cream Cake.
Step 2: Prepare the Baking Dish
While the ice cream softens, line a 9×13 inch baking dish with whole chocolate graham crackers. Break the crackers as needed to cover the entire bottom evenly. This base layer will be crucial for holding the structure of your cake, providing a delightful crunch in each slice.
Step 3: First Ice Cream Layer
Once the ice cream is softened, scoop half of it onto the layer of chocolate graham crackers. Use a spatula to spread the ice cream evenly, smoothing it out to create a flat surface. This step is essential for achieving those beautiful layers in your Buster Bar Ice Cream Cake.
Step 4: Add the Hot Fudge
Now, take your warmed hot fudge sauce and pour it over the first layer of ice cream. Spread it carefully to ensure even coverage. The warm fudge will create a delicious, creamy layer that adds richness and balances the flavors, making your cake truly indulgent.
Step 5: Sprinkle the Peanuts
After spreading the hot fudge, sprinkle half of the red skin peanuts over the fudge layer. These peanuts provide a satisfying crunch that enhances the overall texture of your Buster Bar Ice Cream Cake. Press gently so they stick into the fudge.
Step 6: Second Ice Cream Layer
Add the remaining vanilla ice cream on top of the fudge and peanuts. Again, use a spatula to smooth it out, ensuring an even layer. Lightly press down to seal the cake, making sure everything is cohesive and holds together when frozen.
Step 7: Top with Peanuts and Chocolate Coating
Sprinkle the remaining peanuts over the last ice cream layer. Then, drizzle the Magic Shell chocolate coating evenly over the entire surface. This will give your Buster Bar Ice Cream Cake a perfect, crunchy chocolate topping that hardens when chilled.
Step 8: Freeze the Cake
Place the cake in the freezer and allow it to set for at least 3 hours, or until it’s firm. This set time is crucial for the layers to meld together beautifully, allowing for easy slicing and serving later on.
Step 9: Serve Your Dessert
When ready to serve, remove the cake from the freezer. For easier cutting, let it sit in the refrigerator for about 30–45 minutes. Use a sharp knife to cut neat squares. Enjoy each slice’s creamy, crunchy, and chocolatey flavors of your delightful Buster Bar Ice Cream Cake!
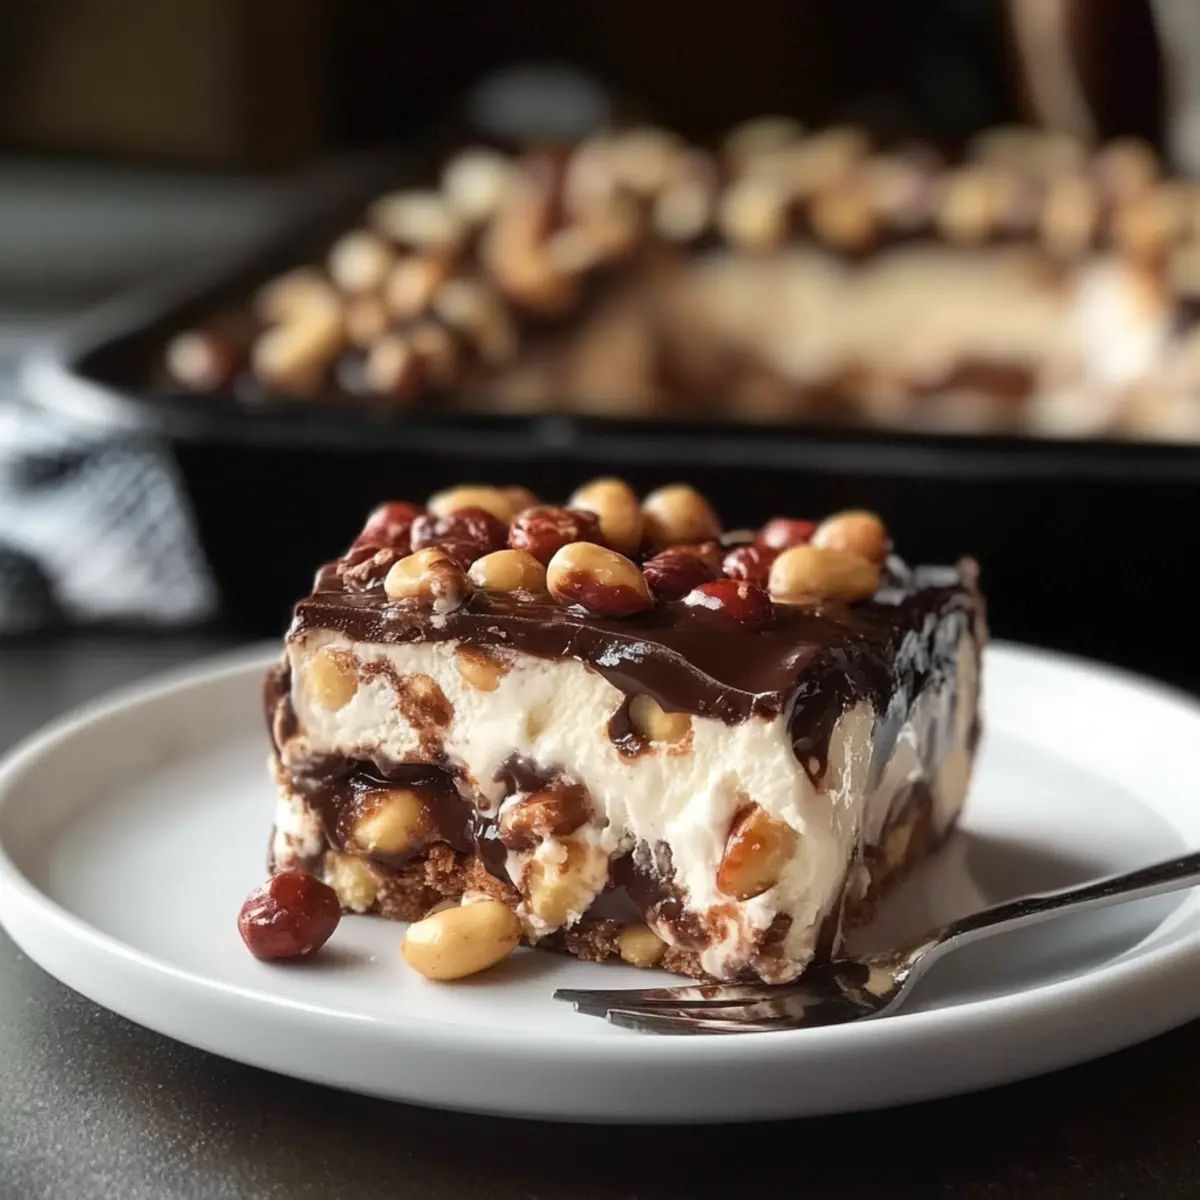
How to Store and Freeze Buster Bar Ice Cream Cake
Fridge: Store in the refrigerator for up to 3 days. Keep the cake well-covered to maintain its freshness and avoid absorbing any odors.
Freezer: For longer storage, keep the Buster Bar Ice Cream Cake in the freezer for up to 2 weeks. Wrap it tightly in plastic wrap or aluminum foil to prevent freezer burn.
Cutting Tips: When ready to serve, let the cake thaw in the refrigerator for 30–45 minutes for easier slicing. This will also restore its creamy texture without melting too fast.
Reheating: There’s no need to reheat the cake. Enjoy it frozen or allow it to soften slightly for the best flavors and textures to shine through!
Expert Tips for Buster Bar Ice Cream Cake
-
Layering Wisely: Make sure each layer is evenly spread and flattened for a beautiful presentation. Uneven layers can lead to messy slices!
-
Heat the Fudge: Warm hot fudge sauce makes it easier to spread and ensures it melds nicely with the ice cream.
-
Freezing Time Matters: Allow the cake to freeze for a minimum of 3 hours. This ensures it’s firm enough to slice cleanly without losing structure.
-
Use Parchment Paper: Line your baking dish with parchment paper for easy removal of the cake. It also prevents sticking!
-
Perfectly Slice: For cleaner cuts, let the cake sit in the refrigerator for about 30–45 minutes before slicing. Enjoy every delicious layer of this Buster Bar Ice Cream Cake!
What to Serve with Buster Bar Ice Cream Cake?
Indulging in a slice of this no-bake delight is just the beginning; let’s elevate your dessert experience and create a memorable meal!
- Fresh Berries: The tartness of strawberries or raspberries balances the rich sweetness of your ice cream cake, adding a burst of freshness.
- Whipped Cream: A dollop of freshly whipped cream serves as a light, airy complement, enhancing the cake’s decadent layers while providing a lovely presentation.
- Chocolate Sauce: Drizzling extra hot fudge over each slice intensifies the chocolate experience, harmonizing beautifully with the cake’s flavors.
Pair your Buster Bar Ice Cream Cake with a chilled glass of milk or a warm cup of coffee for a cozy finish. Both drinks offer a delightful contrast to the creamy, frozen cake, making every bite an absolute pleasure!
Make Ahead Options
These Buster Bar Ice Cream Cake slices are a true lifesaver for busy home cooks! You can prepare the entire cake up to 1 week in advance and keep it frozen until you’re ready to serve. To do so, after assembling the cake, wrap it tightly in plastic wrap to prevent freezer burn and preserve its delightful flavors. When you’re ready to enjoy, simply transfer it to the refrigerator for about 30-45 minutes to soften slightly, making cutting easier. This no-bake treat ensures you have a delicious dessert on hand without any last-minute stress, allowing you to savor each bite just as it was freshly made!
Buster Bar Ice Cream Cake Variations
Feel free to let your creativity flow and customize this delightful dessert to match your taste preferences!
-
Peanut Butter Swirl: Mix in a creamy peanut butter layer with the ice cream for an extra nutty flavor that’s simply irresistible. Swirling the peanut butter adds beautiful ribbons and an unforgettable richness.
-
Chocolate Ice Cream: Replace vanilla with chocolate ice cream for an indulgent twist that amplifies the chocolatey goodness of the fudge and coating. This bold flavor adjustment makes each bite a decadent experience.
-
Dairy-Free Delight: Use a non-dairy ice cream option alongside coconut cream for those with dietary restrictions. A coconut-based ice cream will add a tropical flair, while still maintaining the dessert’s creamy texture.
-
Nut-Free Variation: Omit the red skin peanuts entirely for a nut-free version that everyone can enjoy. You can substitute with crispy rice cereal for that same delightful crunch without the nuts.
-
Flavorful Additions: Experiment with flavored hot fudge, like caramel or butterscotch, to create a unique taste sensation. Just imagine the delightful surprise of butterscotch against the creamy layers!
-
Fruit-Friendly: Add a layer of fresh berries in between the ice cream and fudge or on top to brighten the cake! Chopped strawberries or blueberries can lend a fresh contrast to the rich flavors.
-
Candy Crush Topping: For a fun twist, sprinkle crushed candy bars or cookies on top of the chocolate coating for a playful crunch that everyone loves. Think of using crumbled Oreos or chopped Snickers for a treat that kids will adore!
-
Decadent Caramel Drizzle: Drizzle caramel sauce over the top before serving for an extra touch of sweetness and a beautiful presentation. It elevates the dessert, giving it an extra layer of indulgence!
With these delightful variations, your Buster Bar Ice Cream Cake will not only satisfy your cravings but also become a versatile dessert for any occasion. Enjoy creating your masterpiece, and don’t forget to serve it alongside a slice of our Wild Blueberry Coffee Cake for a delightful dessert duo!
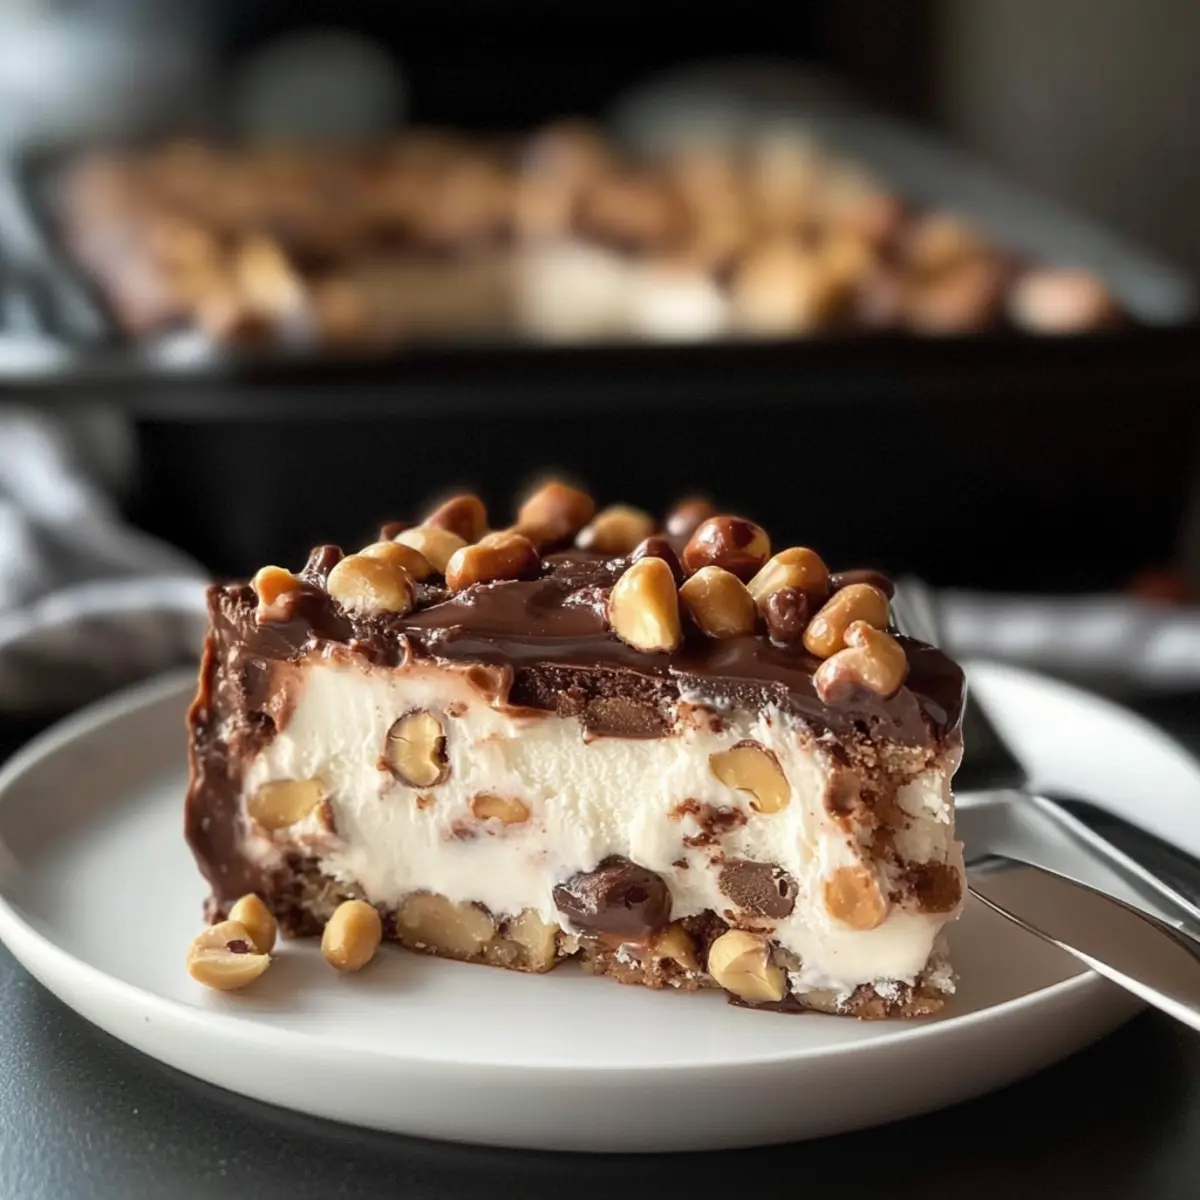
Buster Bar Ice Cream Cake Recipe FAQs
What type of chocolate graham crackers should I use?
Absolutely go for the standard chocolate graham crackers for that perfect base! However, if you’re feeling adventurous or can’t find them, chocolate wafer cookies or crushed Oreos work wonderfully too. They’ll add a unique twist to the flavor while still giving a crunchy texture that complements the ice cream layers.
How should I store leftover Buster Bar Ice Cream Cake?
To keep your Buster Bar Ice Cream Cake fresh, wrap it tightly in plastic wrap or aluminum foil and store it in the freezer for up to two weeks. You can also place it in an airtight container. If you’re planning to enjoy it within 3 days, it can stay in the refrigerator as long as it’s well-covered to prevent odor absorption.
Can I freeze the Buster Bar Ice Cream Cake?
Yes! Freezing is a great way to preserve your cake. Just remember to let it freeze for at least 3 hours to ensure it’s set properly. If you want to make it ahead of time, preparing it up to two weeks in advance works perfectly! Just be sure to follow the storage tips to avoid freezer burn.
What should I do if the layers are uneven?
If your layers end up uneven, no worries! For a more balanced cake, make sure to use a spatula to smooth out the ice cream and fudge layers evenly. You can also press down gently while layering to help them stick together. If they seem too messy, it’s perfectly acceptable to serve it in individual bowls—it’s all about the delicious tastes!
Can I make this dessert nut-free?
Very much so! If you prefer a nut-free version of the Buster Bar Ice Cream Cake, simply omit the red skin peanuts. You can substitute them with crushed cookie pieces for that extra crunch, or even add some colored sprinkles for a fun and festive touch without compromising the texture.
Is there a vegan option for this recipe?
Definitely! To make a vegan Buster Bar Ice Cream Cake, swap the vanilla ice cream for a dairy-free ice cream and use dairy-free chocolate options for the fudge sauce and Magic Shell. The other ingredients remain the same, allowing you to enjoy a scrumptious, plant-based version of this delight!
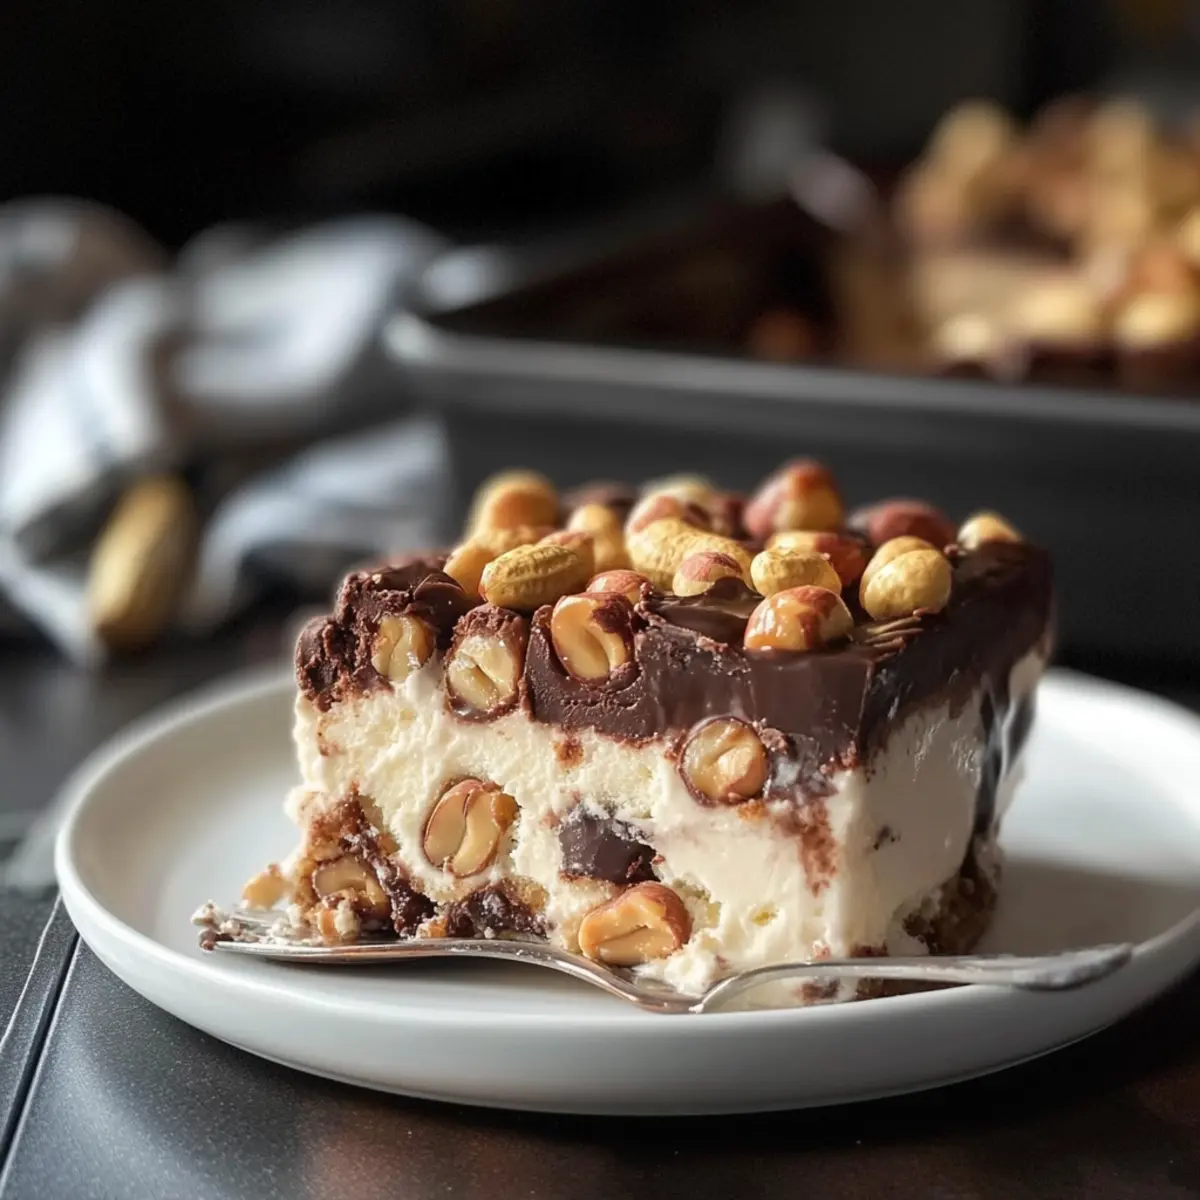
Indulge in Buster Bar Ice Cream Cake: A No-Bake Delight
Ingredients
Equipment
Method
- Soften the ice cream by placing it on the countertop for about 10–15 minutes to make it easier to spread.
- Line a 9x13 inch baking dish with whole chocolate graham crackers, breaking them as needed to cover the bottom evenly.
- Scoop half of the softened vanilla ice cream onto the layer of chocolate graham crackers and spread it evenly.
- Pour the warmed hot fudge sauce over the first layer of ice cream and spread it carefully for even coverage.
- Sprinkle half of the red skin peanuts over the fudge layer and press gently so they stick.
- Add the remaining vanilla ice cream on top of the fudge and peanuts, smoothing it out to create an even layer.
- Sprinkle the remaining peanuts over the last ice cream layer and drizzle Magic Shell chocolate coating evenly on top.
- Place the cake in the freezer and allow it to set for at least 3 hours, or until firm.
- When ready to serve, remove from the freezer and let it sit in the refrigerator for about 30–45 minutes before cutting into neat squares.
Leave a Reply