
The enticing aroma of freshly baked bread wafting through the kitchen can instantly elevate your mood. As I knead together the simple ingredients for my Garlic Herb Dutch Oven Bread, I can’t help but feel a sense of warmth and comfort. This recipe is a delightful blend of crisp crust and tender, flavorful interior that’s perfect for anyone yearning for that homemade touch without spending all day in the kitchen. It’s remarkably easy to whip up, allowing you to enjoy a wholesome, vegetarian-friendly treat any day of the week. Plus, with minimal active time required, you can focus on what truly matters—showing off this artisan-style bread to family and friends. Curious about how to create your own slice of heaven? Let’s dive into this no-fail recipe.
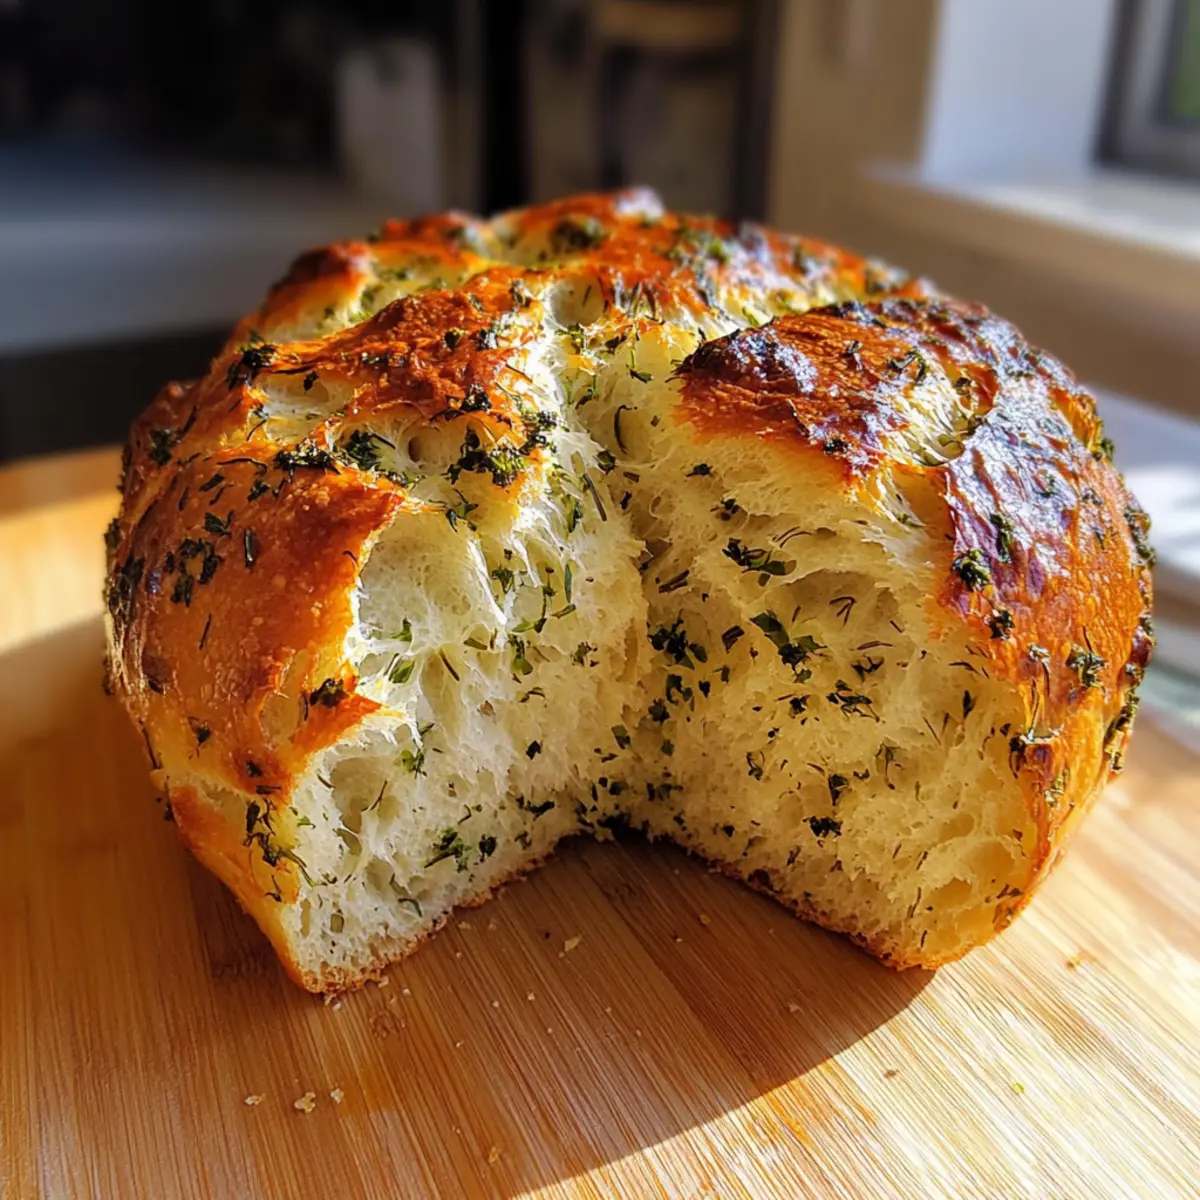
Why is Garlic Herb Dutch Oven Bread irresistible?
Simplicity at Its Finest: This easy recipe requires just a few basic ingredients and minimal hands-on time, allowing anyone, from novice bakers to seasoned chefs, to create delicious homemade bread.
Aromatic Comfort: The delightful blend of garlic and fresh herbs not only fills your kitchen with mouthwatering aromas but also enhances your meals, making them feel extra special.
Versatile Customization: Want to take it up a notch? Feel free to add cheese or sun-dried tomatoes for unique flavor variations that’ll impress your guests.
Crowd-Pleasing Delight: Perfect for family gatherings or dinner parties, this bread pairs seamlessly with soups, salads, and pastas, or simply enjoyed on its own with a touch of butter or olive oil.
Perfect Texture: Each loaf features a beautifully crusty exterior and a soft, airy center, offering the comforting essence of artisan bread without the need for a bakery visit.
For additional inspiration, don’t miss out on the deliciousness of Seared Cod Garlic or prepare a comforting side with Crusted Chicken Garlic.
Garlic Herb Dutch Oven Bread Ingredients
For the Bread
- All-Purpose Flour – Provides structure and chewiness; substitute with bread flour for a denser texture.
- Salt – Enhances flavor and controls fermentation; a necessary ingredient for taste balance.
- Instant Yeast – Leavening agent for bread rise; can be replaced with active dry yeast (which must be activated in warm water first).
- Warm Water – Hydrates flour and activates yeast; it should be around 110°F (43°C).
- Garlic (minced) – Adds a robust flavor; adjust the amount according to your garlic preference.
- Fresh Herbs (e.g., rosemary, thyme, chopped) – Contribute fresh, aromatic notes; dried herbs can be used as a substitute (use less as dried herbs are more potent).
- Olive Oil – Prevents sticking and promotes a golden crust; other oils can be used, but olive oil adds rich flavor.
Now, roll up your sleeves and get ready to create your very own Garlic Herb Dutch Oven Bread—a simple yet satisfying journey!
Step‑by‑Step Instructions for Garlic Herb Dutch Oven Bread
Step 1: Dough Preparation
In a large mixing bowl, combine the all-purpose flour, salt, and instant yeast. Gradually add in the warm water (around 110°F or 43°C), minced garlic, and your choice of fresh herbs. Stir the mixture until it forms a shaggy dough that pulls away from the sides of the bowl, taking about 3-5 minutes.
Step 2: Resting
Cover the bowl tightly with plastic wrap and let the dough rise at room temperature for 12-18 hours. During this time, the dough will become bubbly and double in size, allowing its flavors to develop beautifully. You’ll know it’s ready when it’s domed and dotted with air pockets.
Step 3: Preheat Oven
About 30 minutes before baking your Garlic Herb Dutch Oven Bread, preheat your oven to 450°F (230°C). Place your Dutch oven (with the lid on) inside the oven while it preheats. This will ensure that your pot is hot enough to create that perfect crust when you bake your bread.
Step 4: Prepare for Baking
Once the oven has reached temperature, carefully remove the hot Dutch oven using oven mitts. Coat the bottom and sides with a generous drizzle of olive oil to prevent your bread from sticking. Swirl the pot to distribute the oil evenly, creating a non-stick surface for your loaf.
Step 5: Shape Dough
Lightly flour a clean surface and turn the rested dough out onto it. With floured hands, gently shape the dough into a round ball, being careful not to overwork it. The surface should be somewhat smooth but still have a rustic appearance, as you want to retain that artisan feel of Garlic Herb Dutch Oven Bread.
Step 6: Bake
Transfer the shaped dough to your preheated Dutch oven and cover it with the lid. Bake for 30 minutes to allow the bread to rise and steam. After that, carefully remove the lid and continue baking for an additional 15-20 minutes, until the crust is a beautiful golden brown and sounds hollow when tapped.
Step 7: Cooling
Once baked, carefully remove the Dutch oven from the oven and let the bread cool in the pot for about 5 minutes. Then, gently lift the bread out and place it on a wire rack to cool completely before slicing. This cooling period helps maintain the delicious texture of your Garlic Herb Dutch Oven Bread.
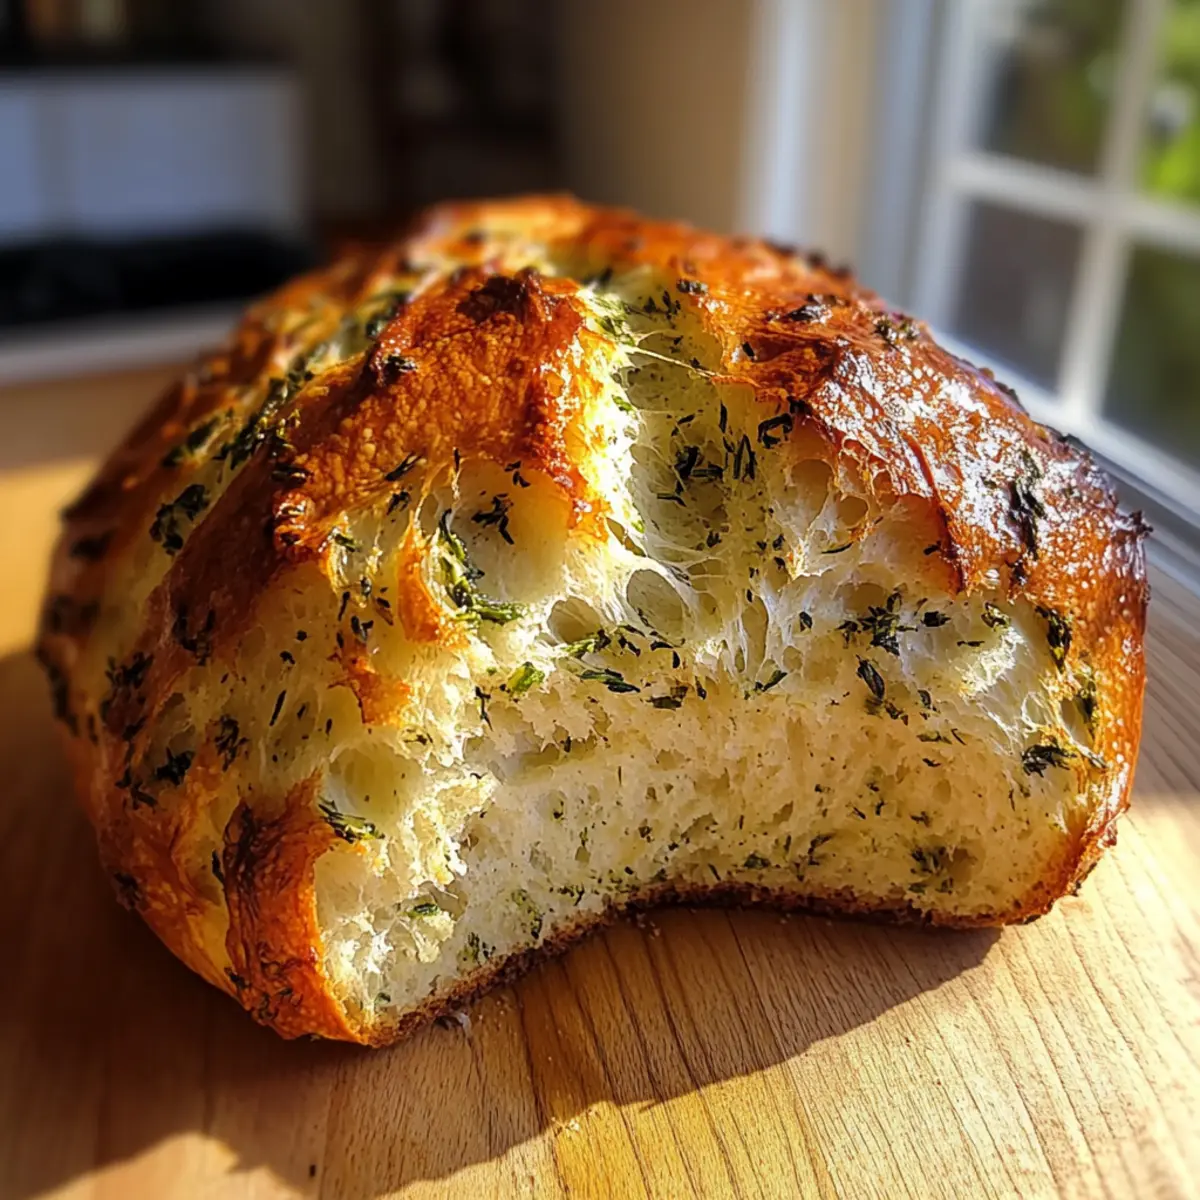
Expert Tips for Garlic Herb Dutch Oven Bread
• Garlic Level: Start with a moderate amount of garlic and adjust to your taste, ensuring it complements without overpowering.
• Flouring Surface: Avoid excessive flour while shaping; a little stickiness helps the bread stay moist and enhances the final texture.
• Preheating Importance: Always preheat your Dutch oven thoroughly before baking; this creates a crust that is golden and crunchy.
• Dough Resting: Don’t rush the resting period—allowing the dough 12-18 hours to rise is key for flavor and fluffiness.
• Experimenting with Herbs: Feel free to customize your Garlic Herb Dutch Oven Bread with different herb blends to find your perfect match.
What to Serve with Garlic Herb Dutch Oven Bread
Imagine a cozy dinner setting where the aroma of freshly baked bread fills the air—it’s the perfect way to complement your meals and create lasting memories.
- Creamy Tomato Soup: The rich and smooth texture of this classic soup pairs perfectly with the crusty bread, making every dip delightful.
- Green Salad with Vinaigrette: A refreshing mix of greens balances the hearty bread, adding a crisp and light contrast to each bite.
- Roasted Vegetables: Their caramelization enhances the flavors while you enjoy the savory garlic notes in the bread—simple yet satisfying!
- Classic Pasta Primavera: With the bread’s soft interior, it complements the vibrant vegetables and herbs, making every forkful a celebration of flavors.
- Homemade Olive Tapenade: Spread this savory blend on warm slices for an extra burst of flavor, enhancing the wonderful garlic and herb infusion.
- Herbed Butter: A simple, whipped herbed butter melts effortlessly into the bread’s texture, adding an indulgent touch that’s hard to resist.
- Pinot Grigio: This crisp white wine enhances the bread’s flavors, creating a delightful pairing for a lovely dinner or gathering.
- Chocolate Fondue: For a sweet twist, serve the bread alongside a rich chocolate fondue—perfect for dipping and indulging!
How to Store and Freeze Garlic Herb Dutch Oven Bread
Room Temperature: Store leftover bread in a paper bag at room temperature for up to 3 days to maintain its crusty exterior. Avoid plastic, as it can cause the crust to become soggy.
Fridge: Though refrigeration is not ideal, you may store your bread wrapped in foil for up to a week if necessary, but be aware it may lose some of its delightful texture.
Freezer: For longer storage, slice your Garlic Herb Dutch Oven Bread and freeze the pieces in an airtight container or freezer bag for up to 3 months. This allows for easy, quick use whenever you’re craving fresh bread.
Reheating: When ready to enjoy, reheat slices in the oven at 350°F (175°C) for about 10 minutes, or simply toast for a few minutes to bring back that crunchy crust and warm interior.
Garlic Herb Dutch Oven Bread Variations
Customize your Garlic Herb Dutch Oven Bread to make it uniquely yours! Let your kitchen fill with tantalizing smells as you explore these delicious twists.
-
Cheesy Delight: Stir in shredded cheese like Parmesan or gouda into the dough for a rich, savory flavor explosion. The gooey richness pairs perfectly with the garlic and herbs!
-
Sun-Dried Tomato Twist: Add chopped sun-dried tomatoes for a sweet, tangy contrast that brightens up the bread. Not only does it add color, but it also brings a Mediterranean flair to your dish.
-
Onion Infusion: Swap out the garlic for caramelized onions, which create a slightly sweet and savory bread that delights the taste buds. This gives the bread a lovely depth, perfect for pairing with creamy soups.
-
Herb Variations: Experiment with different herbs like basil, oregano, or cilantro. These can change the whole profile of the bread, making it a delightful local twist!
-
Spicy Kick: Add crushed red pepper flakes to the dough for a spicy surprise with each bite. This is a great way to spice things up, especially for heat lovers!
-
Whole Wheat Option: Substitute half the all-purpose flour with whole wheat flour for a heartier loaf that’s just as delicious. It adds a nutty flavor and extra nutrition without sacrificing taste.
-
Muffin Style: Transform the dough into rolls by placing scoops into muffin tins instead of shaping one large loaf. These mini bites are perfect for sharing or serving at gatherings!
For more scrumptious recipes to pair your bread with, try the comforting flavors of Gingerbread Brownies Cozy or finish off a meal with the sweet delight of Orange Cranberry Shortbread. Let your creativity shine as you try out these variations!
Make Ahead Options
Preparing Garlic Herb Dutch Oven Bread ahead of time is a fantastic way to save time on busy days! You can mix the dough and let it rest for up to 24 hours (in the fridge) before baking, allowing the flavors to intensify. After the initial 12-18 hour rise, simply cover it and refrigerate it instead of letting it sit at room temperature. When you’re ready to bake, take the dough out, shape it, and let it sit at room temperature for 30-60 minutes before placing it in your preheated Dutch oven. This method ensures your bread remains just as delicious, with a perfectly crusty exterior and airy interior, all while fitting seamlessly into your meal prep routine!
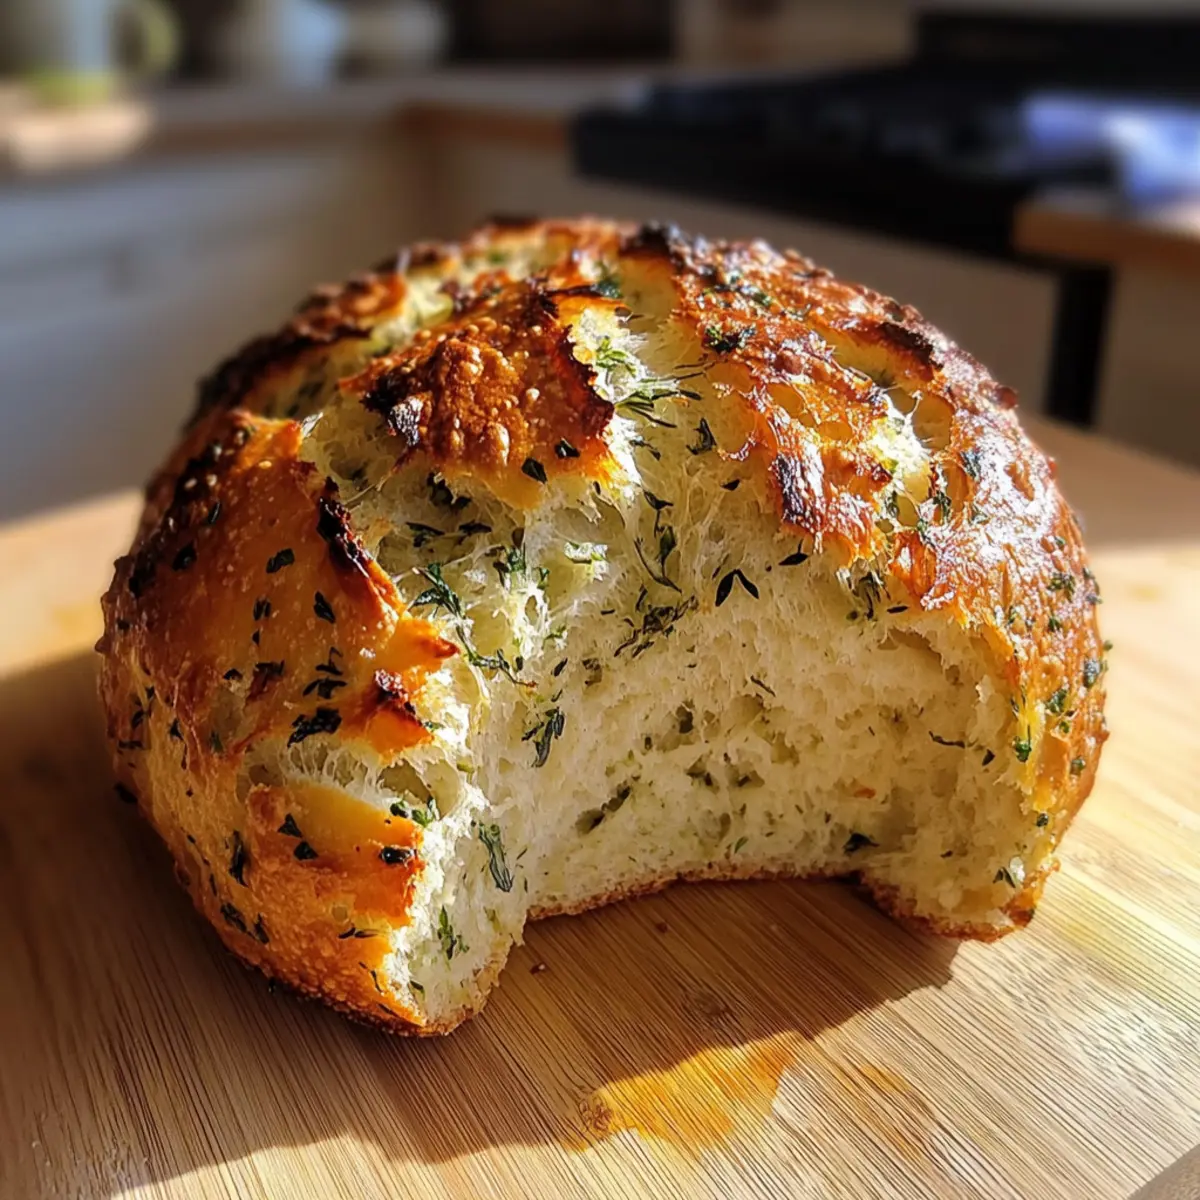
Garlic Herb Dutch Oven Bread Recipe FAQs
How do I choose the right garlic for this recipe?
Absolutely! Opt for fresh garlic bulbs that are firm and free of dark spots or sprouts. When minced, fresh garlic offers a robust flavor that will greatly enhance your Garlic Herb Dutch Oven Bread. If you’re in a pinch, pre-minced garlic can work too, but fresh is always best for that homemade touch!
What’s the best way to store leftover bread?
For optimal freshness, store your leftover Garlic Herb Dutch Oven Bread in a paper bag at room temperature for up to 3 days. This helps maintain its crunchy crust while allowing it to breathe. If you can’t finish it in that time, consider slicing it and freezing it for long-term storage!
Can I freeze Garlic Herb Dutch Oven Bread?
Yes, very! To freeze your Garlic Herb Dutch Oven Bread, wait until it has cooled completely. Slice the bread and place it in an airtight container or a freezer bag. It can be frozen for up to 3 months. When you’re ready to enjoy it, reheat the slices in a preheated oven at 350°F (175°C) for about 10 minutes to revive its texture.
What if my dough doesn’t rise properly?
No worries! If your dough doesn’t rise well, it could be due to inactive yeast. Ensure your yeast is fresh and properly activated. If you’re using instant yeast, make sure your warm water is at the right temperature—about 110°F (43°C)—as cooler water can slow yeast activity. Let it rest in a warm spot: a good place can be an oven turned off but warmed slightly.
Are there any dietary considerations I should be aware of?
It’s important to note that this Garlic Herb Dutch Oven Bread is vegetarian-friendly, but if you have any specific dietary restrictions, such as gluten intolerance, you can substitute all-purpose flour with a gluten-free blend. Always check ingredient labels for added allergens, especially if you modify the recipe with extras like cheese or herbs.
How do I tell when my bread is done baking?
You can easily check if your Garlic Herb Dutch Oven Bread is perfectly baked by tapping the bottom of the loaf. If it sounds hollow, it’s a sign that your bread is done! You should also look for a beautiful golden-brown crust. After removing it from the oven, let it cool on a wire rack before slicing for the best texture.
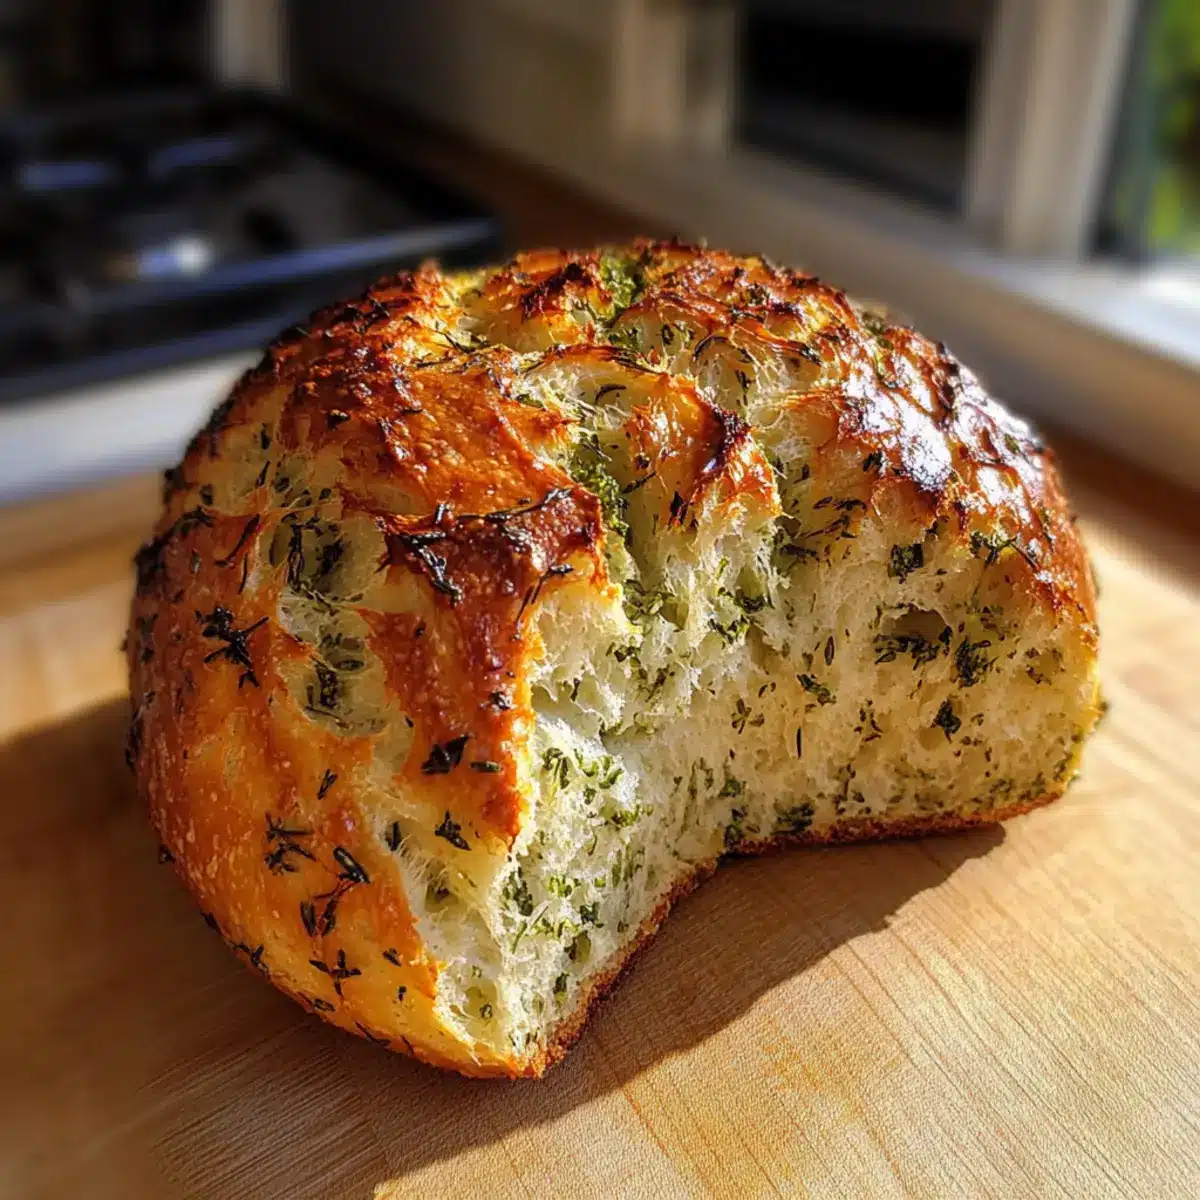
Garlic Herb Dutch Oven Bread Made Easy for Cozy Nights
Ingredients
Equipment
Method
- Combine flour, salt, and yeast in a bowl. Gradually add warm water, minced garlic, and herbs. Stir until a shaggy dough forms.
- Cover the bowl with plastic wrap and let rise at room temperature for 12-18 hours.
- Preheat the oven to 450°F (230°C) and place the Dutch oven inside to heat.
- Remove the hot Dutch oven and coat with olive oil.
- Turn the rested dough onto a floured surface and shape it into a round ball.
- Transfer the dough to the Dutch oven and cover with the lid. Bake for 30 minutes, then remove the lid and bake for another 15-20 minutes.
- Remove from the oven and let cool in the pot for 5 minutes before transferring to a wire rack.
Leave a Reply