
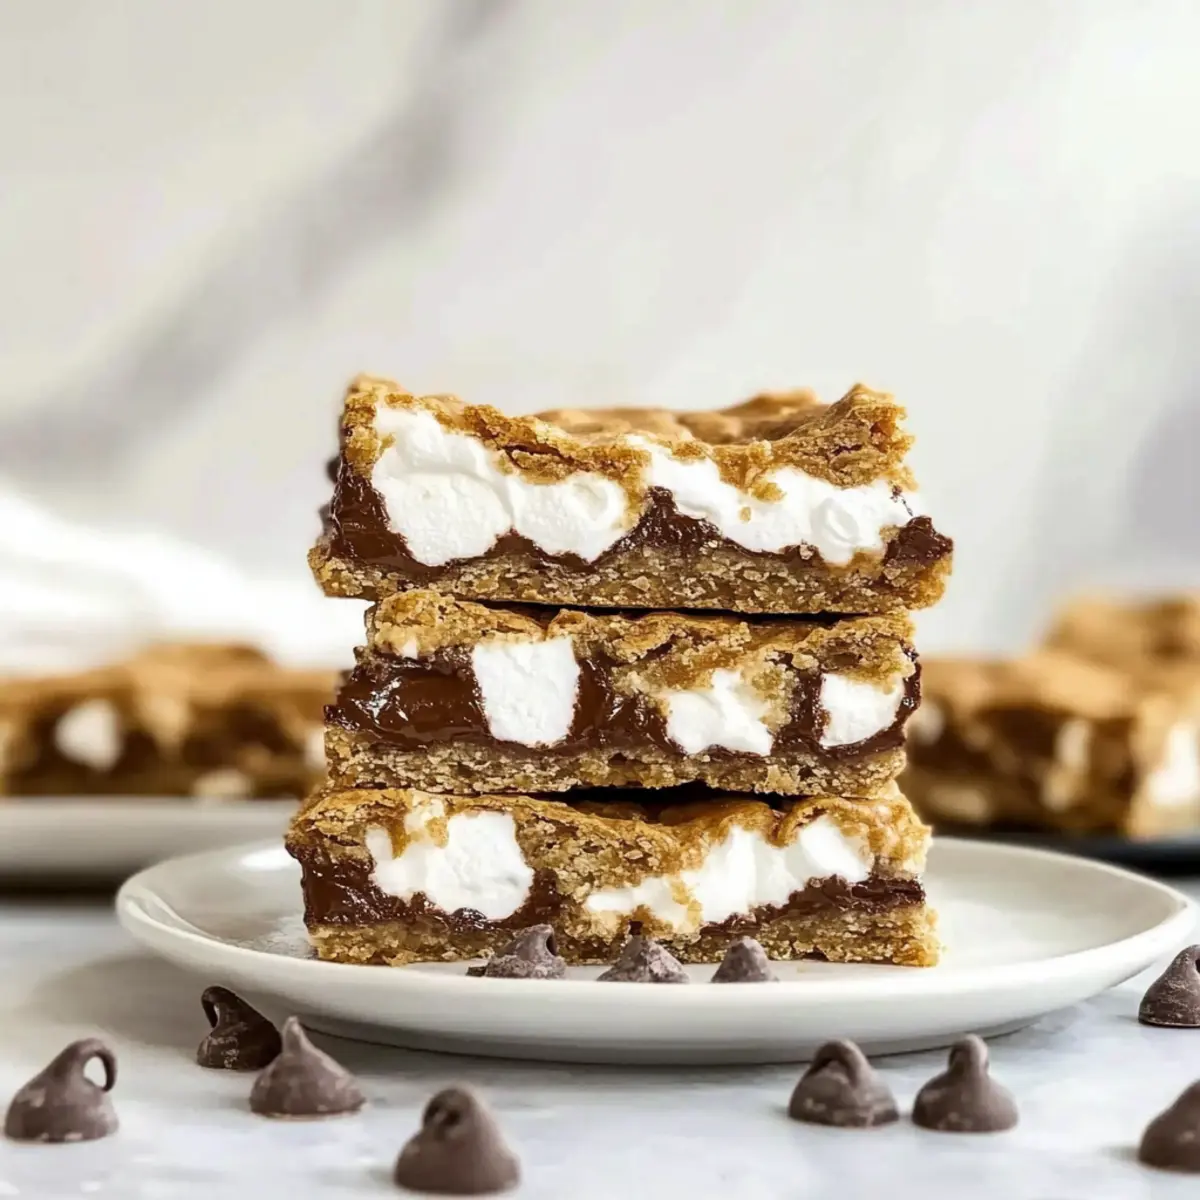
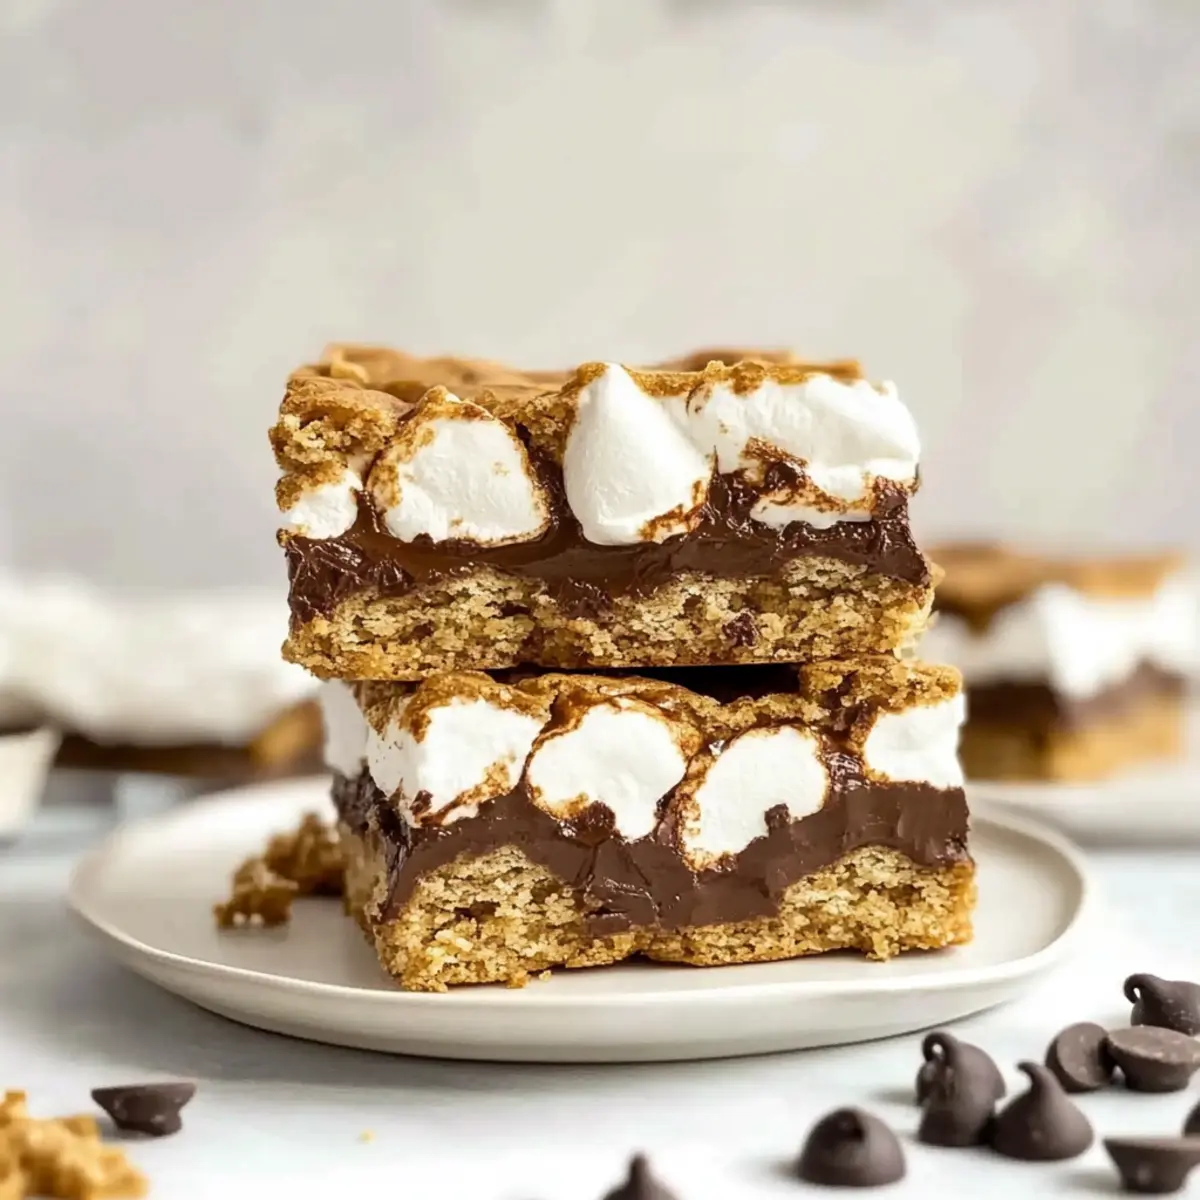
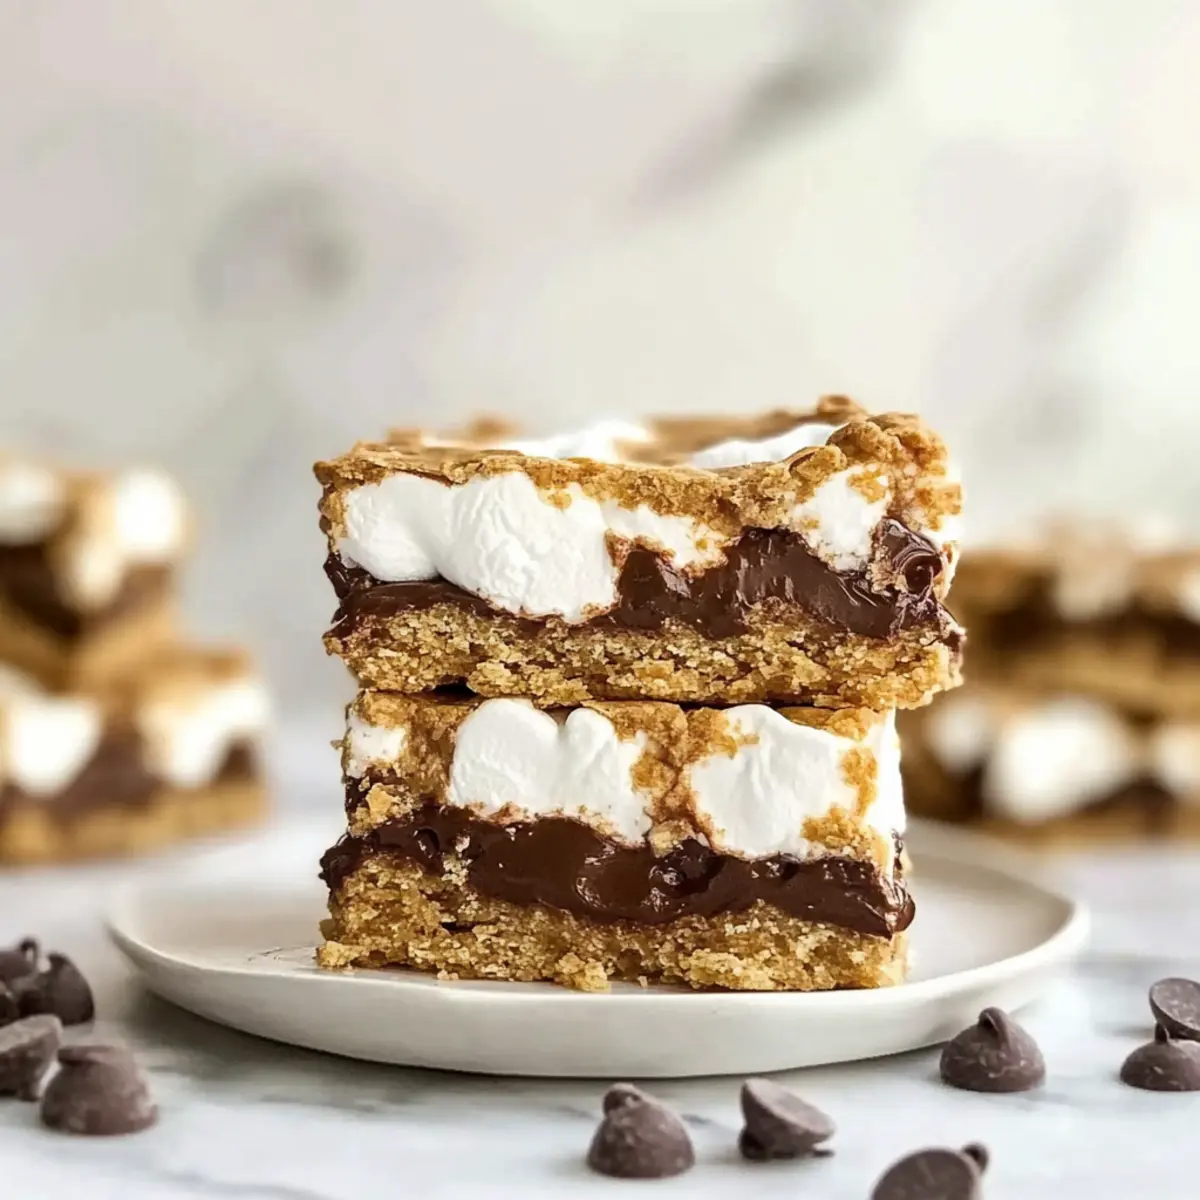
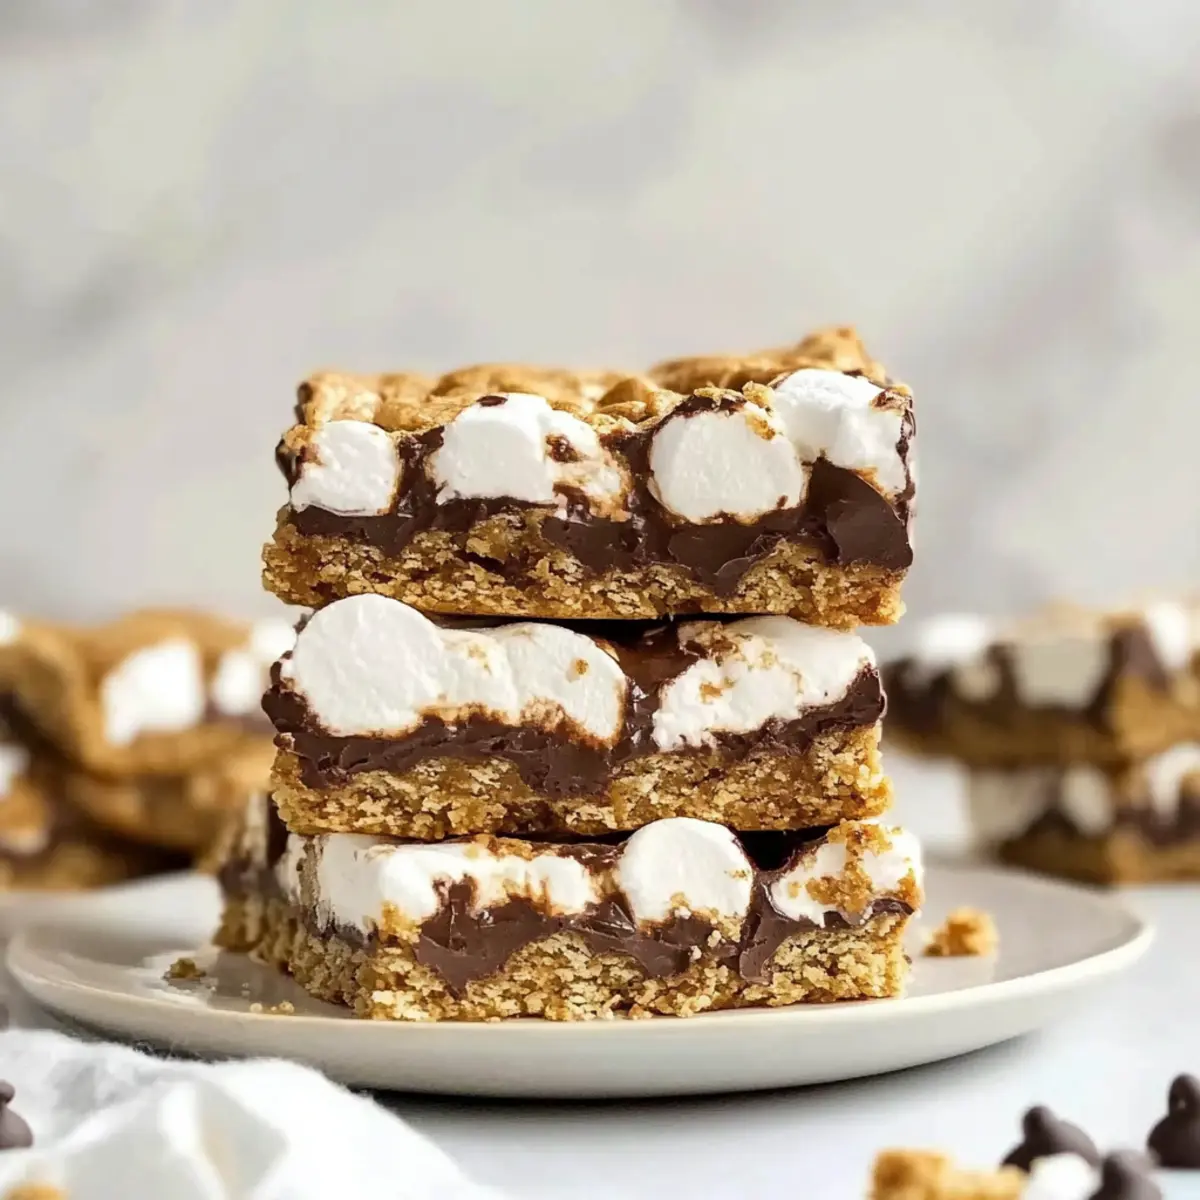
As I pulled the first batch of chewy gluten-free s’mores bars from the oven, the sweet aroma wafted through my kitchen, instantly transporting me back to carefree summer nights spent by the fire. These delightful bars combine the nostalgic essence of classic s’mores—gooey marshmallow and melty chocolate—between two layers of crumbly graham cracker goodness, and best of all, they’re perfect for those following a gluten-free lifestyle. Not only are these bars incredibly easy to whip up, but they also offer a crowd-pleasing treat that everyone can enjoy, regardless of dietary restrictions. Whether you’re hosting a gathering or simply craving something sweet, these chewy gluten-free s’mores bars are sure to satisfy. Curious about how to make your own batch of nostalgia-filled goodness? Let’s dive into the recipe!
Why Will You Love These S’mores Bars?
Nostalgic Treat: These s’mores bars evoke warm memories of summer campfires and sweet times with friends.
Gluten-Free Goodness: Perfect for those avoiding gluten, made with easily accessible gluten-free graham crackers.
Quick & Simple: The recipe is designed for home cooks of all levels, providing deliciously chewy results in under 30 minutes of baking!
Crowd-Pleasing Flavor: Rich chocolate and marshmallow blend perfectly for a treat everyone will adore—ideal for parties and family gatherings.
Customization Options: Mix it up by adding nuts or using different chocolate types for a personalized twist. If you love easy desserts, check out these Gluten Free Popovers for another delightful treat!
Perfectly Chewy Texture: The bars deliver that classic s’mores gooeyness while holding their shape, making them perfect for sharing or snacking anytime.
Gluten-Free S’mores Bars Ingredients
For the Bars
• Butter – Adds richness and moisture; use softened butter for easy mixing.
• Brown Sugar – Provides sweetness and moisture for a chewy texture; can substitute with coconut sugar for a different flavor.
• Egg – Acts as a binding agent for stability; room temperature eggs blend in more easily.
• Vanilla Extract – Enhances the overall flavor; pure vanilla extract is preferred for the best results.
• Gluten-Free Measure-for-Measure Flour – This is your main structural ingredient; ensure it’s formulated for baking to achieve the right consistency.
• Gluten-Free Graham Cracker Crumbs – The key to replicating that classic s’mores flavor; use store-bought gluten-free graham crackers or crush gluten-free biscuits.
• Baking Powder – Helps the bars rise slightly, creating a lighter texture; make sure it’s gluten-free if sensitive.
• Kosher Salt – Balances sweetness and enhances flavors; regular salt can be used if necessary.
For the Filling
• Marshmallow Fluff or Creme – Provides that signature gooey texture; avoid using regular marshmallows here as they won’t melt properly.
• Semi-Sweet Chocolate Chips – Adds rich chocolate flavor; can substitute with dark or dairy-free chocolate for a different twist.
Enjoy the delightful process of creating these gluten-free s’mores bars—they’re bound to become a family favorite!
Step‑by‑Step Instructions for Gluten-Free S’mores Bars
Step 1: Preheat Oven
Begin by preheating your oven to 350°F (175°C). This is crucial for achieving the perfect texture for your gluten-free s’mores bars. Prepare an 8×8 inch baking pan by lining it with parchment paper, allowing for easy removal and clean-up once baked.
Step 2: Cream the Butter and Sugar
In a mixing bowl, combine softened butter and brown sugar. Use an electric mixer to beat them together on medium speed for about 2–3 minutes until the mixture is light and fluffy. This step is key to creating a chewy texture for your delicious gluten-free s’mores bars.
Step 3: Combine Wet Ingredients
Next, add one room temperature egg and a splash of vanilla extract to the creamed mixture. Continue mixing until fully incorporated, ensuring a smooth blend. You’ll want to see a cohesive mixture that nicely holds together, which adds to the overall moisture of the bars.
Step 4: Add Dry Ingredients
Gradually add the gluten-free measure-for-measure flour, gluten-free graham cracker crumbs, baking powder, and kosher salt to the wet mixture. Mix on low speed until just combined—avoid overmixing to ensure that your gluten-free s’mores bars remain tender and chewy.
Step 5: Prepare Base Layer
Take about two-thirds of the dough and press it evenly into the bottom of your prepared pan. Use your hands or a spatula to create a smooth, compact layer. This base layer forms the foundation of your s’mores bars, setting the stage for marshmallow and chocolate goodness.
Step 6: Layer with Marshmallow and Chocolate
Spread a generous layer of marshmallow fluff over the base layer, making sure to cover it evenly. Follow this with an even sprinkle of semi-sweet chocolate chips on top of the marshmallow, ensuring that every bite of your gluten-free s’mores bars will be filled with rich flavors.
Step 7: Add Top Layer
Take the remaining dough and create small dollops, spacing them across the marshmallow and chocolate layer. This will allow some of the filling to peek through, creating a delightful texture contrast and ensuring that you can enjoy the gooey marshmallow in every bite.
Step 8: Bake
Place the pan in your preheated oven and bake for 25–28 minutes. Keep an eye on the bars until they are just set and slightly golden on top, indicating that they are ready. The center may still jiggle a bit but should not be overly liquid.
Step 9: Cool
Once baked, remove the pan from the oven and let the gluten-free s’mores bars cool completely in the pan. For cleaner cuts, consider chilling them in the fridge for about 30 minutes before slicing, which helps to firm up the bars and makes them easier to handle.
What to Serve with Chewy Gluten-Free S’mores Bars?
Indulging in these delightful bars is not just about savoring their gooey goodness; it’s about creating a complete snack experience.
-
Creamy Vanilla Ice Cream: A scoop of rich vanilla ice cream adds a refreshing contrast to the warm, chewy bars, enhancing the overall dessert experience.
-
Fresh Berries: Juicy strawberries or raspberries provide a tart balance, cutting through the sweetness while adding a pop of color to your dessert platter.
-
Toasted Coconut Flakes: The crunch and nuttiness of toasted coconut make for an irresistible topping or side, intensifying the tropical vibe.
-
Warm Chocolate Sauce: Drizzling extra warm chocolate sauce over the bars takes the chocolate flavor to decadent heights, making every bite even more indulgent.
-
Chilled Almond Milk: Serve these bars with a glass of cold almond milk; its nutty flavor harmonizes beautifully with the sweet flavors of s’mores.
-
Frozen Lemonade: The zesty freshness of frozen lemonade can create a refreshing palette cleanser between bites, perfect for warm days.
These pairings elevate the classic gluten-free s’mores bars, inviting everyone to dig in and enjoy!
Gluten-Free S’mores Bars: Customization Ideas
Feel free to get creative with these delightful bars, as there are many ways to add your own touch!
-
Nutty Delight: Add a handful of crushed nuts or nut butter to the dough. This brings a wonderful crunch and deeper flavor.
-
Chocolate Swap: Replace semi-sweet chocolate chips with milk chocolate or dark chocolate for a unique twist. Experimenting with different chocolates can enhance sweetness levels and transform the flavor profile!
-
Add Coconut: Stir in unsweetened shredded coconut for a tropical flair. Its chewy texture complements the bars beautifully, adding an unexpected surprise in every bite.
-
Spicy Kick: Incorporate a pinch of cinnamon or cayenne pepper into the batter for a warm spice that contrasts delightfully against the sweet marshmallow and chocolate.
-
Fruit Infusion: Try adding dried cranberries or cherries for a tart contrast. They provide a nice textural difference and burst of flavor with every chewy bite!
-
Vegan Option: Substitute the egg with a flaxseed egg (1 tablespoon ground flaxseed mixed with 2.5 tablespoons water) and choose dairy-free chocolate. This makes your bars vegan-friendly without sacrificing taste.
-
S’mores Twist: Layer in some crushed gluten-free graham cracker pieces between the marshmallow and chocolate for an extra crunchy surprise. It enhances that beloved s’mores texture with each bite!
And if you’re in the mood for other delicious treats, you might want to explore these delightful Chocolate Cheesecake Bars or the light and airy Gluten Free Popovers to satisfy your sweet tooth!
Expert Tips for Gluten-Free S’mores Bars
-
Chill Before Slicing: Refrigerate the bars for 30 minutes after cooling. This helps them firm up, making slicing easier and preventing a gooey mess.
-
Graham Cracker Quality: Always use certified gluten-free graham crackers for the best flavor and texture. Regular graham crackers will not work.
-
Avoid Overmixing: Gently combine ingredients, especially after adding the flour. Overmixing can lead to tough bars instead of the chewy texture you want.
-
Check for Doneness: Bake until slightly golden on top. A slight jiggle in the center is normal due to the marshmallow fluff, so don’t overbake!
-
Flavor Variations: Feel free to experiment with different chocolate types—dark, milk, or dairy-free chocolate chips can give your gluten-free s’mores bars a unique twist.
How to Store and Freeze Gluten-Free S’mores Bars
Room Temperature: Keep the bars in an airtight container at room temperature for up to 3 days. This helps maintain their chewy texture without drying out.
Fridge: For extended freshness, store the gluten-free s’mores bars in the refrigerator for up to 5 days. Just make sure they are sealed well to prevent them from absorbing odors.
Freezer: To freeze, wrap the bars tightly in plastic wrap and then place them in a freezer-safe bag. They can be stored for up to 3 months. When ready to enjoy, thaw them in the refrigerator overnight.
Reheating: To reheat, warm individual bars in the microwave for 10-15 seconds for a gooey treat that tastes freshly made!
Make Ahead Options
These delightful gluten-free s’mores bars are perfect for meal prep enthusiasts! You can prepare the dough and layer it in the baking pan up to 24 hours in advance, covering it tightly with plastic wrap to keep it fresh. Alternatively, you can assemble the entire dessert and refrigerate it until you’re ready to bake. This ensures the bars maintain their delicious chewy texture. When you’re ready to enjoy, simply preheat your oven and bake as directed. For the freshest results, enjoy them within 3 days of baking, while storing any leftovers in an airtight container at room temperature. This way, you’ll have an easy, sweet treat ready whenever cravings hit!
Gluten-Free S’mores Bars Recipe FAQs
How do I choose the right gluten-free graham crackers?
Absolutely! When selecting gluten-free graham crackers, look for certified gluten-free labels to ensure they’re safe for those with gluten sensitivities. Popular brands often use a blend of gluten-free flours. I recommend checking the texture—aim for a crumbly, yet sturdy cracker that will hold up well when pressed for the crust.
What’s the best way to store the gluten-free s’mores bars?
For optimal freshness, keep your gluten-free s’mores bars in an airtight container at room temperature for up to 3 days. If you’d like to extend their shelf life, refrigerate them for up to 5 days. Just ensure the container is well-sealed to avoid any odors seeping in, which could affect the delicious flavor!
Can I freeze gluten-free s’mores bars and how?
Yes, you can freeze these tasty treats! Wrap each bar tightly in plastic wrap, and then place them in a freezer-safe bag. They can last up to 3 months in the freezer. When you’re ready to indulge, simply thaw them overnight in the fridge. For a warm, gooey experience, reheat in the microwave for 10-15 seconds!
What if my bars turn out too crumbly or dry?
Very good question! If your gluten-free s’mores bars are too crumbly, this often indicates they may have been overbaked or not enough moisture was added during preparation. Ensure your butter is softened properly and that you’re not overmixing your dough. If you find they lack moisture, consider adding a tiny bit of milk or almond milk next time to enhance the texture.
Are these gluten-free s’mores bars safe for people with allergies?
Definitely! However, be mindful of potential allergens like eggs, dairy (if chocolate chips contain milk), and cross-contamination with gluten flour. If you’re creating these for someone with strict dietary restrictions, consider using dairy-free chocolate chips and substituting egg with a flaxseed or chia seed replacement for a fully allergen-friendly version.
Can I customize the flavors of the gluten-free s’mores bars?
The more the merrier! Yes, feel free to mix up your flavor profile by adding a handful of crushed nuts or using flavored chocolate chips. Dark chocolate or even mint chocolate can elevate your bars to a whole new level. Be adventurous—there’s no wrong way to enjoy these chewy gluten-free s’mores bars!
Gluten-Free S'mores Bars: Chewy Delights for Every Occasion
Ingredients
Equipment
Method
- Preheat your oven to 350°F (175°C) and prepare an 8x8 inch baking pan with parchment paper.
- In a mixing bowl, cream together softened butter and brown sugar using an electric mixer on medium speed until light and fluffy.
- Add one egg and vanilla extract to the mixture and mix until fully combined.
- Gradually add the gluten-free flour, graham cracker crumbs, baking powder, and salt; mix on low until just combined.
- Press about two-thirds of the dough into the bottom of the prepared pan, smoothing it evenly.
- Spread marshmallow fluff over the base, followed by an even sprinkle of chocolate chips.
- Dollop the remaining dough on top to create small peaks.
- Bake in the preheated oven for 25–28 minutes until set and slightly golden on top.
- Allow the bars to cool completely in the pan, then refrigerate for 30 minutes before slicing for easier handling.
Leave a Reply