
The tantalizing aroma wafting from the kitchen had me daydreaming about those comforting flavors of home-cooked meals. As I rolled up my sleeves, I couldn’t wait to share my twist on a classic favorite: High Protein Chicken Enchiladas! These delicious enchiladas not only feature shredded chicken tucked into a creamy Greek yogurt filling but also pack a healthy punch, making them perfect for meal prepping or an easy weeknight dinner. You’ll love that they’re low-carb, and with their gooey, cheesy top, they promise to satisfy your cravings without the guilt. Whether you’re cooking for yourself or whipping up a feast for friends, this recipe is a delightful fusion of flavor and nutrition. Ready to discover how easy it is to bring a taste of Mexico into your kitchen? Let’s dive in!
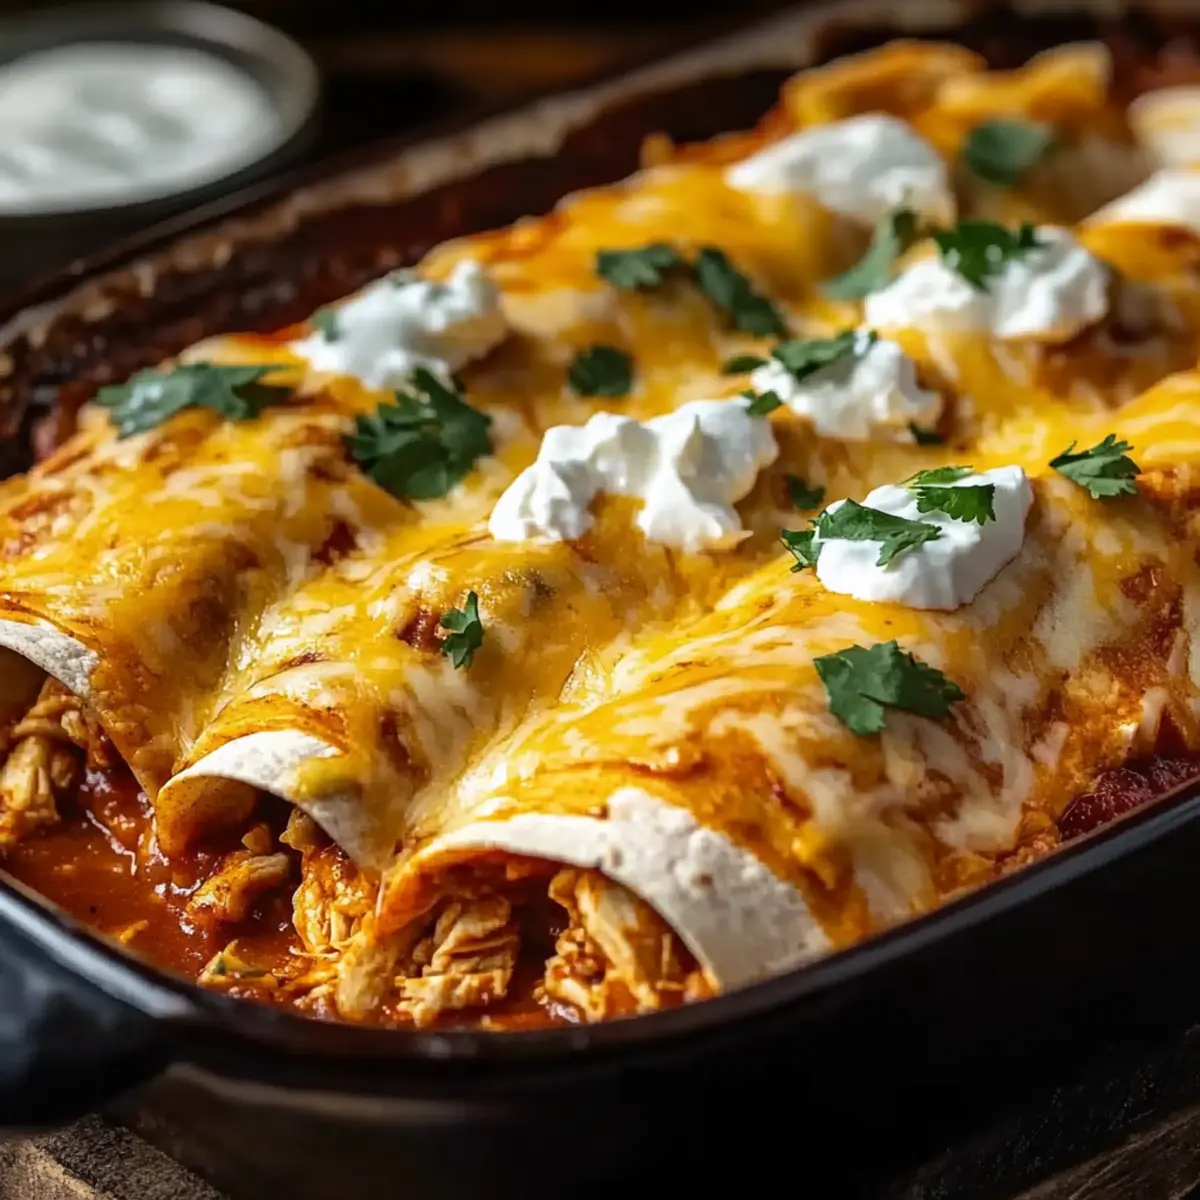
Why Are These Enchiladas So Irresistible?
Healthy, High-Protein: Packed with protein from shredded chicken and Greek yogurt, these enchiladas are a nutritious choice.
Flavor Explosion: The smoky cumin and zesty chili powder create a deliciously bold taste that keeps you coming back for more.
Easy to Make: With simple ingredients and straightforward steps, you’ll have a satisfying meal ready in no time.
Versatile: Customize with your favorite veggies or swap in turkey for a delightful twist.
Meal Prep Ready: Perfect for making ahead, just assemble and freeze; you can enjoy a homemade meal anytime! Don’t forget to check out other scrumptious options like Chicken Avocado Melt or Gnocchi Chicken Pot for your next culinary adventure.
High Protein Chicken Enchiladas Ingredients
Experience the goodness of homemade enchiladas!
For the Filling
- Shredded Cooked Chicken – A fantastic source of protein, giving these enchiladas heartiness; you can use rotisserie chicken for a quicker prep.
- Plain Greek Yogurt – Helps create a creamy filling, enhancing texture and protein content; substitute with blended cottage cheese if desired.
- Black Beans – Adds fiber and extra protein, making the dish more satisfying; just remember to rinse and drain them well.
- Chili Powder – Provides warmth and spice; feel free to adjust the amount based on your spice preference.
- Ground Cumin – Essential for imparting a smoky flavor; don’t skip this for an authentic taste!
- Garlic Powder – Boosts the flavor profile; fresh garlic can elevate the dish even further.
For the Wrap
- High-Protein Tortillas – These keep the dish low-carb while ensuring a boost in protein; whole wheat or low-carb tortillas can be good alternatives.
For the Sauce and Topping
- Red Enchilada Sauce – Moistens and binds everything together, crucial for flavor; spicy versions can add an extra kick!
- Shredded Mexican Cheese Blend – Adds gooeyness on top and richness; consider reduced-fat cheese for a healthier touch.
With these ingredients at hand, you’re just moments away from enjoying the delightful flavors of high protein chicken enchiladas!
Step‑by‑Step Instructions for High Protein Chicken Enchiladas
Step 1: Preheat and Prepare the Baking Dish
Begin by preheating your oven to 375°F (190°C). While it’s warming up, grab a 9×13 inch baking dish and lightly grease it with cooking spray or olive oil. Pour about 1/2 cup of enchilada sauce into the dish, ensuring it coats the bottom evenly, which will keep your High Protein Chicken Enchiladas from sticking and enhance their flavor.
Step 2: Combine the Filling Ingredients
In a spacious mixing bowl, add the shredded cooked chicken, plain Greek yogurt, drained black beans, chili powder, ground cumin, and garlic powder. Using a spatula or spoon, mix all the ingredients together until fully combined and creamy. This filling will infuse your enchiladas with high protein and delightful flavors, making them not only nutritious but incredibly tasty.
Step 3: Warm the Tortillas
To make rolling easier, warm your high-protein tortillas by wrapping them in a damp paper towel and microwaving for about 30-45 seconds. They should be soft and pliable to avoid tearing. This small step ensures that the tortillas easily hold the filling, allowing your High Protein Chicken Enchiladas to be rolled tightly without falling apart.
Step 4: Assemble the Enchiladas
On each warmed tortilla, place approximately 1/3 cup of the chicken filling. Carefully roll the tortilla up tightly, making sure the filling is secure, and place it seam-side down in the prepared baking dish. Repeat this process until all your tortillas are filled and rolled. The neatly arranged enchiladas will soon be enveloped in delicious sauce and cheese.
Step 5: Add Sauce and Cheese
Once all the enchiladas are rolled and snugly placed in the baking dish, drizzle the remaining enchilada sauce evenly over the top. Then, generously sprinkle the shredded Mexican cheese blend over the sauce to create a gooey, cheesy topping. This extra layer is crucial for giving your High Protein Chicken Enchiladas that irresistible golden finish.
Step 6: Bake to Perfection
Place the baking dish in the preheated oven and bake for about 20-25 minutes. You’ll know your enchiladas are ready when the cheese is bubbly and starts to turn golden brown. This step not only melds the flavors together beautifully but also creates a fantastic aroma throughout your kitchen.
Step 7: Rest and Garnish
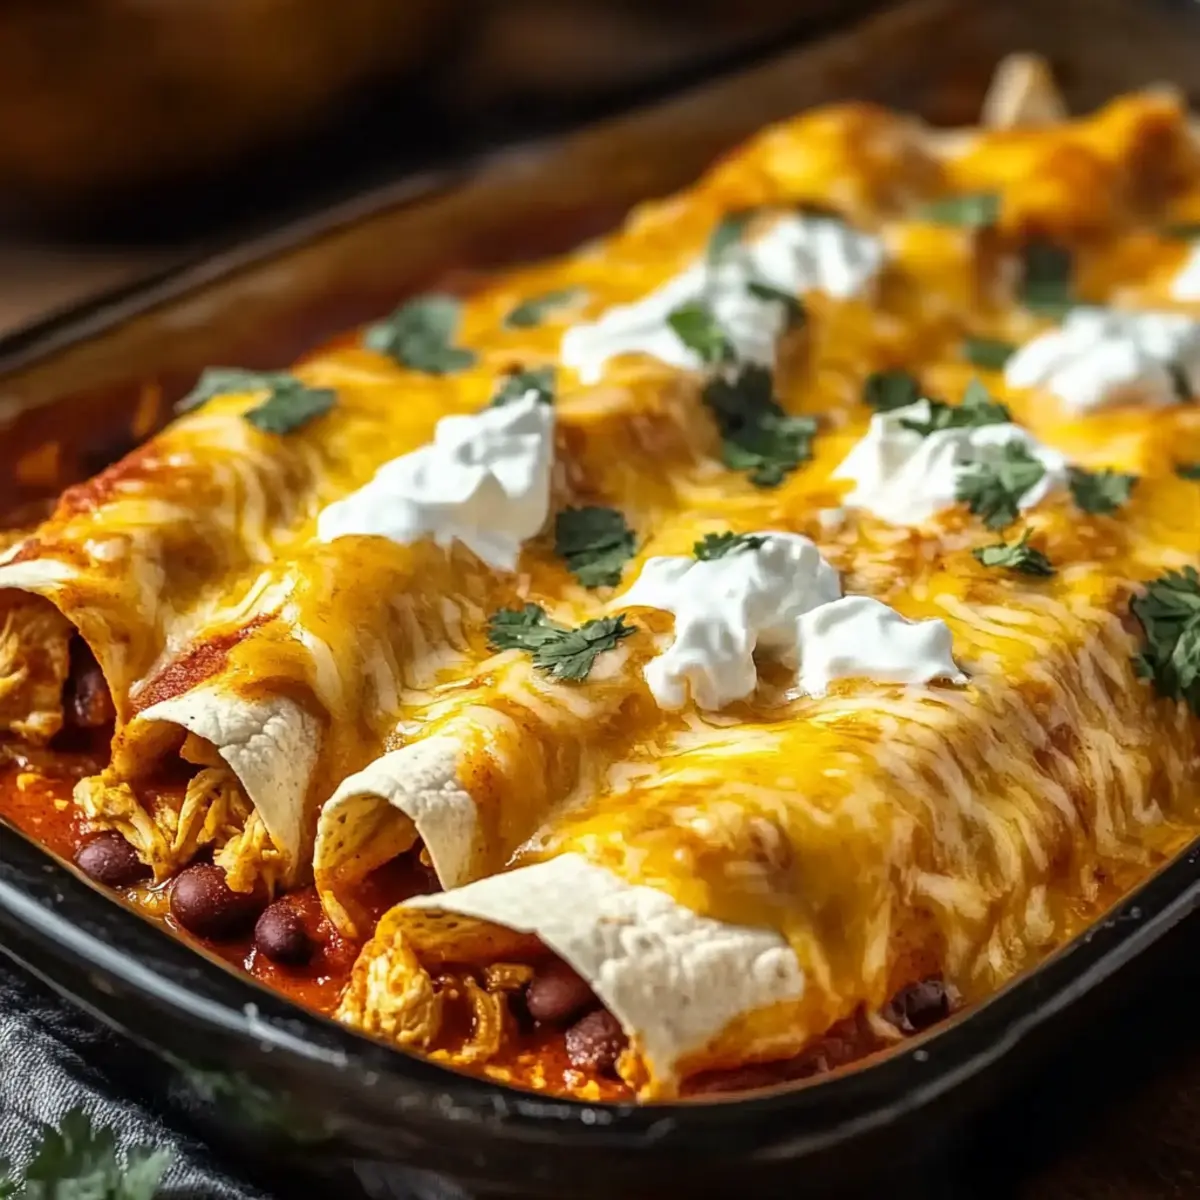
After baking, remove the dish from the oven and allow the High Protein Chicken Enchiladas to rest for about 5 minutes. This resting time helps the sauce settle and makes serving easier. Before serving, you can garnish with fresh cilantro or a dollop of Greek yogurt for an extra touch of flavor and presentation.
Make Ahead Options
These High Protein Chicken Enchiladas are a fantastic choice for meal prep, saving you time on busy weeknights! You can prepare the filling by mixing shredded chicken, Greek yogurt, black beans, and spices up to 3 days in advance, storing it in an airtight container in the refrigerator to keep it fresh. Additionally, you can assemble the enchiladas completely and refrigerate them for up to 24 hours before baking. Just cover the baking dish tightly with plastic wrap to prevent drying out. When you’re ready to enjoy, simply bake as instructed, and you’ll have a wholesome, flavorful meal ready in no time. Enjoy the satisfaction of a homemade dinner without the last-minute rush!
How to Store and Freeze High Protein Chicken Enchiladas
Fridge: Keep baked enchiladas in an airtight container for up to 4 days. Reheat in the oven at 350°F (175°C) for about 15-20 minutes to restore their cheesy gooeyness.
Unbaked Storage: If you’re preparing ahead, unbaked enchiladas can be covered tightly and stored in the fridge for up to 2 days. Just pop them in the oven when you’re ready for dinner!
Freezer: Assemble the enchiladas and freeze them in a suitable dish for up to 3 months. Thaw in the fridge overnight before baking for best results.
Reheating: To reheat frozen enchiladas, bake directly from the freezer at 375°F (190°C) for about 30-35 minutes. Enjoy your nutritious High Protein Chicken Enchiladas!
High Protein Chicken Enchiladas Variations
Feel free to put your own spin on these tasty enchiladas – the possibilities are deliciously endless!
-
Vegetable-Packed: Add diced bell peppers or spinach to the filling for a nutrient boost. Not only do they enhance the color, but they also add a delightful freshness to each bite.
-
Turkey Twist: Substitute shredded chicken with ground turkey for a lighter option. This gives you a unique flavor while keeping that hearty, delicious feel.
-
Cheesy Delight: Experiment with different cheeses, such as pepper jack for a spicy kick or sharp cheddar for a rich taste. Each cheese will create a different character that transforms your enchiladas.
-
Low-Carb Lovers: Swap high-protein tortillas with zucchini or eggplant slices for a completely different texture while keeping it low-carb. Your enchiladas will surprise everyone with their unique twist!
-
Spicy Kick: Elevate the flavor by adding diced jalapeños or using a spicy enchilada sauce instead. This will definitely please the heat seekers among your family and friends.
-
Creamy Avocado: Adding slices of avocado between the filling and sauce will provide a creamy texture and richness. Pairing the freshness of avocado with your enchiladas will create a balanced bite!
-
Black Bean Boost: Double the black beans in your filling for added fiber and a little extra protein boost. Each delicious forkful will be even heartier, making it perfect for a fulfilling meal.
-
Meal Prep Friendly: Make a batch of enchiladas with a mix of fillings and freeze them separately — a great way to enjoy quick and nutritious meals. Keep a few of your favorites on hand for those busy weeknights!
Remember, these high protein chicken enchiladas are versatile, and mixing things up is part of the fun! If you’re interested in additional meals, check out the delightful Chicken Pillows Parmesan for a comforting dish or the zesty Grilled Thai Coconut Chicken Skewers for something bursting with flavor.
What to Serve with High Protein Chicken Enchiladas
Imagine the warmth of a cozy dinner table surrounded by hearty flavors that make each bite feel like a hug from the inside.
-
Cilantro-Lime Cauliflower Rice: This light, zesty side adds a refreshing contrast to the rich enchiladas, making each bite a delightful experience. A sprinkle of fresh lime juice elevates the flavor and brings vibrancy to your plate.
-
Avocado Salad: Creamy avocado mixed with diced tomatoes and red onion offers a cooling element that pairs wonderfully with the spicy enchiladas. The healthy fats from the avocado keep the meal wholesome and satisfying.
-
Mexican Street Corn: Charred corn on the cob dressed with lime, mayo, and cotija cheese is a sweet and tangy treat. Its crunchy texture and smoky flavors complement the creamy enchiladas beautifully.
-
Black Bean Soup: A warm bowl of black bean soup adds extra protein and heartiness to your meal. Rich in flavor, it elevates the overall meal experience while being a great companion to the enchiladas.
-
Chips and Salsa: For a fun appetizer, serve crispy tortilla chips alongside a vibrant salsa. The crunchiness of the chips paired with fresh ingredients will excite your taste buds before the main event.
-
Spicy Margaritas: A classic drink pairing, these tangy and spicy margaritas not only complement the flavors of the enchiladas but add a festive atmosphere to your dinner table. The salt rim is the perfect finishing touch!
-
Mexican Flan: To end your meal on a sweet note, this creamy caramel dessert is a divine choice. Its smooth texture and gentle sweetness make it a lovely contrast to the savory flavors of the enchiladas.
Expert Tips for High Protein Chicken Enchiladas
• Chicken Choice: Use rotisserie chicken for a quicker prep and added flavor without compromising on protein.
• Tortilla Warming: Always warm your high-protein tortillas in a damp paper towel; this keeps them pliable and prevents tearing during assembly.
• Cheese Magic: Grate block cheese yourself for a smoother melt; pre-shredded cheese contains anti-caking agents that can affect texture.
• Spice Levels: Adjust chili powder and add a pinch of cayenne for personalized heat; this enhances the depth of flavor in your enchiladas.
• Sauce Selection: Experiment with different enchilada sauces, including spicy options, to customize the flavor profile of your High Protein Chicken Enchiladas.
• Make-Ahead: You can assemble the enchiladas and refrigerate them for up to two days before baking for easy meal prep!
High Protein Chicken Enchiladas Recipe FAQs
What kind of chicken should I use for the filling?
Absolutely, shredded cooked chicken is the star of this recipe! I recommend using rotisserie chicken for convenience and flavor. It’s already perfectly cooked and shredded, making your prep time quicker without sacrificing that delicious protein.
How should I store leftovers of my enchiladas?
Very simply! Baked High Protein Chicken Enchiladas can be stored in an airtight container in the fridge for up to 4 days. Just reheat them in the oven at 350°F (175°C) for about 15-20 minutes until they are warmed through and the cheese is melty again.
Can I freeze unbaked enchiladas for later use?
Yes! Assemble your enchiladas in a baking dish, cover tightly with plastic wrap or aluminum foil, and freeze for up to 3 months. When you’re ready to bake, just thaw them in the fridge overnight before baking as directed. Enjoy your homemade meal whenever you like!
What should I do if my enchiladas are falling apart when I roll them?
If you find the tortillas are tearing or falling apart, it’s advisable to warm them more. Wrap the tortillas in a damp paper towel and microwave them for an additional 15-20 seconds. This will make them pliable and help to hold the filling without falling apart.
Are there any dietary considerations for these enchiladas?
You bet! If you’re watching your carb intake, using high-protein and low-carb tortillas is ideal. For those with dairy allergies, substitute the Greek yogurt and cheese with dairy-free alternatives, like cashew cheese or non-dairy yogurt. Always check ingredient labels to ensure they fit your dietary needs!
Can pets eat High Protein Chicken Enchiladas?
While shredded chicken can be great for pets, it’s best to avoid giving your furry friends enchiladas due to the spices and sauces used. Some ingredients like garlic and onions can be harmful to dogs and cats, so keep them away from the table when enjoying your delicious meal!
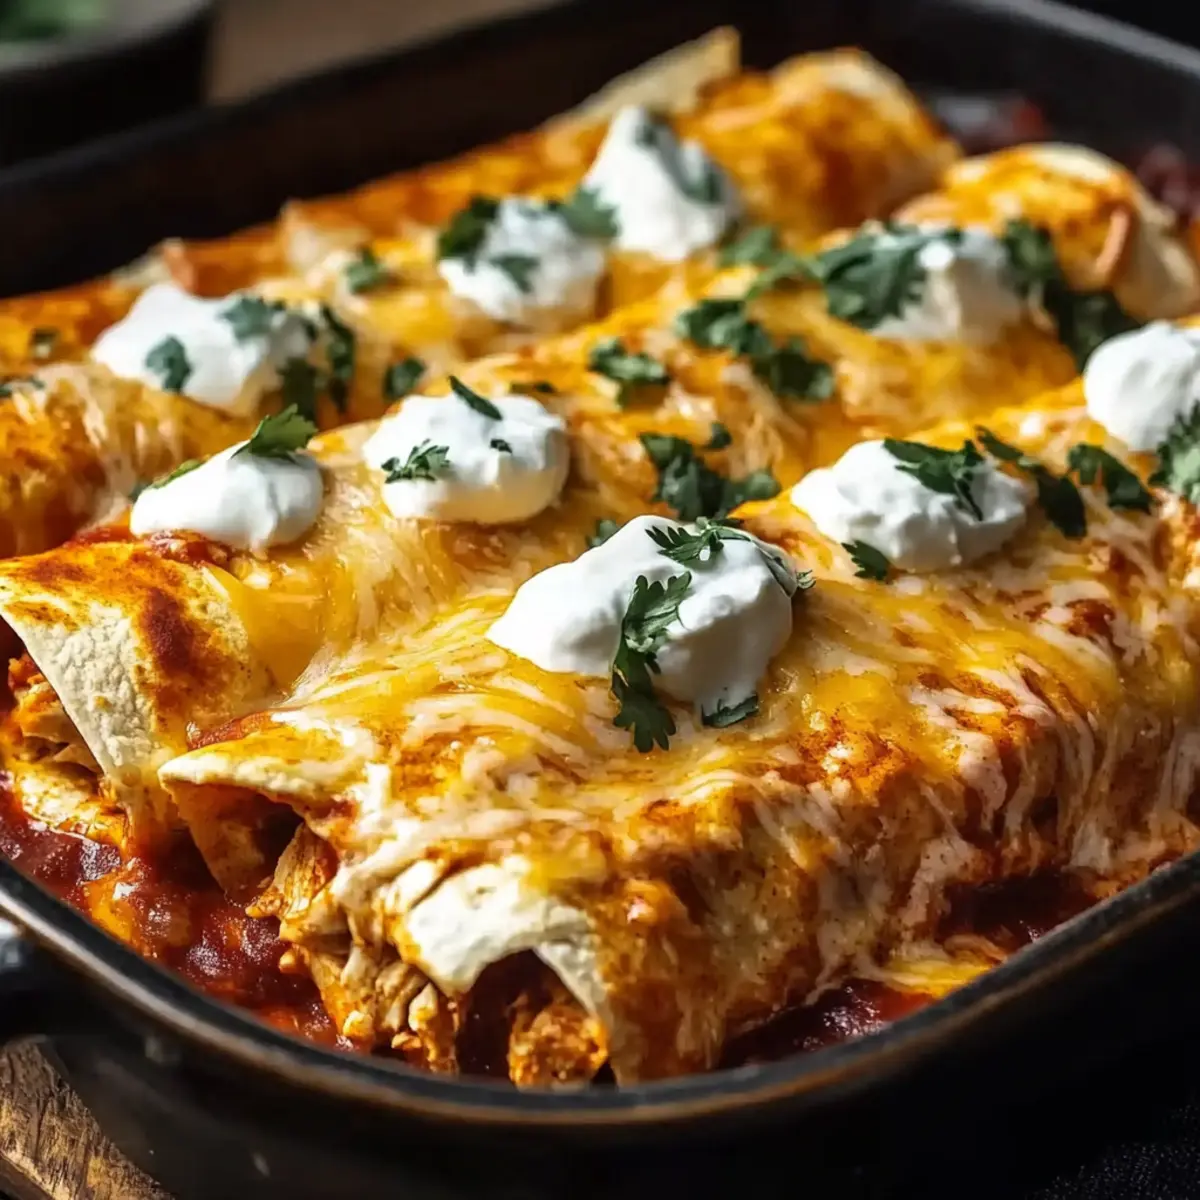
High Protein Chicken Enchiladas: Healthy & Delicious Dinner
Ingredients
Equipment
Method
- Preheat your oven to 375°F (190°C) and lightly grease a 9x13 inch baking dish with cooking spray or olive oil.
- Pour about 1/2 cup of enchilada sauce into the dish to coat the bottom.
- In a mixing bowl, combine shredded chicken, Greek yogurt, drained black beans, chili powder, cumin, and garlic powder, mixing until creamy.
- Warm your tortillas in a damp paper towel in the microwave for 30-45 seconds.
- On each tortilla, place approximately 1/3 cup of the chicken filling and roll tightly, seam-side down in the baking dish.
- Drizzle remaining enchilada sauce over the rolled enchiladas and sprinkle shredded cheese on top.
- Bake in the preheated oven for 20-25 minutes until cheese is bubbly and golden.
- Let the enchiladas rest for about 5 minutes before serving, garnished with cilantro or a dollop of Greek yogurt.
Leave a Reply