
The scent of tropical paradise wafts through your kitchen as you indulge in the simplicity of these Pineapple Bliss Bars. With a buttery crust and luscious pineapple filling, this delightful tropical dessert is a game-changer, calling upon the sun and sweetness of summer anytime you need a pick-me-up. Not only can these bars be prepared in just 45 minutes, but they also make a cheerful addition to any potluck or family gathering, promising smiles with each delightful bite. Whether you choose to stick with the classic recipe or sprinkle in some shredded coconut for an extra layer of flavor, there’s no doubting that these bars will transform any gathering into a mini celebration. Ready to explore this sunny escape?
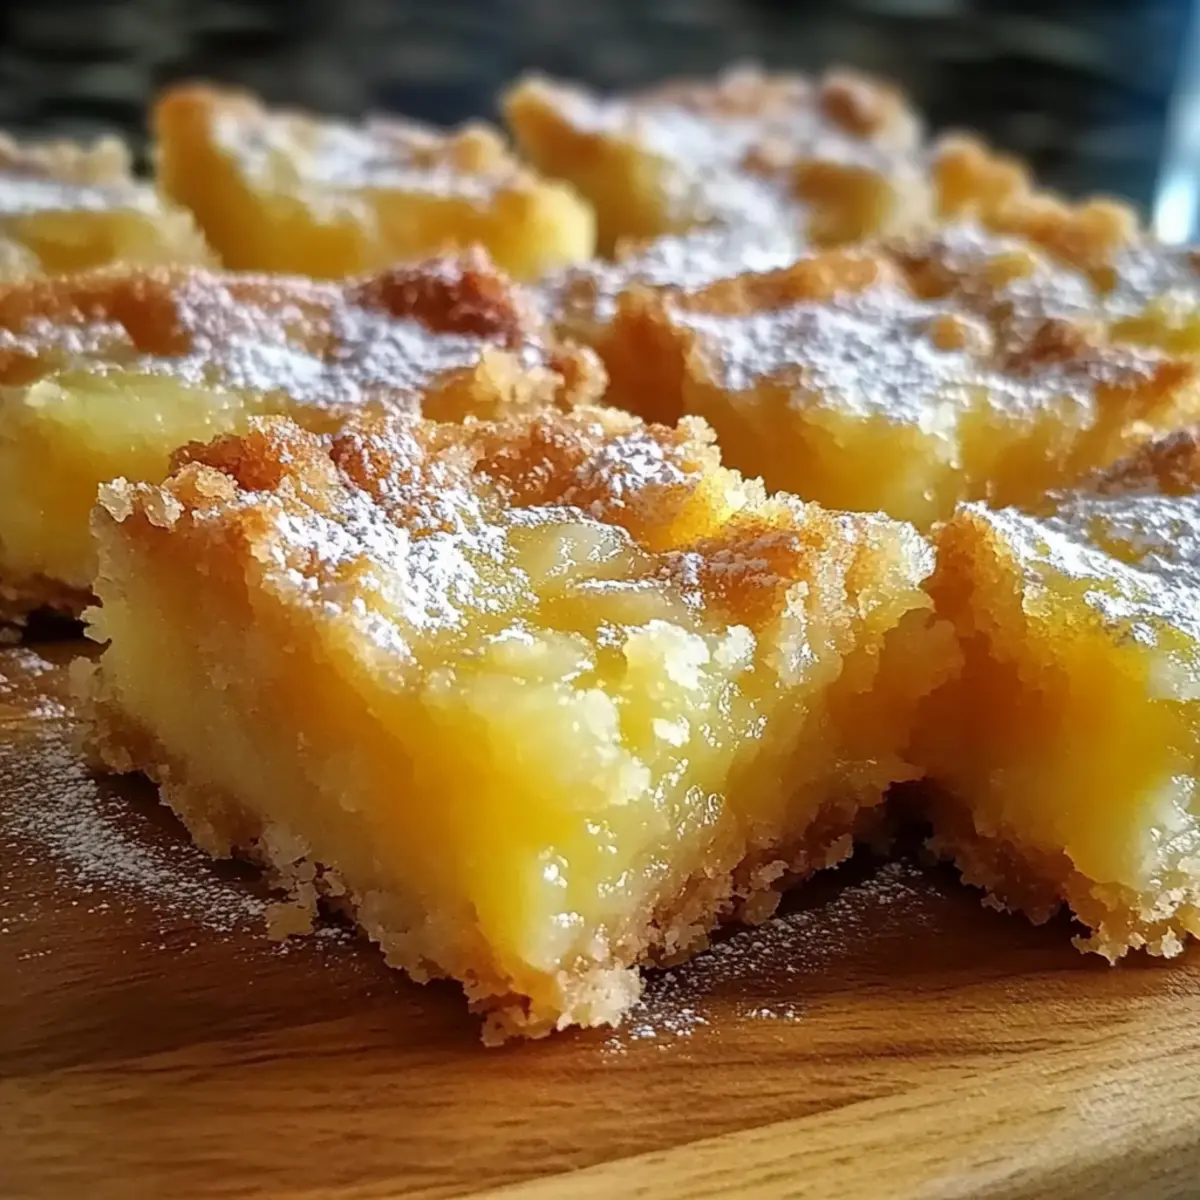
Why Are Pineapple Bliss Bars So Popular?
Quick and Easy: In just 45 minutes, you can whip up these delightful bars, making them the perfect last-minute treat for unexpected guests or midweek cravings.
Tropical Twist: The luscious pineapple filling brings a taste of the tropics, effortlessly brightening any occasion.
Versatile Treat: Consider pairing them with a scoop of vanilla ice cream or a fresh fruit salad for a refreshing dessert ensemble.
Crowd-Pleasing Flavor: Every bite feels like a mini vacation, making them a hit at potlucks and family gatherings alike.
Customized Delight: Want to switch things up? Add shredded coconut for extra texture or try other fruits for a unique twist. Cheers to sweet surprises!
Pineapple Bliss Bars Ingredients
• Get ready for a tropical treat!
For the Crust
• All-Purpose Flour – Provides structure for the crust; gluten-free flour can be used as a substitute for gluten-free options.
• Unsalted Butter – Imparts richness and flavor; margarine may alter the taste.
• Granulated Sugar (for crust) – Sweetens and helps achieve a crisp crust; consider brown sugar for a deeper flavor.
For the Pineapple Filling
• Crushed Pineapple – The star ingredient lending a tropical flavor and moisture; ensure it’s well-drained to prevent sogginess.
• Large Eggs – Binds the ingredients and adds richness; no substitutes are recommended.
• Granulated Sugar (for filling) – Sweetens the filling; sugar alternatives can help reduce calories.
• Vanilla Extract – Adds aromatic depth; fresh vanilla bean enhances the flavor even more.
• Shredded Coconut (optional) – Introduces texture and can elevate the tropical taste; omit if preferred.
Step‑by‑Step Instructions for Pineapple Bliss Bars
Step 1: Preheat the Oven and Prepare the Pan
Preheat your oven to 350°F (175°C). While it’s heating, take an 8×8-inch baking pan and grease it lightly with butter or cooking spray. This is essential to ensure the Pineapple Bliss Bars can be easily removed later. Set the prepared pan aside while you make the crust.
Step 2: Make the Crust Mixture
In a medium bowl, combine melted unsalted butter, all-purpose flour, and 1/4 cup granulated sugar. Stir the ingredients together until they resemble a crumbly mixture. It should hold together when pressed. Once ready, evenly press this mixture into the bottom of the greased pan, forming your base for the bars.
Step 3: Bake the Crust
Place the pan in the preheated oven and bake the crust for 10–12 minutes, or until it turns lightly golden around the edges. Keep an eye on it to prevent over-browning. Once baked, remove it from the oven and allow it to cool slightly while you prepare the pineapple filling.
Step 4: Prepare the Pineapple Filling
In a separate bowl, whisk together the large eggs, 1/2 cup granulated sugar, drained crushed pineapple, and vanilla extract. Blend these ingredients until the mixture is smooth and well-combined. If you’re using shredded coconut, fold it in gently at this stage to incorporate it into your luscious tropical filling.
Step 5: Combine and Bake Again
Pour the pineapple mixture evenly over the pre-baked crust in the pan. This is the heart of your Pineapple Bliss Bars, adding the vibrant tropical flavor. Return the pan to the oven and bake for an additional 20–25 minutes until the filling is set in the middle and the edges are lightly browned. You’ll know it’s done when the top springs back slightly when touched.
Step 6: Cool and Slice
Once baked, remove the pan from the oven and allow the bars to cool completely in the pan on a wire rack. Cooling is crucial for easier cutting, as the bars will firm up as they chill. After cooling, slice the Pineapple Bliss Bars into squares and dust with powdered sugar before serving to add a touch of elegance.
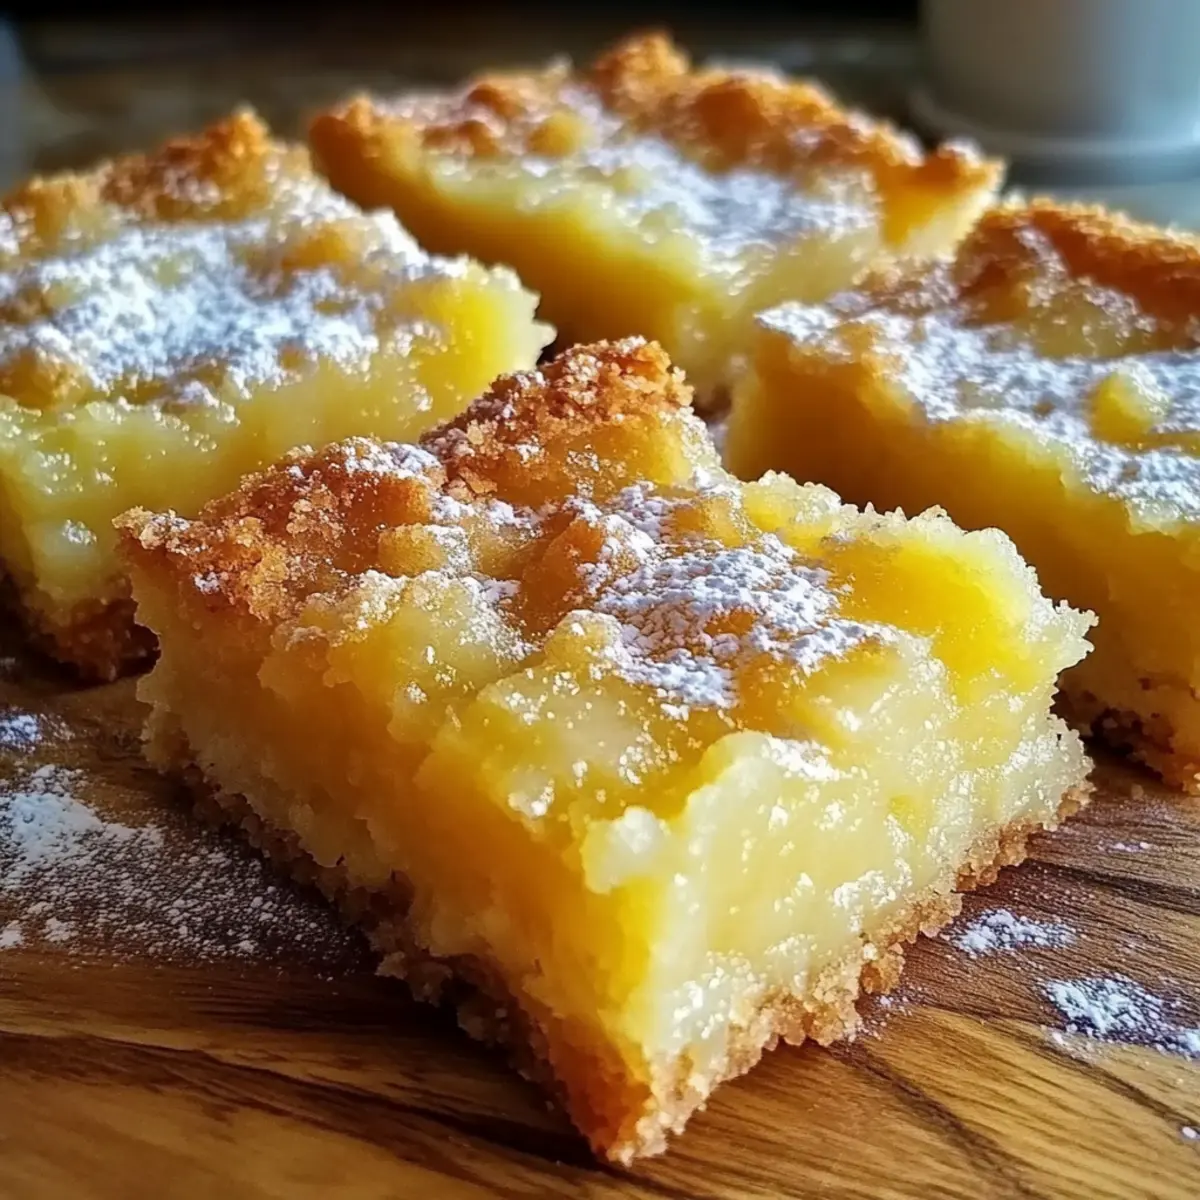
What to Serve with Pineapple Bliss Bars
Imagine the delightful harmony of flavors as you create a full, tropical-inspired feast alongside your Pineapple Bliss Bars.
- Coconut Whipped Cream: Light and fluffy, this adds a luscious tropical touch that complements the fruity filling.
- Fresh Fruit Salad: A mix of juicy berries, mango, and banana brings freshness that enhances the sweetness of the bars.
- Vanilla Ice Cream: The creamy richness of ice cream balances the tangy pineapple, creating a delightful contrast in every bite.
- Sparkling Water with Lime: The zesty bubbles in this refreshing drink cleanse the palate, enhancing the tropical experience.
- Toasted Macadamia Nuts: Their crunchy texture and buttery flavor provide a delightful contrast to the creamy bars, adding an extra layer of indulgence.
- Lime Sorbet: This cool, tart treat brightens up each mouthful, pairing perfectly with the sweetness of the bars.
- Pineapple Coconut Smoothie: Blend together pineapple, coconut milk, and banana for a refreshing drink that mirrors the blissful flavors of your dessert.
- Chocolate Drizzle: A simple melt-and-drizzle of chocolate over the bars can add a decadent darkness that balances out the sweetness.
Expert Tips for Pineapple Bliss Bars
-
Drain Pineapple Well: Ensure your crushed pineapple is thoroughly drained to avoid a soggy filling, which can ruin the texture of your Pineapple Bliss Bars.
-
Cool Completely: Allow the bars to cool completely in the pan before slicing. This helps them firm up and retain their shape when cut.
-
Perfect for Potlucks: These bars are ideal for gatherings. Transport them in the pan and slice them just before serving for a fresh presentation.
-
Fresh Vanilla Flavor: For a deeper flavor, try using fresh vanilla beans instead of extract; it truly elevates the taste of the filling.
-
Dust Just Before Serving: Dust your Pineapple Bliss Bars with powdered sugar right before serving to maintain a beautiful presentation without moisture absorption.
-
Explore Variations: Feel free to experiment! Substitute different tropical fruits or add lime juice for zest to keep your Pineapple Bliss Bars exciting and new.
Pineapple Bliss Bars Variations & Substitutions
Customize your Pineapple Bliss Bars to match your taste buds and occasion with these delightful ideas!
- Gluten-Free: Substitute all-purpose flour with gluten-free flour to cater to gluten-sensitive palates while keeping the same tasty texture.
- Flavor Boost: Enhance the tropical taste by adding a splash of coconut milk to the filling for a creamier consistency and rich flavor.
- Citrus Zing: A squeeze of lime juice will add a refreshing twist to the pineapple filling, making each bite pop with zesty goodness.
- Mixed Fruit Medley: Consider swapping crushed pineapple with other tropical fruits like mango or peaches for a fruity surprise that changes things up!
- Nutty Crunch: Fold in chopped nuts, like pecans or walnuts, into the crust mixture for an extra crunch that elevates the overall texture.
- Choco-Drizzle: Melt some dark or white chocolate and drizzle over the cooled bars for a decadent finish that’s sure to please the sweet tooth in everyone.
- Coconut Lovers: If you adore coconut, try doubling the shredded coconut in the filling for a richer coconut flavor and chewy texture.
- Sticky Honey: Drizzle honey or maple syrup over the top of your bars before serving for an added touch of sweetness that pairs beautifully with the fresh fruit flavor.
For more delicious dessert ideas, try making a batch of Chocolate Cheesecake Bars or some delightful Orange Cranberry Shortbread to mix and match flavors at your next gathering!
Make Ahead Options
These Pineapple Bliss Bars are a perfect candidate for meal prep, allowing busy cooks to savor a tropical treat without the last-minute rush! You can prepare the crust up to 24 hours in advance; simply mix and press it into the pan, then wrap it tightly in plastic wrap and refrigerate. The pineapple filling can be prepped separately and stored in an airtight container in the fridge for up to 3 days. When ready to serve, pour the filling over the chilled crust, bake as instructed, and enjoy the same delightful flavor and texture. This prep-ahead strategy saves so much time while ensuring each bite remains just as delicious!
Storage Tips for Pineapple Bliss Bars
-
Fridge: Store your Pineapple Bliss Bars in an airtight container in the fridge for up to 5 days. This keeps them fresh and prevents them from drying out.
-
Freezer: You can freeze these bars for up to 2 months. Wrap them individually in plastic wrap and then place them in a freezer-safe bag to protect against freezer burn.
-
Thawing: To enjoy frozen Pineapple Bliss Bars, simply thaw them in the fridge overnight before serving. This ensures they retain their delicious texture and flavor.
-
Reheating: If desired, you can gently warm individual bars in the microwave for about 10-15 seconds. This brings back the lovely buttery crust without compromising the filling.
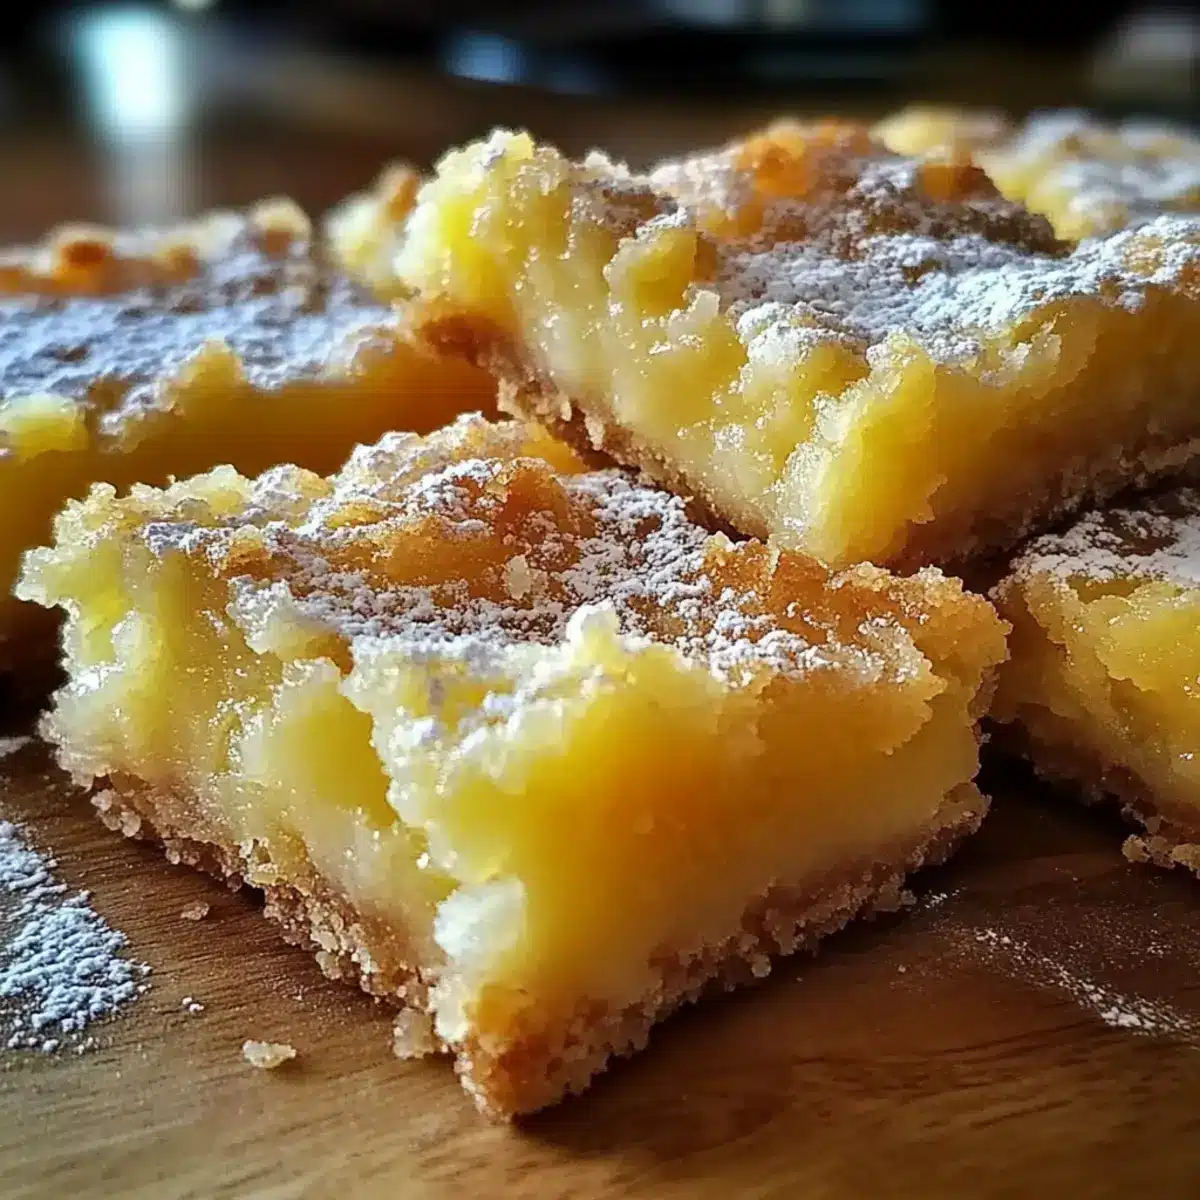
Pineapple Bliss Bars Recipe FAQs
How do I select the right crushed pineapple for this recipe?
Absolutely! When choosing crushed pineapple, look for cans that say “in juice” rather than “in syrup” for a healthier option. Ensure the pineapple is well-drained when preparing the recipe to avoid a soggy filling. Fresh pineapple can also be used; just chop it finely and pulse it in a food processor to achieve a similar texture.
What’s the best way to store leftover Pineapple Bliss Bars?
Very! Store your Pineapple Bliss Bars in an airtight container in the fridge for up to 5 days. This will keep them fresh and delicious. For longer storage, wrap them tightly in plastic wrap and place them in a freezer-safe bag, where they can last for up to 2 months.
Can I freeze Pineapple Bliss Bars?
Certainly! To freeze your Pineapple Bliss Bars, slice them into squares after they’ve cooled completely. Wrap each piece in plastic wrap, and then place them in a freezer-safe bag or container. When you’re ready to enjoy them, simply thaw them overnight in the fridge before serving.
What should I do if my filling is too runny?
No worries! If you find your filling is too runny, it may be because the crushed pineapple wasn’t drained well enough. For optimal results, make sure to thoroughly drain the pineapple and press it with a paper towel to remove excess moisture. If baking, allow the bars to bake a bit longer; the filling will set as they cool.
Are these bars suitable for people with dietary allergies?
It’s always good to check! Pineapple Bliss Bars contain eggs and dairy, so they aren’t suitable for vegans. For those with gluten sensitivities, substituting the all-purpose flour with gluten-free flour works great! Just be cautious about coconut if allergies to nuts or any of its ingredients exist. Always consult a medical professional for specific dietary concerns.
What are some alternative ingredients I can use?
You can get creative! To switch things up, consider using brown sugar instead of granulated sugar for a richer taste. If you want a refreshing zesty kick, add a squeeze of lime juice to the pineapple filling or try mixing in diced mango or peaches for a fun flavor twist. Enjoy experimenting!
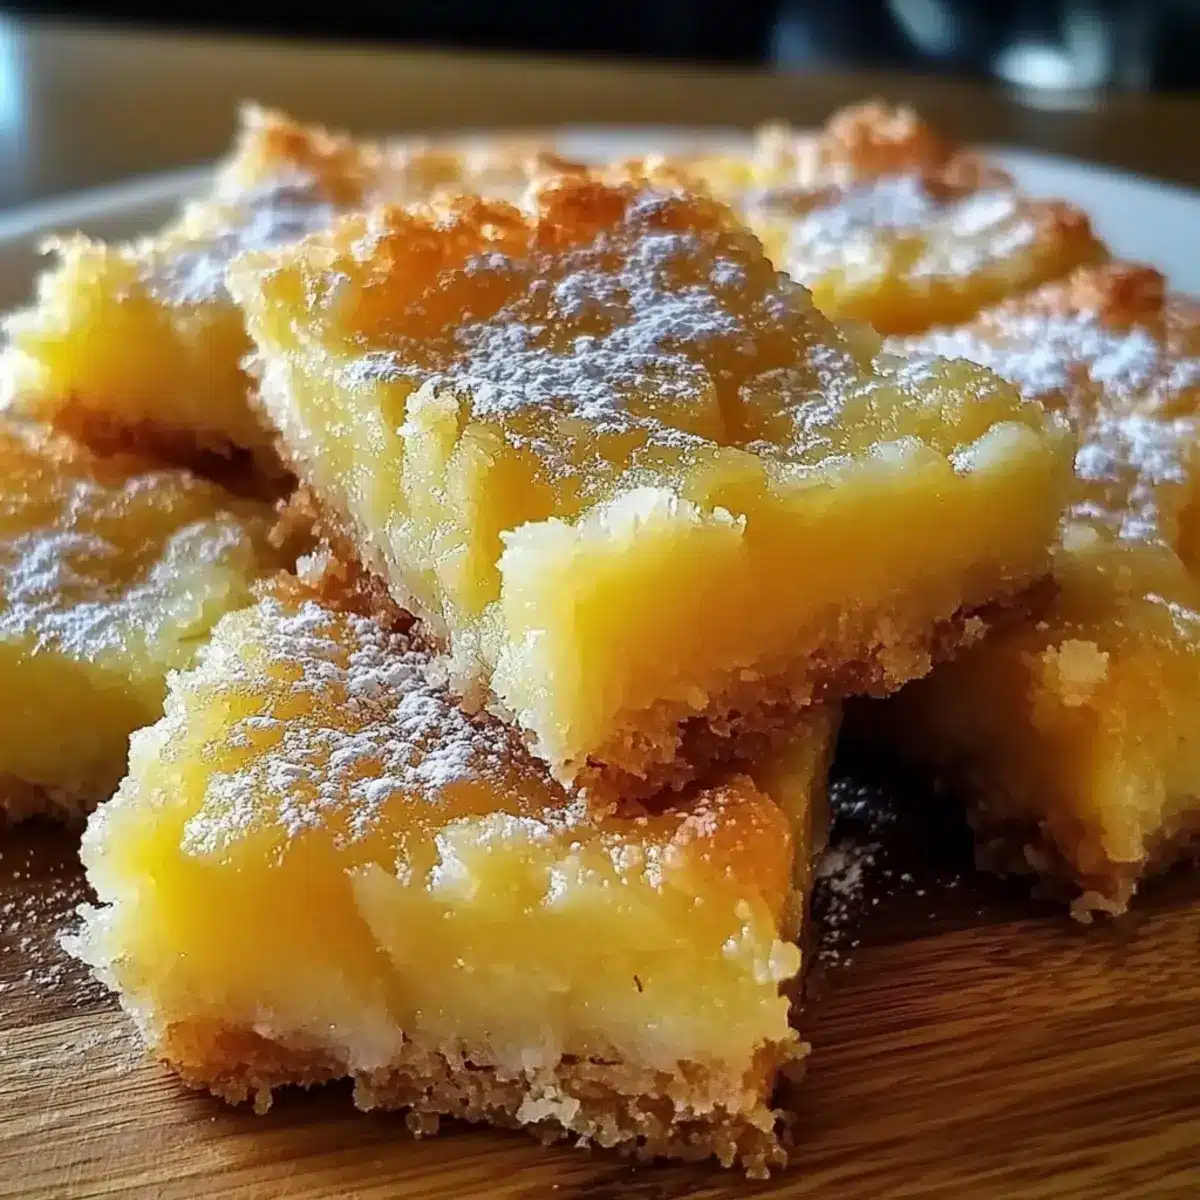
Pineapple Bliss Bars for a Refreshing Tropical Treat
Ingredients
Equipment
Method
- Preheat oven to 350°F (175°C) and grease an 8x8-inch pan.
- Combine melted butter, flour, and sugar in a medium bowl until crumbly.
- Press mixture into the bottom of the greased pan and bake for 10-12 minutes.
- Whisk together eggs, sugar, crushed pineapple, and vanilla until smooth.
- Gently fold in shredded coconut if using.
- Pour pineapple mixture over the pre-baked crust and bake for 20-25 minutes.
- Allow to cool completely in the pan on a wire rack.
- Slice into squares and dust with powdered sugar before serving.
Leave a Reply